Page 317 of 562
•Preset 2 – Artists
•Preset 3 – Albums
•Preset 4 – Genres
•Preset 5 – Audiobooks
•Preset 6 – Podcasts
•Pressing a PRESET button will display the current
list on the top line and the first item in that list on
the second line.
•To exit List mode without selecting a track, press the
samePRESET button again to go back to Play
mode.
•LIST button: The LISTbutton will display the top
level menu of the iPod� or external USB device. Turn
the TUNE control knob to list the top-menu item to be
selected and press the TUNEcontrol knob. This will
display the next sub-menu list item on the audio device, then follow the same steps to go to the desired
track in that list. Not all iPod�
or external USB device
sub-menu levels are available on this system.
•MUSIC TYPE button: TheMUSIC TYPE button is
another shortcut button to the genre listing on your
audio device.
CAUTION!
•Leaving the iPod� or external USB device (or any
supported device) anywhere in the vehicle in
extreme heat or cold can alter the operation or
damage the device. Follow the device manufactur-
er ’s guidelines.
•Placing items on the iPod� or external USB device,
or connections to the iPod� or external USB device
in the vehicle, can cause damage to the device
and/or to the connectors.
4
UNDERSTANDING YOUR INSTRUMENT PANEL 315
ProCarManuals.com
Page 318 of 562

WARNING!
Do not plug in or remove the iPod�or external USB
device while driving. Failure to follow this warning
could result in an accident.
Bluetooth Streaming Audio (BTSA)
Music can be streamed from your cellular phone to the
Uconnect™ phone system.
Controlling BTSA Using Radio Buttons
To get into the BTSA mode, press either “AUX” button on
the radio or press the VR button and say “Bluetooth
Streaming Audio”.
Play Mode
When switched to BTSA mode, some audio devices can
start playing music over the vehicle’s audio system, but
some devices require the music to be initiated on the
device first, then it will get streamed to the Uconnect™ phone system. Seven devices can be paired to the
Uconnect™ phone system, but just one can be selected
and played.
Selecting Different Audio Device
1. Press PHONE button to begin.
2. After the
�Ready�prompt and the following beep, say
�Setup�, then �Select Audio Devices�.
3. Say the name of the audio device or ask the
Uconnect™ phone system to list audio devices.
Next Track
Use the SEEK UP button, or press the VR button on the
radio and say “Next Track” to jump to the next track
music on your cellular phone.
316 UNDERSTANDING YOUR INSTRUMENT PANEL
ProCarManuals.com
Page 319 of 562
Previous Track
Use the SEEK DOWN button, or press the VR button on
the radio and say “Previous Track” to jump to the
previous track music on your cellular phone.
Browse
Browsing is not available on a BTSA device. Only the
current song that is playing will display info.
VIDEO ENTERTAINMENT SYSTEM (VES)™ — IF
EQUIPPED
The optional Video Entertainment System (VES)™ is
available with:
•One or two video screens
•Third row swivel screen — If Equipped
•Additional single-disc DVD player with two-screen
system
•Battery-powered two-channel remote control
•Two remote headphones
•Integrated remote storage in either screen location
•Three different medias can be played simultaneously
(Cabin speakers and Headphone Channels 1 and 2)
•Easy menu-driven functions on touch-screen radios
•Video and audio input jacks available in rear seating
area
•Ten different medias to choose from in each screen
(AM, FM, Sirius Radio, Sirius Backseat TV™, DVD1,
DVD2, Hard Disc Drive (HDD), AUX in radio, AUX1,
AUX2)
4
UNDERSTANDING YOUR INSTRUMENT PANEL 317
ProCarManuals.com
Page 320 of 562
The LCD screen(s) are located in the overhead compart-
ment console.NOTE:Refer to the “Uconnect™ Multimedia” section of
Uconnect™ User Manual located on the DVD for further
details.
Overhead Video Screens
VES™ Remote Control Location
318 UNDERSTANDING YOUR INSTRUMENT PANEL
ProCarManuals.com
Page 321 of 562
STEERING WHEEL AUDIO CONTROLS — IF
EQUIPPED
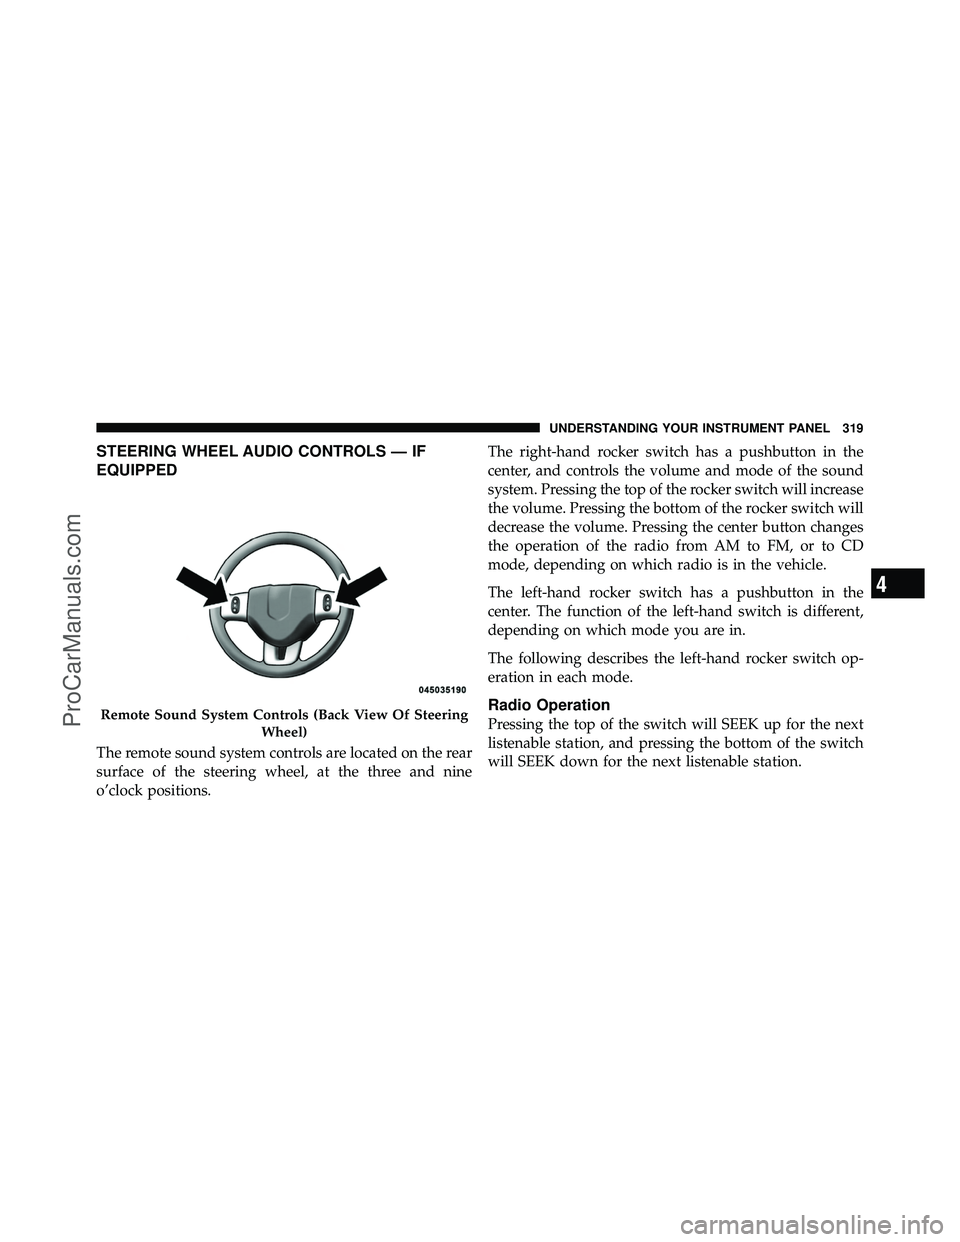
The remote sound system controls are located on the rear
surface of the steering wheel, at the three and nine
o’clock positions.The right-hand rocker switch has a pushbutton in the
center, and controls the volume and mode of the sound
system. Pressing the top of the rocker switch will increase
the volume. Pressing the bottom of the rocker switch will
decrease the volume. Pressing the center button changes
the operation of the radio from AM to FM, or to CD
mode, depending on which radio is in the vehicle.
The left-hand rocker switch has a pushbutton in the
center. The function of the left-hand switch is different,
depending on which mode you are in.
The following describes the left-hand rocker switch op-
eration in each mode.
Radio Operation
Pressing the top of the switch will SEEK up for the next
listenable station, and pressing the bottom of the switch
will SEEK down for the next listenable station.Remote Sound System Controls (Back View Of Steering
Wheel)
4
UNDERSTANDING YOUR INSTRUMENT PANEL 319
ProCarManuals.com
Page 322 of 562
The button located in the center of the left-hand switch
will tune to the next preset station that you have pro-
grammed in the radio preset pushbutton.
CD Player
Pressing the top of the switch once will go to the next
track on the CD. Pressing the bottom of the switch once
will go to the beginning of the current track, or to the
beginning of the previous track if it is within one second
after the current track begins to play.
If you press the switch up or down twice it plays the
second track; three times, it will play the third, etc.
The button in the center of the left-hand switch has no
function in this mode.
CD/DVD DISC MAINTENANCE
To keep a CD/DVD in good condition, take the following
precautions:
1.
Handle the disc by its edge; avoid touching the surface.
2. If the disc is stained, clean the surface with a soft cloth,
wiping from center to edge.
3. Do not apply paper or tape to the disc; avoid scratch-
ing the disc.
4. Do not use solvents such as benzene, thinner, cleaners,
or anti-static sprays.
5. Store the disc in its case after playing.
6. Do not expose the disc to direct sunlight.
7. Do not store the disc where temperatures may become
too high.
NOTE:If you experience difficulty in playing a particu-
lar disc, it may be damaged (i.e., scratched, reflective
coating removed, a hair, moisture or dew on the disc)
oversized, or have protection encoding. Try a known
good disc before considering disc player service.
320 UNDERSTANDING YOUR INSTRUMENT PANEL
ProCarManuals.com
Page 323 of 562
RADIO OPERATION AND MOBILE PHONES
Under certain conditions, the mobile phone being on in
your vehicle can cause erratic or noisy performance from
your radio. This condition may be lessened or eliminated
by relocating the mobile phone antenna. This condition is
not harmful to the radio. If your radio performance does
not satisfactorily “clear” by the repositioning of the
antenna, it is recommended that the radio volume be
turned down or off during mobile phone operation when
not using Uconnect™ (if equipped).
CLIMATE CONTROLS
The Climate Control system allows you to regulate the
temperature, amount, and direction of air circulating
throughout the vehicle. The controls are located on the
instrument panel, below the radio.
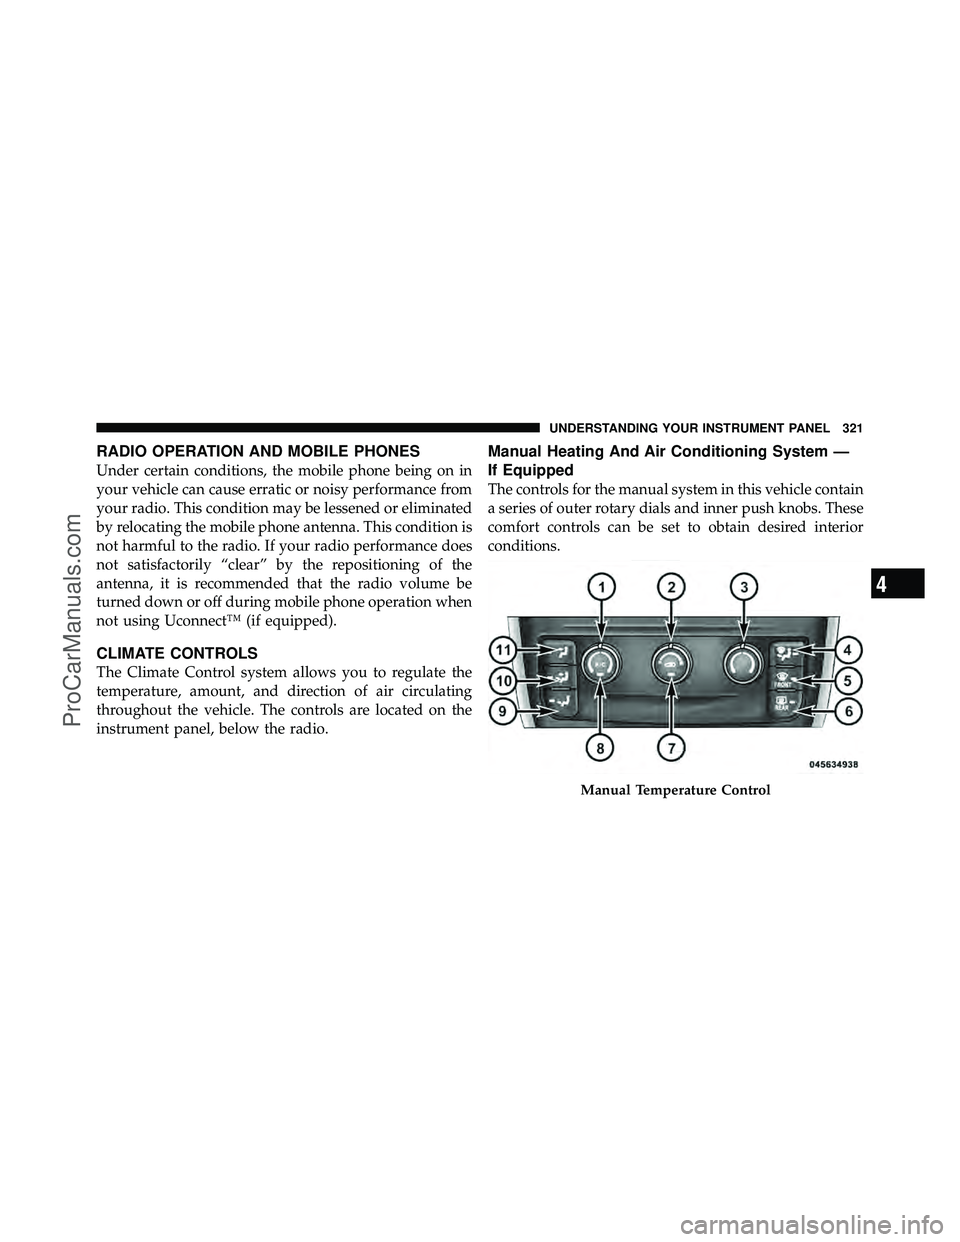
Manual Heating And Air Conditioning System —
If Equipped
The controls for the manual system in this vehicle contain
a series of outer rotary dials and inner push knobs. These
comfort controls can be set to obtain desired interior
conditions.
Manual Temperature Control
4
UNDERSTANDING YOUR INSTRUMENT PANEL 321
ProCarManuals.com
Page 324 of 562
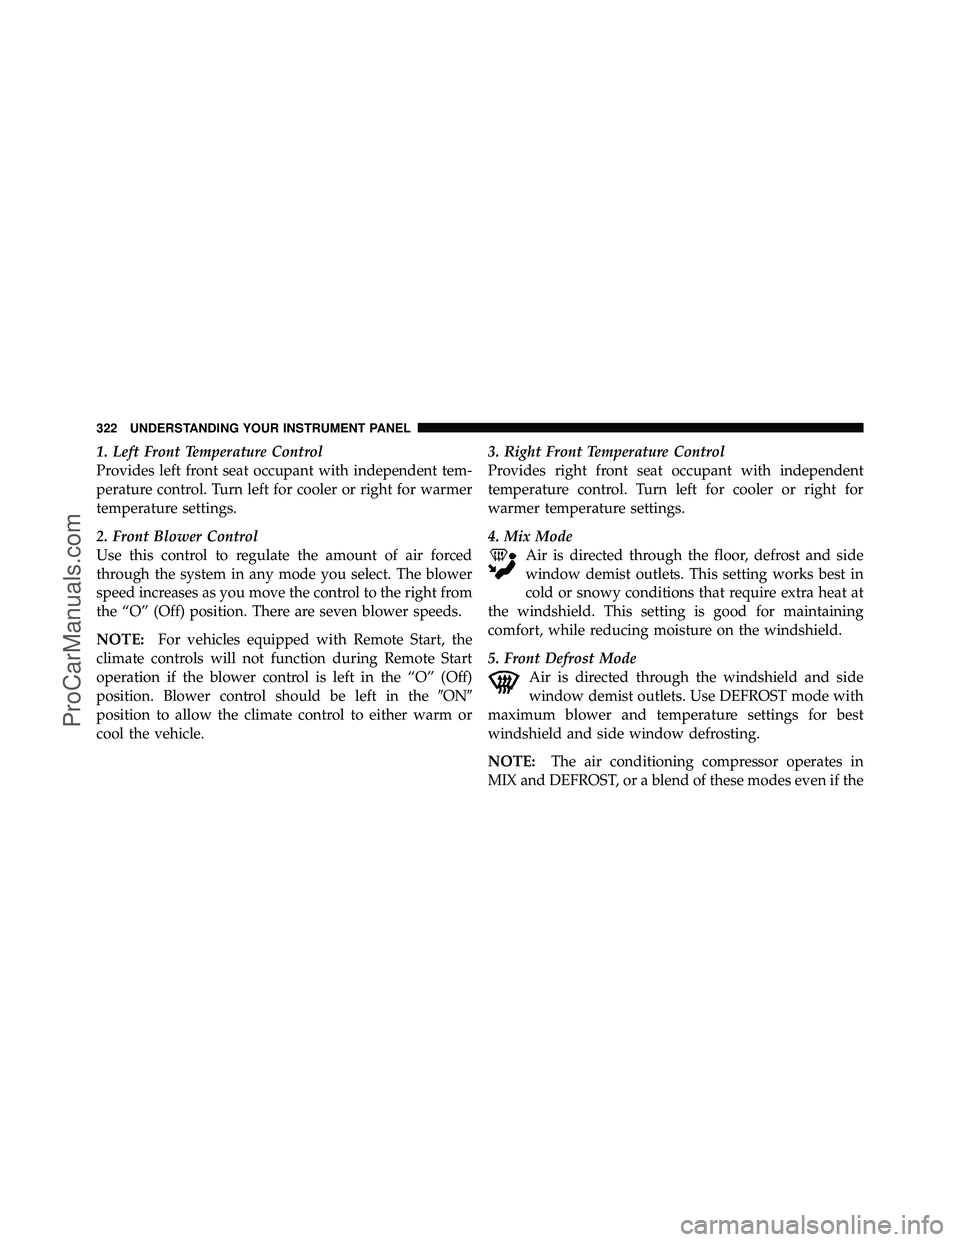
1. Left Front Temperature Control
Provides left front seat occupant with independent tem-
perature control. Turn left for cooler or right for warmer
temperature settings.
2. Front Blower Control
Use this control to regulate the amount of air forced
through the system in any mode you select. The blower
speed increases as you move the control to the right from
the “O” (Off) position. There are seven blower speeds.
NOTE:For vehicles equipped with Remote Start, the
climate controls will not function during Remote Start
operation if the blower control is left in the “O” (Off)
position. Blower control should be left in the �ON�
position to allow the climate control to either warm or
cool the vehicle. 3. Right Front Temperature Control
Provides right front seat occupant with independent
temperature control. Turn left for cooler or right for
warmer temperature settings.
4. Mix Mode
Air is directed through the floor, defrost and side
window demist outlets. This setting works best in
cold or snowy conditions that require extra heat at
the windshield. This setting is good for maintaining
comfort, while reducing moisture on the windshield.
5. Front Defrost Mode Air is directed through the windshield and side
window demist outlets. Use DEFROST mode with
maximum blower and temperature settings for best
windshield and side window defrosting.
NOTE: The air conditioning compressor operates in
MIX and DEFROST, or a blend of these modes even if the
322 UNDERSTANDING YOUR INSTRUMENT PANEL
ProCarManuals.com