Page 111 of 562
▫Lights-On Reminder .................. 166
▫ Daytime Running Lights — If Equipped .... 167
▫ Front Fog Lights — If Equipped .......... 167
▫ Dimmer Controls .................... 167
▫ Multifunction Lever .................. 169
▫ Turn Signals ........................ 170
▫ Lane Change Assist ................... 170
▫ High/Low Beam Switch ............... 170
▫ Flash-To-Pass ....................... 170
▫ Battery Protection .................... 171
� Windshield Wiper And Washers ........... 171
▫ Intermittent Wiper System .............. 172
▫ Windshield Wiper Operation ............ 172▫
Windshield Washers .................. 172
▫ Mist Feature ........................ 173
▫ Rear Wiper And Washer ............... 173
▫ Rain Sensing Wipers — If Equipped ....... 173
� Tilt/Telescoping Steering Column .......... 175
� Heated Steering Wheel — If Equipped ...... 176
� Adjustable Pedals — If Equipped .......... 177
� Electronic Speed Control — If Equipped ..... 178
▫ To Activate ......................... 179
▫ To Set A Desired Speed ................ 180
▫ To Deactivate ....................... 180
▫ To Resume Speed .................... 180
▫ To Vary The Speed Setting .............. 180
3
UNDERSTANDING THE FEATURES OF YOUR VEHICLE 109
ProCarManuals.com
Page 167 of 562
LIGHTS
Headlight Switch
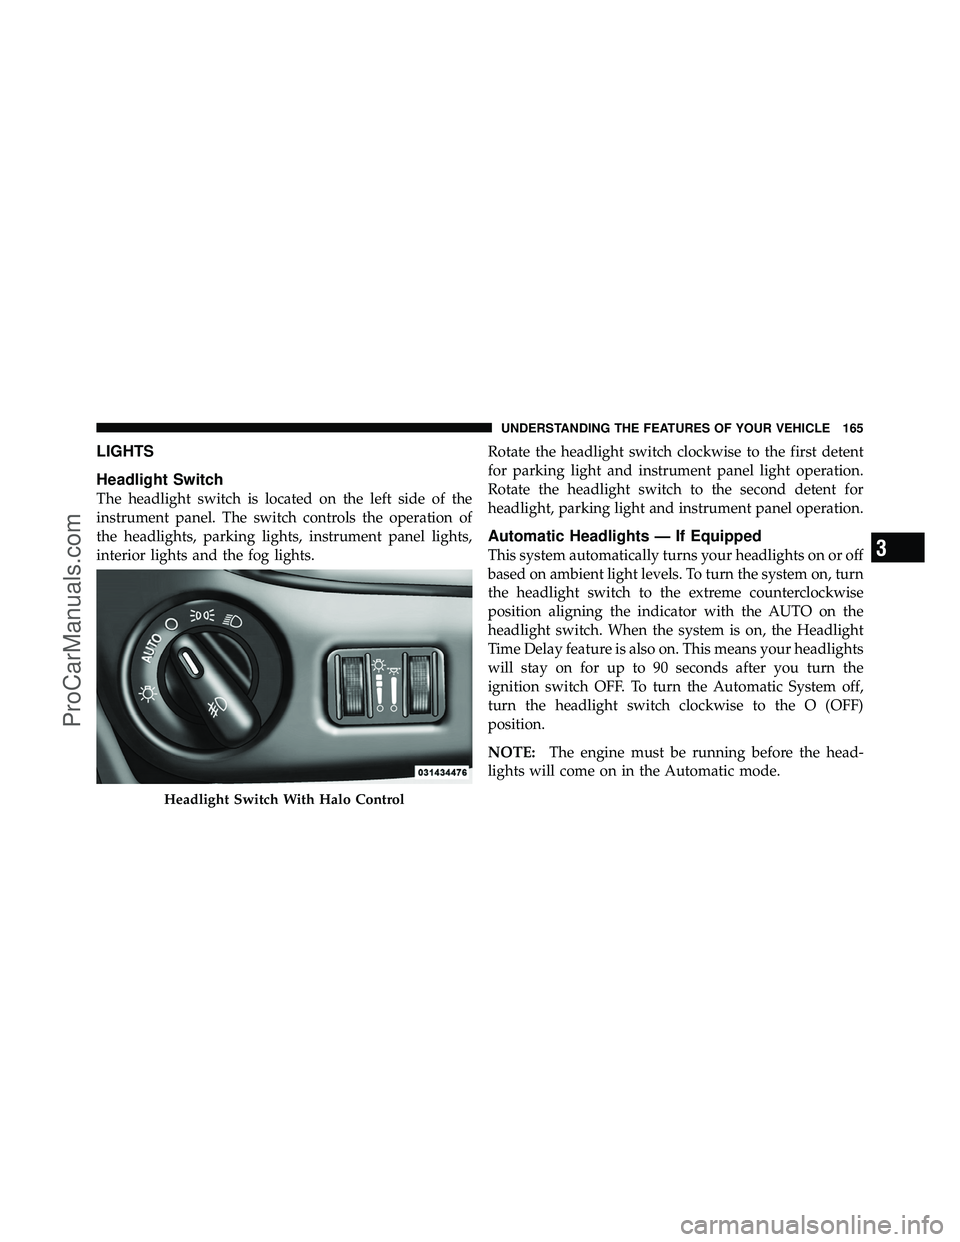
The headlight switch is located on the left side of the
instrument panel. The switch controls the operation of
the headlights, parking lights, instrument panel lights,
interior lights and the fog lights.Rotate the headlight switch clockwise to the first detent
for parking light and instrument panel light operation.
Rotate the headlight switch to the second detent for
headlight, parking light and instrument panel operation.
Automatic Headlights — If Equipped
This system automatically turns your headlights on or off
based on ambient light levels. To turn the system on, turn
the headlight switch to the extreme counterclockwise
position aligning the indicator with the AUTO on the
headlight switch. When the system is on, the Headlight
Time Delay feature is also on. This means your headlights
will stay on for up to 90 seconds after you turn the
ignition switch OFF. To turn the Automatic System off,
turn the headlight switch clockwise to the O (OFF)
position.
NOTE:
The engine must be running before the head-
lights will come on in the Automatic mode.
Headlight Switch With Halo Control
3
UNDERSTANDING THE FEATURES OF YOUR VEHICLE 165
ProCarManuals.com
Page 169 of 562
Daytime Running Lights — If Equipped
The headlights on your vehicle will illuminate when the
engine is started and the transmission is in any gear
except PARK. This provides a constant lights on condi-
tion until the ignition is turned OFF. The lights illuminate
at less than 50% of normal intensity. If the parking brake
is applied, the Daytime Running Lights (DRL) will turn
off. Also, if a turn signal is activated, the DRL lamp on the
same side of the vehicle will turn off for the duration of
the turn signal activation. Once the turn signal is no
longer active, the DRL lamp will illuminate.
Front Fog Lights — If Equipped
To activate the front fog lights, turn on the parking
lights or the low beam headlights and push in the
headlight switch control knob. Pressing the head-
light switch control knob in a second time will turn the
front fog lights off.
Dimmer Controls
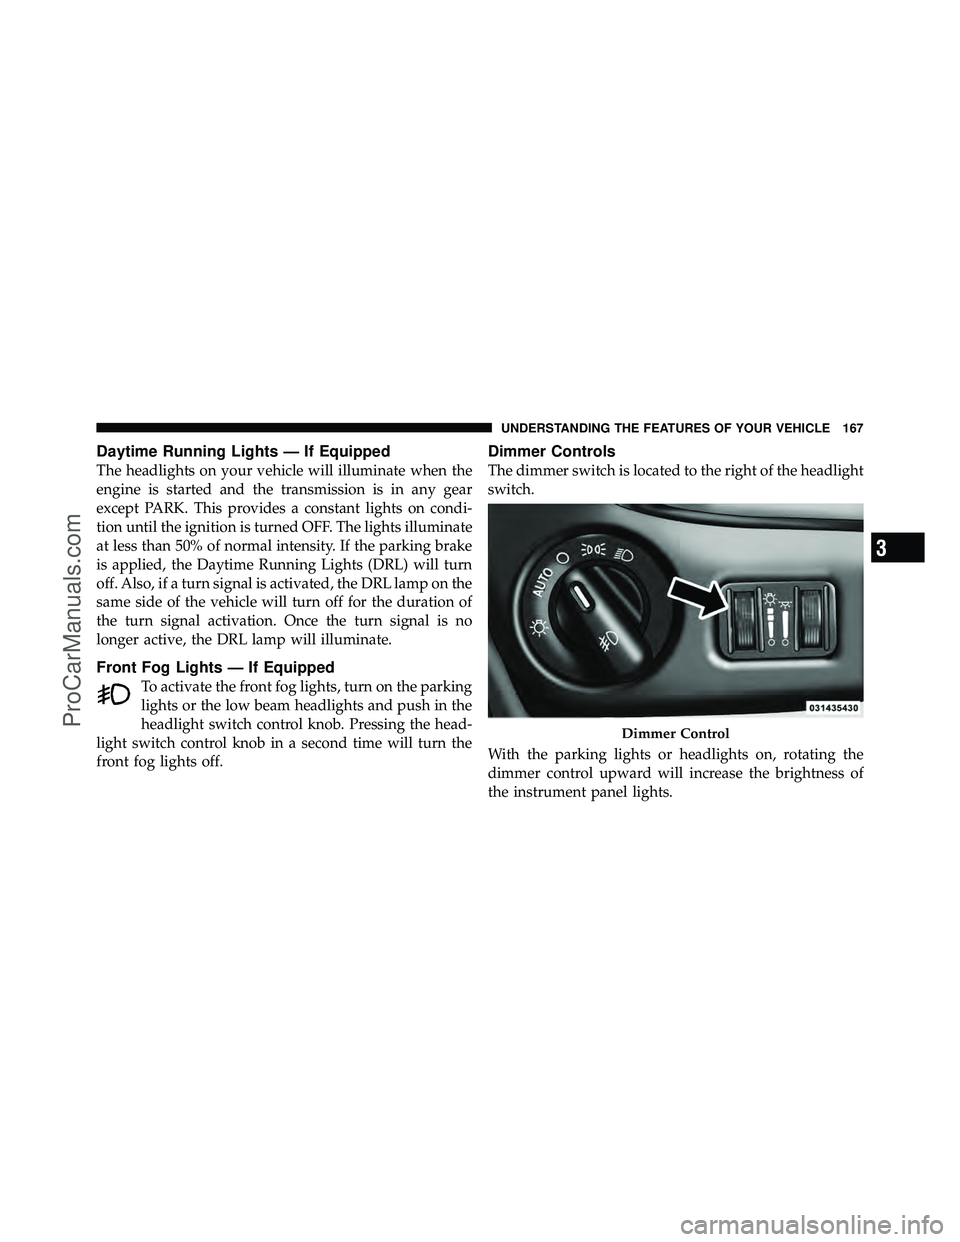
The dimmer switch is located to the right of the headlight
switch.
With the parking lights or headlights on, rotating the
dimmer control upward will increase the brightness of
the instrument panel lights.
Dimmer Control
3
UNDERSTANDING THE FEATURES OF YOUR VEHICLE 167
ProCarManuals.com
Page 173 of 562
Battery Protection
This feature provides battery protection to avoid wearing
down the battery if the headlights, parking lights, or
front fog lights are left on for extended periods of time
when the ignition switch is in the LOCK position. After
eight minutes of the ignition switch being in the LOCK
position and the headlight switch in any position other
than OFF or AUTO, the lights will turn off automatically
until the next cycle of the ignition switch or headlight
switch.
The battery protection feature will be disabled if the
ignition switch is turned to any other position other than
LOCK during the eight minute delay.
WINDSHIELD WIPER AND WASHERS
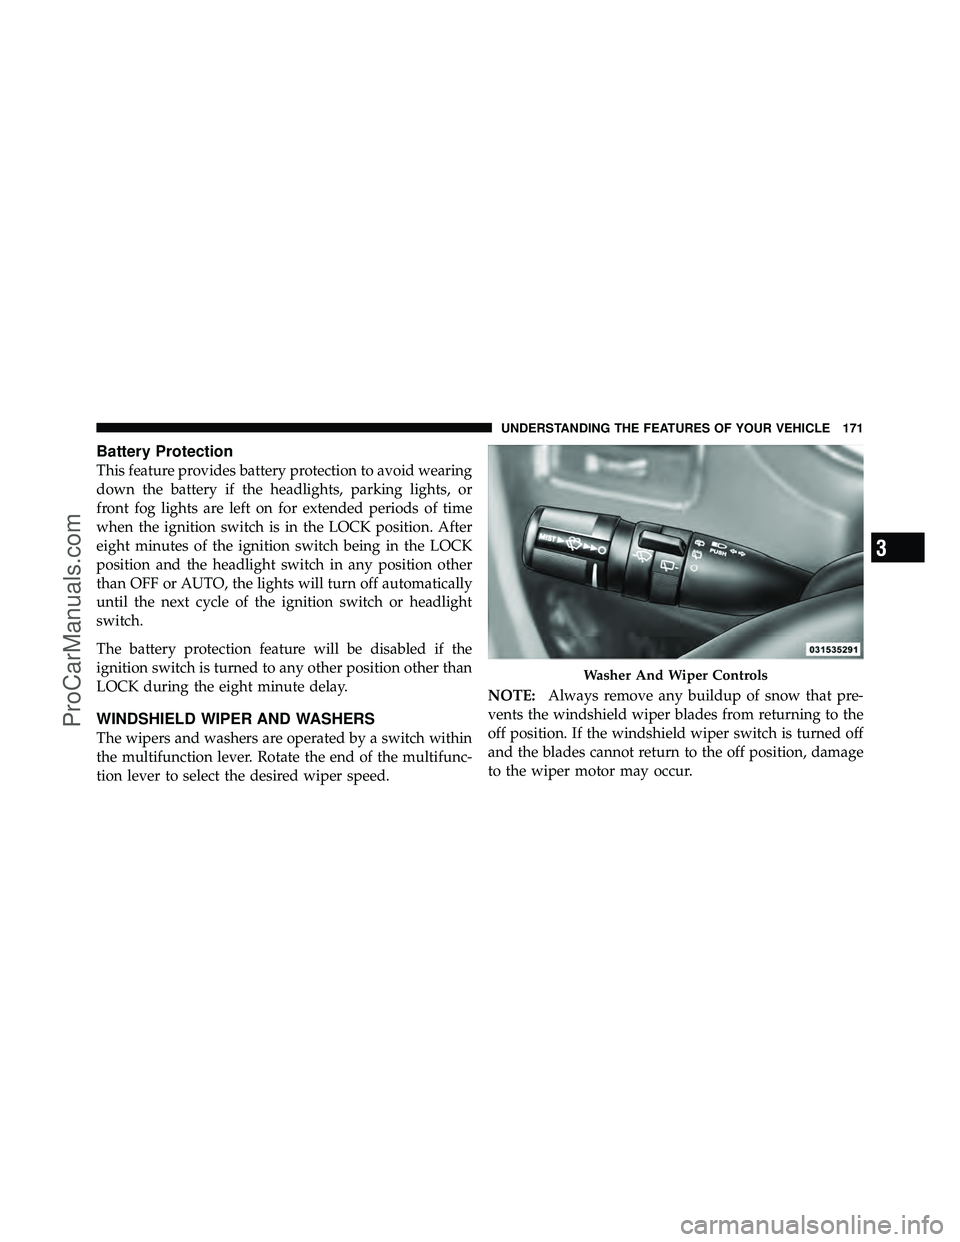
The wipers and washers are operated by a switch within
the multifunction lever. Rotate the end of the multifunc-
tion lever to select the desired wiper speed.NOTE:
Always remove any buildup of snow that pre-
vents the windshield wiper blades from returning to the
off position. If the windshield wiper switch is turned off
and the blades cannot return to the off position, damage
to the wiper motor may occur.
Washer And Wiper Controls
3
UNDERSTANDING THE FEATURES OF YOUR VEHICLE 171
ProCarManuals.com
Page 251 of 562

INSTRUMENT CLUSTER DESCRIPTIONS
1. Tachometer
The red segments indicate the maximum permissible
engine revolutions per minute (RPM x 1000) for each gear
range. Before reaching the red area, ease up on the
accelerator.
2. Front Fog Light Indicator — If EquippedThis indicator will illuminate when the front fog
lights are on.
3. Park/Headlight ON Indicator — If Equipped This indicator will illuminate when the park
lights or headlights are turned on.
4. Turn Signal Indicators The arrow will flash with the exterior turn signal
when the turn signal lever is operated. If the vehicle is driven 1 mile (1.6 km) with either turn
signal on, a continuous chime will sound to alert you to
turn the signal off. If either indicator flashes at a rapid
rate, check for a defective outside light bulb.
5. High Beam Indicator
This indicator shows that the high beam head-
lights are on. Push the multifunction lever forward
to switch the headlights to high beam, and pull toward
yourself (normal position) to return to low beam.
6. Compass Mini-Trip Computer (CMTC) or Electronic
Vehicle Information Center (EVIC) Display — If
Equipped
Odometer
The odometer display shows the total distance the ve-
hicle has been driven.
4
UNDERSTANDING YOUR INSTRUMENT PANEL 249
ProCarManuals.com
Page 340 of 562
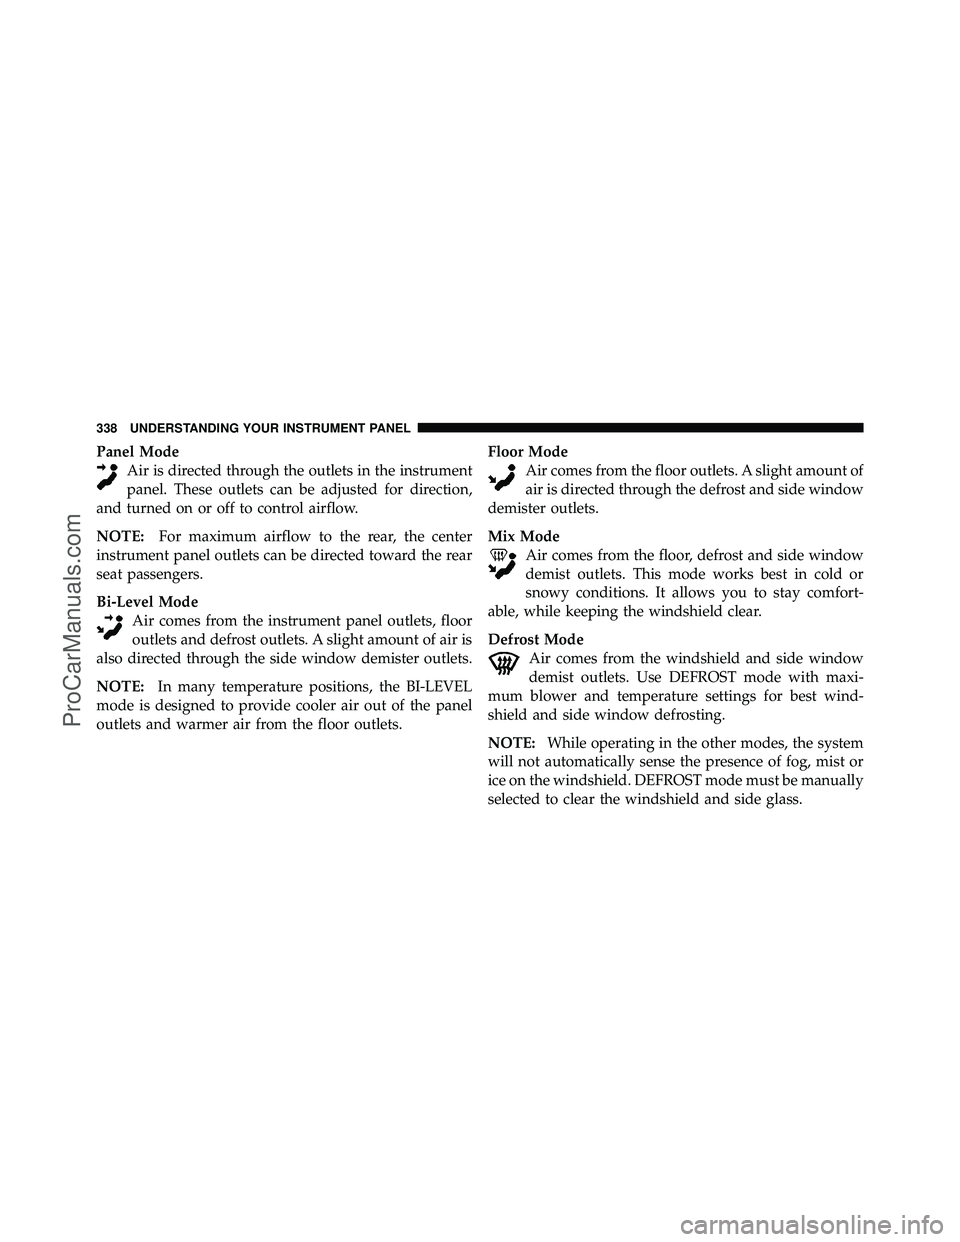
Panel ModeAir is directed through the outlets in the instrument
panel. These outlets can be adjusted for direction,
and turned on or off to control airflow.
NOTE: For maximum airflow to the rear, the center
instrument panel outlets can be directed toward the rear
seat passengers.
Bi-Level Mode Air comes from the instrument panel outlets, floor
outlets and defrost outlets. A slight amount of air is
also directed through the side window demister outlets.
NOTE: In many temperature positions, the BI-LEVEL
mode is designed to provide cooler air out of the panel
outlets and warmer air from the floor outlets. Floor Mode
Air comes from the floor outlets. A slight amount of
air is directed through the defrost and side window
demister outlets.
Mix Mode Air comes from the floor, defrost and side window
demist outlets. This mode works best in cold or
snowy conditions. It allows you to stay comfort-
able, while keeping the windshield clear.
Defrost Mode Air comes from the windshield and side window
demist outlets. Use DEFROST mode with maxi-
mum blower and temperature settings for best wind-
shield and side window defrosting.
NOTE: While operating in the other modes, the system
will not automatically sense the presence of fog, mist or
ice on the windshield. DEFROST mode must be manually
selected to clear the windshield and side glass.
338 UNDERSTANDING YOUR INSTRUMENT PANEL
ProCarManuals.com
Page 509 of 562

REPLACEMENT BULBS
LIGHT BULBS – InteriorBulb Number
Center & Rear Dome Lamp ................. 578
Center & Rear Reading Lamps ............... 578
Front Door Courtesy Lamp .................. 578
Front Header Reading Lamps – If Equipped ..... 578
Instrument Cluster Lamps .................PC74
Liftgate Lamp(s) ......................... 578
Overhead Console Reading Lamps ..........PC579
Removable Console Lamp – If Equipped ........ 194
Visor Vanity Lamps .................... 6501966
NOTE: For lighted switches, see your authorized dealer
for replacement instructions.
All of the interior bulbs are glass wedge base or glass
cartridge types. Aluminum base bulbs are not approved
and should not be used for replacement. LIGHT BULBS – Exterior
Bulb Number
Headlamp ............................. H13
Fog Lamp – If Equipped ................PSX24W
Front Side Marker, Park/Turn Signal .......... LED
(Serviced at Authorized Dealer)
Rear Tail, Stop, Turn Signal Lamp ............ LED
(Serviced at Authorized Dealer)
Center High-Mounted Stop Lamp ............ LED
(Serviced at Authorized Dealer)
Backup Lamp .......................... 3157
License ................................ 168
BULB REPLACEMENT
Headlamps
1. Raise the hood to access the rear of the headlamp
housing.
2. Slide the red lock tab rearward on the connector, then
depress the tab and remove the connector from the bulb.
7
MAINTAINING YOUR VEHICLE 507
ProCarManuals.com
Page 511 of 562
CAUTION!
Do not touch the new bulb with your fingers. Oil
contamination will severely shorten bulb life. If the
bulb comes in contact with an oily surface, clean the
bulb with rubbing alcohol.
2. Disconnect the wire harness from the bulb.
3. Reconnect the wiring harness to the new bulb and
reinstall by inserting the new bulb straight into the fog
lamp until it locks into place.
Rear Tail, Stop, Turn Signal, Side Marker and
Backup Lamps
1. Raise the liftgate. 2. Remove the tail lamp assembly by removing the two
screws from the inboard side. Use a fiber stick or similar
tool to gently pry the light on the outboard side to
disengage the two ball studs.
7
MAINTAINING YOUR VEHICLE 509
ProCarManuals.com