Page 64 of 505

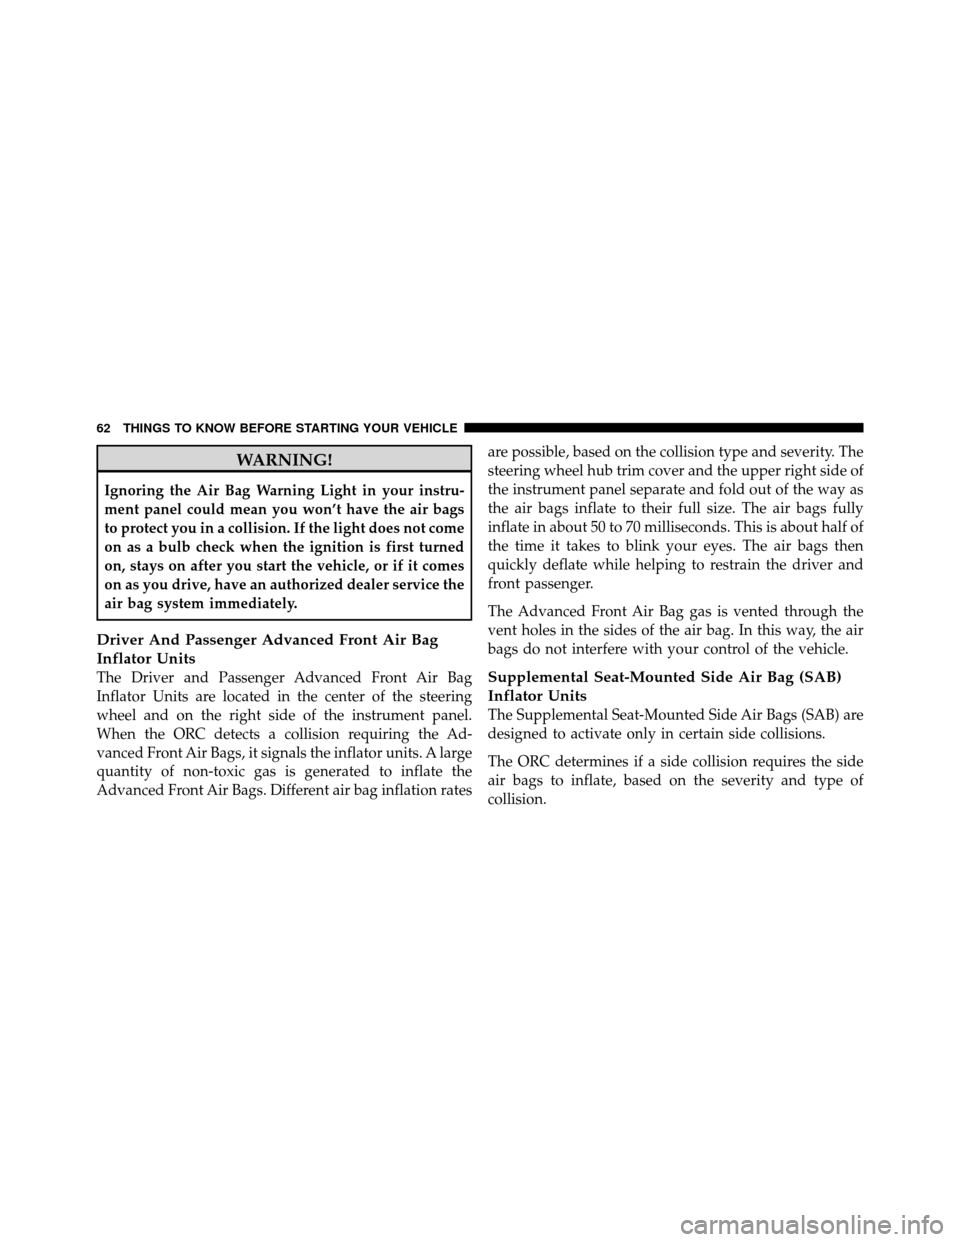
WARNING!
Ignoring the Air Bag Warning Light in your instru-
ment panel could mean you won’t have the air bags
to protect you in a collision. If the light does not come
on as a bulb check when the ignition is first turned
on, stays on after you start the vehicle, or if it comes
on as you drive, have an authorized dealer service the
air bag system immediately.
Driver And Passenger Advanced Front Air Bag
Inflator Units
The Driver and Passenger Advanced Front Air Bag
Inflator Units are located in the center of the steering
wheel and on the right side of the instrument panel.
When the ORC detects a collision requiring the Ad-
vanced Front Air Bags, it signals the inflator units. A large
quantity of non-toxic gas is generated to inflate the
Advanced Front Air Bags. Different air bag inflation ratesare possible, based on the collision type and severity. The
steering wheel hub trim cover and the upper right side of
the instrument panel separate and fold out of the way as
the air bags inflate to their full size. The air bags fully
inflate in about 50 to 70 milliseconds. This is about half of
the time it takes to blink your eyes. The air bags then
quickly deflate while helping to restrain the driver and
front passenger.
The Advanced Front Air Bag gas is vented through the
vent holes in the sides of the air bag. In this way, the air
bags do not interfere with your control of the vehicle.Supplemental Seat-Mounted Side Air Bag (SAB)
Inflator Units
The Supplemental Seat-Mounted Side Air Bags (SAB) are
designed to activate only in certain side collisions.
The ORC determines if a side collision requires the side
air bags to inflate, based on the severity and type of
collision.
62 THINGS TO KNOW BEFORE STARTING YOUR VEHICLE
Page 205 of 505

18. Park/Headlight ON Indicator — If EquippedThis indicator will illuminate when the park
lights or headlights are turned on.
19. Electronic Stability Control (ESC) OFF Indicator
Light — If Equipped This light indicates the Electronic Stability Con-
trol system (ESC) has been turned off by the
driver.
20. Turn Signal Indicators The left or right arrow will flash with the corre-
sponding exterior turn signal lights when the turn
signal lever is operated. A chime will sound if the vehicle
is driven more than 1 mile (1.6 km) with either turn signal
on.
NOTE: If either indicator flashes at a rapid rate, check
for a defective outside light bulb. 21. Front Fog Light Indicator — If Equipped
This indicator will illuminate when the front fog
lights are on.
22. Vehicle Security Light — If Equipped This light will flash rapidly for approximately
16 seconds when the alarm system is arming.
The light will begin to flash slowly indicating
that the system is armed. The light will stop
flashing when the vehicle is disarmed.
23. Anti-Lock Brake (ABS) Light — If Equipped This light monitors the ABS. This light will
come on when the ignition key is turned to the
ON/RUN position and may stay on for ap-
proximately three seconds.
If the ABS light remains on or comes on during driving,
it indicates that the Anti-Lock portion of the brake system
is not functioning and that service is required, however,
4
UNDERSTANDING YOUR INSTRUMENT PANEL 203
Page 404 of 505

▫Adding Washer Fluid ................. 419
▫ Exhaust System ..................... 419
▫ Cooling System ..................... 422
▫ Brake System ....................... 427
▫ Automatic Transmission ............... 429
▫ Appearance Care And Protection From
Corrosion .......................... 432
▫ Cleaning Center Console Cupholders ...... 438
▫ Convertible Top Care ................. 438
▫ Weather Strip Care – Soft And Hard Top .... 440
� Fuses .............................. 441
▫ Totally Integrated Power Module ......... 441
� Vehicle Storage ....................... 446 �
Replacement Bulbs .................... 446
� Bulb Replacement ..................... 447
▫ Headlamp ......................... 447
▫ Front Turn Signal .................... 449
▫ Front Fog Lamp ..................... 449
▫ Backup Lamps ...................... 450
▫ License Plate Lamp ................... 451
� Fluid Capacities ...................... 451
� Fluids, Lubricants, And Genuine Parts ....... 452
▫ Engine ............................ 452
▫ Chassis ........................... 453
402 MAINTAINING YOUR VEHICLE
Page 449 of 505
LIGHT BULBS – ExteriorBulb No.
Bi-Halogen Headlamp .................... HIR2
(Serviced at Authorized Dealer)
Front Turn Signal Lamp .................3457AK
Front Park Lamp . . LED (Serviced at Authorized Dealer)
Front Fog Lamp ......................... H11
Center High Mounted Stop (CHMSL) Lamp ..... LED
(Serviced at Authorized Dealer)
Rear Tail/Stop/Turn Lamp ................. LED
(Serviced at Authorized Dealer)
Backup Lamp ........................... 921
License Lamp .......................... W5W
BULB REPLACEMENT
Headlamp
1. Raise and prop open the hood. Locate the connector
behind the headlamp. NOTE:
It may be necessary to remove the air cleaner
filter housing and position the totally integrated power
module aside prior to replacing the low beam headlamp
on the driver’s side of the vehicle.
2. Reach into engine compartment and from behind the
lamp assembly and grasp the connector.
7
MAINTAINING YOUR VEHICLE 447
Page 451 of 505

Front Turn Signal
1. Raise and prop open the hood.
2. Rotate the bulb’s electrical connector one-quarter turn
counterclockwise and remove it from the headlamp
housing.
3. Remove the bulb from the connector socket and install
the replacement bulb.
4. Install the bulb and connector assembly into the
headlamp housing and rotate the connector one-quarter
turn clockwise to lock it in place.
Front Fog Lamp
NOTE:Access to the lamps through the lower fascia
cutout is limited. We recommend you access the lamps by
turning the steering wheel to allow access and remove
the inner fender shield. 1. Rotate the bulb’s electrical connector one-quarter turn
counterclockwise and remove it from the fog lamp hous-
ing.
2. Remove the bulb from the connector socket and install
the replacement bulb.
CAUTION!
Do not touch the new bulb with your fingers. Oil
contamination will severely shorten bulb life. If the
bulb comes in contact with an oily surface, clean the
bulb with rubbing alcohol.
3. Install the bulb and connector assembly into the fog
lamp housing and rotate the connector one-quarter turn
clockwise to lock it in place.
7
MAINTAINING YOUR VEHICLE 449
Page 493 of 505

Key, Sentry (Immobilizer)................... 14
Keyless Entry System ...................... 20
Keys ................................. 12
Knee Bolster ............................ 56
Lane Change and Turn Signals .........162,203,450
Lane Change Assist ...................... 162
Lap/Shoulder Belts ....................... 42
LATCH
(Lower Anchors and Tether for CHildren) .....71,73
Latch Plate ............................. 43
Latches ................................ 83
Hood ............................. 155
Lead Free Gasoline ...................... 353
Leaks, Fluid ............................ 83
Life of Tires ............................ 340
Light Bulbs .......................... 83,446
Lights .............................. 83,157
Airbag .................... 61,62,66,81,195Automatic Headlights
................. 158
Back-Up ........................... 450
Battery Saver ....................... 163
Brake Assist Warning .................. 321
Brake Warning ...................... 197
Bulb Replacement .................... 447
Courtesy/Reading .................... 163
Daytime Running .................... 161
Dimmer Switch, Headlight ...........157,162
Electronic Stability Program (ESP) Indicator . . 321
Engine Temperature Warning ............ 196
Exterior ............................ 83
Fog ......................... 160,203,449
Headlight Switch .................. 157,158
Headlights ......................... 158
Headlights On Reminder ............... 158
Headlights On With Wipers ..........159,167
High Beam ......................... 162
High Beam Indicator .................. 208
10
INDEX 491