Page 25 of 505

•For vehicles not equipped with the EVIC, perform the
following procedure:
1. Press and hold the UNLOCK button on a programmed
RKE transmitter for at least four seconds, but not longer
than 10 seconds. Then, press and hold the LOCK button
while still holding the UNLOCK button.
2. Release both buttons at the same time.
3. Test the feature while outside of the vehicle by press-
ing the LOCK/UNLOCK buttons on the RKE transmitter
with the ignition in the LOCK position and the key
removed.
4. Repeat these steps if you want to return this feature to
its previous setting.
NOTE: If there is no key in the ignition switch, pressing
the LOCK button on the RKE transmitter while you are in
the vehicle will activate the Vehicle Security Alarm. Opening a door with the Vehicle Security Alarm acti-
vated will cause the alarm to sound. Press the UNLOCK
button to deactivate the Vehicle Security Alarm System.
Illuminated Approach — If Equipped
This feature activates the headlights for up to 90 seconds
when the doors are unlocked with the RKE transmitter.
The time for this feature is programmable on vehicles
equipped with the Electronic Vehicle Information Center
(EVIC). Refer to “Electronic Vehicle Information Center
(EVIC)/Personal Settings (Customer-Programmable Fea-
tures)” in “Understanding Your Instrument Panel” for
further information.
To Lock The Doors
Press and release the LOCK button on the RKE transmit-
ter to lock both doors. The turn signal lights will flash
and the horn will chirp once to acknowledge the lock
signal.
2
THINGS TO KNOW BEFORE STARTING YOUR VEHICLE 23
Page 27 of 505

To Unlatch The Trunk
Press the TRUNK button on the RKE transmitter two
times to unlatch the trunk.
Remote Open Window Feature — If Equipped
This feature allows you to remotely lower both door and
rear quarter windows at the same time. Lowering the
windows using the RKE is a two step operation:
1. Press the RKE transmitter UNLOCK button once.
2. Press the UNLOCK button a second time and hold the
button until the windows lower completely or the win-
dows drop to the desired level, then release the button.
Using The Panic Alarm
To turn the Panic Alarm feature on or off, press and hold
the PANIC button on the RKE transmitter for at least one
second and release. When the Panic Alarm is on, the
headlights and park lights will flash, the horn will pulse
on and off, and the Illuminated Entry system (if
equipped) will turn on.The Panic Alarm will stay on for three minutes unless
you turn it off by pressing the PANIC button a second
time or if the vehicle speed is 5 mph (8 km/h) or greater.
NOTE:
You may need to be close to the vehicle when
using the RKE transmitter to turn off the Panic Alarm due
to the Radio Frequency (RF) noises emitted by the
system.
Programming Additional Transmitters
Refer to Sentry Key� “Customer Key Programming.”
If you do not have a programmed RKE transmitter,
contact your authorized dealer for details.
Battery Replacement
The recommended replacement battery is CR2032.
NOTE:
•Perchlorate Material — special handling may apply.
See www.dtsc.ca.gov/hazardouswaste/perchlorate
2
THINGS TO KNOW BEFORE STARTING YOUR VEHICLE 25
Page 88 of 505

�Uconnect™ Phone — If Equipped ...........111
▫ Operation ......................... 113
▫ Phone Call Features .................. 120
▫ Uconnect™ Phone Features ............. 123
▫ Advanced Phone Connectivity ........... 128
▫ Things You Should Know About Your
Uconnect™ Phone .................... 130
▫ General Information .................. 141
� Voice Command — If Equipped ........... 141
▫ Voice Command System Operation ........ 141
▫ Commands ........................ 142
▫ Voice Training ...................... 146 �
Seats .............................. 146
▫ Power Seats ........................ 147
▫ Heated Seats — If Equipped ............ 148
▫ Recliner Adjustment .................. 149
▫ Lumbar Support — If Equipped .......... 150
▫ Easy Entry System ................... 151
▫ Adjusting Active Head Restraints ......... 152
� To Open And Close The Hood ............ 155
� Lights ............................. 157
▫ Multifunction Lever .................. 157
▫ Headlights And Parking Lights .......... 158
▫ Lights-On Reminder .................. 158
▫ Automatic Headlights — If Equipped ...... 158
86 UNDERSTANDING THE FEATURES OF YOUR VEHICLE
Page 89 of 505

▫Headlights With Wipers (Available With
Automatic Headlights Only) ............ 159
▫ Headlight Time Delay — If Equipped ...... 159
▫ Instrument Panel Dimmer .............. 160
▫ Fog Lights — If Equipped .............. 160
▫ Daytime Running Lights — If Equipped .... 161
▫ Turn Signals ........................ 162
▫ Lane Change Assist ................... 162
▫ High/Low Beam Switch ............... 162
▫ Flash-To-Pass ....................... 162
▫ Interior Lights ...................... 163
▫ Battery Saver Feature ................. 163 �
Windshield Wipers And Washers .......... 164
▫ Intermittent Wiper System .............. 165
▫ Mist Feature ........................ 166
▫ Headlights With Wipers
(Available With Auto Headlights Only) ..... 167
▫ Windshield Washers .................. 167
� Tilt/Telescoping Steering Column .......... 168
� Electronic Speed Control — If Equipped ..... 169
▫ To Activate ......................... 170
▫ To Set A Desired Speed ................ 170
▫ To Deactivate ....................... 170
▫ To Resume Speed .................... 171
▫ To Vary The Speed Setting .............. 171
3
UNDERSTANDING THE FEATURES OF YOUR VEHICLE 87
Page 159 of 505
CAUTION!
To prevent possible damage, do not slam the hood to
close it. Use a firm downward push at the center of
the hood to ensure that both latches engage.
WARNING!
Be sure the hood is fully latched before driving your
vehicle. If the hood is not fully latched, it could open
when the vehicle is in motion and block your vision.
Failure to follow this warning could result in serious
injury or death.
LIGHTS
Multifunction Lever
The multifunction lever on the left side of the steering
column controls the operation of the headlights, parkinglights, turn signal lights, instrument panel lights, instru-
ment panel light dimming, interior lights and fog lights
(if equipped).
Multifunction Lever
3
UNDERSTANDING THE FEATURES OF YOUR VEHICLE 157
Page 160 of 505

Headlights And Parking Lights
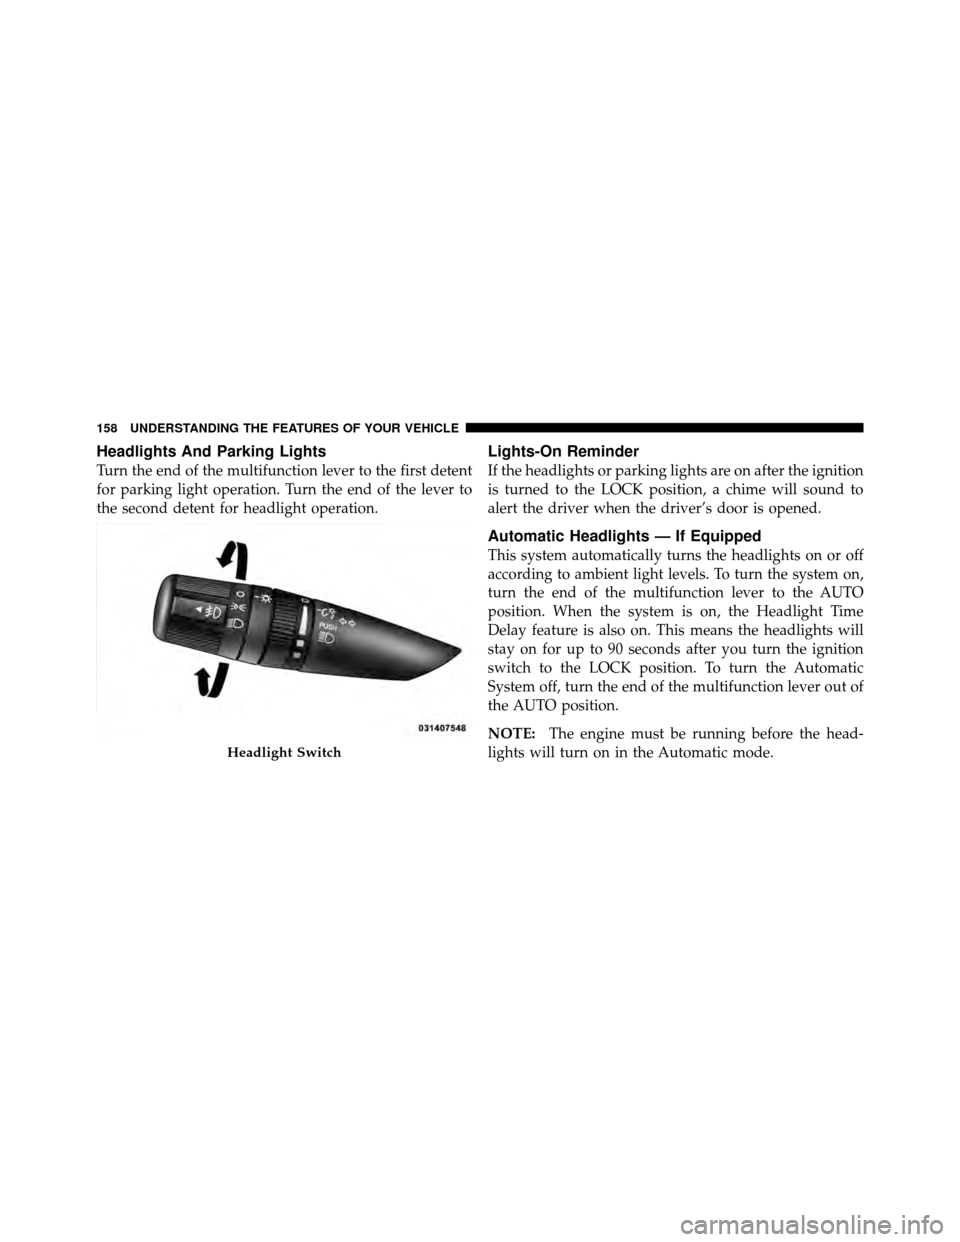
Turn the end of the multifunction lever to the first detent
for parking light operation. Turn the end of the lever to
the second detent for headlight operation.
Lights-On Reminder
If the headlights or parking lights are on after the ignition
is turned to the LOCK position, a chime will sound to
alert the driver when the driver’s door is opened.
Automatic Headlights — If Equipped
This system automatically turns the headlights on or off
according to ambient light levels. To turn the system on,
turn the end of the multifunction lever to the AUTO
position. When the system is on, the Headlight Time
Delay feature is also on. This means the headlights will
stay on for up to 90 seconds after you turn the ignition
switch to the LOCK position. To turn the Automatic
System off, turn the end of the multifunction lever out of
the AUTO position.
NOTE:The engine must be running before the head-
lights will turn on in the Automatic mode.
Headlight Switch
158 UNDERSTANDING THE FEATURES OF YOUR VEHICLE
Page 161 of 505

Headlights With Wipers
(Available With Automatic Headlights Only)
When this feature is active, the headlights will turn on
approximately 10 seconds after the wipers are turned on
if the multifunction lever is placed in the AUTO position.
In addition, the headlights will turn off when the wipers
are turned off if they were turned on by this feature.
The Headlights with Wipers feature can be turned on or
off through the Electronic Vehicle Information Center
(EVIC) — if equipped. Refer to “Electronic Vehicle Infor-
mation Center (EVIC)/Customer-Programmable Fea-
tures” in “Understanding Your Instrument Panel” for
further information.
Headlight Time Delay — If Equipped
This feature is particularly useful when exiting your
vehicle in an unlit area. It provides the safety of headlight
illumination for about 90 seconds after turning the igni-
tion switch to the LOCK position.To activate the delay, turn the ignition switch to the
LOCK position while the headlights are still on. Then,
turn off the headlights within 45 seconds. The delay
interval begins when you turn off the headlights. Only
the headlights will illuminate during this time.
If you turn the headlights, parking lights, or ignition
switch ON again, the system will cancel the delay.
If you turn the headlights off before the ignition, they will
turn off in the normal manner.
The Headlight delay time is programmable on vehicles
equipped with the Electronic Vehicle Information Center
(EVIC). Refer to “Electronic Vehicle Information Center
(EVIC)/Customer-Programmable Features” in “Under-
standing Your Instrument Panel” for further information.
3
UNDERSTANDING THE FEATURES OF YOUR VEHICLE 159
Page 162 of 505
Instrument Panel Dimmer
Rotate the center portion of the lever to the extreme
bottom position to fully dim the instrument panel lights
and prevent the interior lights from illuminating when a
door is opened.
Rotate the center portion of the lever up to increase the
brightness of the instrument panel lights when the park-
ing lights or headlights are on.
Rotate the center portion of the lever upward to the next
detent position to brighten the odometer and radio when
the parking lights or headlights are on.
Rotate the center portion of the lever upward to the last
detent to turn on the interior lighting.
Fog Lights — If Equipped
To activate the front fog lights, turn on the parking
lights or the low beam headlights and pull out on
the end of the multifunction lever.
Dimmer Control
160 UNDERSTANDING THE FEATURES OF YOUR VEHICLE