Page 89 of 505
▫Headlights With Wipers (Available With
Automatic Headlights Only) ............ 159
▫ Headlight Time Delay — If Equipped ...... 159
▫ Instrument Panel Dimmer .............. 160
▫ Fog Lights — If Equipped .............. 160
▫ Daytime Running Lights — If Equipped .... 161
▫ Turn Signals ........................ 162
▫ Lane Change Assist ................... 162
▫ High/Low Beam Switch ............... 162
▫ Flash-To-Pass ....................... 162
▫ Interior Lights ...................... 163
▫ Battery Saver Feature ................. 163 �
Windshield Wipers And Washers .......... 164
▫ Intermittent Wiper System .............. 165
▫ Mist Feature ........................ 166
▫ Headlights With Wipers
(Available With Auto Headlights Only) ..... 167
▫ Windshield Washers .................. 167
� Tilt/Telescoping Steering Column .......... 168
� Electronic Speed Control — If Equipped ..... 169
▫ To Activate ......................... 170
▫ To Set A Desired Speed ................ 170
▫ To Deactivate ....................... 170
▫ To Resume Speed .................... 171
▫ To Vary The Speed Setting .............. 171
3
UNDERSTANDING THE FEATURES OF YOUR VEHICLE 87
Page 90 of 505
▫To Accelerate For Passing .............. 171
� Garage Door Opener — If Equipped ........ 172
▫ Programming HomeLink� .............. 173
▫ Gate Operator/Canadian Programming .... 176
▫ Using HomeLink� ................... 176
▫ Reprogramming A Single
HomeLink� Button................... 177
▫ Security ........................... 177
▫ Troubleshooting Tips .................. 177
▫ General Information .................. 178
� Electrical Power Outlets ................. 178
� Cigar Lighter And Ash Receiver —
If Equipped .......................... 181 �
Cupholders .......................... 182
▫ Front Seat Cupholder ................. 182
▫ Rear Seat Cupholders ................. 182
� Storage ............................. 183
▫ Glove Box Storage Compartment ......... 183
� Console Features ...................... 183
▫ Storage ........................... 183
� Cargo Area Features ................... 185
▫ Ski Pass-Through .................... 187
� Rear Window Features .................. 188
▫ Rear Window Defroster ................ 188
88 UNDERSTANDING THE FEATURES OF YOUR VEHICLE
Page 110 of 505
MIRRORS
Inside Day/Night Mirror
A two-point pivot system allows for horizontal and
vertical adjustment of the mirror. Adjust the mirror to
center on the view through the rear window.
Headlight glare can be reduced by moving the small
control under the mirror to the night position (toward the
rear of the vehicle). The mirror should be adjusted while
set in the day position (toward the windshield).
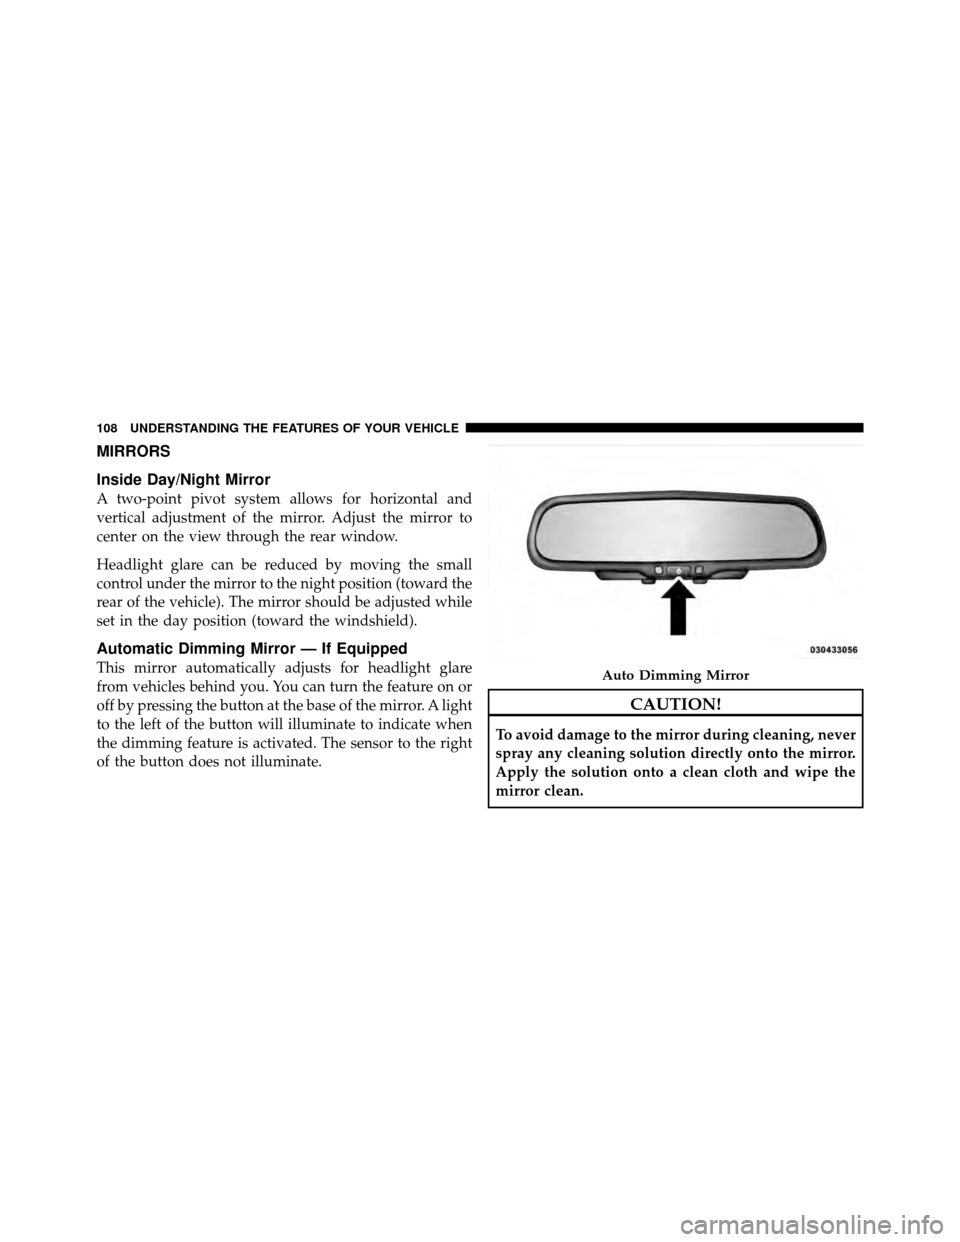
Automatic Dimming Mirror — If Equipped
This mirror automatically adjusts for headlight glare
from vehicles behind you. You can turn the feature on or
off by pressing the button at the base of the mirror. A light
to the left of the button will illuminate to indicate when
the dimming feature is activated. The sensor to the right
of the button does not illuminate.
CAUTION!
To avoid damage to the mirror during cleaning, never
spray any cleaning solution directly onto the mirror.
Apply the solution onto a clean cloth and wipe the
mirror clean.
Auto Dimming Mirror
108 UNDERSTANDING THE FEATURES OF YOUR VEHICLE
Page 111 of 505
Outside Mirrors
To receive maximum benefit, adjust the outside mirrors
to center on the adjacent lane of traffic and a slight
overlap of the view obtained from the inside mirror.
NOTE:The passenger side convex outside mirror will
give a much wider view to the rear, and especially of the
lane next to your vehicle.
WARNING!
Vehicles and other objects seen in the passenger side
convex mirror will look smaller and farther away
than they really are. Relying too much on your
passenger side convex mirror could cause you to
collide with another vehicle or other object. Use your
inside mirror when judging the size or distance of a
vehicle seen in the passenger side convex mirror.
Power Mirrors
The power mirror switch is located on the driver’s door
trim. A rotary knob selects the left mirror, right mirror or
off position.
Power Mirror Switch
3
UNDERSTANDING THE FEATURES OF YOUR VEHICLE 109
Page 126 of 505
After selecting one of the languages, all prompts and
voice commands will be in that language.
NOTE:After every Uconnect™ Phone language change
operation, only the language-specific 32-name phone-
book is usable. The paired phone name is not language-
specific and is usable across all languages.
Emergency Assistance
If you are in an emergency and the mobile phone is
reachable:
•Pick up the phone and manually dial the emergency
number for your area.
If the phone is not reachable and the Uconnect™ Phone is
operational, you may reach the emergency number as
follows:
•Press thebutton to begin.
•After the “Ready” prompt and the following beep, say
“Emergency” and the Uconnect™ Phone will instruct
the paired mobile phone to call the emergency num-
ber. This feature is supported in the U.S., Canada, and
Mexico.
NOTE:
•The emergency number dialed is based on the country
where the vehicle is purchased (911 for the U.S. and
Canada and 060 for Mexico). The number dialed may
not be applicable with the available mobile service and
area.
•If supported, this number may be programmable on
some systems. To do this, press the
button and
say “Setup”, followed by “Emergency”.
•The Uconnect™ Phone does slightly lower your
chances of successfully making a phone call as to that
for the mobile phone directly.
124 UNDERSTANDING THE FEATURES OF YOUR VEHICLE
Page 150 of 505
WARNING!
•Adjusting a seat while driving may be dangerous.
Moving a seat while driving could result in loss of
control which could cause a collision and serious
injury or death.
•Seats should be adjusted before fastening the seat
belts and while the vehicle is parked. Serious
injury or death could result from a poorly adjusted
seat belt.
•Do not ride with the seatback reclined so that the
shoulder belt is no longer resting against your
chest. In a collision you could slide under the seat
belt, which could result in serious injury or death.
CAUTION!
Do not place any article under any seat as it may
cause damage to the seat controls.
Heated Seats — If Equipped
On some models, the front driver and passenger seats
may be equipped with heaters in both the seat cushions
and seatbacks. The controls for the front heated seats are
located on the center instrument panel area.
You can choose from HIGH, LOW or OFF heat settings.
Amber indicator lights in each switch indicate the level of
heat in use. Two indicator lights will illuminate for
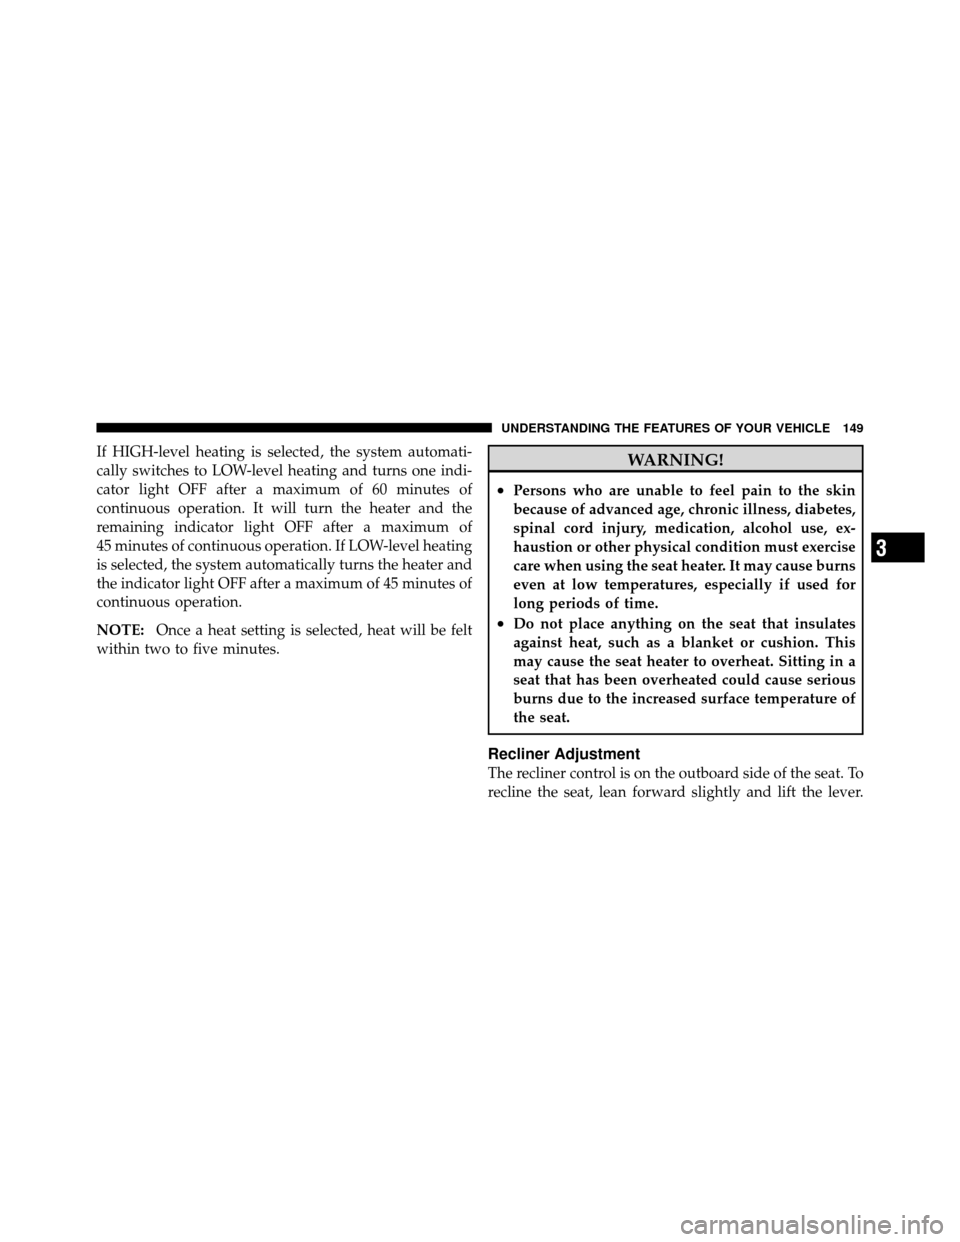
HIGH, one for LOW and none for OFF.Press the switch once to select HIGH-level
heating. Press the switch a second time to select
LOW-level heating. Press the switch a third
time to shut the heating elements OFF.
148 UNDERSTANDING THE FEATURES OF YOUR VEHICLE
Page 151 of 505
If HIGH-level heating is selected, the system automati-
cally switches to LOW-level heating and turns one indi-
cator light OFF after a maximum of 60 minutes of
continuous operation. It will turn the heater and the
remaining indicator light OFF after a maximum of
45 minutes of continuous operation. If LOW-level heating
is selected, the system automatically turns the heater and
the indicator light OFF after a maximum of 45 minutes of
continuous operation.
NOTE:Once a heat setting is selected, heat will be felt
within two to five minutes.WARNING!
•Persons who are unable to feel pain to the skin
because of advanced age, chronic illness, diabetes,
spinal cord injury, medication, alcohol use, ex-
haustion or other physical condition must exercise
care when using the seat heater. It may cause burns
even at low temperatures, especially if used for
long periods of time.
•Do not place anything on the seat that insulates
against heat, such as a blanket or cushion. This
may cause the seat heater to overheat. Sitting in a
seat that has been overheated could cause serious
burns due to the increased surface temperature of
the seat.
Recliner Adjustment
The recliner control is on the outboard side of the seat. To
recline the seat, lean forward slightly and lift the lever.
3
UNDERSTANDING THE FEATURES OF YOUR VEHICLE 149
Page 159 of 505
CAUTION!
To prevent possible damage, do not slam the hood to
close it. Use a firm downward push at the center of
the hood to ensure that both latches engage.
WARNING!
Be sure the hood is fully latched before driving your
vehicle. If the hood is not fully latched, it could open
when the vehicle is in motion and block your vision.
Failure to follow this warning could result in serious
injury or death.
LIGHTS
Multifunction Lever
The multifunction lever on the left side of the steering
column controls the operation of the headlights, parkinglights, turn signal lights, instrument panel lights, instru-
ment panel light dimming, interior lights and fog lights
(if equipped).
Multifunction Lever
3
UNDERSTANDING THE FEATURES OF YOUR VEHICLE 157