2011 CHRYSLER 200 CONVERTIBLE air condition
[x] Cancel search: air conditionPage 284 of 505
•If your air conditioning performance seems lower than
expected, check the front of the A/C condenser located
in front of the radiator for an accumulation of dirt or
insects. Clean with a gentle water spray from behind
the radiator and through the condenser. Fabric front
fascia protectors may reduce airflow to the condenser,
reducing air conditioning performance.
•While operating in AUTO, the system will not auto-
matically sense the presence of fog, mist or ice on the
windshield. The defrost mode must be manually se-
lected to clear the windshield and side glass.
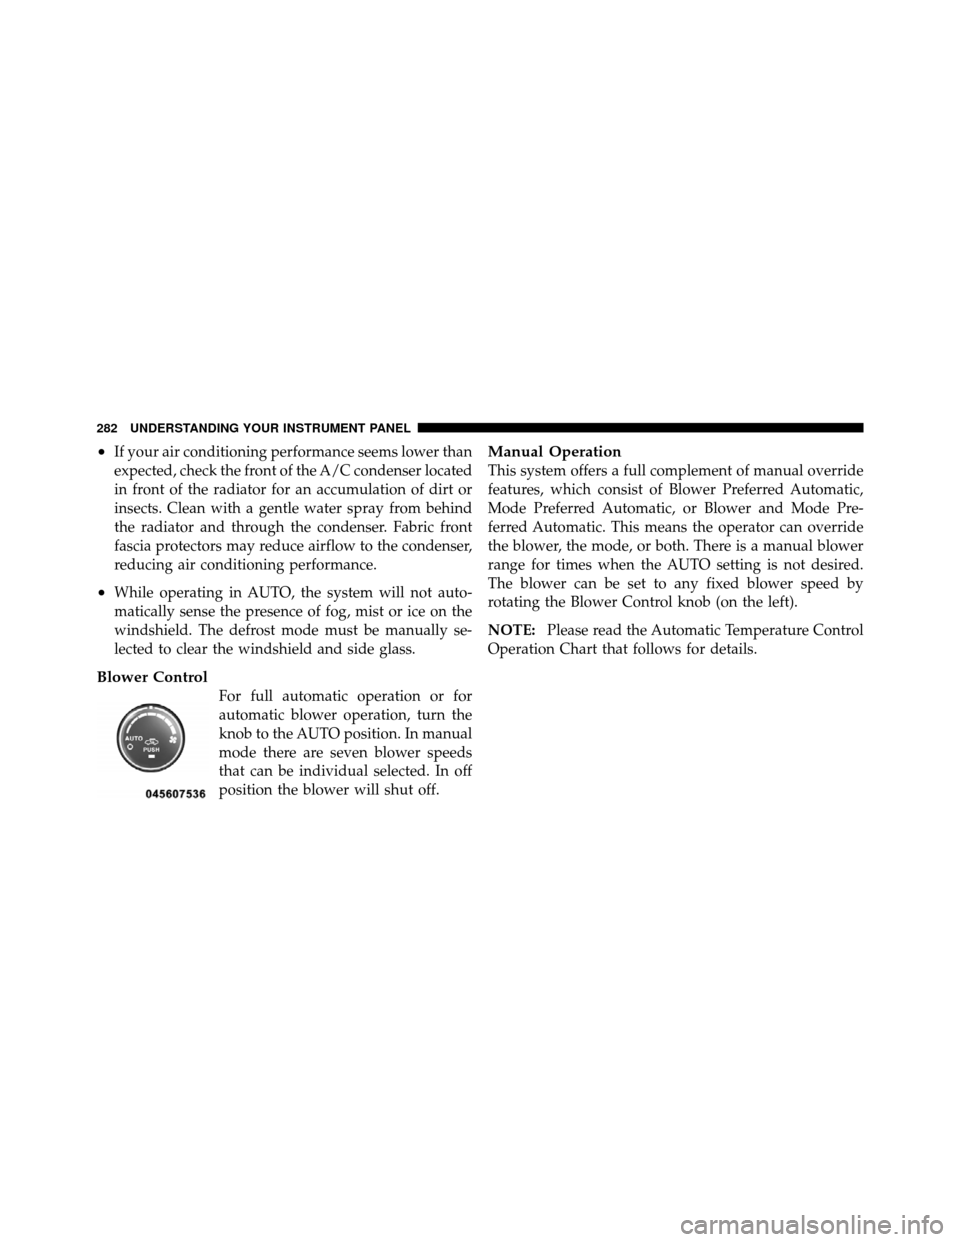
Blower Control
For full automatic operation or for
automatic blower operation, turn the
knob to the AUTO position. In manual
mode there are seven blower speeds
that can be individual selected. In off
position the blower will shut off.
Manual Operation
This system offers a full complement of manual override
features, which consist of Blower Preferred Automatic,
Mode Preferred Automatic, or Blower and Mode Pre-
ferred Automatic. This means the operator can override
the blower, the mode, or both. There is a manual blower
range for times when the AUTO setting is not desired.
The blower can be set to any fixed blower speed by
rotating the Blower Control knob (on the left).
NOTE:Please read the Automatic Temperature Control
Operation Chart that follows for details.
282 UNDERSTANDING YOUR INSTRUMENT PANEL
Page 286 of 505
The operator can override the AUTO mode setting to
change airflow distribution by rotating the Mode Control
knob (on the right) to one of the following positions.
•PanelAir is directed through the outlets in the instrument
panel. These outlets can be adjusted to direct airflow.
NOTE: The center instrument panel outlets can be
aimed so that they are directed toward the rear seat
passengers for maximum airflow to the rear.
•Bi-Level Air is directed through the panel and floor outlets.
NOTE: For all settings, except full cold or full hot, there
is a difference in temperature between the upper and
lower outlets. The warmer air flows to the floor outlets.
This feature gives improved comfort during sunny but
cool conditions.
•Floor Air is directed through the floor outlets with a
small amount flowing through the defrost and side
window demist outlets.
•Mix Air is directed through the floor, defrost, and side
window demist outlets. This setting works best in
cold or snowy conditions that require extra heat to
the windshield. This setting is good for maintaining
comfort while reducing moisture on the windshield.
•Defrost Air is directed through the windshield and side
window demist outlets. Use this mode with maxi-
mum blower and temperature settings for best wind-
shield and side window defrosting.
284 UNDERSTANDING YOUR INSTRUMENT PANEL
Page 287 of 505
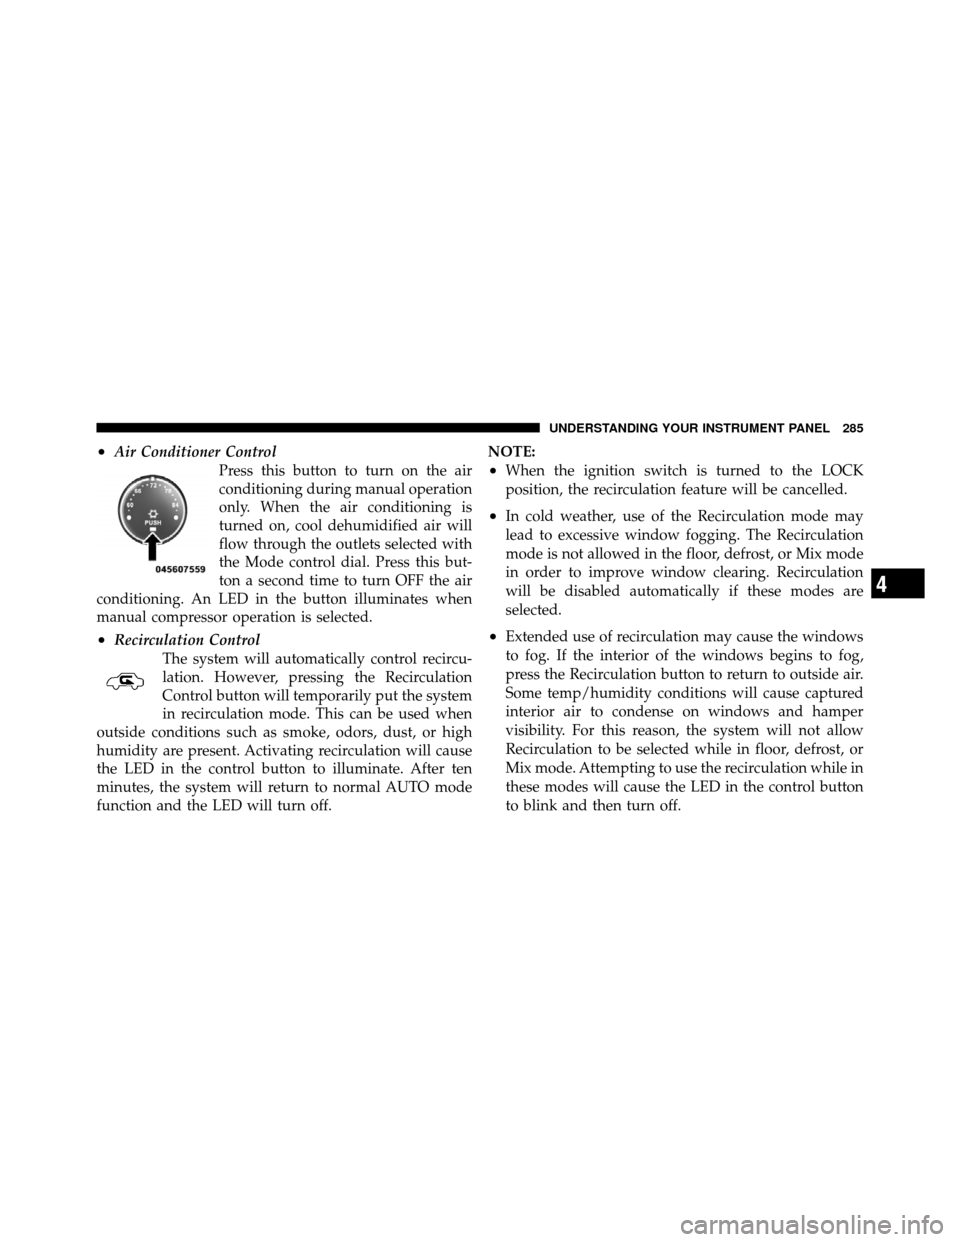
•Air Conditioner ControlPress this button to turn on the air
conditioning during manual operation
only. When the air conditioning is
turned on, cool dehumidified air will
flow through the outlets selected with
the Mode control dial. Press this but-
ton a second time to turn OFF the air
conditioning. An LED in the button illuminates when
manual compressor operation is selected.
•Recirculation Control
The system will automatically control recircu-
lation. However, pressing the Recirculation
Control button will temporarily put the system
in recirculation mode. This can be used when
outside conditions such as smoke, odors, dust, or high
humidity are present. Activating recirculation will cause
the LED in the control button to illuminate. After ten
minutes, the system will return to normal AUTO mode
function and the LED will turn off. NOTE:
•When the ignition switch is turned to the LOCK
position, the recirculation feature will be cancelled.
•In cold weather, use of the Recirculation mode may
lead to excessive window fogging. The Recirculation
mode is not allowed in the floor, defrost, or Mix mode
in order to improve window clearing. Recirculation
will be disabled automatically if these modes are
selected.
•Extended use of recirculation may cause the windows
to fog. If the interior of the windows begins to fog,
press the Recirculation button to return to outside air.
Some temp/humidity conditions will cause captured
interior air to condense on windows and hamper
visibility. For this reason, the system will not allow
Recirculation to be selected while in floor, defrost, or
Mix mode. Attempting to use the recirculation while in
these modes will cause the LED in the control button
to blink and then turn off.
4
UNDERSTANDING YOUR INSTRUMENT PANEL 285
Page 288 of 505

•Most of the time, when in Automatic Operation, you
can temporarily put the system into Recirculation
Mode by pressing the Recirculation button. However,
under certain conditions, while in Automatic Mode,
the system is blowing air out the defrost vents. When
these conditions are present, and the Recirculation
button is pressed, the indicator will flash and then turn
off. This tells you that you are unable to go into
Recirculation Mode at this time. If you would like the
system to go into Recirculation Mode, you must first
move the Mode knob to Panel, Mix and then press the
Recirculation button. This feature reduces the possibil-
ity of window fogging.
Operating Tips
NOTE:Refer to the chart at the end of this section for
suggested control settings for various weather condi-
tions.
Summer Operation
The engine cooling system in air-conditioned vehicles
must be protected with a high-quality antifreeze coolant
to provide proper corrosion protection and to protect
against engine overheating. A solution of 50% ethylene
glycol antifreeze coolant and 50% water is recommended.
Refer to “Maintenance Procedures” in “Maintaining Your
Vehicle” for proper coolant selection.
Winter Operation
Use of the air Recirculation Mode during winter months is
not recommended because it may cause window fogging.
Vacation Storage
Anytime you store your vehicle, or keep it out of service
(i.e., vacation) for two weeks or more, run the air
conditioning system at idle for about five minutes in the
fresh air and high blower settings. This will ensure
adequate system lubrication to minimize the possibility
of compressor damage when the system is started again.
286 UNDERSTANDING YOUR INSTRUMENT PANEL
Page 316 of 505
service is required. However, the conventional brake
system will continue to operate normally if the “Brake
Warning Light” is not on.
If the “Anti-Lock Brake Warning Light” is on, the brake
system should be serviced as soon as possible to restore
the benefits of anti-lock brakes. If the “Anti-Lock Brake
Warning Light” does not come on when the ignition
switch is turned to the ON position, have the bulb
repaired as soon as possible.
If both the “Brake Warning Light” and the “Anti-Lock
Brake Warning Light” remain on, the Anti-Lock Brake
(ABS) and Electronic Brake Force Distribution (EBD)
Systems are not functioning. Immediate repair to the ABS
system is required. See your authorized dealer.
When the vehicle is driven over 7 mph (11 km/h), you
may hear a slight clicking sound as well as some related
motor noises. These noises are the system performing its
self-check cycle to ensure that the ABS system is workingproperly. This self check occurs each time the vehicle is
started and accelerated past 7 mph (11 km/h).
ABS is activated during braking under certain road or
stopping conditions. ABS-inducing conditions can in-
clude ice, snow, gravel, bumps, railroad tracks, loose
debris, or panic stops.
You also may experience the following when the brake
system goes into anti-lock:
•The ABS motor running (it may continue to run for a
short time after the stop),
•the clicking sound of solenoid valves,
•brake pedal pulsations,
•and a slight drop or fall away of the brake pedal at the
end of the stop.
These are all normal characteristics of ABS.
314 STARTING AND OPERATING
Page 322 of 505
ESC Operating Modes
All ESC equipped vehicles can choose the following ESC
operating modes:
ESC On
This is the normal operating mode for ESC. Whenever
the vehicle is started the ESC system will be in this mode.
This mode should be used for almost all driving situa-
tions. ESC should only be turned to “Partial Off” for
specific reasons as noted below.
Partial ESC Mode
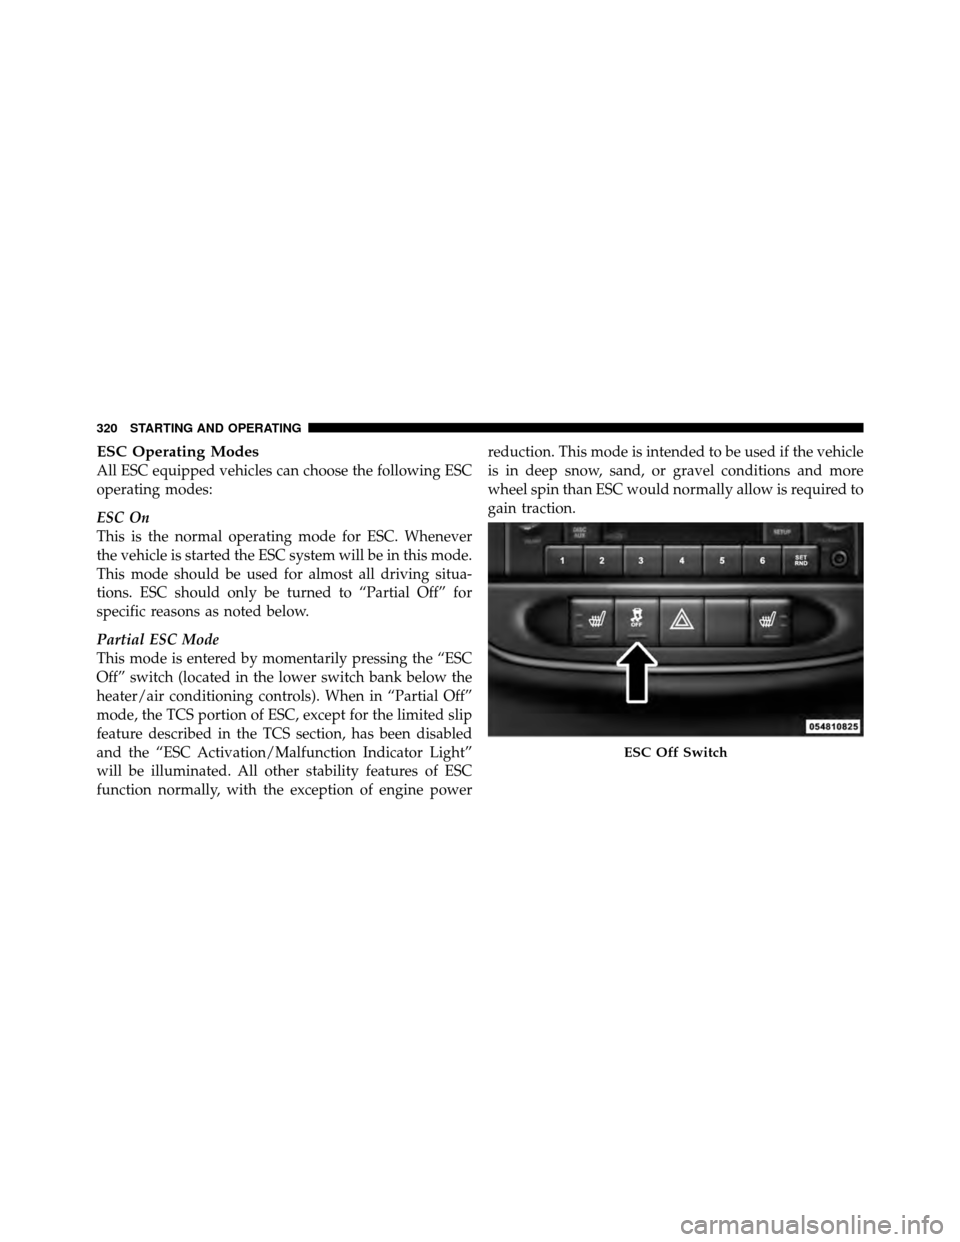
This mode is entered by momentarily pressing the “ESC
Off” switch (located in the lower switch bank below the
heater/air conditioning controls). When in “Partial Off”
mode, the TCS portion of ESC, except for the limited slip
feature described in the TCS section, has been disabled
and the “ESC Activation/Malfunction Indicator Light”
will be illuminated. All other stability features of ESC
function normally, with the exception of engine powerreduction. This mode is intended to be used if the vehicle
is in deep snow, sand, or gravel conditions and more
wheel spin than ESC would normally allow is required to
gain traction.
ESC Off Switch
320 STARTING AND OPERATING
Page 336 of 505
CAUTION!
After inspecting or adjusting the tire pressure, al-
ways reinstall the valve stem cap. This will prevent
moisture and dirt from entering the valve stem,
which could damage the valve stem.
Inflation pressures specified on the placard are always
“cold tire inflation pressure.” Cold tire inflation pressure
is defined as the tire pressure after the vehicle has not
been driven for at least three hours, or driven less than
1 mile (1.6 km) after a three hour period. The cold tire
inflation pressure must not exceed the maximum infla-
tion pressure molded into the tire sidewall.
Check tire pressures more often if subject to a wide range
of outdoor temperatures, as tire pressures vary with
temperature changes. Tire pressures change by approximately 1 psi (7 kPa) per
12°F (7°C) of air temperature change. Keep this in mind
when checking tire pressure inside a garage, especially in
the winter.
Example: If garage temperature = 68°F (20°C) and the
outside temperature = 32°F (0°C) then the cold tire
inflation pressure should be increased by 3 psi (21 kPa),
which equals 1 psi (7 kPa) for every 12°F (7°C) for this
outside temperature condition.
Tire pressure may increase from 2 to 6 psi (13 to 40 kPa)
during operation. DO NOT reduce this normal pressure
build up or your tire pressure will be too low.
334 STARTING AND OPERATING
Page 340 of 505

your original equipment tire, replace (or repair) the
original equipment tire and reinstall on the vehicle at the
first opportunity.
Limited-Use Spare – If Equipped
The limited-use spare tire is for temporary emergency
use only. This tire is identified by a label located on the
limited-use spare wheel. This label contains the driving
limitations for this spare. This tire may look like the
original equipped tire on the front or rear axle of your
vehicle, but it is not. Installation of this limited-use spare
tire affects vehicle handling. Since it is not the same as
your original equipment tire, replace (or repair) the
original equipment tire and reinstall on the vehicle at the
first opportunity.
WARNING!
Limited-use spares are for emergency use only. In-
stallation of this limited-use spare tire affects vehicle
handling. With this tire, do not drive more than the
speed listed on the limit-use spare wheel. Keep
inflated to the cold tire inflation pressure listed on
your Tire and Loading Information Placard located
on the driver ’s side door opening. Replace (or repair)
the original equipment tire at the first opportunity
and reinstall it on your vehicle. Failure to do so could
result in loss of vehicle control.
Tire Spinning
When stuck in mud, sand, snow, or icy conditions, do not
spin your vehicle’s wheels faster than 30 mph (48 km/h)
or for longer than 30 seconds continuously without
stopping.
338 STARTING AND OPERATING