Page 182 of 505
WARNING!
To avoid serious injury or death:
•Only devices designed for use in this type of
outlet should be inserted into any 12 Volt outlet.
•Do not touch with wet hands.
•Close the lid when not in use and while driving
the vehicle.
•If this outlet is mishandled, it may cause an
electric shock and failure.
Power Outlet Fuse Locations
1 — #16 Fuse 15 A Blue Cigar Lighter Instrument Panel
2 — #11 Fuse 15 A Blue Power Outlet Inside Arm Rest
180 UNDERSTANDING THE FEATURES OF YOUR VEHICLE
Page 193 of 505

▫Uconnect™ Multimedia (Satellite Radio) —
If Equipped ........................ 262
� iPod�/USB/MP3 Control — If Equipped ..... 266
▫ Connecting The iPod� Or External USB
Device ............................ 267
▫ Using This Feature ................... 268
▫ Controlling The iPod� Or External USB
Device Using Radio Buttons ............. 268
▫ Play Mode ......................... 268
▫ List Or Browse Mode ................. 270
▫ Bluetooth Streaming Audio (BTSA) ........ 272�
Steering Wheel Audio Controls —
If Equipped .......................... 273
▫ Radio Operation ..................... 274
▫ CD Player ......................... 274
� CD/DVD Disc Maintenance .............. 275
� Radio Operation And Mobile Phones ....... 275
� Climate Controls ...................... 275
▫ Manual Heating And Air Conditioning ..... 276
▫ Automatic Temperature Control (ATC) —
If Equipped ........................ 280
▫ Operating Tips ...................... 286
4
UNDERSTANDING YOUR INSTRUMENT PANEL 191
Page 228 of 505

Program Type 16-Digit Character DisplayInformation Inform
Jazz Jazz
News News
Nostalgia Nostalga
Oldies Oldies
Personality Persnlty
Public Public
Rhythm and Blues R & B
Religious Music Rel Musc
Religious Talk Rel Talk
Rock Rock
Soft Soft
Soft Rock Soft Rck
Soft Rhythm and Blues SoftR&B Sports Sports
Talk TalkProgram Type 16-Digit Character Display
Top 40 Top 40
Weather Weather
By pressing the SEEK button when the Music Type icon
is displayed, the radio will be tuned to the next frequency
station with the same selected Music Type name. The
Music Type function only operates when in the FM
mode.
If a preset button is activated while in the Music Type
(Program Type) mode, the Music Type mode will be
exited and the radio will tune to the preset station.
SETUP Button
Pressing the SETUP button allows you to select between
the following items:
NOTE: Turn the TUNE/SCROLL control knob to scroll
through the entries. Push the AUDIO/SELECT button to
select an entry and make changes.
226 UNDERSTANDING YOUR INSTRUMENT PANEL
Page 256 of 505
Push the rotary TUNE/SCROLL control knob again to
exit setting tone, balance, and fade.
MUSIC TYPE Button
Pressing this button once will turn on the Music Type
mode for five seconds. Pressing the MUSIC TYPE button
or turning the TUNE/SCROLL control knob within five
seconds will allow the program format type to be se-
lected. Many radio stations do not currently broadcast
Music Type information.
Toggle the MUSIC TYPE button to select the following
format types:
Program Type 16-Digit Character Display
No program type or undefined None
Adult Hits Adlt Hit
Classical Classicl
Classic Rock Cls Rock
Program Type 16-Digit Character Display
College College
Country Country
Foreign Language Language
Information Inform
Jazz Jazz
News News
Nostalgia Nostalga
Oldies Oldies
Personality Persnlty
Public Public
Rhythm and Blues R & B
Religious Music Rel Musc
Religious Talk Rel Talk
Rock Rock
Soft Soft
Soft Rock Soft Rck
254 UNDERSTANDING YOUR INSTRUMENT PANEL
Page 257 of 505

Program Type 16-Digit Character Display
Soft Rhythm and Blues Soft R&B
Sports Sports
Talk Talk
Top 40 Top 40
Weather Weather
By pressing the SEEK button when the Music Type icon
is displayed, the radio will be tuned to the next frequency
station with the same selected Music Type name. The
Music Type function only operates when in the FM
mode.
If a preset button is activated while in the Music Type
(Program Type) mode, the Music Type mode will be
exited and the radio will tune to the preset station.SETUP Button
Pressing the SETUP button allows you to select between
the following items:
•Set Clock — Pressing the SELECT button will allow
you to set the clock. Adjust the hours by turning the
TUNE/SCROLL control knob. After adjusting the
hours, press the TUNE/SCROLL control knob to set
the minutes. The minutes will begin to blink. Adjust
the minutes using the right side TUNE/SCROLL
control knob. Press the TUNE/SCROLL control knob
to save time change.
AM/FM Button
Press the button to select either AM or FM mode.
SET/RND Button — To Set the Pushbutton
Memory
When you are receiving a station that you wish to
commit to pushbutton memory, press the SET/RND
button. The symbol SET 1 will now show in the display
4
UNDERSTANDING YOUR INSTRUMENT PANEL 255
Page 274 of 505

CAUTION!
•Leaving the iPod�or external USB device (or any
supported device) anywhere in the vehicle in
extreme heat or cold can alter the operation or
damage the device. Follow the device manufactur-
er ’s guidelines.
•Placing items on the iPod� or external USB device,
or connections to the iPod� or external USB device
in the vehicle, can cause damage to the device
and/or to the connectors.
WARNING!
Do not plug in or remove the iPod� or external USB
device while driving. Failure to follow this warning
could result in an accident.
Bluetooth Streaming Audio (BTSA)
Music can be streamed from your cellular phone to the
Uconnect™ phone system.
Controlling BTSA Using Radio Buttons
To get into the BTSA mode, press either “AUX” button on
the radio or press the VR button and say “Bluetooth
Streaming Audio”.
Play Mode
When switched to BTSA mode, some audio devices can
start playing music over the vehicle’s audio system, but
some devices require the music to be initiated on the
device first, then it will get streamed to the Uconnect™
phone system. Seven devices can be paired to the
Uconnect™ phone system, but just one can be selected
and played.
Selecting Different Audio Device
1. Press PHONE button to begin.
272 UNDERSTANDING YOUR INSTRUMENT PANEL
Page 279 of 505

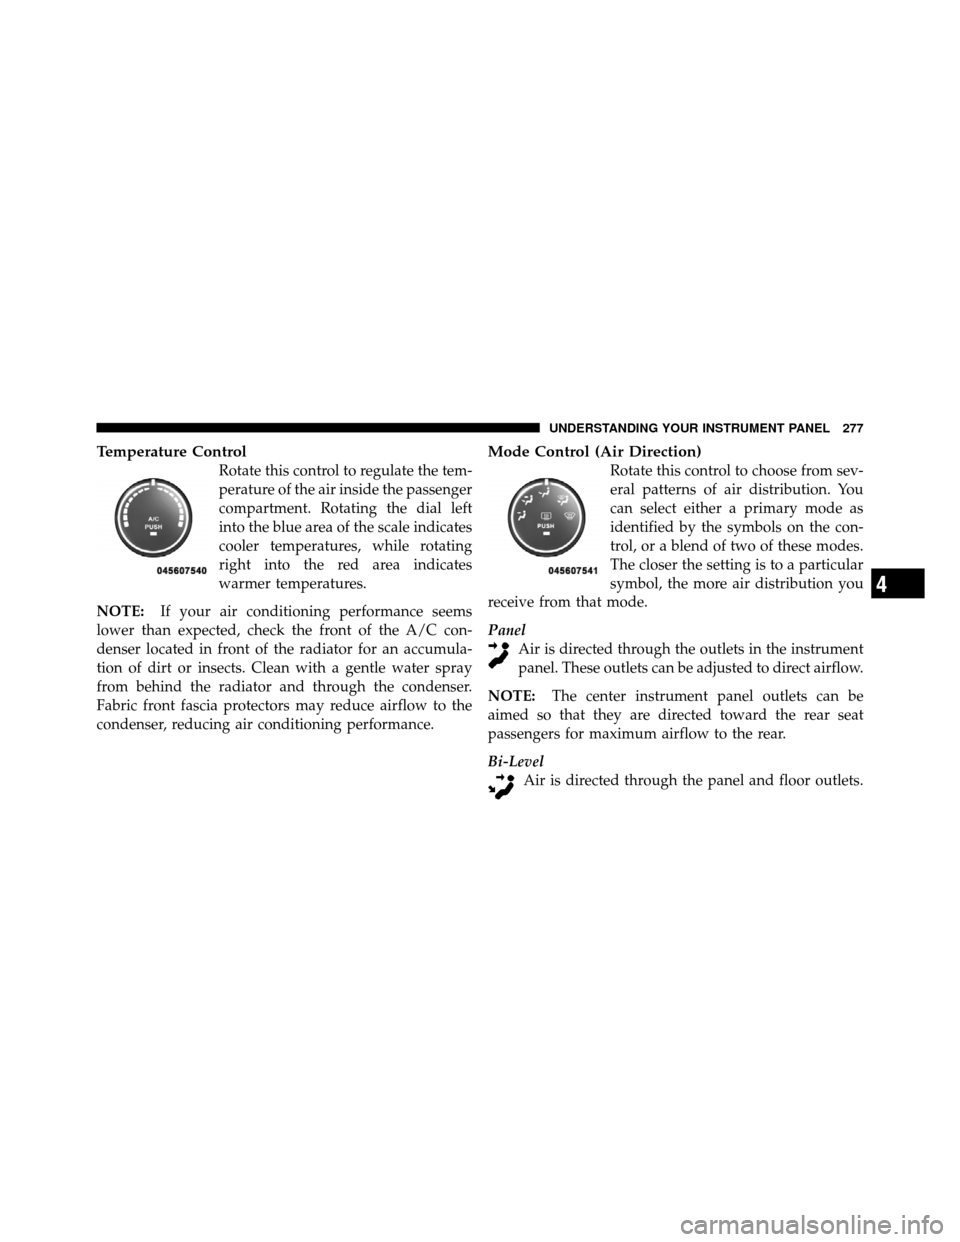
Temperature Control
Rotate this control to regulate the tem-
perature of the air inside the passenger
compartment. Rotating the dial left
into the blue area of the scale indicates
cooler temperatures, while rotating
right into the red area indicates
warmer temperatures.
NOTE: If your air conditioning performance seems
lower than expected, check the front of the A/C con-
denser located in front of the radiator for an accumula-
tion of dirt or insects. Clean with a gentle water spray
from behind the radiator and through the condenser.
Fabric front fascia protectors may reduce airflow to the
condenser, reducing air conditioning performance.
Mode Control (Air Direction)
Rotate this control to choose from sev-
eral patterns of air distribution. You
can select either a primary mode as
identified by the symbols on the con-
trol, or a blend of two of these modes.
The closer the setting is to a particular
symbol, the more air distribution you
receive from that mode.
Panel Air is directed through the outlets in the instrument
panel. These outlets can be adjusted to direct airflow.
NOTE: The center instrument panel outlets can be
aimed so that they are directed toward the rear seat
passengers for maximum airflow to the rear.
Bi-Level Air is directed through the panel and floor outlets.
4
UNDERSTANDING YOUR INSTRUMENT PANEL 277
Page 281 of 505

the LED in the control button to illuminate. After ten
minutes, the system will return to normal mode function
and the LED will turn off.
NOTE:
•Continuous use of the Recirculation mode may make
the inside air stuffy and window fogging may occur.
Extended use of this mode is not recommended.
•The use of the Recirculation mode in cold or damp
weather will cause windows to fog on the inside,
because of moisture buildup inside the vehicle. Select
the outside air position for maximum defogging.
•The A/C will engage automatically to prevent fogging
when the recirculation button is pressed and the mode
control is set to panel or Bi-Level.
•Recirculated air is not allowed in Floor, Mix or Defrost
modes. If the Recirculation button is depressed while
in any of these modes, the LED indicator will flashseveral times then go out. Recirculation will be dis-
abled automatically is these modes are selected.
•The A/C can be deselected manually without disturb-
ing the mode control selection.
•When the ignition switch is turned to the LOCK
position, the recirculation feature will be cancelled.
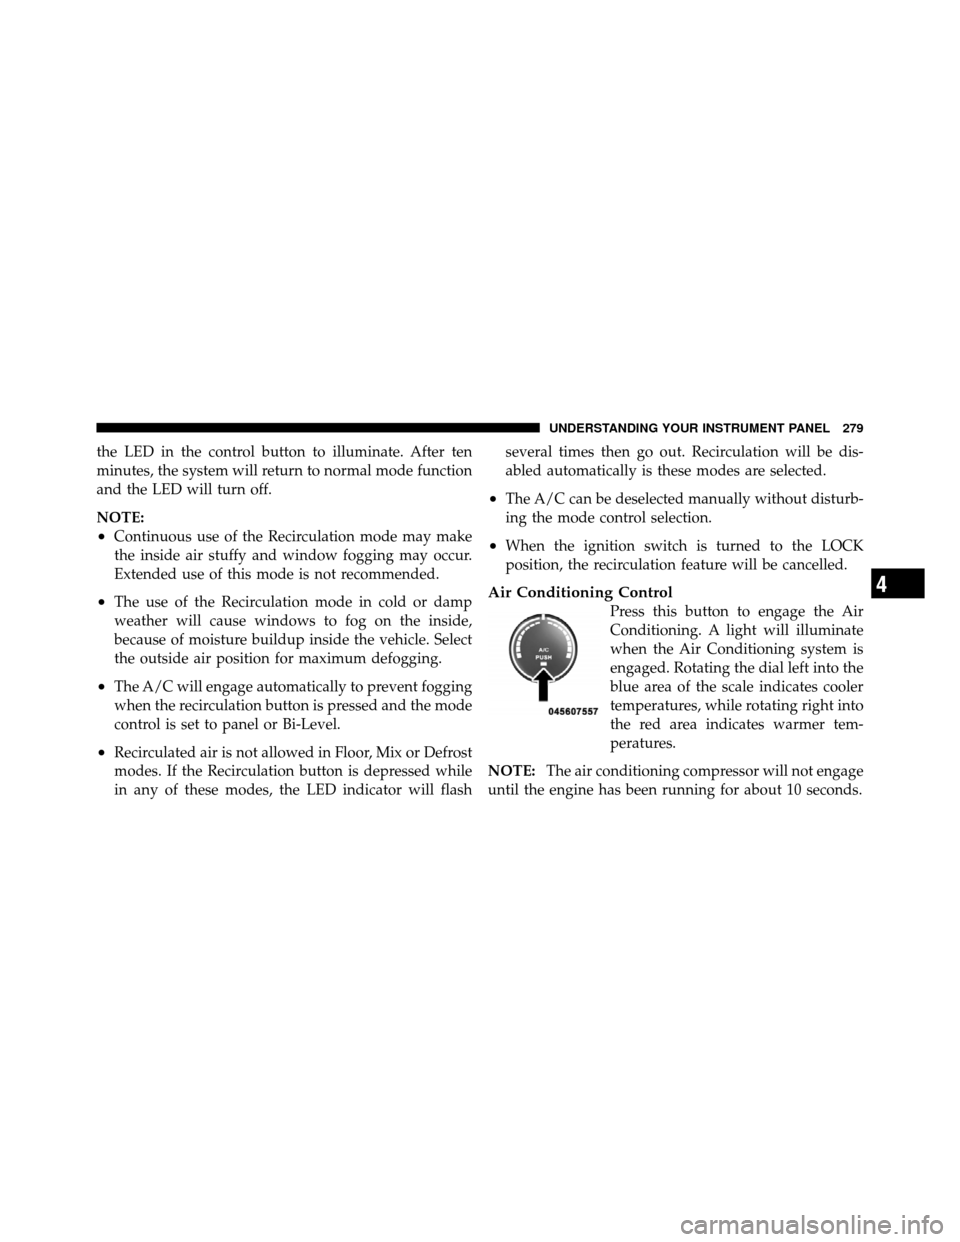
Air Conditioning Control
Press this button to engage the Air
Conditioning. A light will illuminate
when the Air Conditioning system is
engaged. Rotating the dial left into the
blue area of the scale indicates cooler
temperatures, while rotating right into
the red area indicates warmer tem-
peratures.
NOTE: The air conditioning compressor will not engage
until the engine has been running for about 10 seconds.
4
UNDERSTANDING YOUR INSTRUMENT PANEL 279