2011 CHEVROLET MALIBU start stop button
[x] Cancel search: start stop buttonPage 25 of 382
Black plate (19,1)Chevrolet Malibu Owner Manual - 2011
In Brief 1-19
Tire Pressure Monitor
This vehicle may have a Tire
Pressure Monitor System (TPMS).
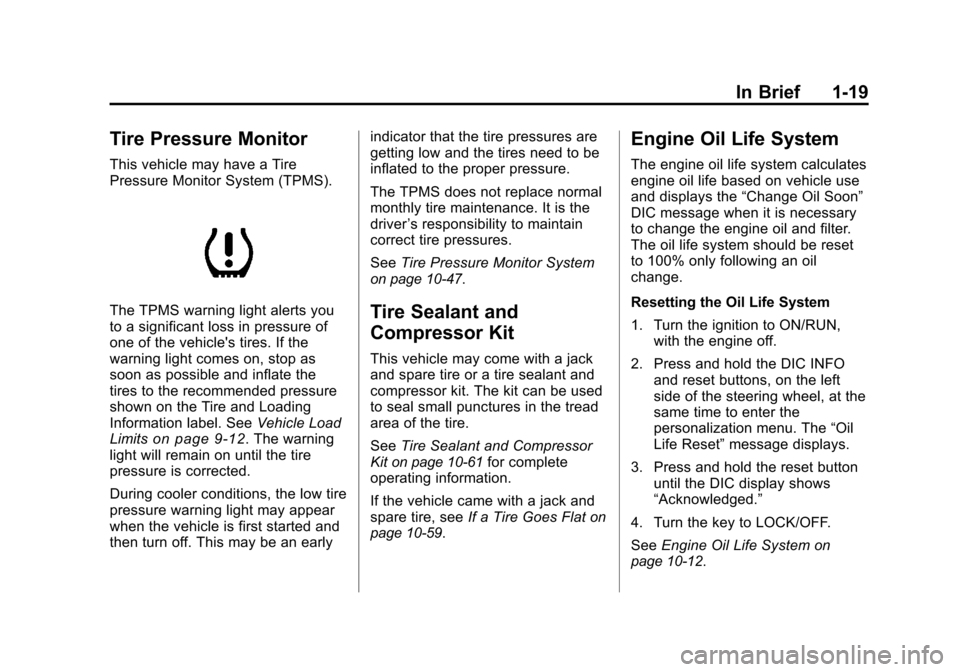
The TPMS warning light alerts you
to a significant loss in pressure of
one of the vehicle's tires. If the
warning light comes on, stop as
soon as possible and inflate the
tires to the recommended pressure
shown on the Tire and Loading
Information label. SeeVehicle Load
Limits
on page 9‑12. The warning
light will remain on until the tire
pressure is corrected.
During cooler conditions, the low tire
pressure warning light may appear
when the vehicle is first started and
then turn off. This may be an early indicator that the tire pressures are
getting low and the tires need to be
inflated to the proper pressure.
The TPMS does not replace normal
monthly tire maintenance. It is the
driver
’s responsibility to maintain
correct tire pressures.
See Tire Pressure Monitor System
on page 10‑47.
Tire Sealant and
Compressor Kit
This vehicle may come with a jack
and spare tire or a tire sealant and
compressor kit. The kit can be used
to seal small punctures in the tread
area of the tire.
SeeTire Sealant and Compressor
Kit
on page 10‑61for complete
operating information.
If the vehicle came with a jack and
spare tire, see If a Tire Goes Flat
on
page 10‑59.
Engine Oil Life System
The engine oil life system calculates
engine oil life based on vehicle use
and displays the “Change Oil Soon”
DIC message when it is necessary
to change the engine oil and filter.
The oil life system should be reset
to 100% only following an oil
change.
Resetting the Oil Life System
1. Turn the ignition to ON/RUN, with the engine off.
2. Press and hold the DIC INFO and reset buttons, on the left
side of the steering wheel, at the
same time to enter the
personalization menu. The “Oil
Life Reset” message displays.
3. Press and hold the reset button until the DIC display shows
“Acknowledged.”
4. Turn the key to LOCK/OFF.
See Engine Oil Life System
on
page 10‑12.
Page 40 of 382
Black plate (12,1)Chevrolet Malibu Owner Manual - 2011
2-12 Keys, Doors and Windows
Vehicle Security
This vehicle has theft-deterrent
features; however, they do not make
it impossible to steal.
Anti-Theft Alarm System
Your vehicle may have an anti-theft
alarm system.
Arming the System
With the ignition off, press the
Remote Keyless Entry (RKE)
transmitter lock button to arm the
system.
The system will arm 30 seconds
after all the doors are closed,
or 60 seconds with any door open.
If you press the lock button on the
transmitter a second time while all
the doors are closed, the system will
arm immediately. The system will
still arm in 60 seconds if a door is
open. When the open door is
closed, the system will arm.
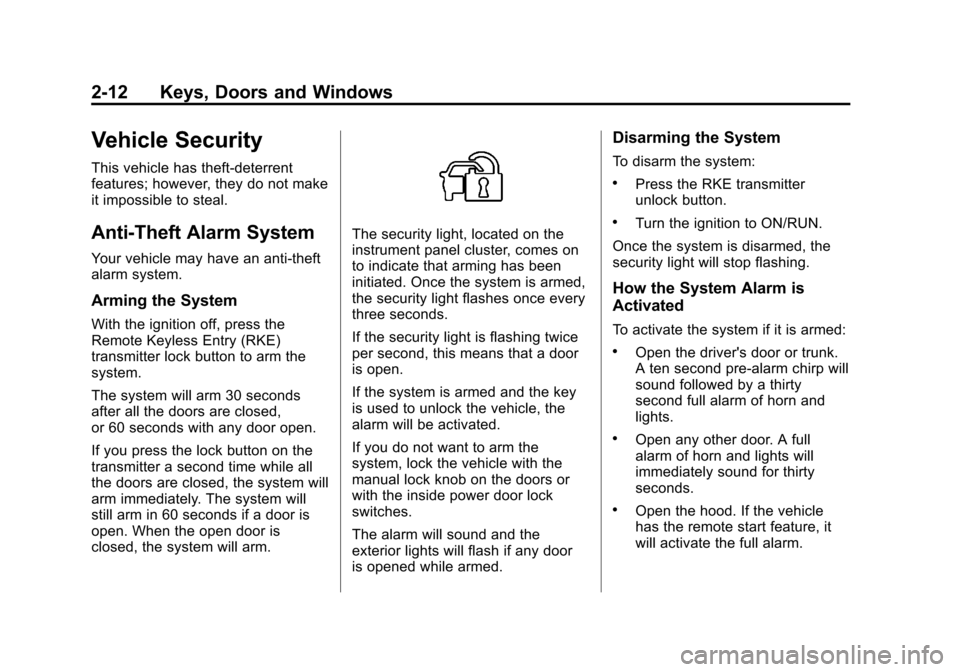
The security light, located on the
instrument panel cluster, comes on
to indicate that arming has been
initiated. Once the system is armed,
the security light flashes once every
three seconds.
If the security light is flashing twice
per second, this means that a door
is open.
If the system is armed and the key
is used to unlock the vehicle, the
alarm will be activated.
If you do not want to arm the
system, lock the vehicle with the
manual lock knob on the doors or
with the inside power door lock
switches.
The alarm will sound and the
exterior lights will flash if any door
is opened while armed.
Disarming the System
To disarm the system:
.Press the RKE transmitter
unlock button.
.Turn the ignition to ON/RUN.
Once the system is disarmed, the
security light will stop flashing.
How the System Alarm is
Activated
To activate the system if it is armed:
.Open the driver's door or trunk.
A ten second pre-alarm chirp will
sound followed by a thirty
second full alarm of horn and
lights.
.Open any other door. A full
alarm of horn and lights will
immediately sound for thirty
seconds.
.Open the hood. If the vehicle
has the remote start feature, it
will activate the full alarm.
Page 169 of 382
Black plate (15,1)Chevrolet Malibu Owner Manual - 2011
Infotainment System 7-15
the player, the CD starts to play
where it stopped, if it was the last
selected audio source.
Buttons and Knobs
The buttons and knobs on the radio
control the following features.
f(Tune):Turn to select tracks on
the CD.
©SEEK: Press to go to the start of
the current track, if more than ten
seconds have played. Press and
hold or press multiple times to
continue moving backward through
the tracks on the CD.
¨SEEK: Press to go to the next
track. Press and hold or press
multiple times to continue moving
forward through the tracks on
the CD.
sREV (Reverse): Press and hold
to reverse playback quickly within a
track. Sound is heard at a reduced
volume and the elapsed time of the
track displays. Release to resume
playing the track.
\FWD (Fast Forward): Press
and hold to advance playback
quickly within a track. Sound is
heard at a reduced volume and the
elapsed time of the track displays.
Release to resume playing the
track.
4(Information): Press to display
available additional information
about the current track.
BAND: Press to listen to the radio
while a CD is playing. The CD
remains inside the CD player.
CD/AUX (CD/Auxiliary): Press to
play a CD while listening to the
radio or a portable audio device.
Press this button again and the
system automatically searches for
an auxiliary input device, such as a
portable audio player. If a portable
audio player is not connected, No
Aux Input Device Found may
display. Softkeys
The five softkeys below the radio
display are used to control functions
that display as tabs.
The softkeys below the radio display
control the following features.
RDM (Random):
Tracks can be
listened to in random, rather than
sequential order.
To use random:
1. Press the softkey below RDM
tab until Random Current Disc
displays.
2. Press the softkey again to turn off random play.
MP3 Supported Files
The Radio with CD (MP3), Radio
with USB and CD (MP3), have the
capability of playing an MP3 CD-R
or CD-RW disc.
The radio can also play discs that
contain both uncompressed CD
audio and MP3 files.
Page 220 of 382
Black plate (26,1)Chevrolet Malibu Owner Manual - 2011
9-26 Driving and Operating
P (Park):This position locks the
front wheels. It is the best position
to use when you start the engine
because the vehicle cannot move
easily.
{WARNING
It is dangerous to get out of the
vehicle if the shift lever is not fully
in P (Park) with the parking brake
firmly set. The vehicle can roll.
Do not leave the vehicle when the
engine is running unless you
have to. If you have left the
engine running, the vehicle can
move suddenly. You or others
could be injured. To be sure the
vehicle will not move, even when
you are on fairly level ground,
always set the parking brake and
move the shift lever to P (Park).
See Shifting Into Park
on
page 9‑22
. If you are pulling a
trailer, see Trailer Towing
on
page 9‑46
. Make sure the shift lever is fully in
P (Park) before starting the engine.
The vehicle has an automatic
transmission shift lock control
system. You must fully apply the
brake pedal then press the shift
lever button before you can shift
from P (Park) while the ignition key
is in ON/RUN. If you cannot shift out
of P (Park), ease pressure on the
shift lever and push the shift lever
all the way into P (Park) as you
maintain brake application. Then
move the shift lever into another
gear. See
Shifting Out of Park
on
page 9‑23.
R (Reverse): Use this gear to
back up.
Notice: Shifting to R (Reverse)
while the vehicle is moving
forward could damage the
transmission. The repairs would
not be covered by the vehicle
warranty. Shift to R (Reverse) only
after the vehicle is stopped. To rock the vehicle back and forth to
get out of snow, ice, or sand without
damaging the transmission, see
If
the Vehicle is Stuck on page 9‑11.
N (Neutral): In this position, the
engine does not connect with the
wheels. To restart the engine when
the vehicle is already moving, use
N (Neutral) only. Also, use
N (Neutral) when the vehicle is
being towed.
{WARNING
Shifting into a drive gear while the
engine is running at high speed is
dangerous. Unless your foot is
firmly on the brake pedal, the
vehicle could move very rapidly.
You could lose control and hit
people or objects. Do not shift
into a drive gear while the engine
is running at high speed.
Page 222 of 382
Black plate (28,1)Chevrolet Malibu Owner Manual - 2011
9-28 Driving and Operating
While using the DSC feature the
transmission will have firmer shifting
and sportier performance. You can
use this for sport driving or when
climbing hills to stay in gear longer
or to downshift for more power or
engine braking.
The transmission will only allow you
to shift into gears appropriate for the
vehicle speed and engine
revolutions per minute (RPM):
.The transmission will not
automatically shift to the next
higher gear if the vehicle speed
or engine RPM is too low.
.The transmission will not allow
shifting to the next lower gear if
the vehicle speed or engine
RPM is too high. Second or Third Gear Start
Feature
When accelerating the vehicle from
a stop in snowy and icy conditions,
you may want to shift the gear
select tap switch into Second or
Third gear. A higher gear allows you
to gain more traction on slippery
surfaces.
With the DSC feature, the vehicle
can be set to pull away in Second or
Third gear.
1. Move the shift lever from
D (Drive) into the
M (Manual Mode).
2. With the vehicle stopped, press (+) end of the button to
select Second or Third gear. The
vehicle will start from a stop
position in Second or Third gear.
3. Once moving select the desired drive gear.
Brakes
Antilock Brake
System (ABS)
This vehicle has the Antilock Brake
System (ABS), an advanced
electronic braking system that helps
prevent a braking skid.
When the engine is started and the
vehicle begins to drive away, ABS
checks itself. A momentary motor or
clicking noise might be heard while
this test is going on, and it might
even be noticed that the brake
pedal moves a little. This is normal.
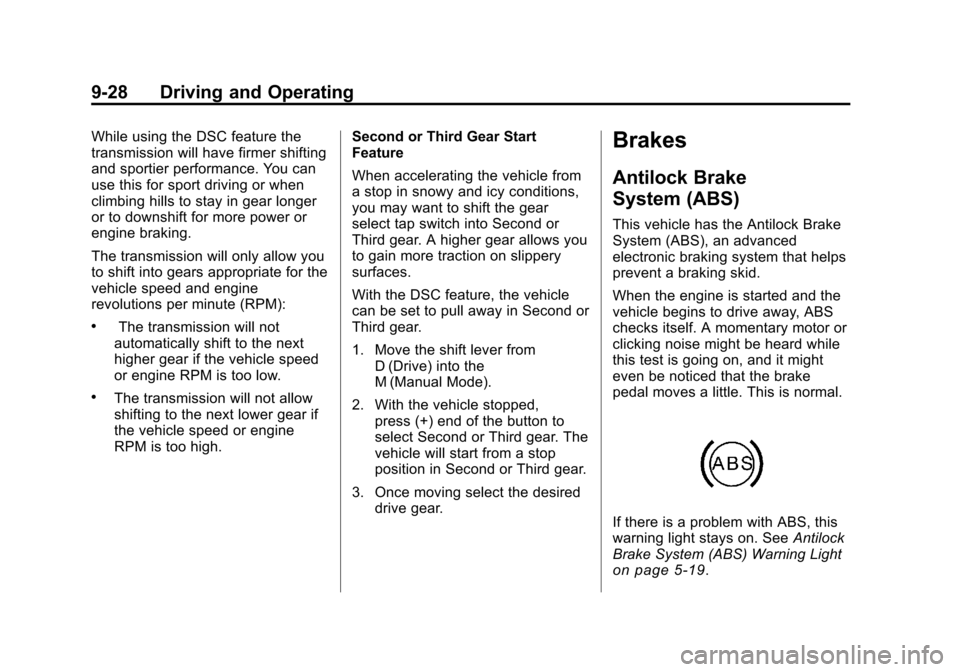
If there is a problem with ABS, this
warning light stays on. See Antilock
Brake System (ABS) Warning Light
on page 5‑19.
Page 292 of 382
Black plate (50,1)Chevrolet Malibu Owner Manual - 2011
10-50 Vehicle Care
.The TPMS sensor matching
process was started but not
completed or not completed
successfully after rotating the
vehicle's tires. The DIC message
and TPMS malfunction light
should go off once the TPMS
sensor matching process is
performed successfully. See
“TPMS Sensor Matching
Process”later in this section.
.One or more TPMS sensors are
missing or damaged. The DIC
message and the TPMS
malfunction light should go off
when the TPMS sensors are
installed and the sensor
matching process is performed
successfully. See your dealer for
service.
.Replacement tires or wheels do
not match your vehicle's original
equipment tires or wheels. Tires
and wheels other than those
recommended for your vehicle
could prevent the TPMS from
functioning properly. See Buying
New Tires on page 10‑54.
.Operating electronic devices or
being near facilities using radio
wave frequencies similar to the
TPMS could cause the TPMS
sensors to malfunction.
If the TPMS is not functioning it
cannot detect or signal a low tire
condition. See your dealer for
service if the TPMS malfunction
light and DIC message comes on
and stays on.
TPMS Sensor Matching
Process
Each TPMS sensor has a unique
identification code. Any time you
replace one or more of the TPMS
sensors or rotate the vehicle's tires,
the identification codes need to be
matched to the new tire/wheel
location. The sensors are matched,
to the tire/wheel locations, in the
following order: driver side front tire,
passenger side front tire, passenger
side rear tire, and driver side rear
tire using a TPMS diagnostic tool.
See your dealer for service. The TPMS sensors can also be
matched to each tire/wheel position
by increasing or decreasing the
tire's air pressure. When increasing
the tire's pressure, do not exceed
the maximum inflation pressure
indicated on the tire's sidewall. To
decrease the tire's air-pressure use
the pointed end of the valve cap, a
pencil-style air pressure gage,
or a key.
You have two minutes to match
each tire and wheel position. If it
takes longer than two minutes to
match any tire and wheel position,
the matching process stops and you
need to start over.
The TPMS matching process is
outlined below:
1. Set the parking brake.
2. Turn the ignition switch to
ON/RUN with the engine off.
3. Press and hold the Remote Keyless Entry (RKE)
transmitter's LOCK and
UNLOCK buttons, at the same