2011 CHEVROLET MALIBU check engine light
[x] Cancel search: check engine lightPage 1 of 382

Black plate (1,1)Chevrolet Malibu Owner Manual - 2011
2011 Chevrolet Malibu Owner ManualM
In Brief. . . . . . . . . . . . . . . . . . . . . . . . 1-1
Instrument Panel . . . . . . . . . . . . . . 1-2
Initial Drive Information . . . . . . . . 1-4
Vehicle Features . . . . . . . . . . . . . 1-14
Performance and Maintenance . . . . . . . . . . . . . . . . 1-18
Keys, Doors and Windows . . . 2-1
Keys and Locks . . . . . . . . . . . . . . . 2-2
Doors . . . . . . . . . . . . . . . . . . . . . . . . 2-10
Vehicle Security . . . . . . . . . . . . . . 2-12
Exterior Mirrors . . . . . . . . . . . . . . . 2-14
Interior Mirrors . . . . . . . . . . . . . . . . 2-15
Windows . . . . . . . . . . . . . . . . . . . . . 2-16
Roof . . . . . . . . . . . . . . . . . . . . . . . . . . 2-19
Seats and Restraints . . . . . . . . . 3-1
Head Restraints . . . . . . . . . . . . . . . 3-2
Front Seats . . . . . . . . . . . . . . . . . . . . 3-3
Rear Seats . . . . . . . . . . . . . . . . . . . . 3-7
Safety Belts . . . . . . . . . . . . . . . . . . . . 3-8
Airbag System . . . . . . . . . . . . . . . . 3-23
Child Restraints . . . . . . . . . . . . . . 3-38 Storage
. . . . . . . . . . . . . . . . . . . . . . . 4-1
Storage Compartments . . . . . . . . 4-1
Additional Storage Features . . . 4-2
Instruments and Controls . . . . 5-1
Controls . . . . . . . . . . . . . . . . . . . . . . . 5-2
Warning Lights, Gauges, and
Indicators . . . . . . . . . . . . . . . . . . . . 5-9
Information Displays . . . . . . . . . . 5-23
Vehicle Messages . . . . . . . . . . . . 5-26
Vehicle Personalization . . . . . . . 5-31
Lighting . . . . . . . . . . . . . . . . . . . . . . . 6-1
Exterior Lighting . . . . . . . . . . . . . . . 6-1
Interior Lighting . . . . . . . . . . . . . . . . 6-5
Lighting Features . . . . . . . . . . . . . . 6-6
Infotainment System . . . . . . . . . 7-1
Introduction . . . . . . . . . . . . . . . . . . . . 7-1
Radio . . . . . . . . . . . . . . . . . . . . . . . . . . 7-6
Audio Players . . . . . . . . . . . . . . . . 7-14
Phone . . . . . . . . . . . . . . . . . . . . . . . . 7-23 Climate Controls
. . . . . . . . . . . . . 8-1
Climate Control Systems . . . . . . 8-1
Air Vents . . . . . . . . . . . . . . . . . . . . . . . 8-9
Driving and Operating . . . . . . . . 9-1
Driving Information . . . . . . . . . . . . . 9-2
Starting and Operating . . . . . . . 9-17
Engine Exhaust . . . . . . . . . . . . . . 9-24
Automatic Transmission . . . . . . 9-25
Brakes . . . . . . . . . . . . . . . . . . . . . . . 9-28
Ride Control Systems . . . . . . . . 9-30
Cruise Control . . . . . . . . . . . . . . . . 9-34
Fuel . . . . . . . . . . . . . . . . . . . . . . . . . . 9-37
Towing . . . . . . . . . . . . . . . . . . . . . . . 9-43
Conversions and Add-Ons . . . 9-48
Vehicle Care . . . . . . . . . . . . . . . . . 10-1
General Information . . . . . . . . . . 10-2
Vehicle Checks . . . . . . . . . . . . . . . 10-4
Headlamp Aiming . . . . . . . . . . . 10-27
Bulb Replacement . . . . . . . . . . 10-28
Electrical System . . . . . . . . . . . . 10-30
Wheels and Tires . . . . . . . . . . . 10-38
Jump Starting . . . . . . . . . . . . . . . 10-78
Towing . . . . . . . . . . . . . . . . . . . . . . 10-83
Appearance Care . . . . . . . . . . . 10-85
Page 34 of 382
Black plate (6,1)Chevrolet Malibu Owner Manual - 2011
2-6 Keys, Doors and Windows
If it is the first remote start since the
vehicle has been driven, repeat the
previous steps, while the engine is
still running, to extend the engine
running time by 10 minutes from the
time you repeat the steps for remote
starting. The remote start running
time can be extended one time and
only after the first remote start.
After entering the vehicle during a
remote start, insert and turn the key
to ON/RUN to drive the vehicle.
The engine will shut off
automatically after 10 minutes,
unless a time extension has been
done or the vehicle's key is inserted
into the ignition switch and turned to
ON/RUN.To manually shut off a remote start,
do any of the following.
.Aim the RKE transmitter at the
vehicle and press and release
the remote start button.
.Turn on the hazard warning
flashers.
.Turn the ignition switch out of
LOCK/OFF position and then
back to LOCK/OFF.
The parking lamps turn off to
indicate the engine is off.
After the engine has been started
two times, or one time with a time
extension, the vehicle's ignition
must be turned to ON/RUN using
the key before the remote start
procedure can be used again. See
Ignition Positions
on page 9‑18for
information regarding the ignition
positions on your vehicle. The remote vehicle start feature will
not operate if any of the follow
occur:
.The vehicle's key is in the
ignition.
.The vehicle's hood is open.
.The hazard warning flashers
are on.
.The check engine light is on.
See
Malfunction Indicator Lamp
on page 5‑16.
.The engine coolant temperature
is too high.
.The oil pressure is low.
.Two remote vehicle starts,
or one start with a time
extension, have already been
provided for that ignition cycle.
Page 42 of 382
Black plate (14,1)Chevrolet Malibu Owner Manual - 2011
2-14 Keys, Doors and Windows
If the engine still does not start, and
the key appears to be undamaged
or the light continues to stay on, try
another ignition key. If the engine
does not start with the other key, the
vehicle needs service. If the vehicle
does start, the first key may be
damaged. See your dealer who can
service the theft-deterrent system
and have a new key made.
It is possible for the theft-deterrent
system decoder to learn the
transponder value of a new or
replacement key. Up to 10 keys
can be programmed for the vehicle.
The following procedure is for
programming additional keys only.
To program the new key:
1. Verify that the new key hasa
1stamped on it.
2. Insert the already programmed key in the ignition and start the
engine. If the engine will not
start, see your dealer for service. 3. After the engine has started,
turn the key to LOCK/OFF, and
remove the key.
4. Insert the key to be programmed and turn it to ON/RUN within
five seconds of the original key
being turned to LOCK/OFF in
Step 3.
The security light will turn off
once the key has been
programmed. It may not be
apparent that the security light
went on due to how quickly the
key is programmed.
5. Repeat Steps 1 through 4 if additional keys are to be
programmed.
Do not leave the key or device that
disarms or deactivates the theft
deterrent system in the vehicle.
Exterior Mirrors
Convex Mirrors
{WARNING
A convex mirror can make things,
like other vehicles, look farther
away than they really are. If you
cut too sharply into the right lane,
you could hit a vehicle on the
right. Check the inside mirror or
glance over your shoulder before
changing lanes.
The passenger side mirror is convex
shaped. A convex mirror's surface is
curved so more can be seen from
the driver seat.
Page 119 of 382
Black plate (9,1)Chevrolet Malibu Owner Manual - 2011
Instruments and Controls 5-9
The power outlet is not designed for
and may not work properly if the
following are plugged in:
.Equipment with high initial peak
wattage such as:
compressor-driven refrigerators
and electric power tools.
.Other equipment requiring an
extremely stable power supply
such as:
microcomputer-controlled
electric blankets, touch sensor
lamps, etc.
Warning Lights,
Gauges, and
Indicators
Warning lights and gauges can
signal that something is wrong
before it becomes serious enough
to cause an expensive repair or
replacement. Paying attention to the
warning lights and gauges could
prevent injury.
Warning lights come on when there
could be a problem with a vehicle
function. Some warning lights come
on briefly when the engine is started
to indicate they are working.Gauges can indicate when there
could be a problem with a vehicle
function. Often gauges and warning
lights work together to indicate a
problem with the vehicle.
When one of the warning lights
comes on and stays on while
driving, or when one of the gauges
shows there may be a problem,
check the section that explains what
to do. Follow this manual's advice.
Waiting to do repairs can be costly
and even dangerous.
Page 124 of 382
Black plate (14,1)Chevrolet Malibu Owner Manual - 2011
5-14 Instruments and Controls
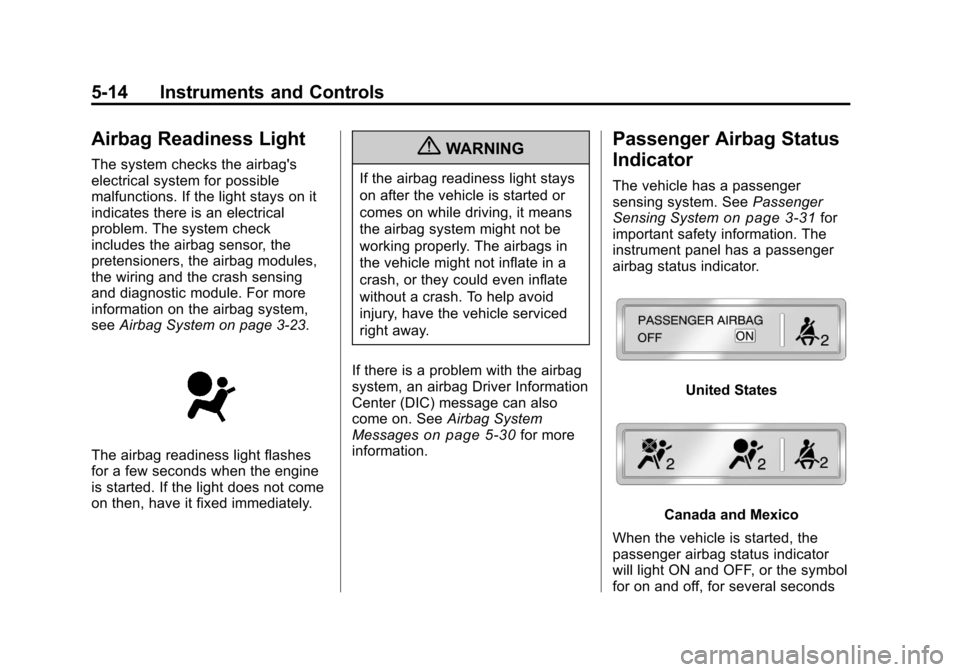
Airbag Readiness Light
The system checks the airbag's
electrical system for possible
malfunctions. If the light stays on it
indicates there is an electrical
problem. The system check
includes the airbag sensor, the
pretensioners, the airbag modules,
the wiring and the crash sensing
and diagnostic module. For more
information on the airbag system,
seeAirbag System on page 3‑23.
The airbag readiness light flashes
for a few seconds when the engine
is started. If the light does not come
on then, have it fixed immediately.
{WARNING
If the airbag readiness light stays
on after the vehicle is started or
comes on while driving, it means
the airbag system might not be
working properly. The airbags in
the vehicle might not inflate in a
crash, or they could even inflate
without a crash. To help avoid
injury, have the vehicle serviced
right away.
If there is a problem with the airbag
system, an airbag Driver Information
Center (DIC) message can also
come on. See Airbag System
Messages
on page 5‑30for more
information.
Passenger Airbag Status
Indicator
The vehicle has a passenger
sensing system. See Passenger
Sensing System
on page 3‑31for
important safety information. The
instrument panel has a passenger
airbag status indicator.
United States
Canada and Mexico
When the vehicle is started, the
passenger airbag status indicator
will light ON and OFF, or the symbol
for on and off, for several seconds
Page 125 of 382
Black plate (15,1)Chevrolet Malibu Owner Manual - 2011
Instruments and Controls 5-15
as a system check. If you are using
remote start to start the vehicle from
a distance, if equipped, you may not
see the system check. Then, after
several more seconds, the status
indicator will light either ON or OFF,
or either the on or off symbol to let
you know the status of the right front
passenger frontal and seat-mounted
side impact airbags.
If the word ON or the on symbol is
lit on the passenger airbag status
indicator, it means that the right
front passenger frontal airbag and
seat-mounted side impact airbag
are enabled (may inflate).
If the word OFF or the off symbol is
lit on the passenger airbag status
indicator, it means that the
passenger sensing system has
turned off the right front passenger
frontal and seat-mounted side
impact airbag.If, after several seconds, both status
indicator lights remain on, or if there
are no lights at all, there may be a
problem with the lights or the
passenger sensing system. See
your dealer for service.
{WARNING
If the airbag readiness light ever
comes on and stays on, it means
that something may be wrong
with the airbag system. To help
avoid injury to yourself or others,
have the vehicle serviced right
away. See
Airbag Readiness
Light
on page 5‑14for more
information, including important
safety information.
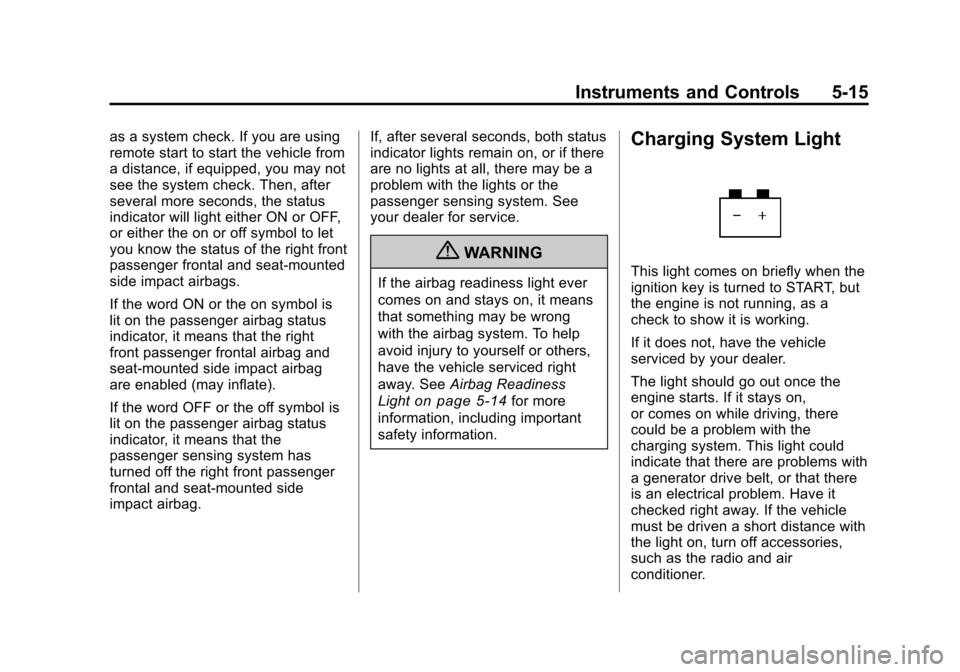
Charging System Light
This light comes on briefly when the
ignition key is turned to START, but
the engine is not running, as a
check to show it is working.
If it does not, have the vehicle
serviced by your dealer.
The light should go out once the
engine starts. If it stays on,
or comes on while driving, there
could be a problem with the
charging system. This light could
indicate that there are problems with
a generator drive belt, or that there
is an electrical problem. Have it
checked right away. If the vehicle
must be driven a short distance with
the light on, turn off accessories,
such as the radio and air
conditioner.
Page 126 of 382
Black plate (16,1)Chevrolet Malibu Owner Manual - 2011
5-16 Instruments and Controls
Malfunction
Indicator Lamp
A computer system called OBD II
(On-Board Diagnostics-Second
Generation) monitors operation of
the fuel, ignition, and emission
control systems. It ensures that
emissions are at acceptable levels
for the life of the vehicle, helping to
produce a cleaner environment.
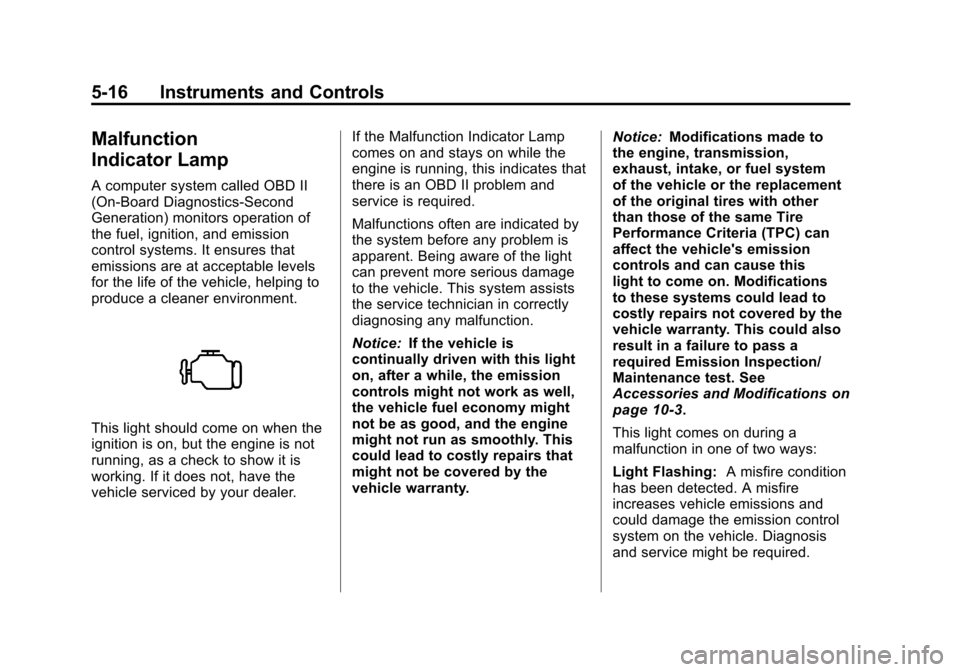
This light should come on when the
ignition is on, but the engine is not
running, as a check to show it is
working. If it does not, have the
vehicle serviced by your dealer.If the Malfunction Indicator Lamp
comes on and stays on while the
engine is running, this indicates that
there is an OBD II problem and
service is required.
Malfunctions often are indicated by
the system before any problem is
apparent. Being aware of the light
can prevent more serious damage
to the vehicle. This system assists
the service technician in correctly
diagnosing any malfunction.
Notice:
If the vehicle is
continually driven with this light
on, after a while, the emission
controls might not work as well,
the vehicle fuel economy might
not be as good, and the engine
might not run as smoothly. This
could lead to costly repairs that
might not be covered by the
vehicle warranty. Notice:
Modifications made to
the engine, transmission,
exhaust, intake, or fuel system
of the vehicle or the replacement
of the original tires with other
than those of the same Tire
Performance Criteria (TPC) can
affect the vehicle's emission
controls and can cause this
light to come on. Modifications
to these systems could lead to
costly repairs not covered by the
vehicle warranty. This could also
result in a failure to pass a
required Emission Inspection/
Maintenance test. See
Accessories and Modifications
on
page 10‑3.
This light comes on during a
malfunction in one of two ways:
Light Flashing: A misfire condition
has been detected. A misfire
increases vehicle emissions and
could damage the emission control
system on the vehicle. Diagnosis
and service might be required.
Page 127 of 382
Black plate (17,1)Chevrolet Malibu Owner Manual - 2011
Instruments and Controls 5-17
To prevent more serious damage to
the vehicle:
.Reduce vehicle speed.
.Avoid hard accelerations.
.Avoid steep uphill grades.
.If towing a trailer, reduce the
amount of cargo being hauled as
soon as it is possible.
If the light continues to flash, when
it is safe to do so, stop the vehicle.
Find a safe place to park the
vehicle. Turn the vehicle off, wait at
least 10 seconds, and restart the
engine. If the light is still flashing,
follow the previous steps and see
your dealer for service as soon as
possible.
Light On Steady: An emission
control system malfunction has
been detected on the vehicle.
Diagnosis and service might be
required. An emission system malfunction
might be corrected:
.Make sure the fuel cap is fully
installed. See
Filling the Tankon
page 9‑41. The diagnostic
system can determine if the fuel
cap has been left off or
improperly installed. A loose or
missing fuel cap allows fuel to
evaporate into the atmosphere.
A few driving trips with the cap
properly installed should turn the
light off.
.If the vehicle has been driven
through a deep puddle of water,
the vehicle's electrical system
might be wet. The condition is
usually corrected when the
electrical system dries out. A few
driving trips should turn the
light off.
.Make sure to fuel the vehicle
with quality fuel. Poor fuel quality
causes the engine not to run as
efficiently as designed and can
cause: stalling after start-up,
stalling when the vehicle is
changed into gear, misfiring,
hesitation on acceleration,
or stumbling on acceleration.
These conditions might go away
once the engine is warmed up.
If one or more of these
conditions occurs, change the
fuel brand used. It will require at
least one full tank of the proper
fuel to turn the light off.
See Recommended Fuel
on
page 9‑38.
If none of the above have made
the light turn off, your dealer can
check the vehicle. The dealer has
the proper test equipment and
diagnostic tools to fix any
mechanical or electrical problems
that might have developed.