2011 CHEVROLET MALIBU steering
[x] Cancel search: steeringPage 110 of 382
Black plate (2,1)Chevrolet Malibu Owner Manual - 2011
4-2 Storage
Front Storage
Storage is available in front of the
shift lever. Open it by pushing on
the bottom of the door.
A driver side storage compratment
is located near the steering column
on the bottom of the instrument
panel. Pull the cover down to open.
Pull out to remove for cleaning.
Center Console Storage
The center console storage has an
tray and a main storage area. Pull
up on the driver side latch to access
the tray. Pull up on the passenger
side latch to access the main
storage. It is equipped with a
removable divider and a storage
pocket may be at the rear of the
center console.
The armrest on top of the center
console can be adjusted to a
rearward, middle, and forward
position. Pull or push the front of
the armrest to adjust to the desired
position.
An additional storage area is in front
of the main storage. Push down and
then forward on the rear of the
cover to access. It has a storage
tray and removable cupholders.
Additional Storage
Features
Convenience Net
Use the rear convenience net, to
store small. The net should not be
used to store heavy loads.
Page 111 of 382
Black plate (1,1)Chevrolet Malibu Owner Manual - 2011
Instruments and Controls 5-1
Instruments and
Controls
Controls
Steering Wheel Adjustment . . . 5-2
Steering Wheel Controls . . . . . . 5-2
Horn . . . . . . . . . . . . . . . . . . . . . . . . . . 5-3
Windshield Wiper/Washer . . . . . 5-4
Compass . . . . . . . . . . . . . . . . . . . . . 5-5
Clock . . . . . . . . . . . . . . . . . . . . . . . . . 5-6
Power Outlets . . . . . . . . . . . . . . . . . 5-7
Warning Lights, Gauges, and
Indicators
Warning Lights, Gauges, andIndicators . . . . . . . . . . . . . . . . . . . . 5-9
Instrument Cluster . . . . . . . . . . . 5-10
Speedometer . . . . . . . . . . . . . . . . 5-11
Odometer . . . . . . . . . . . . . . . . . . . . 5-11
Trip Odometer . . . . . . . . . . . . . . . 5-11
Tachometer . . . . . . . . . . . . . . . . . . 5-11
Fuel Gauge . . . . . . . . . . . . . . . . . . 5-11
Engine Coolant Temperature Gauge . . . . . . . . . . . . . . . . . . . . . . 5-12 Safety Belt Reminders . . . . . . . 5-13
Airbag Readiness Light . . . . . . 5-14
Passenger Airbag Status
Indicator . . . . . . . . . . . . . . . . . . . . 5-14
Charging System Light . . . . . . 5-15
Malfunction
Indicator Lamp . . . . . . . . . . . . . 5-16
Brake System Warning Light . . . . . . . . . . . . . . . . . . . . . . . 5-18
Antilock Brake System (ABS) Warning Light . . . . . . . . . . . . . . 5-19
Electronic Stability Control (ESC)/Traction Control
System (TCS) Indicator/
Warning Light . . . . . . . . . . . . . . 5-20
Engine Coolant Temperature Warning Light . . . . . . . . . . . . . . 5-20
Tire Pressure Light . . . . . . . . . . 5-21
Engine Oil Pressure Light . . . . 5-22
Security Light . . . . . . . . . . . . . . . . 5-22
High-Beam on Light . . . . . . . . . 5-23
Cruise Control Light . . . . . . . . . 5-23
Information Displays
Driver Information Center (DIC) . . . . . . . . . . . . . . . 5-23
Vehicle Messages
Vehicle Messages . . . . . . . . . . . 5-26
Brake System Messages . . . . 5-27
Cruise Control Messages . . . . 5-27
Door Ajar Messages . . . . . . . . . 5-27
Engine Oil Messages . . . . . . . . 5-27
Engine Power Messages . . . . 5-27
Fuel System Messages . . . . . . 5-28
Key and Lock Messages . . . . . 5-28
Lamp Messages . . . . . . . . . . . . . 5-28
Ride Control SystemMessages . . . . . . . . . . . . . . . . . . 5-28
Airbag System Messages . . . . 5-30
Service Vehicle Messages . . . 5-30
Tire Messages . . . . . . . . . . . . . . . 5-30
Vehicle Reminder Messages . . . . . . . . . . . . . . . . . . 5-31
Washer Fluid Messages . . . . . 5-31
Vehicle Personalization
Vehicle Personalization . . . . . . 5-31
Page 112 of 382
Black plate (2,1)Chevrolet Malibu Owner Manual - 2011
5-2 Instruments and Controls
Controls
Steering Wheel
Adjustment
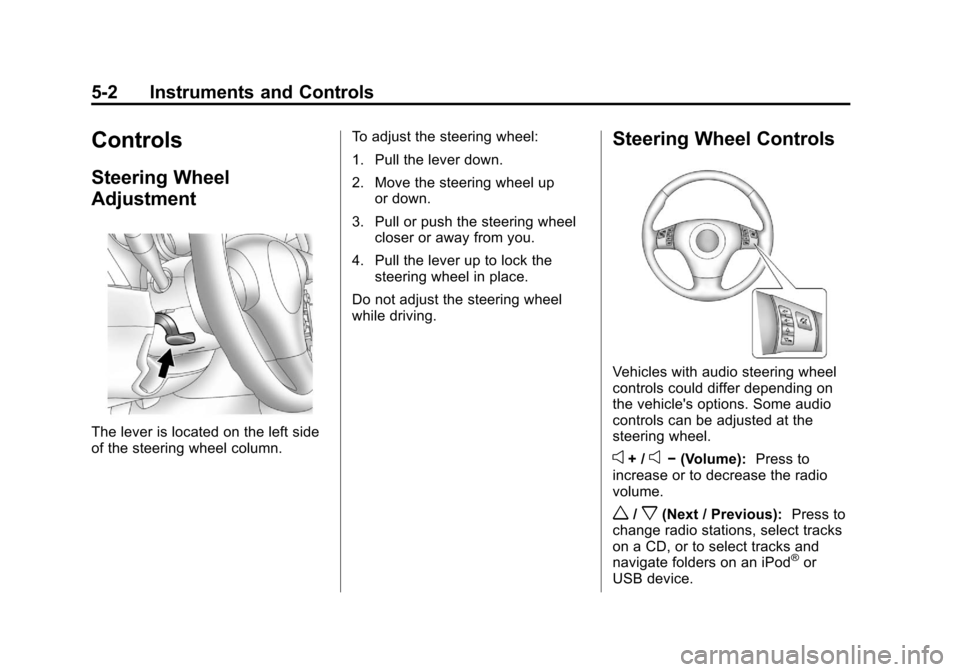
The lever is located on the left side
of the steering wheel column.To adjust the steering wheel:
1. Pull the lever down.
2. Move the steering wheel up
or down.
3. Pull or push the steering wheel closer or away from you.
4. Pull the lever up to lock the steering wheel in place.
Do not adjust the steering wheel
while driving.
Steering Wheel Controls
Vehicles with audio steering wheel
controls could differ depending on
the vehicle's options. Some audio
controls can be adjusted at the
steering wheel.
e+ /e− (Volume): Press to
increase or to decrease the radio
volume.
w/x(Next / Previous): Press to
change radio stations, select tracks
on a CD, or to select tracks and
navigate folders on an iPod
®or
USB device.
Page 113 of 382
Black plate (3,1)Chevrolet Malibu Owner Manual - 2011
Instruments and Controls 5-3
To change radio stations:
.Press and releaseworxto go
to the next or previous radio
station stored as a preset.
.Press and holdworxto go to
the next or previous radio station
in the selected band with a
strong signal.
To select tracks on a CD:
Press and release
worxto go to
the next or previous track.
To select tracks on an iPod or USB
device:
1. Press and hold
worxwhile
listening to a song until the
contents of the current folder
display on the radio display.
2. Press and release
worxto
scroll up or down the list, then
press and hold
wto play the
highlighted track. To navigate folders on an iPod or
USB device:
1. Press and hold
worxwhile
listening to a song until the
contents of the current folder
display on the radio display.
2. Press and hold
xto go back to
the previous folder list.
3. Press and release
worxto
scroll up or down the list.
.To select a folder, press
and hold
wwhen the folder
is highlighted.
.To go back further in the
folder list, press and
hold
x.
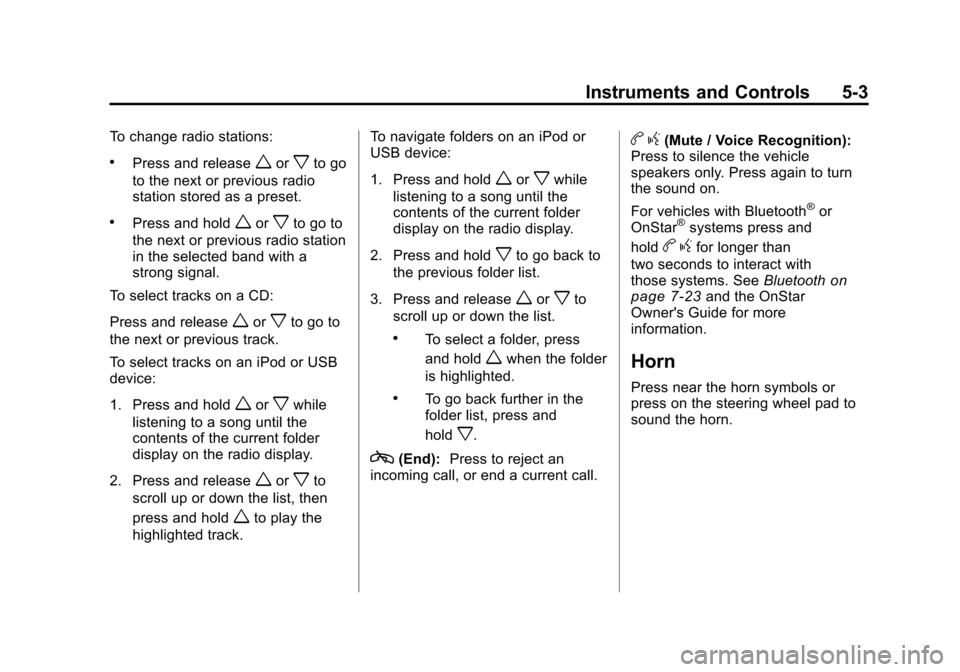
c(End): Press to reject an
incoming call, or end a current call.
b g(Mute / Voice Recognition):
Press to silence the vehicle
speakers only. Press again to turn
the sound on.
For vehicles with Bluetooth
®or
OnStar®systems press and
hold
b gfor longer than
two seconds to interact with
those systems. See Bluetooth
on
page 7‑23and the OnStar
Owner's Guide for more
information.
Horn
Press near the horn symbols or
press on the steering wheel pad to
sound the horn.
Page 114 of 382
Black plate (4,1)Chevrolet Malibu Owner Manual - 2011
5-4 Instruments and Controls
Windshield Wiper/Washer
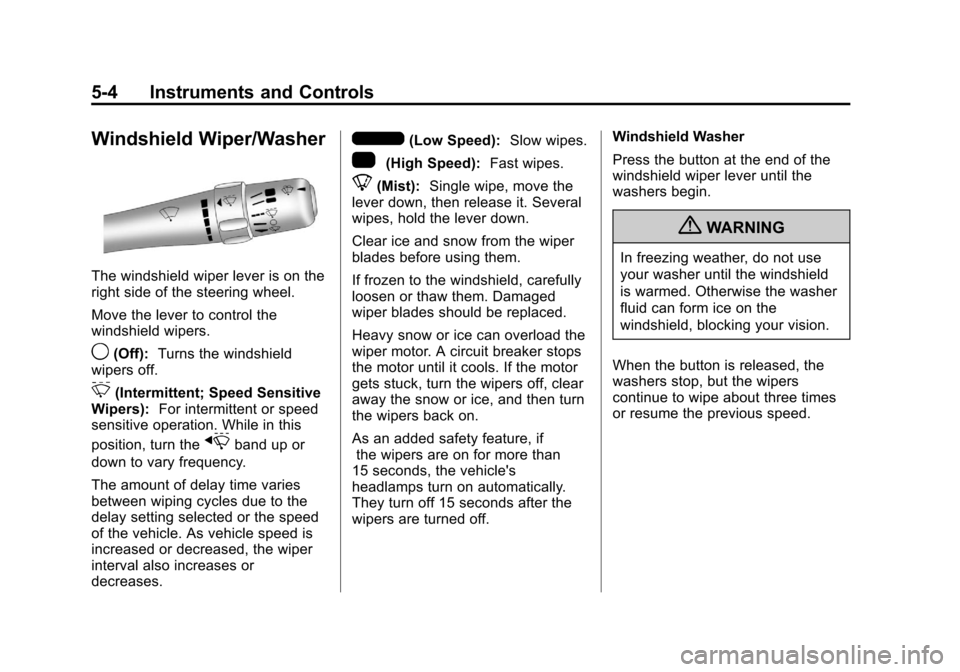
The windshield wiper lever is on the
right side of the steering wheel.
Move the lever to control the
windshield wipers.
9(Off):Turns the windshield
wipers off.
&(Intermittent; Speed Sensitive
Wipers): For intermittent or speed
sensitive operation. While in this
position, turn the
xband up or
down to vary frequency.
The amount of delay time varies
between wiping cycles due to the
delay setting selected or the speed
of the vehicle. As vehicle speed is
increased or decreased, the wiper
interval also increases or
decreases.
6(Low Speed): Slow wipes.
1(High Speed): Fast wipes.
8(Mist):Single wipe, move the
lever down, then release it. Several
wipes, hold the lever down.
Clear ice and snow from the wiper
blades before using them.
If frozen to the windshield, carefully
loosen or thaw them. Damaged
wiper blades should be replaced.
Heavy snow or ice can overload the
wiper motor. A circuit breaker stops
the motor until it cools. If the motor
gets stuck, turn the wipers off, clear
away the snow or ice, and then turn
the wipers back on.
As an added safety feature, if
the wipers are on for more than
15 seconds, the vehicle's
headlamps turn on automatically.
They turn off 15 seconds after the
wipers are turned off. Windshield Washer
Press the button at the end of the
windshield wiper lever until the
washers begin.
{WARNING
In freezing weather, do not use
your washer until the windshield
is warmed. Otherwise the washer
fluid can form ice on the
windshield, blocking your vision.
When the button is released, the
washers stop, but the wipers
continue to wipe about three times
or resume the previous speed.
Page 128 of 382
Black plate (18,1)Chevrolet Malibu Owner Manual - 2011
5-18 Instruments and Controls
Emissions Inspection and
Maintenance Programs
Some state/provincial and local
governments may have programs
to inspect the on-vehicle emission
control equipment. For the
inspection, the emission system
test equipment is connected to the
vehicle’s Data Link
Connector (DLC).
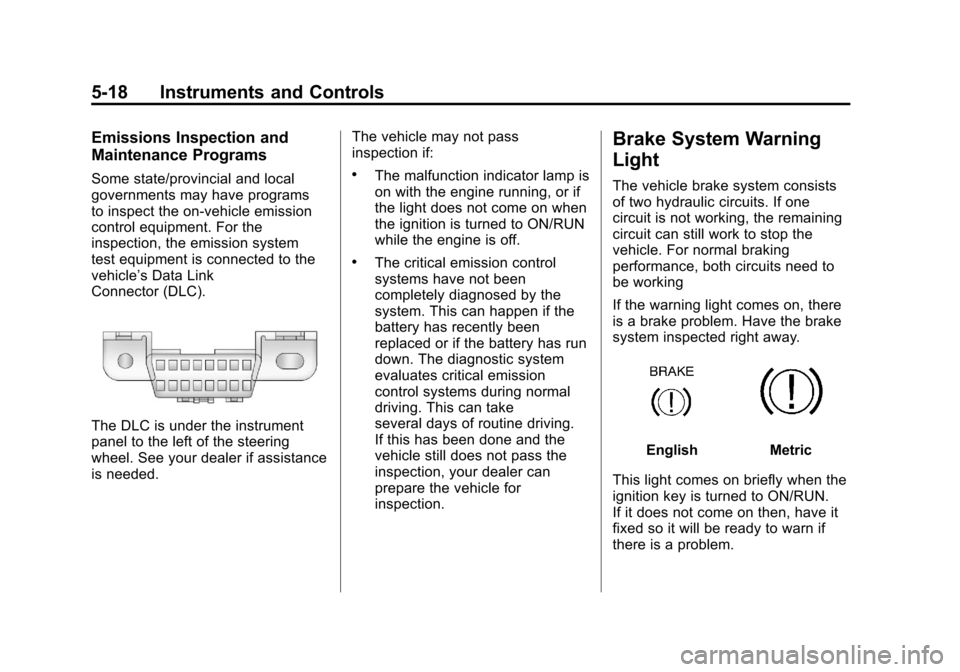
The DLC is under the instrument
panel to the left of the steering
wheel. See your dealer if assistance
is needed.The vehicle may not pass
inspection if:
.The malfunction indicator lamp is
on with the engine running, or if
the light does not come on when
the ignition is turned to ON/RUN
while the engine is off.
.The critical emission control
systems have not been
completely diagnosed by the
system. This can happen if the
battery has recently been
replaced or if the battery has run
down. The diagnostic system
evaluates critical emission
control systems during normal
driving. This can take
several days of routine driving.
If this has been done and the
vehicle still does not pass the
inspection, your dealer can
prepare the vehicle for
inspection.
Brake System Warning
Light
The vehicle brake system consists
of two hydraulic circuits. If one
circuit is not working, the remaining
circuit can still work to stop the
vehicle. For normal braking
performance, both circuits need to
be working
If the warning light comes on, there
is a brake problem. Have the brake
system inspected right away.
EnglishMetric
This light comes on briefly when the
ignition key is turned to ON/RUN.
If it does not come on then, have it
fixed so it will be ready to warn if
there is a problem.
Page 134 of 382
Black plate (24,1)Chevrolet Malibu Owner Manual - 2011
5-24 Instruments and Controls
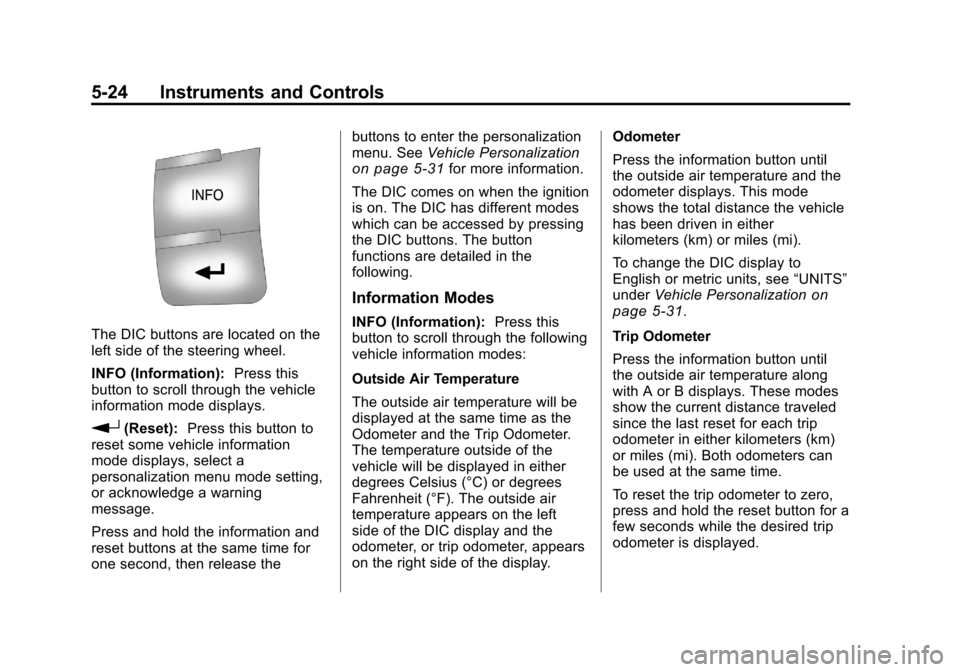
The DIC buttons are located on the
left side of the steering wheel.
INFO (Information):Press this
button to scroll through the vehicle
information mode displays.
r(Reset): Press this button to
reset some vehicle information
mode displays, select a
personalization menu mode setting,
or acknowledge a warning
message.
Press and hold the information and
reset buttons at the same time for
one second, then release the buttons to enter the personalization
menu. See
Vehicle Personalization
on page 5‑31for more information.
The DIC comes on when the ignition
is on. The DIC has different modes
which can be accessed by pressing
the DIC buttons. The button
functions are detailed in the
following.
Information Modes
INFO (Information): Press this
button to scroll through the following
vehicle information modes:
Outside Air Temperature
The outside air temperature will be
displayed at the same time as the
Odometer and the Trip Odometer.
The temperature outside of the
vehicle will be displayed in either
degrees Celsius (°C) or degrees
Fahrenheit (°F). The outside air
temperature appears on the left
side of the DIC display and the
odometer, or trip odometer, appears
on the right side of the display. Odometer
Press the information button until
the outside air temperature and the
odometer displays. This mode
shows the total distance the vehicle
has been driven in either
kilometers (km) or miles (mi).
To change the DIC display to
English or metric units, see
“UNITS”
under Vehicle Personalization
on
page 5‑31.
Trip Odometer
Press the information button until
the outside air temperature along
with A or B displays. These modes
show the current distance traveled
since the last reset for each trip
odometer in either kilometers (km)
or miles (mi). Both odometers can
be used at the same time.
To reset the trip odometer to zero,
press and hold the reset button for a
few seconds while the desired trip
odometer is displayed.
Page 140 of 382
Black plate (30,1)Chevrolet Malibu Owner Manual - 2011
5-30 Instruments and Controls
TRACTION OFF
If your vehicle has the Traction
Control System (TCS), this
message displays and the ESC/TCS
light on the instrument panel cluster
comes on solid when the system is
turned off. Adjust your driving
accordingly. SeeTraction Control
System (TCS)
on page 9‑30and
Electronic Stability Control (ESC)/
Traction Control System (TCS)
Indicator/Warning Light
on
page 5‑20for more information.
Airbag System Messages
SERVICE AIR BAG
This message displays when there
is a problem with the airbag system.
Have your vehicle serviced by your
dealer immediately.
Service Vehicle Messages
ENGINE DISABLED
This message displays if the starting
of the engine is disabled. Have your
vehicle serviced by your dealer
immediately.
POWER STEERING
On some vehicles, this message
displays if a problem has been
detected with the electric power
steering. Have your vehicle serviced
by your dealer immediately.
Tire Messages
SVC (Service) TIRE MONITOR
On vehicles with the Tire Pressure
Monitor System (TPMS), this
message displays if a part on the
TPMS is not working properly. The
tire pressure light also flashes and
then remains on during the same
ignition cycle. See Tire Pressure
Light
on page 5‑21. Several conditions may cause this
message to appear. See
Tire
Pressure Monitor Operation
on
page 10‑48for more information.
If the warning comes on and stays
on, there may be a problem with the
TPMS. See your dealer.
TIRE LOW ADD AIR
On vehicles with the Tire Pressure
Monitor System (TPMS), this
message displays when the
pressure in one or more of the
vehicle's tires is low on air. The low
tire pressure warning light also
comes on. See Tire Pressure Light
on page 5‑21. If this message
appears on the DIC, stop as soon
as you can. Have the tire pressures
checked and set to those shown on
the Tire Loading Information label.
See Tires
on page 10‑38,Vehicle
Load Limitson page 9‑12, and Tire
Pressureon page 10‑45. The DIC
also shows the tire pressure values.
See Driver Information Center (DIC)
on page 5‑23.