2011 CHEVROLET MALIBU radio
[x] Cancel search: radioPage 41 of 382
Black plate (13,1)Chevrolet Malibu Owner Manual - 2011
Keys, Doors and Windows 2-13
When an alarm event has finished,
the system will re-arm itself
automatically.
How to Turn Off the System
Alarm
To turn off the system alarm:
.Press the lock button on the
RKE transmitter. The system will
then re-arm itself.
.Press the unlock button on the
RKE transmitter. This will also
disarm the system.
.Insert the key in the ignition and
turn it on. This will also disarm
the system.
How to Detect a Tamper
Condition
If three chirps are heard when the
unlock or lock button is pressed on
the RKE transmitter, it means that
the system alarm was previously
triggered.
Immobilizer
SeeRadio Frequency Statementon
page 13‑17for information
regarding Part 15 of the Federal
Communications Commission
(FCC) rules and Industry Canada
Standards RSS-210/220/310.
Immobilizer Operation
This vehicle has a passive
theft-deterrent system.
The system does not have to be
manually armed or disarmed.
The vehicle is automatically
immobilized when the key is
removed from the ignition.
The system is automatically
disarmed when the vehicle is
started with the correct key. The key
uses a transponder that matches
an immobilizer control unit in the
vehicle and automatically disarms the system. Only the correct key
starts the vehicle. The vehicle may
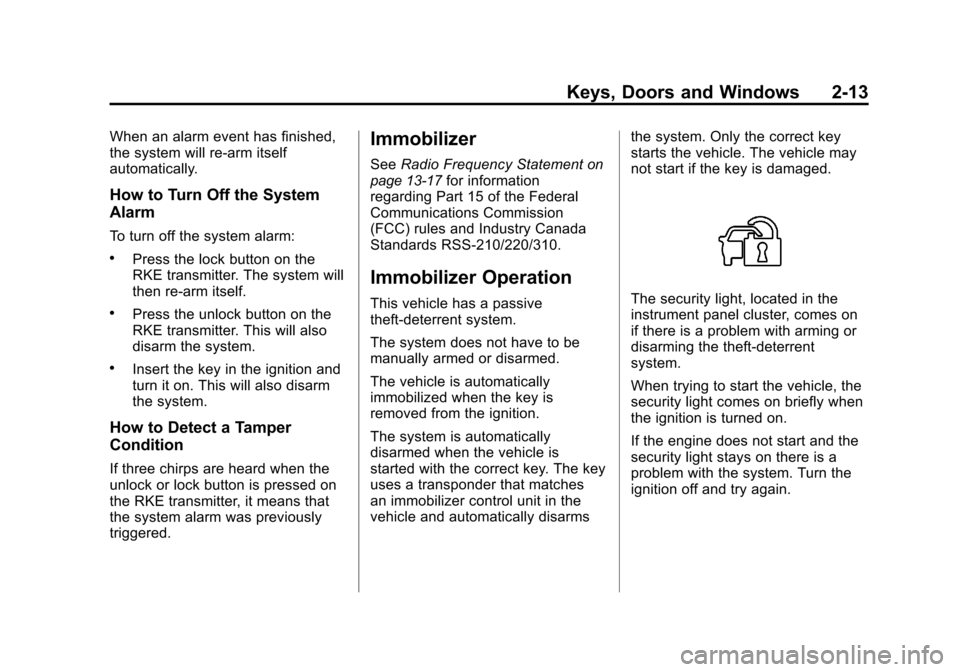
not start if the key is damaged.The security light, located in the
instrument panel cluster, comes on
if there is a problem with arming or
disarming the theft-deterrent
system.
When trying to start the vehicle, the
security light comes on briefly when
the ignition is turned on.
If the engine does not start and the
security light stays on there is a
problem with the system. Turn the
ignition off and try again.
Page 109 of 382
Black plate (1,1)Chevrolet Malibu Owner Manual - 2011
Storage 4-1
Storage
Storage Compartments
Instrument Panel Storage . . . . 4-1
Glove Box . . . . . . . . . . . . . . . . . . . . 4-1
Cupholders . . . . . . . . . . . . . . . . . . . 4-1
Front Storage . . . . . . . . . . . . . . . . . 4-2
Center Console Storage . . . . . . 4-2
Additional Storage Features
Convenience Net . . . . . . . . . . . . . 4-2
Storage
Compartments
Instrument Panel Storage
An instrument panel storage area,
with a removable liner, is located
above the radio. Slide the latch
toward the rear of the vehicle to
open the storage area.
Glove Box
Pull the handle up to open.
Cupholders
Removable cupholders are located
in front of the center console. See
“Center Console Storage Area”to
access them. Press and hold the
tab at the rear of the cupholders and
lift up and rearward to remove the
cupholders. This disengages the
two forward tabs.
To reinstall, place the two forward
tabs into the slots and push down
on the rear of the cupholder.
For vehicles with rear seat
cupholders, access them by
pulling down on the door at the
back of the center console.
Page 112 of 382
Black plate (2,1)Chevrolet Malibu Owner Manual - 2011
5-2 Instruments and Controls
Controls
Steering Wheel
Adjustment
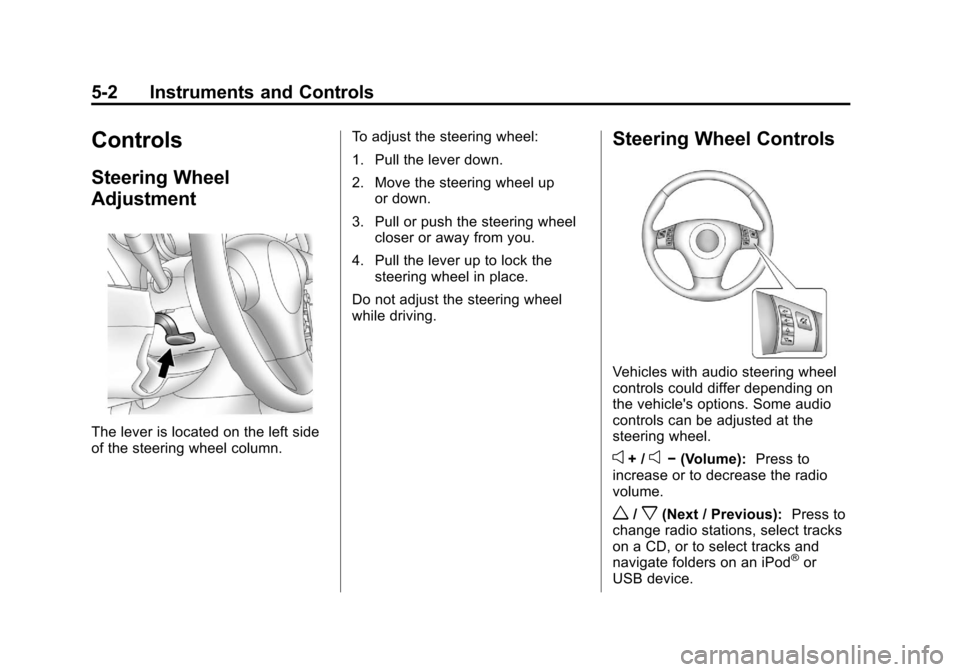
The lever is located on the left side
of the steering wheel column.To adjust the steering wheel:
1. Pull the lever down.
2. Move the steering wheel up
or down.
3. Pull or push the steering wheel closer or away from you.
4. Pull the lever up to lock the steering wheel in place.
Do not adjust the steering wheel
while driving.
Steering Wheel Controls
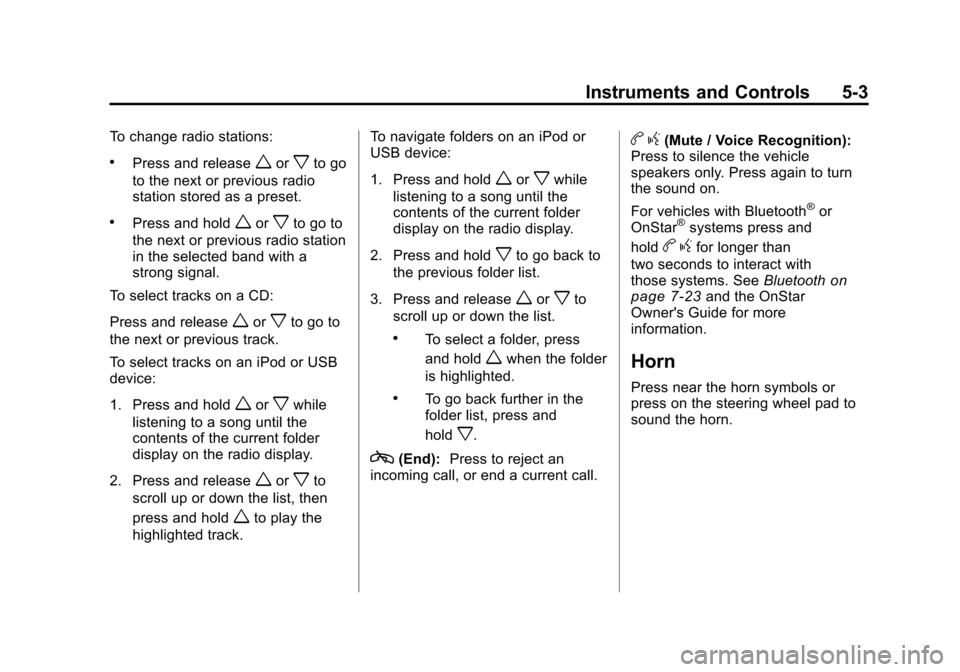
Vehicles with audio steering wheel
controls could differ depending on
the vehicle's options. Some audio
controls can be adjusted at the
steering wheel.
e+ /e− (Volume): Press to
increase or to decrease the radio
volume.
w/x(Next / Previous): Press to
change radio stations, select tracks
on a CD, or to select tracks and
navigate folders on an iPod
®or
USB device.
Page 113 of 382
Black plate (3,1)Chevrolet Malibu Owner Manual - 2011
Instruments and Controls 5-3
To change radio stations:
.Press and releaseworxto go
to the next or previous radio
station stored as a preset.
.Press and holdworxto go to
the next or previous radio station
in the selected band with a
strong signal.
To select tracks on a CD:
Press and release
worxto go to
the next or previous track.
To select tracks on an iPod or USB
device:
1. Press and hold
worxwhile
listening to a song until the
contents of the current folder
display on the radio display.
2. Press and release
worxto
scroll up or down the list, then
press and hold
wto play the
highlighted track. To navigate folders on an iPod or
USB device:
1. Press and hold
worxwhile
listening to a song until the
contents of the current folder
display on the radio display.
2. Press and hold
xto go back to
the previous folder list.
3. Press and release
worxto
scroll up or down the list.
.To select a folder, press
and hold
wwhen the folder
is highlighted.
.To go back further in the
folder list, press and
hold
x.
c(End): Press to reject an
incoming call, or end a current call.
b g(Mute / Voice Recognition):
Press to silence the vehicle
speakers only. Press again to turn
the sound on.
For vehicles with Bluetooth
®or
OnStar®systems press and
hold
b gfor longer than
two seconds to interact with
those systems. See Bluetooth
on
page 7‑23and the OnStar
Owner's Guide for more
information.
Horn
Press near the horn symbols or
press on the steering wheel pad to
sound the horn.
Page 116 of 382
Black plate (6,1)Chevrolet Malibu Owner Manual - 2011
5-6 Instruments and Controls
Clock
Without Date Display
AM/FM Base Radio with a Single
CD Player
To set the time:
1. Turn the ignition key to ACC/ACCESSORY or ON/RUN.
Press the
Oknob to turn the
radio on.
2. Press the
Hbutton until the hour
begins flashing on the display.
Press the
Hbutton a second
time and the minute begins
flashing on the display.
3. While either the hour or the minute numbers are flashing,
turn the
fknob to increase or
decrease the time. 4. Press the
Hbutton again until
the clock display stops flashing
to set the currently displayed
time; otherwise, the flashing
stops after five seconds and the
current time displayed is
automatically set.
To change the time default setting
from 12 hour to 24 hour, press the
Hbutton until 12H or 24H is
displayed. Once 12H or 24H is
displayed, turn the
fknob to the
desired option to select the setting.
Press the
Hbutton again to apply
the setting, or let the screen
time out.
With Date Display
Radio with CD (MP3) and USB
Port, and Radio with Single CD
(MP3) Player
To set the time and date:
1. Turn the ignition key to ACC/ ACCESSORY or ON/RUN.
Press the
Oknob to turn the
radio on.
2. Press the
Hbutton and the HR,
MIN, MM, DD, YYYY (hour,
minute, month, day, and year)
displays.
3. Press the softkey located below any one of the tabs that you
want to change.
Page 117 of 382
Black plate (7,1)Chevrolet Malibu Owner Manual - 2011
Instruments and Controls 5-7
4. To increase the time or date doone of the following:
.Press the softkey located
below the selected tab.
.Press the¨SEEK, or
\FWD button.
.Turn thefknob clockwise.
5. To decrease the time or date do one of the following:
.Press the©SEEK or
sREV button.
.Turn thefknob
counterclockwise.
The date does not automatically
display. To see the date press
Hwhile the radio is on. The date
with display times out after a few
seconds and goes back to the
normal radio and time display. To change the time default setting
from 12 hour to 24 hour or to
change the date default setting from
month/day/year to day/month/year:
1. Press the
Hbutton and then the
softkey located below the
forward arrow label. Once the
time 12H and 24H, and the date
MM/DD/YYYY (month, day, and
year) and DD/MM/YYYY (day,
month, and year) displays.
2. Press the softkey located below the desired option.
3. Press the
Hbutton again to
apply the selected default, or let
the screen time out.
Power Outlets
Accessory power outlets can be
used to plug in electrical equipment,
such as a cell phone or MP3 player.
There are two accessory power
outlets. One accessory power outlet
is located inside the storage bin below the climate controls and the
other outlet is on the rear of the
center storage console.
Remove the cover to access
and replace when not in use.
The accessory power outlet is
operational at all times.
{WARNING
Power is always supplied to the
outlets. Do not leave electrical
equipment plugged in when the
vehicle is not in use because the
vehicle could catch fire and cause
injury or death.
Notice: Leaving electrical
equipment plugged in for an
extended period of time while
the vehicle is off will drain the
battery. Always unplug electrical
equipment when not in use and
do not plug in equipment that
exceeds the maximum 20 ampere
rating.
Page 125 of 382
Black plate (15,1)Chevrolet Malibu Owner Manual - 2011
Instruments and Controls 5-15
as a system check. If you are using
remote start to start the vehicle from
a distance, if equipped, you may not
see the system check. Then, after
several more seconds, the status
indicator will light either ON or OFF,
or either the on or off symbol to let
you know the status of the right front
passenger frontal and seat-mounted
side impact airbags.
If the word ON or the on symbol is
lit on the passenger airbag status
indicator, it means that the right
front passenger frontal airbag and
seat-mounted side impact airbag
are enabled (may inflate).
If the word OFF or the off symbol is
lit on the passenger airbag status
indicator, it means that the
passenger sensing system has
turned off the right front passenger
frontal and seat-mounted side
impact airbag.If, after several seconds, both status
indicator lights remain on, or if there
are no lights at all, there may be a
problem with the lights or the
passenger sensing system. See
your dealer for service.
{WARNING
If the airbag readiness light ever
comes on and stays on, it means
that something may be wrong
with the airbag system. To help
avoid injury to yourself or others,
have the vehicle serviced right
away. See
Airbag Readiness
Light
on page 5‑14for more
information, including important
safety information.
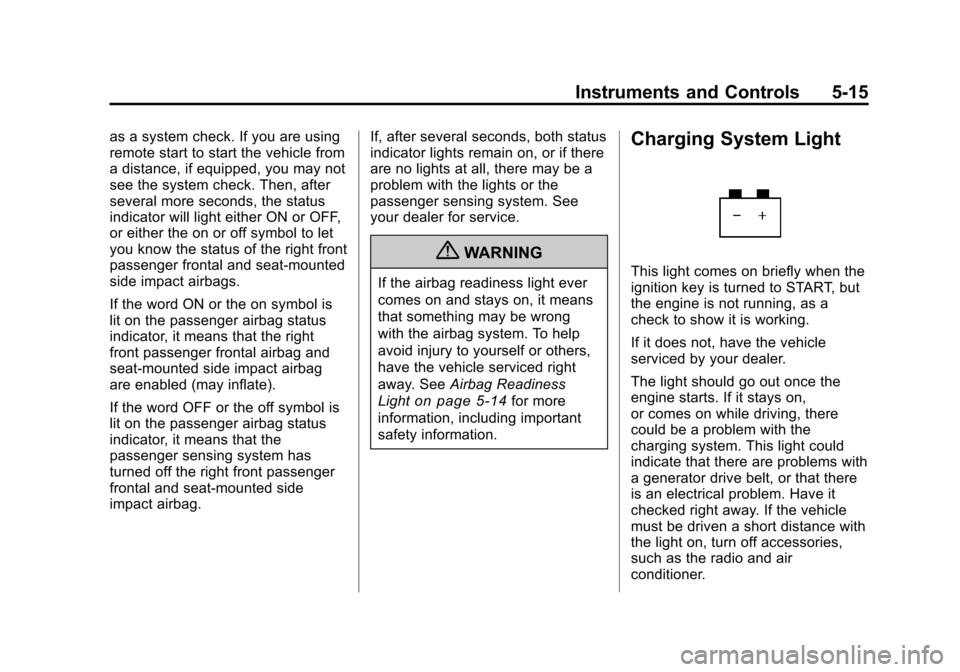
Charging System Light
This light comes on briefly when the
ignition key is turned to START, but
the engine is not running, as a
check to show it is working.
If it does not, have the vehicle
serviced by your dealer.
The light should go out once the
engine starts. If it stays on,
or comes on while driving, there
could be a problem with the
charging system. This light could
indicate that there are problems with
a generator drive belt, or that there
is an electrical problem. Have it
checked right away. If the vehicle
must be driven a short distance with
the light on, turn off accessories,
such as the radio and air
conditioner.
Page 149 of 382
Black plate (3,1)Chevrolet Malibu Owner Manual - 2011
Lighting 6-3
Flash-to-Pass
This feature lets the high-beam
headlamps be used to signal a
driver in front of you that you want
to pass.
Pull the turn signal/multifunction
lever toward you until the high-beam
headlamps come on, then release
the lever to turn them off.
Daytime Running
Lamps (DRL)
Daytime Running Lamps (DRL) can
make it easier for others to see the
front of your vehicle during the day.
Fully functional DRL are required on
all vehicles first sold in Canada. The
vehicle has a light sensor on top of
the instrument panel that controls
the DRL. Do not cover this sensor
or the head lamps will be on when
they are not needed.The DRL system makes the
low-beam headlamps come on at a
reduced brightness when the
following conditions are met:
.The ignition is on.
.The exterior lamps control is
in AUTO.
.The exterior lamps control is in
the parking lamps only position
(This applies only to vehicles
that are first sold in Canada).
.The light sensor detects daytime
light.
.The parking brake is released or
the vehicle is not in P (Park).
When the DRL system is on, the
taillamps, sidemarker lamps,
parking lamps, and instrument panel
lights are not on unless you turn the
exterior lamps control to the parking
lamp position.
The regular headlamp system
should be turned on when they are
needed.
Automatic Headlamp
System
When it is dark enough outside, the
automatic headlamp system turns
on the headlamps at the normal
brightness along with other lamps
such as the taillamps, sidemarker,
parking lamps, and the instrument
panel lights. The radio lights will
also be dim.
The vehicle has a light sensor on
top of the instrument panel that
controls the automatic headlamp
system. Do not cover the sensor or
the automatic headlamp system will
turn on when it is not needed.
There is a delay in the transition
between the daytime and nighttime
operation of the DRL and the
automatic headlamp systems so
that driving under bridges or bright
overhead street lights does not
affect the system. The DRL and
automatic headlamp systems will
only be affected when the light
sensor sees a change in lighting
lasting longer than this delay.