2011 CHEVROLET HHR AUX
[x] Cancel search: AUXPage 7 of 430
Black plate (1,1)Chevrolet HHR Owner Manual - 2011
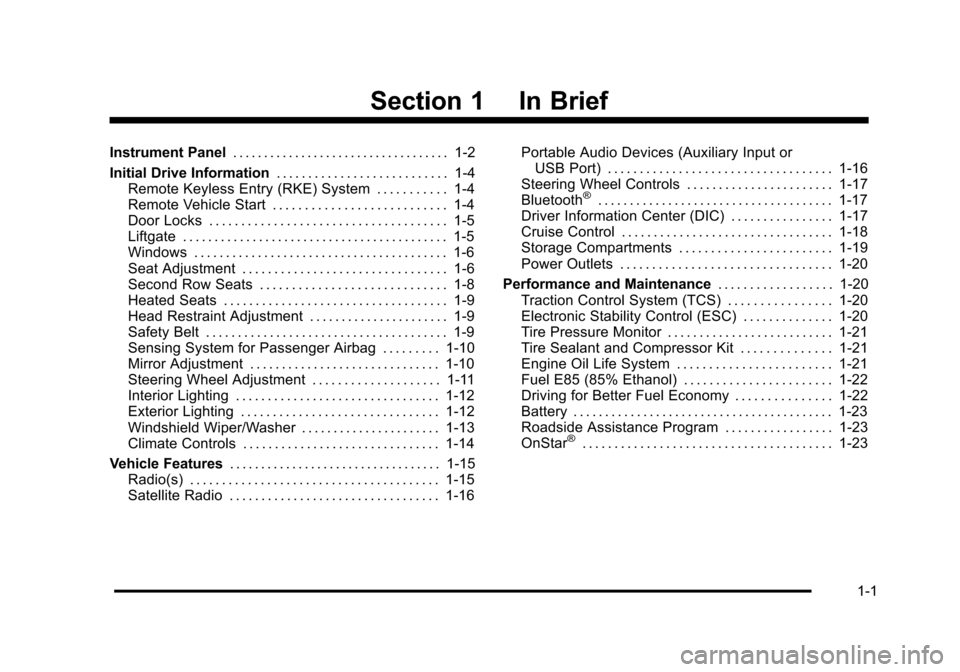
Section 1 In Brief
Instrument Panel. . . . . . . . . . . . . . . . . . . . . . . . . . . . . . . . . . . 1-2
Initial Drive Information . . . . . . . . . . . . . . . . . . . . . . . . . . . 1-4
Remote Keyless Entry (RKE) System . . . . . . . . . . . 1-4
Remote Vehicle Start . . . . . . . . . . . . . . . . . . . . . . . . . . . 1-4
Door Locks . . . . . . . . . . . . . . . . . . . . . . . . . . . . . . . . . . . . . 1-5
Liftgate . . . . . . . . . . . . . . . . . . . . . . . . . . . . . . . . . . . . . . . . . . 1-5
Windows . . . . . . . . . . . . . . . . . . . . . . . . . . . . . . . . . . . . . . . . 1-6
Seat Adjustment . . . . . . . . . . . . . . . . . . . . . . . . . . . . . . . . 1-6
Second Row Seats . . . . . . . . . . . . . . . . . . . . . . . . . . . . . 1-8
Heated Seats . . . . . . . . . . . . . . . . . . . . . . . . . . . . . . . . . . . 1-9
Head Restraint Adjustment . . . . . . . . . . . . . . . . . . . . . . 1-9
Safety Belt . . . . . . . . . . . . . . . . . . . . . . . . . . . . . . . . . . . . . . 1-9
Sensing System for Passenger Airbag . . . . . . . . . 1-10
Mirror Adjustment . . . . . . . . . . . . . . . . . . . . . . . . . . . . . . 1-10
Steering Wheel Adjustment . . . . . . . . . . . . . . . . . . . . 1-11
Interior Lighting . . . . . . . . . . . . . . . . . . . . . . . . . . . . . . . . 1-12
Exterior Lighting . . . . . . . . . . . . . . . . . . . . . . . . . . . . . . . 1-12
Windshield Wiper/Washer . . . . . . . . . . . . . . . . . . . . . . 1-13
Climate Controls . . . . . . . . . . . . . . . . . . . . . . . . . . . . . . . 1-14
Vehicle Features . . . . . . . . . . . . . . . . . . . . . . . . . . . . . . . . . . 1-15
Radio(s) . . . . . . . . . . . . . . . . . . . . . . . . . . . . . . . . . . . . . . . 1-15
Satellite Radio . . . . . . . . . . . . . . . . . . . . . . . . . . . . . . . . . 1-16 Portable Audio Devices (Auxiliary Input or
USB Port) . . . . . . . . . . . . . . . . . . . . . . . . . . . . . . . . . . . 1-16
Steering Wheel Controls . . . . . . . . . . . . . . . . . . . . . . . 1-17
Bluetooth
®. . . . . . . . . . . . . . . . . . . . . . . . . . . . . . . . . . . . . 1-17
Driver Information Center (DIC) . . . . . . . . . . . . . . . . 1-17
Cruise Control . . . . . . . . . . . . . . . . . . . . . . . . . . . . . . . . . 1-18
Storage Compartments . . . . . . . . . . . . . . . . . . . . . . . . 1-19
Power Outlets . . . . . . . . . . . . . . . . . . . . . . . . . . . . . . . . . 1-20
Performance and Maintenance . . . . . . . . . . . . . . . . . .1-20
Traction Control System (TCS) . . . . . . . . . . . . . . . . 1-20
Electronic Stability Control (ESC) . . . . . . . . . . . . . . 1-20
Tire Pressure Monitor . . . . . . . . . . . . . . . . . . . . . . . . . . 1-21
Tire Sealant and Compressor Kit . . . . . . . . . . . . . . 1-21
Engine Oil Life System . . . . . . . . . . . . . . . . . . . . . . . . 1-21
Fuel E85 (85% Ethanol) . . . . . . . . . . . . . . . . . . . . . . . 1-22
Driving for Better Fuel Economy . . . . . . . . . . . . . . . 1-22
Battery . . . . . . . . . . . . . . . . . . . . . . . . . . . . . . . . . . . . . . . . . 1-23
Roadside Assistance Program . . . . . . . . . . . . . . . . . 1-23
OnStar
®. . . . . . . . . . . . . . . . . . . . . . . . . . . . . . . . . . . . . . . 1-23
1-1
Page 22 of 430
Black plate (16,1)Chevrolet HHR Owner Manual - 2011
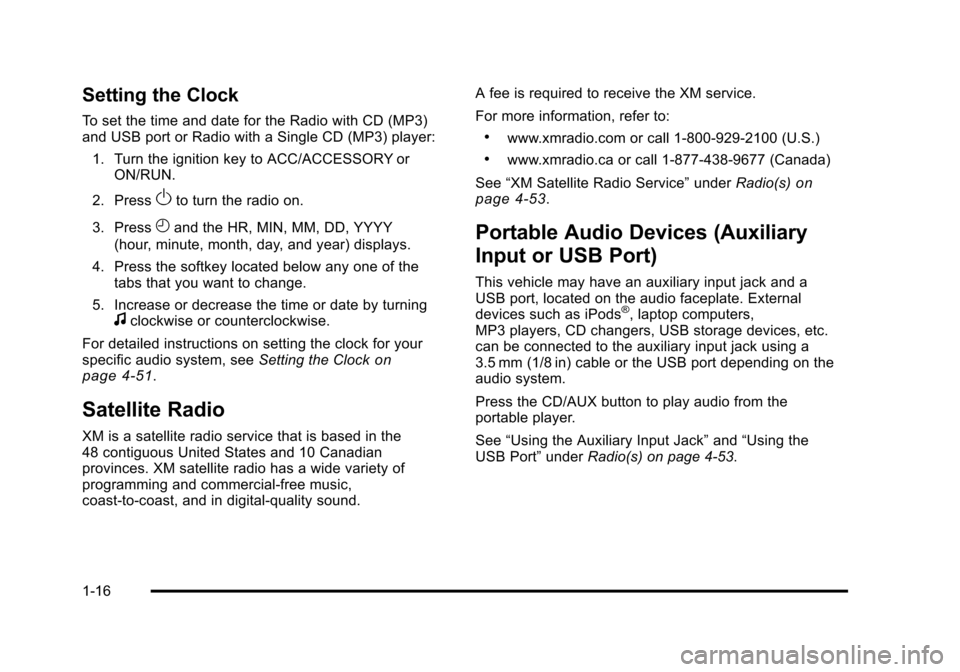
Setting the Clock
To set the time and date for the Radio with CD (MP3)
and USB port or Radio with a Single CD (MP3) player:1. Turn the ignition key to ACC/ACCESSORY or ON/RUN.
2. Press
Oto turn the radio on.
3. Press
Hand the HR, MIN, MM, DD, YYYY
(hour, minute, month, day, and year) displays.
4. Press the softkey located below any one of the tabs that you want to change.
5. Increase or decrease the time or date by turning
fclockwise or counterclockwise.
For detailed instructions on setting the clock for your
specific audio system, see Setting the Clock
on
page 4‑51.
Satellite Radio
XM is a satellite radio service that is based in the
48 contiguous United States and 10 Canadian
provinces. XM satellite radio has a wide variety of
programming and commercial-free music,
coast-to-coast, and in digital-quality sound. A fee is required to receive the XM service.
For more information, refer to:
.www.xmradio.com or call 1-800-929-2100 (U.S.)
.www.xmradio.ca or call 1-877-438-9677 (Canada)
See “XM Satellite Radio Service” underRadio(s)
on
page 4‑53.
Portable Audio Devices (Auxiliary
Input or USB Port)
This vehicle may have an auxiliary input jack and a
USB port, located on the audio faceplate. External
devices such as iPods
®, laptop computers,
MP3 players, CD changers, USB storage devices, etc.
can be connected to the auxiliary input jack using a
3.5 mm (1/8 in) cable or the USB port depending on the
audio system.
Press the CD/AUX button to play audio from the
portable player.
See “Using the Auxiliary Input Jack” and“Using the
USB Port” underRadio(s) on page 4‑53.
1-16
Page 217 of 430
Black plate (61,1)Chevrolet HHR Owner Manual - 2011
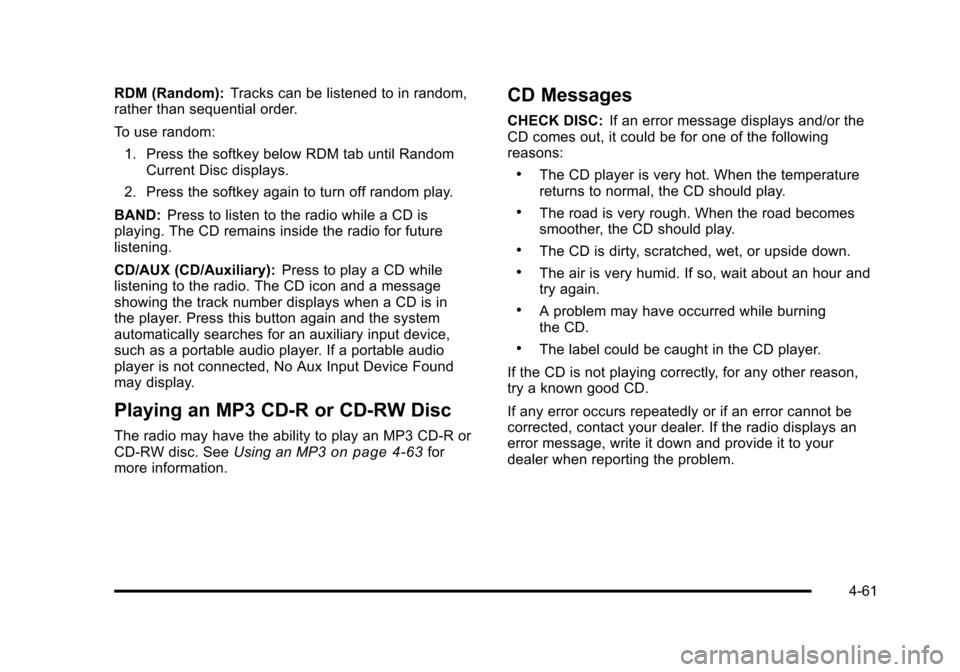
RDM (Random):Tracks can be listened to in random,
rather than sequential order.
To use random:
1. Press the softkey below RDM tab until Random Current Disc displays.
2. Press the softkey again to turn off random play.
BAND: Press to listen to the radio while a CD is
playing. The CD remains inside the radio for future
listening.
CD/AUX (CD/Auxiliary): Press to play a CD while
listening to the radio. The CD icon and a message
showing the track number displays when a CD is in
the player. Press this button again and the system
automatically searches for an auxiliary input device,
such as a portable audio player. If a portable audio
player is not connected, No Aux Input Device Found
may display.
Playing an MP3 CD-R or CD-RW Disc
The radio may have the ability to play an MP3 CD-R or
CD-RW disc. See Using an MP3on page 4‑63for
more information.
CD Messages
CHECK DISC: If an error message displays and/or the
CD comes out, it could be for one of the following
reasons:
.The CD player is very hot. When the temperature
returns to normal, the CD should play.
.The road is very rough. When the road becomes
smoother, the CD should play.
.The CD is dirty, scratched, wet, or upside down.
.The air is very humid. If so, wait about an hour and
try again.
.A problem may have occurred while burning
the CD.
.The label could be caught in the CD player.
If the CD is not playing correctly, for any other reason,
try a known good CD.
If any error occurs repeatedly or if an error cannot be
corrected, contact your dealer. If the radio displays an
error message, write it down and provide it to your
dealer when reporting the problem.
4-61
Page 218 of 430
Black plate (62,1)Chevrolet HHR Owner Manual - 2011
Care of CDs
Store CD(s) in their original cases or other protective
cases and away from direct sunlight and dust. The
CD player scans the bottom of the disc. If the bottom
of a CD is damaged it may not play properly or at all.
Do not touch the bottom of a CD while handling it. Pick
up CDs by grasping the outer edges or the edge of the
hole and the outer edge.
If the surface of a CD is dirty, take a soft, lint free
cloth or dampen a clean, soft cloth in a mild, neutral
detergent solution mixed with water, and clean it.
Make sure the wiping process starts from the center
to the edge.
Care of the CD Player
Do not add labels to a CD, it could get caught in the
CD player. Use a marking pen to write on the top of
the CD if a description is needed.
Do not use CD lens cleaners, they could damage the
CD player.
Notice:If a label is added to a CD, or more than
one CD is inserted into the slot at a time, or an
attempt is made to play scratched or damaged CDs,
the CD player could be damaged. While using the
CD player, use only CDs in good condition without
any label, load one CD at a time, and keep the
CD player and the loading slot free of foreign
materials, liquids, and debris. If an error displays, see
“CD Messages”earlier in this
section.
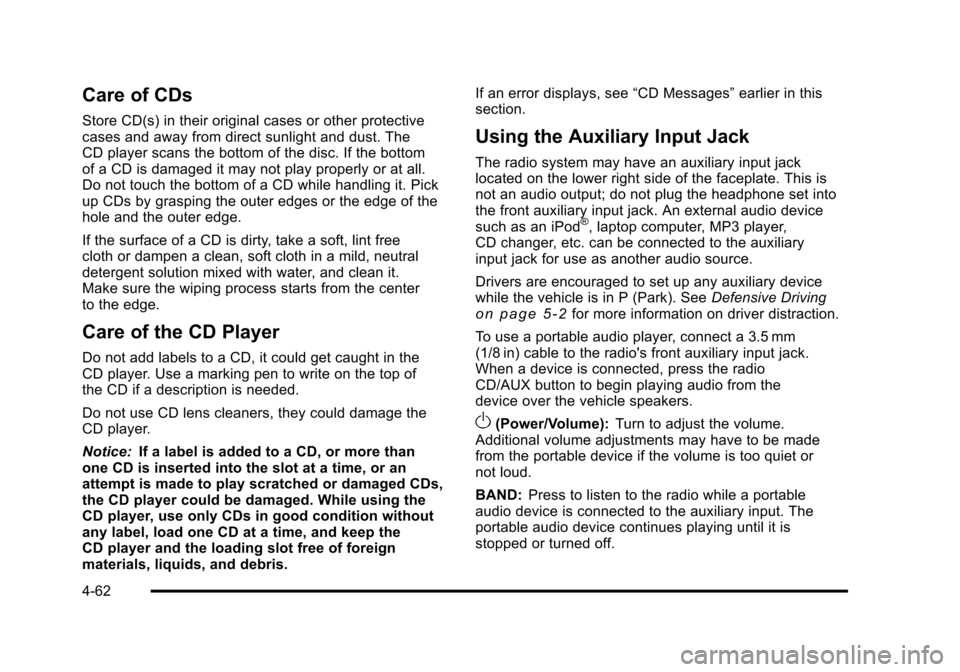
Using the Auxiliary Input Jack
The radio system may have an auxiliary input jack
located on the lower right side of the faceplate. This is
not an audio output; do not plug the headphone set into
the front auxiliary input jack. An external audio device
such as an iPod
®, laptop computer, MP3 player,
CD changer, etc. can be connected to the auxiliary
input jack for use as another audio source.
Drivers are encouraged to set up any auxiliary device
while the vehicle is in P (Park). See Defensive Driving
on page 5‑2for more information on driver distraction.
To use a portable audio player, connect a 3.5 mm
(1/8 in) cable to the radio's front auxiliary input jack.
When a device is connected, press the radio
CD/AUX button to begin playing audio from the
device over the vehicle speakers.
O(Power/Volume): Turn to adjust the volume.
Additional volume adjustments may have to be made
from the portable device if the volume is too quiet or
not loud.
BAND: Press to listen to the radio while a portable
audio device is connected to the auxiliary input. The
portable audio device continues playing until it is
stopped or turned off.
4-62
Page 219 of 430
Black plate (63,1)Chevrolet HHR Owner Manual - 2011
CD/AUX (CD/Auxiliary):Press to play a CD while a
portable audio device is connected to the auxiliary
input. Press again and the system begins playing audio
from the connected portable audio player. If a portable
audio player is not connected, No Aux Input Device
may display.
Using the USB Port
Radio's with a USB port can control a USB storage
device or an iPod®using the radio buttons and knobs.
See Using an MP3on page 4‑63for information about
how to connect and control a USB storage device or
an iPod.
USB Support
The USB connector is located on the front of the radio
and uses the USB 2.0 standard.
USB Supported Devices
.USB Flash Drives
.Portable USB Hard Drives
.Fifth generation or later iPod
.First, Second, or Third generation iPod nano
.iPod touch
.iPod classic Make sure the iPod has the latest firmware from Apple
®
for proper operation. iPod firmware can be updated
using the latest iTunes®application. See
www.apple.com/itunes.
For help with identifying your iPod, go to
www.apple.com/support.
Using an MP3
Format
Radios that have the capability of playing MP3's can
play .mp3 or .wma files that were recorded onto a
CD-R or CD-RW disc. Radios that have a USB port
can play .mp3 and .wma files that are stored on a
USB storage device as well as AAC files that are
stored on an iPod
®.
Compressed Audio
The radio can play discs that contain both
uncompressed CD audio and MP3 files. If both formats
are on the disc, the radio reads all MP3 files first, then
the uncompressed CD audio files.
4-63
Page 223 of 430
Black plate (67,1)Chevrolet HHR Owner Manual - 2011
Connecting a USB Storage Device
or iPod®
The USB Port can be used to control an iPod or a
USB storage device.
To connect a USB storage device, connect the device to
the USB port located on the front of the radio.
To connect an iPod, connect one end of the USB cable
that came with the iPod to the iPod’s dock connector
and connect the other end to the USB port located on
the front of the radio. If the vehicle is on and the
USB connection works, “OK to disconnect”and a
GM logo may appear on the iPod and iPod appears on
the radio's display. The iPod music appears on the
radio’s display and begins playing.
The iPod charges while it is connected to the vehicle if
the vehicle is in the ACC/ACCESSORY or ON/RUN
position. When the vehicle is turned off, the iPod
automatically powers off and will not charge or draw
power from the vehicle's battery.
If you have an older iPod model that is not supported, it
can still be used by connecting it to the Auxiliary Input
Jack using a standard 3.5 mm (1/8 in) stereo cable. See
“Using the Auxiliary Input Jack” earlier for more
information.
Using the Radio to Control a USB
Storage Device or iPod
The radio can control a USB storage device or an iPod
using the radio buttons and knobs and display song
information on the radio’s display.
f(Tune): Turn to select files.
©SEEK:Press to go to the start of the track, if more
than ten seconds have played. Press and hold or press
multiple times to continue moving backward through
tracks.
¨SEEK: Press to go to the next track. Press and hold
or press multiple times to continue moving forward
through tracks.
sREV (Reverse): Press and hold to reverse playback
quickly. Sound is heard at a reduced volume. Release
sREV to resume playing. The elapsed time of the file
displays.
\FWD (Fast Forward): Press and hold to advance
playback quickly. Sound is heard at a reduced volume.
Release
\FWD to resume playing. The elapsed time
of the file displays.
4(Information): Press to display additional information
about the selected track.
4-67