2011 CHEVROLET COLORADO maintenance
[x] Cancel search: maintenancePage 244 of 392

Black plate (4,1)Chevrolet Colorado Owner Manual - 2011
10-4 Vehicle Care
Accessories and
Modifications
Adding non‐dealer accessories to
the vehicle can affect vehicle
performance and safety, including
such things as airbags, braking,
stability, ride and handling,
emissions systems, aerodynamics,
durability, and electronic systems
like antilock brakes, traction control,
and stability control. Some of these
accessories could even cause
malfunction or damage not covered
by the vehicle warranty.
Damage to vehicle components
resulting from the installation or use
of non‐GM certified parts, including
control module modifications, is not
covered under the terms of the
vehicle warranty and may affect
remaining warranty coverage for
affected parts.GM Accessories are designed to
complement and function with other
systems on the vehicle. Your GM
dealer can accessorize the vehicle
using genuine GM Accessories.
When you go to your GM dealer and
ask for GM Accessories, you will
know that GM-trained and
supported service technicians will
perform the work using genuine GM
Accessories.
Also, see
Adding Equipment to the
Airbag-Equipped Vehicle on
page 3‑37.
Vehicle Checks
Doing Your Own
Service Work
{WARNING
You can be injured and the
vehicle could be damaged if you
try to do service work on a vehicle
without knowing enough about it.
.Be sure you have sufficient
knowledge, experience,
the proper replacement
parts, and tools before
attempting any vehicle
maintenance task.
.Be sure to use the proper
nuts, bolts, and other
fasteners. English and metric
fasteners can be easily
confused. If the wrong
fasteners are used, parts can
later break or fall off. You
could be hurt.
Page 245 of 392
Black plate (5,1)Chevrolet Colorado Owner Manual - 2011
Vehicle Care 10-5
If doing some of your own service
work, use the proper service
manual. It tells you much more
about how to service the vehicle
than this manual can. To order the
proper service manual, seeService
Publications Ordering Information
on page 13‑13.
This vehicle has an airbag system.
Before attempting to do your own
service work, see Servicing the
Airbag-Equipped Vehicle on
page 3‑36.
Keep a record with all parts receipts
and list the mileage and the date of
any service work performed. See
Maintenance Records on
page 11‑10.Hood
To open the hood, do the following:
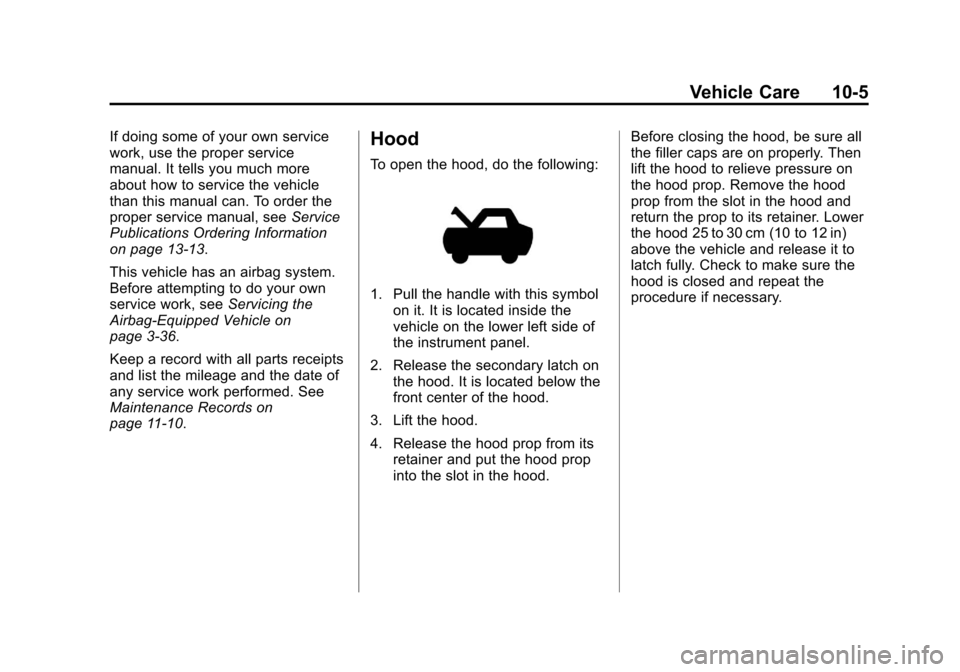
1. Pull the handle with this symbol on it. It is located inside the
vehicle on the lower left side of
the instrument panel.
2. Release the secondary latch on the hood. It is located below the
front center of the hood.
3. Lift the hood.
4. Release the hood prop from its retainer and put the hood prop
into the slot in the hood. Before closing the hood, be sure all
the filler caps are on properly. Then
lift the hood to relieve pressure on
the hood prop. Remove the hood
prop from the slot in the hood and
return the prop to its retainer. Lower
the hood 25 to 30 cm (10 to 12 in)
above the vehicle and release it to
latch fully. Check to make sure the
hood is closed and repeat the
procedure if necessary.
Page 253 of 392
Black plate (13,1)Chevrolet Colorado Owner Manual - 2011
Vehicle Care 10-13
If the system is ever reset
accidentally, the oil must be
changed at 5 000 km (3,000 miles)
since the last oil change.
Remember to reset the oil life
system whenever the oil is changed.
How to Reset the Engine Oil
Life System
Reset the system whenever the
engine oil is changed so that the
system can calculate the next
engine oil change. To reset the
system:
1. Turn the ignition to ON/RUN,with the engine off.
2. Press and release the stem in the lower center of the
instrument cluster until the OIL
LIFE message is displayed.
3. Once the alternating OIL LIFE and RESET messages appear,
press and hold the stem until
several beeps sound. This
confirms that the oil life system
has been reset.
4. Turn the key to LOCK/OFF. If the CHANGE OIL message
comes back on when the vehicle is
started, the engine oil life system
has not been reset. Repeat the
procedure.
Automatic Transmission
Fluid
When to Check and Change
Automatic Transmission Fluid
A good time to check the automatic
transmission fluid level is when the
engine oil is changed.
Change the fluid and filter at the
intervals listed in
Scheduled
Maintenance on page 11‑2, and be
sure to use the transmission fluid
listed in Recommended Fluids and
Lubricants on page 11‑6.
How to Check Automatic
Transmission Fluid
Because this operation can be a
little difficult, it may be decided to
have this done at the dealer service
department. If not taken to the dealer, be sure to
follow all the instructions here, or a
false reading on the dipstick could
result.
Notice:
Too much or too little
fluid can damage the
transmission. Too much can
mean that some of the fluid could
come out and fall on hot engine
parts or exhaust system parts,
starting a fire. Too little fluid
could cause the transmission to
overheat. Be sure to get an
accurate reading if checking the
transmission fluid.
Wait at least 30 minutes before
checking the transmission fluid level
if the vehicle has been driven:
.When outside temperatures are
above 32°C (90°F).
.At high speed for quite a while.
.In heavy traffic —especially in
hot weather.
.While pulling a trailer.
Page 255 of 392
Black plate (15,1)Chevrolet Colorado Owner Manual - 2011
Vehicle Care 10-15
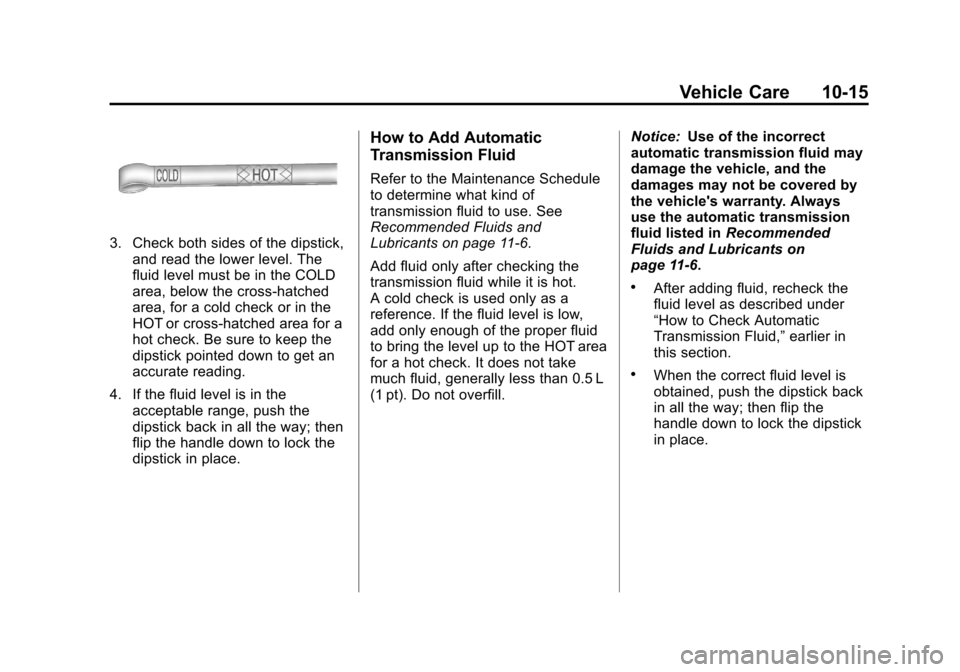
3. Check both sides of the dipstick,and read the lower level. The
fluid level must be in the COLD
area, below the cross-hatched
area, for a cold check or in the
HOT or cross-hatched area for a
hot check. Be sure to keep the
dipstick pointed down to get an
accurate reading.
4. If the fluid level is in the acceptable range, push the
dipstick back in all the way; then
flip the handle down to lock the
dipstick in place.
How to Add Automatic
Transmission Fluid
Refer to the Maintenance Schedule
to determine what kind of
transmission fluid to use. See
Recommended Fluids and
Lubricants on page 11‑6.
Add fluid only after checking the
transmission fluid while it is hot.
A cold check is used only as a
reference. If the fluid level is low,
add only enough of the proper fluid
to bring the level up to the HOT area
for a hot check. It does not take
much fluid, generally less than 0.5 L
(1 pt). Do not overfill. Notice:
Use of the incorrect
automatic transmission fluid may
damage the vehicle, and the
damages may not be covered by
the vehicle's warranty. Always
use the automatic transmission
fluid listed in Recommended
Fluids and Lubricants on
page 11‑6.
.After adding fluid, recheck the
fluid level as described under
“How to Check Automatic
Transmission Fluid,” earlier in
this section.
.When the correct fluid level is
obtained, push the dipstick back
in all the way; then flip the
handle down to lock the dipstick
in place.
Page 256 of 392

Black plate (16,1)Chevrolet Colorado Owner Manual - 2011
10-16 Vehicle Care
Manual Transmission
Fluid
When to Check
A good time to check the manual
transmission fluid is when the
engine oil is changed. However, the
fluid in the manual transmission
does not require changing.
How to Check
Because this operation can be a
little difficult, it may be decided to
have this done at the dealer service
department.
If not taken to the dealer, be sure to
follow all the instructions here, or a
false reading on the dipstick could
result.
Notice:Too much or too little
fluid can damage the
transmission. Too little fluid could
cause the transmission to
overheat. Be sure to get an
accurate reading if checking the
transmission fluid. Check the fluid level only when the
engine is off, the vehicle is parked
on a level place and the
transmission is cool enough to
touch the transmission case.
After this is done:
1. Remove the fill plug.
2. Check that the lubricant level is
up to the bottom of the fill
plug hole. 3. If the fluid level is good, install
the plug and be sure it is fully
seated. If the fluid level is low,
add more fluid as described in
the next steps.
How to Add Fluid
Here is how to add fluid. Refer to
the Maintenance Schedule to
determine what kind of fluid to use.
See Recommended Fluids and
Lubricants on page 11‑6.
1. Remove the fill plug.
2. Add fluid at the fill plug hole.
Add only enough fluid to bring
the fluid level up to the bottom of
the fill plug hole.
3. Install the fill plug. Be sure the plug is fully seated.
Page 257 of 392
Black plate (17,1)Chevrolet Colorado Owner Manual - 2011
Vehicle Care 10-17
Hydraulic Clutch
The hydraulic clutch linkage in the
vehicle is self-adjusting. The clutch
master cylinder reservoir is filled
with hydraulic clutch fluid.
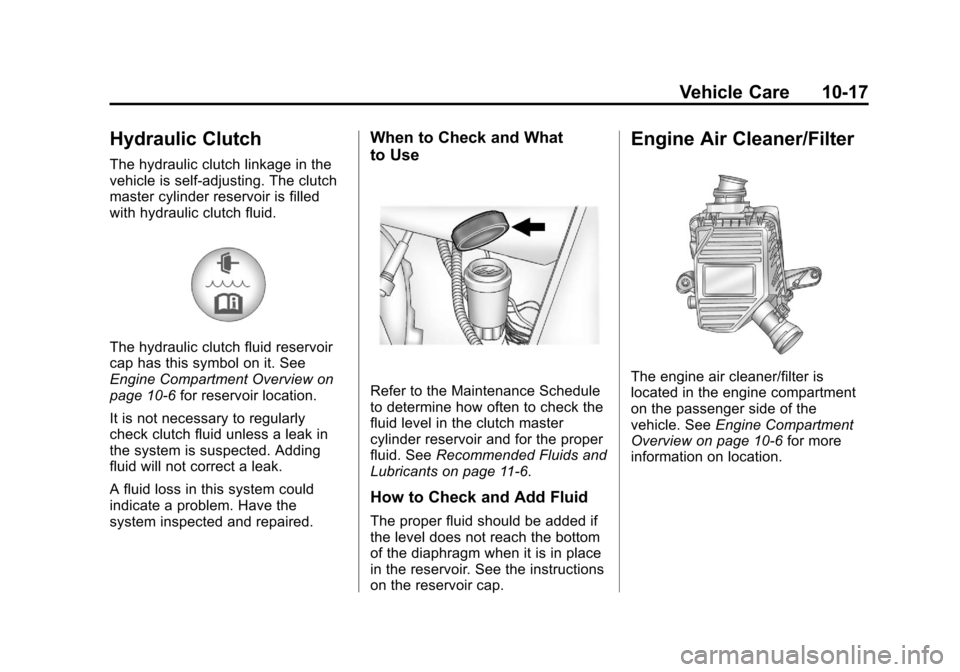
The hydraulic clutch fluid reservoir
cap has this symbol on it. See
Engine Compartment Overview on
page 10‑6for reservoir location.
It is not necessary to regularly
check clutch fluid unless a leak in
the system is suspected. Adding
fluid will not correct a leak.
A fluid loss in this system could
indicate a problem. Have the
system inspected and repaired.
When to Check and What
to Use
Refer to the Maintenance Schedule
to determine how often to check the
fluid level in the clutch master
cylinder reservoir and for the proper
fluid. See Recommended Fluids and
Lubricants on page 11‑6.
How to Check and Add Fluid
The proper fluid should be added if
the level does not reach the bottom
of the diaphragm when it is in place
in the reservoir. See the instructions
on the reservoir cap.
Engine Air Cleaner/Filter
The engine air cleaner/filter is
located in the engine compartment
on the passenger side of the
vehicle. See Engine Compartment
Overview on page 10‑6 for more
information on location.
Page 258 of 392

Black plate (18,1)Chevrolet Colorado Owner Manual - 2011
10-18 Vehicle Care
When to Inspect the Engine Air
Cleaner/Filter
Inspect the air cleaner/filter at the
scheduled maintenance intervals
and replace it at the first oil change
after each 80 000 km (50,000 mi)
interval. SeeScheduled
Maintenance on page 11‑2 for more
information. If you are driving in
dusty/dirty conditions, inspect the
filter at each engine oil change.
How to Inspect the Engine Air
Cleaner/Filter
To inspect or replace the engine air
cleaner/filter, do the following:
1. Unfasten the clips that hold the cover on and remove the cover.
2. Lift out the engine air cleaner/ filter.
3. Inspect or replace the air filter. See Maintenance Replacement
Parts on page 11‑9 to determine
which filter to use. 4. Reinstall the engine air cleaner/
filter cover. Fasten the clips to
hold the cover in place.
{WARNING
Operating the engine with the air
cleaner/filter off can cause you or
others to be burned. The air
cleaner not only cleans the air; it
helps to stop flames if the engine
backfires. Use caution when
working on the engine and do not
drive with the air cleaner/filter off.
Notice: If the air cleaner/filter is
off, dirt can easily get into the
engine, which could damage it.
Always have the air cleaner/filter
in place when you are driving.
Cooling System
The cooling system allows the
engine to maintain the correct
working temperature.
2.9 L L4 Engine Shown (3.7 L L5
Engine Similar)
A. Coolant Recovery Tank
B. Engine Cooling Fan (Out of View)
C. Radiator Pressure Cap
Page 267 of 392
Black plate (27,1)Chevrolet Colorado Owner Manual - 2011
Vehicle Care 10-27
.Fill the washer fluid tank only
three-quarters full when it is
very cold. This allows for
fluid expansion if freezing
occurs, which could damage
the tank if it is
completely full.
.Do not use engine coolant
(antifreeze) in the windshield
washer. It can damage the
windshield washer system
and paint.
Brakes
This vehicle has front disc brakes
and rear drum brakes.
Disc brake pads have built-in wear
indicators that make a high-pitched
warning sound when the brake pads
are worn and new pads are needed.
The sound can come and go or be
heard all the time the vehicle is
moving, except when applying the
brake pedal firmly.
{WARNING
The brake wear warning sound
means that soon the brakes will
not work well. That could lead to
a crash. When the brake wear
warning sound is heard, have the
vehicle serviced.
Notice: Continuing to drive with
worn-out brake pads could result
in costly brake repair.
Some driving conditions or climates
can cause a brake squeal when the
brakes are first applied or lightly
applied. This does not mean
something is wrong with the brakes.
Properly torqued wheel nuts are
necessary to help prevent brake
pulsation. When tires are rotated,
inspect brake pads for wear and
evenly tighten wheel nuts in the
proper sequence to torque
specifications in Capacities and
Specifications on page 12‑2. Rear drum brakes do not have wear
indicators, but if a rear brake
rubbing noise is heard, have the
rear brake linings inspected
immediately. Rear brake drums
should be removed and inspected
each time the tires are removed for
rotation or changing. Drum brakes
have an inspection hole to inspect
lining wear during scheduled
maintenance. When the front brake
pads are replaced, have the rear
brakes inspected, too.
Brake linings should always be
replaced as complete axle sets.
Brake Pedal Travel
See your dealer if the brake pedal
does not return to normal height,
or if there is a rapid increase in
pedal travel. This could be a sign
that brake service might be
required.
Brake Adjustment
Every time the brakes are applied,
with or without the vehicle moving,
the brakes adjust for wear.