2011 BMW 535I XDRIVE SEDAN brake
[x] Cancel search: brakePage 105 of 304
requirements for operation are currently not
met.
Distance to vehicle ahead of you
The selected distance to the vehicle driving
ahead of you is shown.
Distance display
Distance 1
Distance 2
Distance 3
Distance 4
This value is set after the system is
switched on.
The system has been interrupted or
distance control is deactivated be‐
cause the accelerator is being
pressed; a vehicle was not detected.
Distance control is deactivated be‐
cause the accelerator is being
pressed; a vehicle was detected.
Rolling bars: the detected vehicle has driven
away. Indicator/warning lamps
Personal responsibility
The indicator and warning lamps do not
relieve the driver of the responsibility to adapt
his
or her desired driving speed and style to the
traffic conditions.◀
The vehicle symbol lights up in orange:
A vehicle has been detected ahead of
you.
The vehicle symbol flashes orange:
The conditions are not adequate for op‐
erating the system. The system was deactivated but applies the
brakes until you actively assume control by
pressing on the brake pedal or accelerator.
The vehicle symbol flashes red and an
acoustic signal sounds:
You
are requested to intervene by brak‐
ing or making an evasive maneuver.
System limits
Speed range
Best results are achieved when using the sys‐
tem on well-developed roads and highways.
The desired speed can be selected between
20 mph/30 km/h to 110 mph/180 km/h.
The system can also be activated when station‐
ary.
Comply with the legal speed limit in every situa‐
tion when using the system.
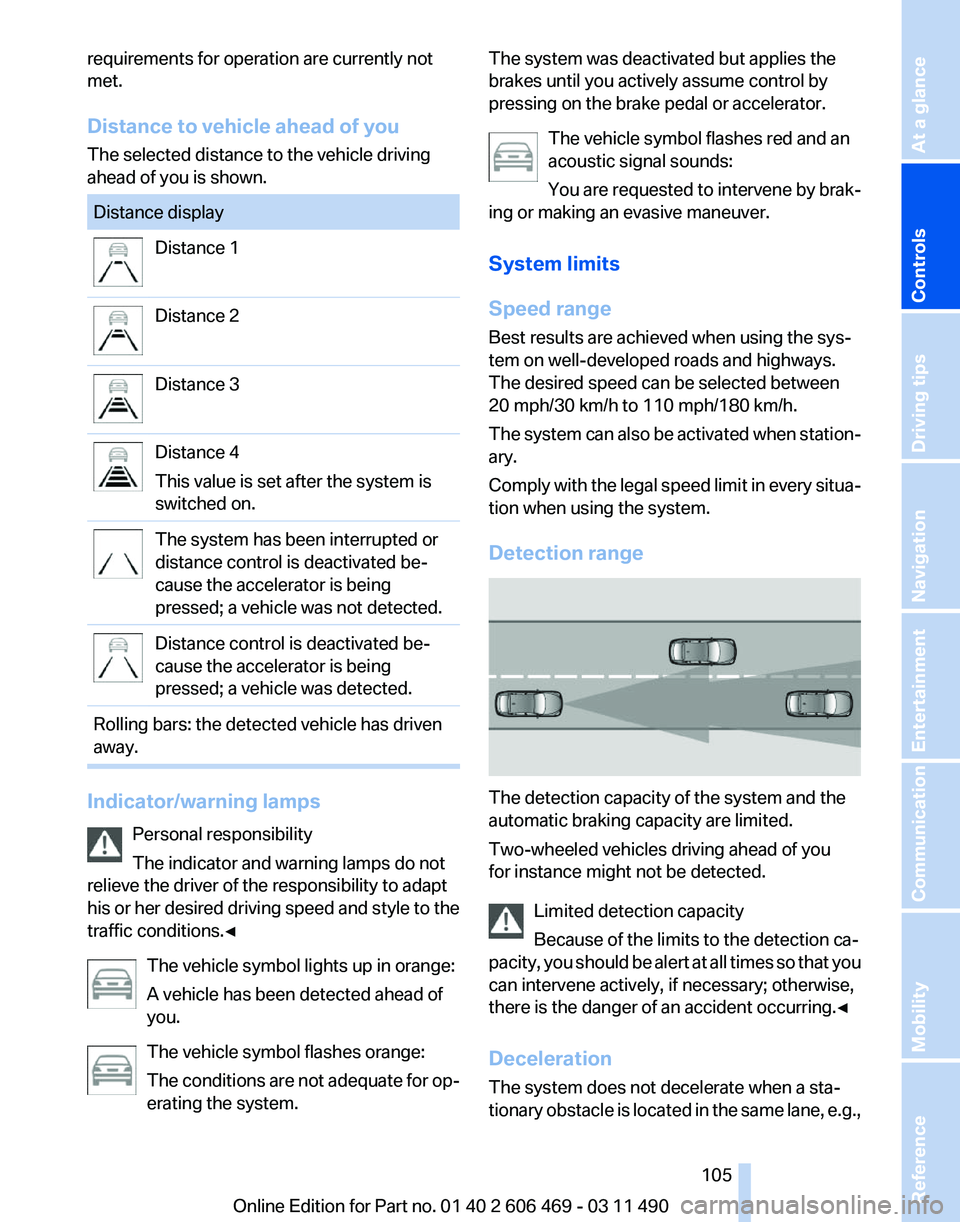
Detection range The detection capacity of the system and the
automatic braking capacity are limited.
Two-wheeled vehicles driving ahead of you
for instance might not be detected.
Limited detection capacity
Because of the limits to the detection ca‐
pacity,
you should be alert at all times so that you
can intervene actively, if necessary; otherwise,
there is the danger of an accident occurring.◀
Deceleration
The system does not decelerate when a sta‐
tionary obstacle is located in the same lane, e.g., Seite 105
105Online Edition for Part no. 01 40 2 606 469 - 03 11 490
Reference Mobility Communication Entertainment Navigation Driving tips
Controls At a glance
Page 108 of 304
Collision warning with
braking function*
The concept
The system issues a two-phase warning of a
danger of collision at speeds above approx.
10 mph/15 km/h.
The collision warning is available even if cruise
control has been deactivated.
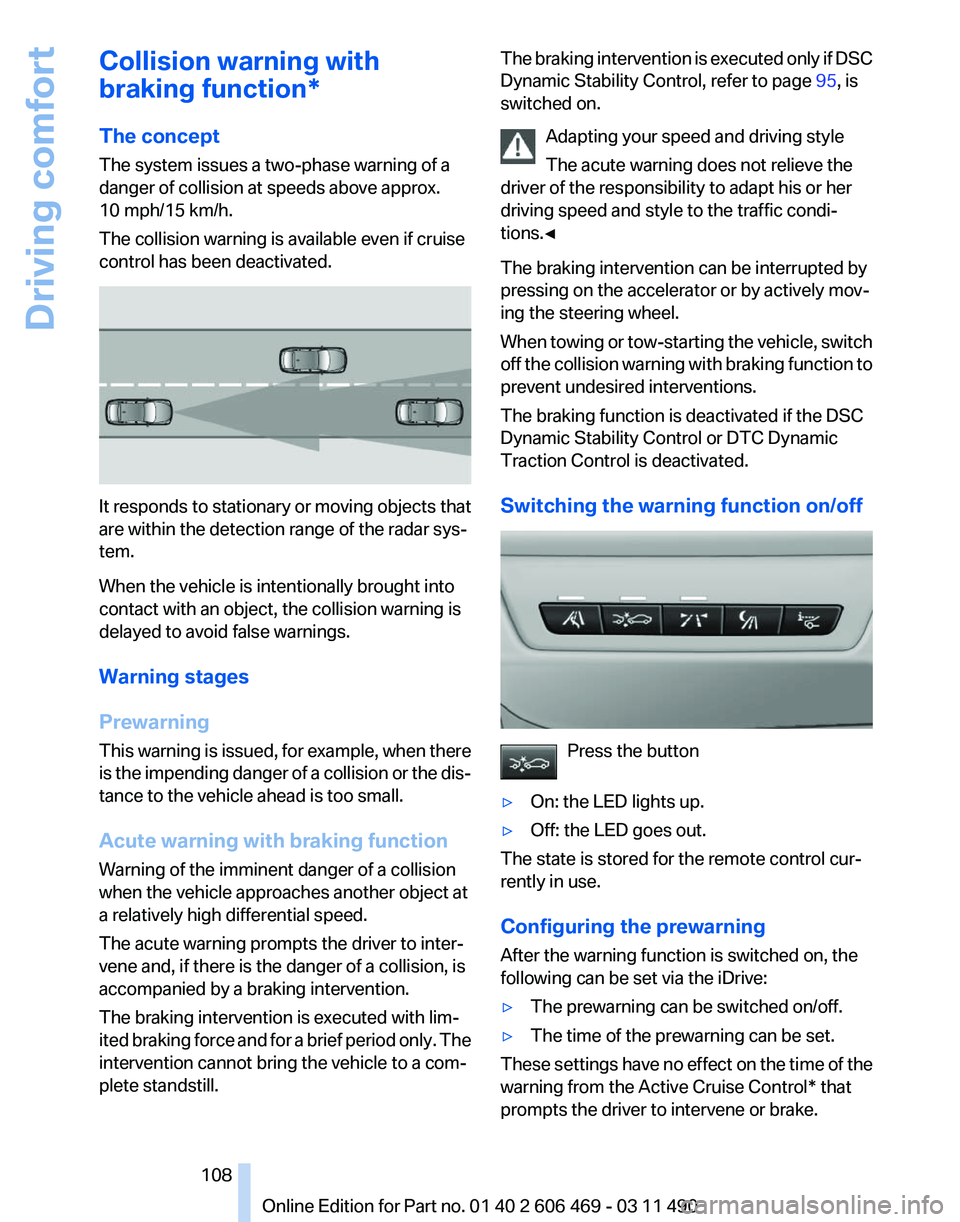
It responds to stationary or moving objects that
are within the detection range of the radar sys‐
tem.
When the vehicle is intentionally brought into
contact with an object, the collision warning is
delayed to avoid false warnings.
Warning stages
Prewarning
This
warning is issued, for example, when there
is the impending danger of a collision or the dis‐
tance to the vehicle ahead is too small.
Acute warning with braking function
Warning of the imminent danger of a collision
when the vehicle approaches another object at
a relatively high differential speed.
The acute warning prompts the driver to inter‐
vene and, if there is the danger of a collision, is
accompanied by a braking intervention.
The braking intervention is executed with lim‐
ited braking force and for a brief period only. The
intervention cannot bring the vehicle to a com‐
plete standstill. The braking intervention is executed only if DSC
Dynamic Stability Control, refer to page
95, is
switched on.
Adapting your speed and driving style
The acute warning does not relieve the
driver of the responsibility to adapt his or her
driving speed and style to the traffic condi‐
tions.◀
The braking intervention can be interrupted by
pressing on the accelerator or by actively mov‐
ing the steering wheel.
When
towing or tow-starting the vehicle, switch
off the collision warning with braking function to
prevent undesired interventions.
The braking function is deactivated if the DSC
Dynamic Stability Control or DTC Dynamic
Traction Control is deactivated.
Switching the warning function on/off Press the button
▷ On: the LED lights up.
▷ Off: the LED goes out.
The state is stored for the remote control cur‐
rently in use.
Configuring the prewarning
After the warning function is switched on, the
following can be set via the iDrive:
▷ The prewarning can be switched on/off.
▷ The time of the prewarning can be set.
These settings have no effect on the time of the
warning from the Active Cruise Control* that
prompts the driver to intervene or brake. Seite 108
108 Online Edition for Part no. 01 40 2 606 469 - 03 11 490
Driving comfort
Page 109 of 304
Display
The collision warning can be issued in the in‐
strument cluster, in the Head-up Display*, and
acoustically.
Instrument cluster
The vehicle lights up in red: prewarning
The vehicle flashes red and an acoustic
signal sounds: acute warning
You
are requested to intervene by brak‐
ing or making an evasive maneuver.
Adapting your speed and driving style
The display does not relieve the driver of
the responsibility to adapt his or her driving
speed and style to the traffic conditions.◀
System limits
Be alert
Due to system limitations, warnings may
be not be issued at all, or may be issued late or
improperly. Therefore, always be alert and ready
to intervene; otherwise, there is the danger of an
accident occurring.◀
Detection range
The detection capacity of the radar sensor and
the collision warning has limitations.
This may result in the warning not being issued
or being issued late.
For example, the following situations may not be
detected:
▷ Slow moving objects when you approach
them at high speed.
▷ Vehicles that suddenly swerve in front of
your vehicle.
▷ Two-wheeled vehicles ahead of you.
▷ Pedestrians.
Functional limitations
The system may not be fully functional in the
following situations: ▷
In heavy fog, rain or snowfall.
▷ In tight curves.
▷ If the radar sensor is dirty or covered.
Prewarning sensitivity
If the prewarning setting is too sensitive, there
may be an excess of false warnings.
Cruise control
The concept
The
system is functional at speeds beginning at
approx. 20 mph/30 km/h.
It maintains the speed that was set using the
control elements on the steering wheel.
The system brakes on downhill gradients if en‐
gine braking action is insufficient.
Unfavorable conditions
Do not use the system if unfavorable con‐
ditions make it impossible to drive at a constant
speed, for instance:
▷ On curvy roads.
▷ In heavy traffic.
▷ On slippery roads, in fog, snow or rain, or on
a loose road surface.
Otherwise, you could lose control of the vehicle
and cause an accident.◀
Controls
Buttons at a glance 1
System on/off, interrupt
2 Resume speed Seite 109
109Online Edition for Part no. 01 40 2 606 469 - 03 11 490
Reference Mobility Communication Entertainment Navigation Driving tips
Controls At a glance
Page 110 of 304
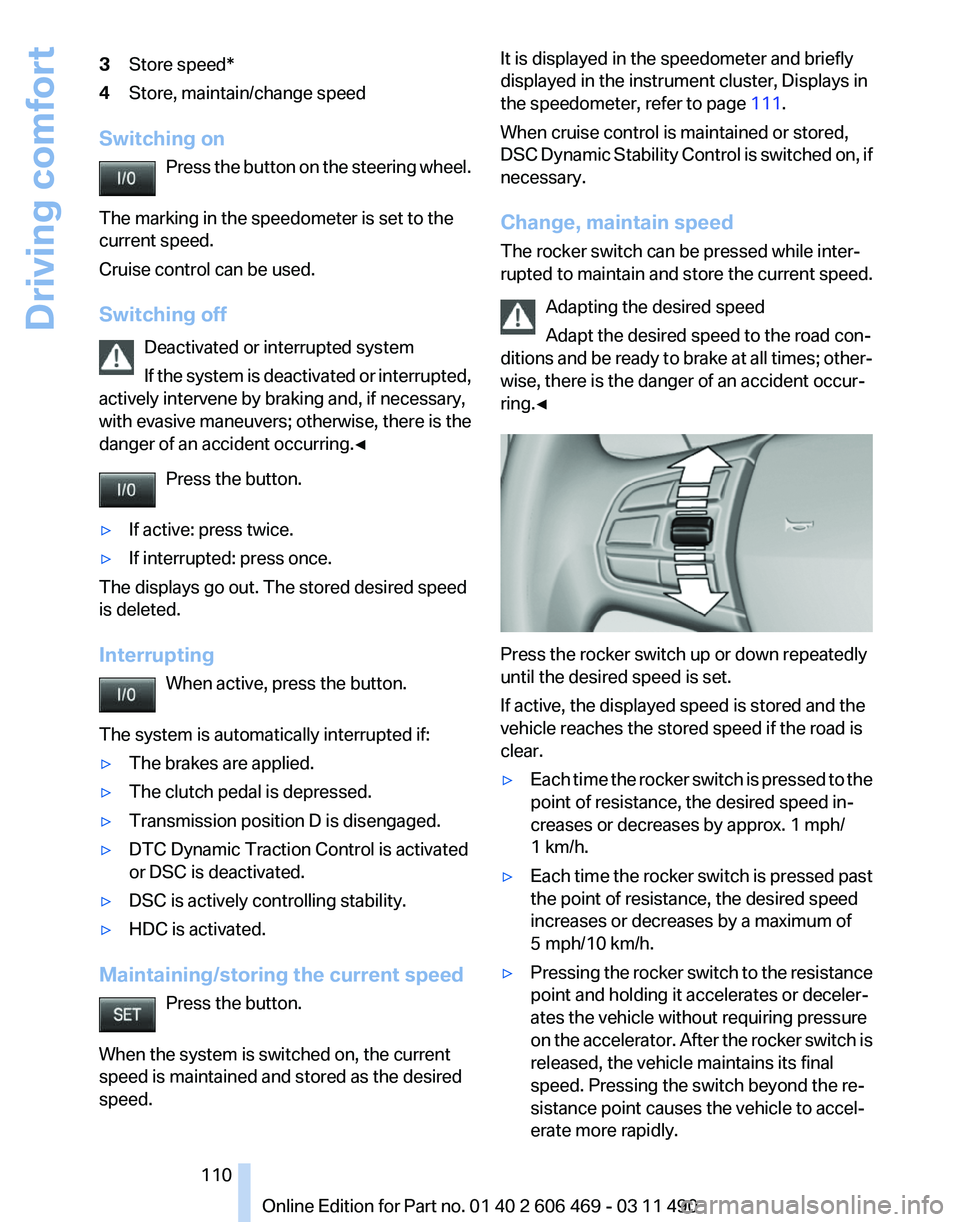
3
Store speed*
4 Store, maintain/change speed
Switching on Press the button on the steering wheel.
The marking in the speedometer is set to the
current speed.
Cruise control can be used.
Switching off Deactivated or interrupted system
If the system is deactivated or interrupted,
actively intervene by braking and, if necessary,
with evasive maneuvers; otherwise, there is the
danger of an accident occurring.◀
Press the button.
▷ If active: press twice.
▷ If interrupted: press once.
The displays go out. The stored desired speed
is deleted.
Interrupting When active, press the button.
The system is automatically interrupted if:
▷ The brakes are applied.
▷ The clutch pedal is depressed.
▷ Transmission position D is disengaged.
▷ DTC Dynamic Traction Control is activated
or DSC is deactivated.
▷ DSC is actively controlling stability.
▷ HDC is activated.
Maintaining/storing the current speed Press the button.
When the system is switched on, the current
speed is maintained and stored as the desired
speed. It is displayed in the speedometer and briefly
displayed in the instrument cluster, Displays in
the speedometer, refer to page
111.
When cruise control is maintained or stored,
DSC
Dynamic Stability Control is switched on, if
necessary.
Change, maintain speed
The rocker switch can be pressed while inter‐
rupted to maintain and store the current speed.
Adapting the desired speed
Adapt the desired speed to the road con‐
ditions and be ready to brake at all times; other‐
wise, there is the danger of an accident occur‐
ring.◀ Press the rocker switch up or down repeatedly
until the desired speed is set.
If active, the displayed speed is stored and the
vehicle reaches the stored speed if the road is
clear.
▷
Each time the rocker switch is pressed to the
point of resistance, the desired speed in‐
creases or decreases by approx. 1 mph/
1 km/h.
▷ Each time the rocker switch is pressed past
the point of resistance, the desired speed
increases or decreases by a maximum of
5 mph/10 km/h.
▷ Pressing the rocker switch to the resistance
point and holding it accelerates or deceler‐
ates the vehicle without requiring pressure
on
the accelerator. After the rocker switch is
released, the vehicle maintains its final
speed. Pressing the switch beyond the re‐
sistance point causes the vehicle to accel‐
erate more rapidly. Seite 110
110 Online Edition for Part no. 01 40 2 606 469 - 03 11 490
Driving comfort
Page 119 of 304
Ultrasound sensors measure parking spaces on
both sides of the vehicle.
The parking assistant calculates the best pos‐
sible parking line and takes control of steering
during the parking procedure.
When parking, also take note of the visual and
acoustic
information issued by the PDC and the
parking assistant and accelerate or brake ac‐
cordingly.
A component of the parking assistant is the PDC
Park Distance Control*, refer to page 111.
Personal responsibility
The parking assistant does not relieve the
driver of responsibility for the vehicle during the
parking procedure.
Watch the parking space and parking procedure
closely and intervene if necessary; otherwise,
there is the danger of an accident.◀
Requirements
For measuring parking spaces
▷ Maximum speed while driving forward ap‐
prox. 22 mph/35 km/h.
▷ Maximum distance to row of parked vehi‐
cles: 5 ft/1.5 m.
Suitable parking space
▷ Gap between two objects with a minimum
length of approx. 5 ft/1.5 m.
▷ Minimum length: own vehicle length plus
approx. 4 ft/1.2 m.
▷ Minimum depth: approx. 5 ft/1.5 m.
For parking procedure
Closed doors. Switching on
Using the button
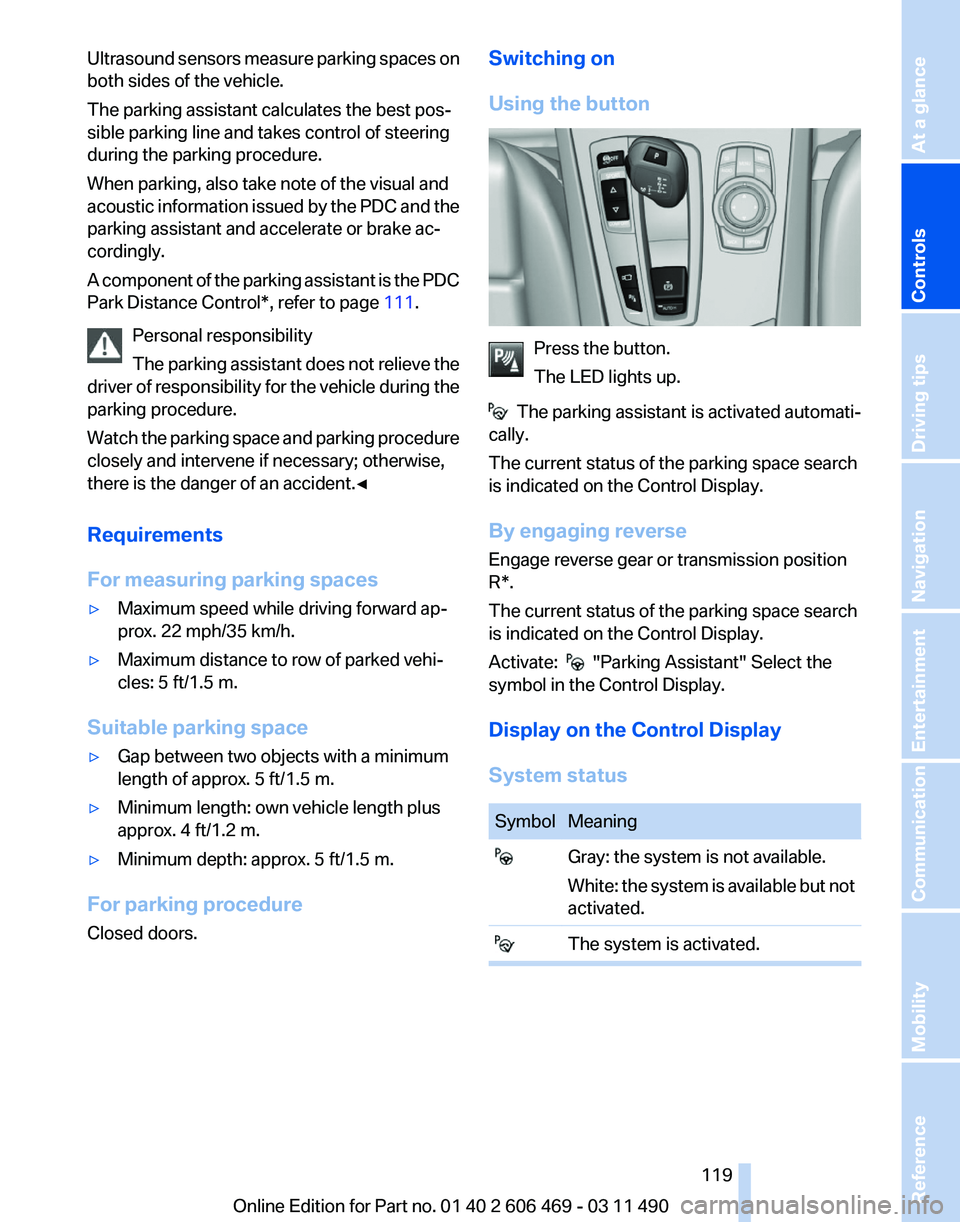
Press the button.
The LED lights up.
The parking assistant is activated automati‐
cally.
The current status of the parking space search
is indicated on the Control Display.
By engaging reverse
Engage reverse gear or transmission position
R*.
The current status of the parking space search
is indicated on the Control Display.
Activate: "Parking Assistant" Select the
symbol in the Control Display.
Display on the Control Display
System status Symbol Meaning
Gray: the system is not available.
White:
the system is available but not
activated. The system is activated. Seite 119
119Online Edition for Part no. 01 40 2 606 469 - 03 11 490
Reference Mobility Communication Entertainment Navigation Driving tips
Controls At a glance
Page 146 of 304
Things to remember when driving
Breaking-in period
General information
Moving parts need to be broken in to adjust to
each other.
The following instructions will help achieve a
long vehicle life and good economy.
Engine and differential
Always obey the official speed limit.
Up to 1,200 miles/2,000 km
Do not exceed the maximum engine and road
speed:
▷
For gasoline engine, 4500 rpm and
100 mph/160 km/h.
Avoid full-throttle operation and use of the
transmission's kickdown mode for the initial
miles.
From 1,200 miles/2,000 km
The engine and vehicle speed can gradually be
increased.
Tires
Due to technical factors associated with their
manufacture,
tires do not achieve their full trac‐
tion potential until after an initial breaking-in pe‐
riod.
Drive conservatively for the first 200 miles/
300 km.
Brake system
Brakes require an initial break-in period of ap‐
prox. 300 miles/500 km to achieve optimized
contact and wear patterns between brake pads
and discs. Drive moderately during this break-in
period.
Clutch
The function of the clutch reaches its optimal
level only after a distance driven of approx. 300 miles/500 km. During this break-in period,
engage the clutch gently.
Following part replacement
The
same breaking in procedures should be ob‐
served if any of the components mentioned
above have to be renewed in the course of the
vehicle's operating life.
General driving notes
Closing the trunk lid
Drive with the trunk lid closed
Only drive with the tailgate closed; other‐
wise, in the event of an accident or braking or
evasive maneuvers, passengers or other road
users may be injured or the vehicle may be dam‐
aged. In addition, exhaust fumes may enter the
passenger compartment.◀
If driving with the tailgate open cannot be
avoided:
▷ Close all windows and the glass sunroof*.
▷ Greatly increase the blower speed.
▷ Drive moderately.
Hot exhaust system Hot exhaust system
High temperatures are generated in the
exhaust system.
Do not remove the heat shields installed and
never apply undercoating to them. When driv‐
ing,
standing at idle and while parking, take care
to avoid possible contact between the hot ex‐
haust system and any highly flammable materi‐
als such as hay, leaves, grass, etc. Such contact
could lead to a fire, and with it the risk of serious
personal injury as well as property damage.
Do not touch hot exhaust pipes; otherwise, there
is the danger of getting burned.◀ Seite 146
146 Online Edition for Part no. 01 40 2 606 469 - 03 11 490
Things to remember when driving
Page 147 of 304
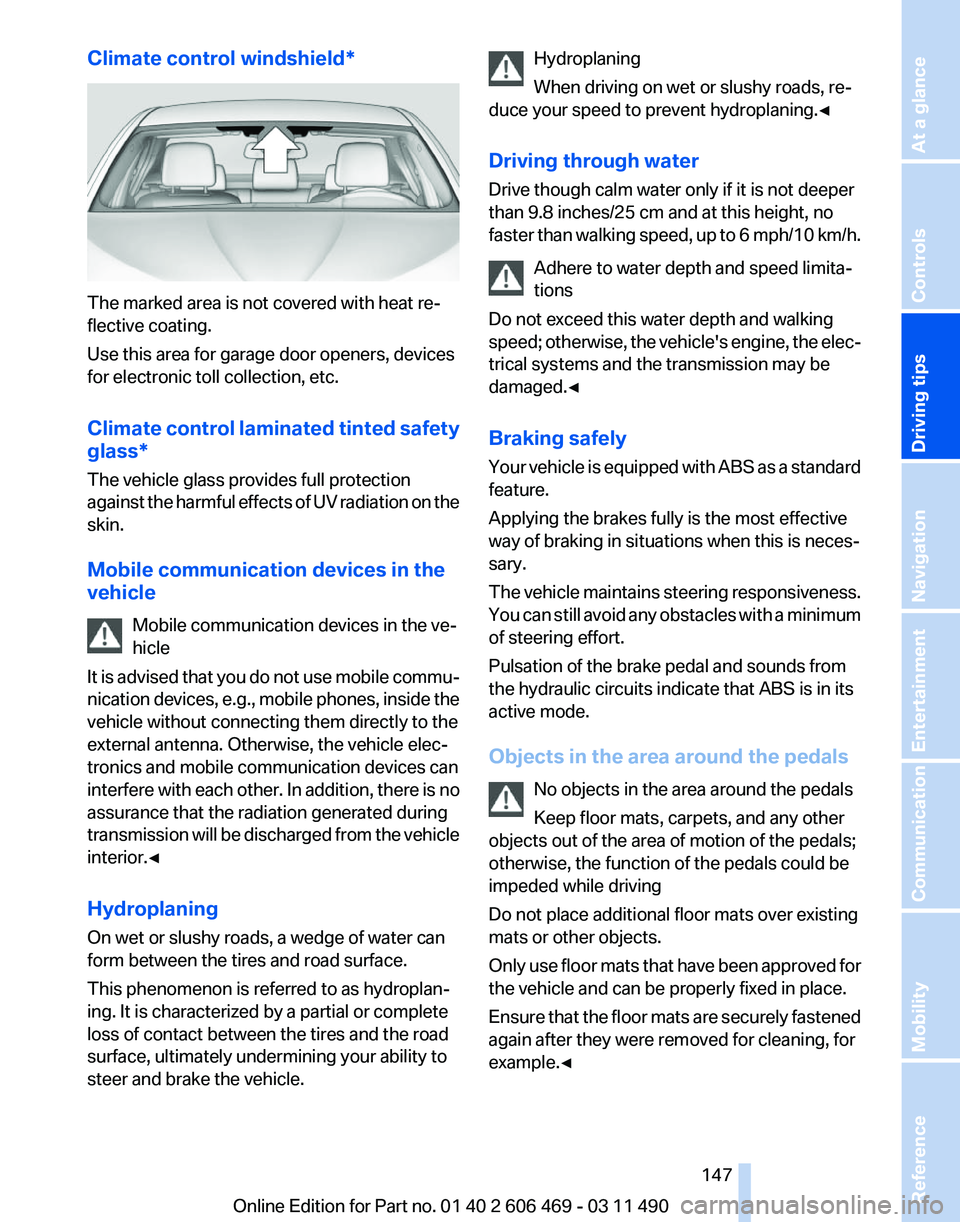
Climate control windshield*
The marked area is not covered with heat re‐
flective coating.
Use this area for garage door openers, devices
for electronic toll collection, etc.
Climate
control laminated tinted safety
glass*
The vehicle glass provides full protection
against the harmful effects of UV radiation on the
skin.
Mobile communication devices in the
vehicle
Mobile communication devices in the ve‐
hicle
It is advised that you do not use mobile commu‐
nication devices, e.g., mobile phones, inside the
vehicle without connecting them directly to the
external antenna. Otherwise, the vehicle elec‐
tronics and mobile communication devices can
interfere with each other. In addition, there is no
assurance that the radiation generated during
transmission will be discharged from the vehicle
interior.◀
Hydroplaning
On wet or slushy roads, a wedge of water can
form between the tires and road surface.
This phenomenon is referred to as hydroplan‐
ing. It is characterized by a partial or complete
loss of contact between the tires and the road
surface, ultimately undermining your ability to
steer and brake the vehicle. Hydroplaning
When driving on wet or slushy roads, re‐
duce your speed to prevent hydroplaning.
◀
Driving through water
Drive though calm water only if it is not deeper
than 9.8 inches/25 cm and at this height, no
faster than walking speed, up to 6 mph/10 km/h. Adhere to water depth and speed limita‐
tions
Do not exceed this water depth and walking
speed; otherwise, the vehicle's engine, the elec‐
trical systems and the transmission may be
damaged.◀
Braking safely
Your vehicle is equipped with ABS as a standard
feature.
Applying the brakes fully is the most effective
way of braking in situations when this is neces‐
sary.
The vehicle maintains steering responsiveness.
You can still avoid any obstacles with a minimum
of steering effort.
Pulsation of the brake pedal and sounds from
the hydraulic circuits indicate that ABS is in its
active mode.
Objects in the area around the pedals
No objects in the area around the pedals
Keep floor mats, carpets, and any other
objects out of the area of motion of the pedals;
otherwise, the function of the pedals could be
impeded while driving
Do not place additional floor mats over existing
mats or other objects.
Only use floor mats that have been approved for
the vehicle and can be properly fixed in place.
Ensure that the floor mats are securely fastened
again after they were removed for cleaning, for
example.◀ Seite 147
147Online Edition for Part no. 01 40 2 606 469 - 03 11 490
Reference Mobility Communication Entertainment Navigation
Driving tips Controls At a glance
Page 148 of 304
Driving in wet conditions
When
roads are wet or there is heavy rain, briefly
exert gentle pressure on the brake pedal every
few miles.
Ensure that this action does not endanger other
road users.
The heat generated in this process helps dry the
brake discs and pads.
In this way braking efficiency will be available
when you need it.
Hills
Drive long or steep downhill gradients in the gear
in which the least braking is required. Otherwise,
the brake system may overheat, resulting in a
reduction in the brake system efficiency.
Manual transmission:
You can increase the engine's braking effect by
shifting down, going all the way to first gear, if
necessary.
Automatic transmission*:
You can increase the engine's braking effect by
shifting down in the manual mode of the auto‐
matic transmission, refer to page 65.
Avoid load on the brakes
Avoid placing excessive load on the brake
system. Light but consistent brake pressure can
lead to high temperatures, brake wear and pos‐
sibly even brake failure.◀
Do not drive in neutral
Do not drive in neutral or with the engine
stopped, as doing so disables engine braking. In
addition, steering and brake assist is unavailable
with the engine stopped.◀
Brake disc corrosion
Corrosion on the brake discs and contamination
on the brake pads are furthered by:
▷ Low mileage.
▷ Extended periods when the vehicle is not
used at all.
▷ Infrequent use of the brakes. Corrosion occurs when the minimum pressure
that must be exerted by the pads during brake
applications to clean the discs is not reached.
Should corrosion form on the brake discs, the
brakes will tend to respond with a pulsating ef‐
fect that generally cannot be corrected.
Condensation
under the parked vehicle
When using the automatic climate control, con‐
densation water develops that exits underneath
the vehicle.
Therefore, traces of condensed water under the
vehicle are normal.
Loading
Overloading the vehicle
To avoid exceeding the approved carrying
capacity of the tires, never overload the vehicle.
Overloading can lead to overheating and in‐
creases the rate at which damage develops in‐
side the tires. This could result in a sudden loss
of tire inflation pressure.◀
No fluids in the trunk
Make sure that fluids do not leak into the
trunk; otherwise, the vehicle may be damaged.◀
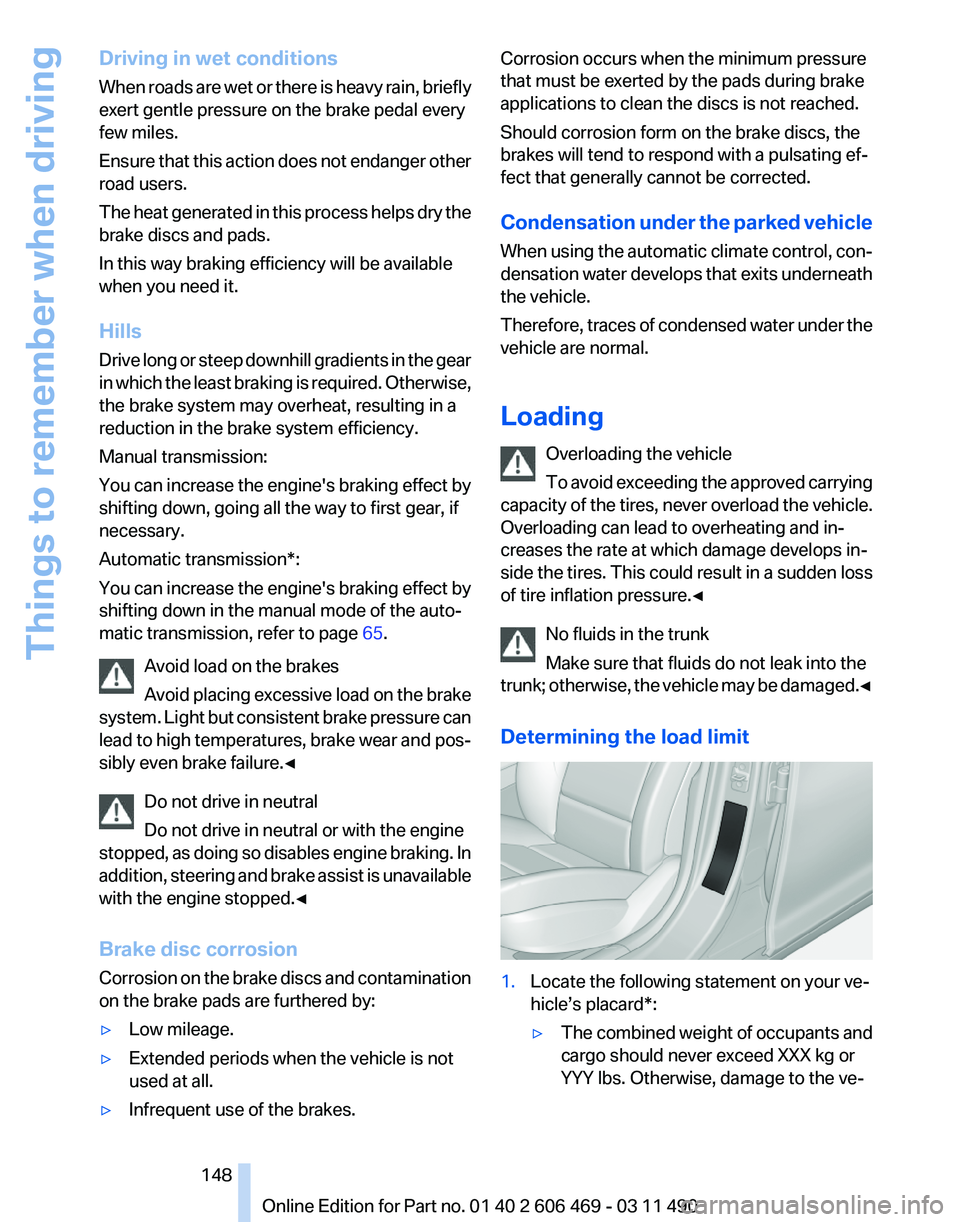
Determining the load limit 1.
Locate the following statement on your ve‐
hicle’s placard*:
▷The combined weight of occupants and
cargo should never exceed XXX kg or
YYY lbs. Otherwise, damage to the ve‐ Seite 148
148 Online Edition for Part no. 01 40 2 606 469 - 03 11 490
Things to remember when driving