Page 129 of 286

Driving tips
127Reference
At a glance
Controls
Communications
Navigation
Entertainment
Mobility
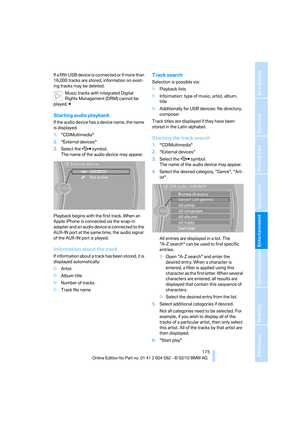
Only attach the cargo straps using the lashing
eyes shown in the illustration. Do not secure
cargo with the anchors for tether straps, refer to
page53; otherwise, these could be damaged.<
Roof-mounted luggage rack*
A special rack system is available as an option
for your BMW. Comply with the directions given
in the installation instructions.
Mounting points
The mounting points are located in the roof/
along the roof rails
*.
Loading roof-mounted luggage rack
Because roof racks raise the vehicle's center of
gravity when loaded, they have a major effect on
vehicle handling and steering response.
You should therefore always remember not to
exceed the approved roof load capacity, the
approved gross vehicle weight or the axle loads
when loading the rack.
You can find the applicable data under Weights
on page257.
The roof load must be distributed uniformly and
should not be too large in area. Heavy items
should always be placed at the bottom. Be sure
that adequate clearance is maintained for rais-
ing the glass roof, and that objects do not
project into the opening path of the trunk lid/
tailgate.
Fasten roof-mounted cargo correctly and
securely to prevent it from shifting or falling off
during the trip.
Drive smoothly. Avoid sudden acceleration and
braking maneuvers. Take corners gently.
Page 130 of 286
Page 131 of 286
Navigation
This chapter describes how you can
enter destinations and specify your route
so that your navigation system guides you
reliably to your destination.
Navigation
Page 132 of 286

Navigation system
130
Navigation system
General information
With the help of satellites and vehicle sensors,
the navigation system is able to ascertain the
precise position of the vehicle and reliably guide
you to any destination you enter.
Enter data only when the vehicle is sta-
tionary, and always give priority to the
applicable traffic regulations in the event of any
contradiction between traffic and road condi-
tions and the instructions issued by the naviga-
tion system. Failure to take to this precaution
can place you in violation of the law and put
vehicle occupants and other road users in dan-
ger.<
Navigation data
General information
Navigation data are stored in the vehicle and
can be updated.
Navigation data and authorization codes are
available from your BMW center.
Depending on the data volume, a data update
may take several hours.
>The data are updated while you are driving.
>The update is resumed automatically when
a trip is continued after an interruption.
>Basic navigation functions are available
during the trip.
>The data are stored in the vehicle.
>After the update, the system restarts.
>The medium that holds the navigation data
can be removed after the update is com-
pleted.
Updating the navigation data
Inserting navigation DVD
1.Insert the navigation DVD into the DVD
player with the labeled side facing up.
2.Follow the instructions on the
Control Display.
3.Enter the authorization code of the naviga-
tion DVD and change the DVD if needed.
Removing navigation DVD
1.Press button 1.
The DVD emerges slightly from the drive.
2.Remove the DVD.
Information about navigation data
1."Navigation"
2.Open "Options".
3."Navigation system version":
Information on the data version is displayed.
*
Page 133 of 286

Navigation
Driving tips
131Reference
At a glance
Controls
Communications
Entertainment
Mobility
Destination entry
In entering your destination you can select from
the following options:
>Entering a destination manually, see below
>Selecting destination from address book,
refer to page133
>Last destinations, refer to page134
>Special destinations, refer to page135
>Entering a destination on the map, refer to
page136
>Selecting home address, refer to page134
>Entering a destination by voice com-
mands*, refer to page137
>Destination entry via BMW Assist
*,
refer to page136
You can also store a navigation destination on
the programmable memory keys, refer to
page20.
Enter data only when the vehicle is sta-
tionary, and always give priority to the
applicable traffic regulations in the event of any
contradiction between traffic and road condi-
tions and the instructions issued by the naviga-
tion system. Otherwise, vehicle occupants and
other road users may be endangered.<
Entering a destination
manually
The system's word-matching principle makes it
easier for you to enter the names of streets or
towns, refer to page139. This allows you to
enter different spellings and completes your
entry automatically, so that stored names can
be called up quickly.
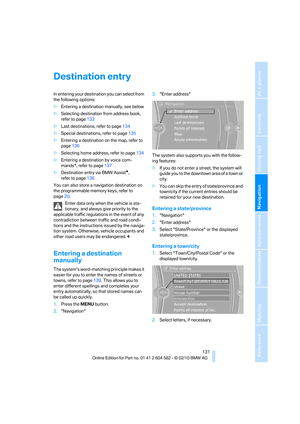
1.Press the MENUbutton.
2."Navigation"3."Enter address"
The system also supports you with the follow-
ing features:
>If you do not enter a street, the system will
guide you to the downtown a r e a o f a t o w n o r
city.
>You can skip the entry of state/province and
town/city if the current entries should be
retained for your new destination.
Entering a state/province
1."Navigation"
2."Enter address"
3.Select "State/Province" or the displayed
state/province.
Entering a town/city
1.Select "Town/City/Postal Code" or the
displayed town/city.
2.Select letters, if necessary.
Page 134 of 286

Destination entry
132 To delete letters:
>To delete individual letters:
Turn the controller to select , and
then press the controller.
>To delete all letters:
Turn the controller to select , and
then press the controller for an extended
period.
To enter spaces:
>Select the symbol.
The list gradually grows smaller each time
you enter a new letter.
3.Move the controller to the right.
4.Select the name of the town/city from the
list.
If there are several towns/cities with the same
name:
1.Change to the list of town/city names.
2.Highlight the town/city: a preview map is
displayed.
3.Select the town/city.
Entering the postal code
1.Select "Town/City/Postal Code" or the dis-
played town/city.
2.Select the symbol.
3.Select the digits.
4.Change to the list of postal codes and
towns/cities.
5.Highlight the postal code: a preview map is
displayed.
6.Select the postal code.
Entering street and intersection
1.Select "Street" or the displayed street.
2.Enter a street and intersection as you would
the town/city.
After the street you can also enter the intersec-
tion or the house number.
If there are several streets with the same name:1.Change to the list of street names.
2.Highlight the street: a preview map is dis-
played.
3.Select the street.
Entering a street without a destination
town/city
You can also enter a street without specifying a
town/city. In this case, all streets of the same
name in the designated state/province are
offered. The corresponding town/city is dis-
played after the street name.
If a town/city has already been entered, you can
negate this entry. This could be helpful in
instances where the desired street does not
exist in the entered town/city because it
belongs to another suburb, for example.
1."Navigation"
2."Enter address"
3.Select "Street" or the displayed street.
4.Change to the list of street names.
5.Select "In" with the state/province currently
displayed.
6.Select the letters.
7.Change to the list of street names.
8.Highlight the street: a preview map is dis-
played.
9.Select the street.
Page 135 of 286

Navigation
Driving tips
133Reference
At a glance
Controls
Communications
Entertainment
Mobility
Entering a house number
You can enter any house number stored in the
navigation data for the street.
1."House number"
2.Select the digits.
3.Change to the list of house numbers.
4.Select a house number or range of house
numbers.
Starting destination guidance after
entering the destination
1."Accept destination"
2."Start guidance" or "Add as another dest.".
>Set your "Route preference",
refer to page140.
>Search for "Points of Interest at loc.",
refer to page135.
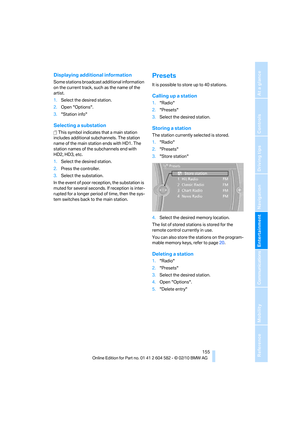
Address book
To create contacts, refer to page193.
Selecting a destination from the
address book
1."Navigation"
2."Address book"
Contacts with addresses are displayed if
these have been checked as destinations.
If the contacts with addresses from the
mobile phone
* are not displayed, they first
need to be checked as destinations, refer to
page.194.
3.Select a contact from the list or, if neces-
sary, using "A-Z search".4.If necessary, select "Business address" or
"Home address".
Storing a destination in the address
book
Store the destination in the address book after
entering the destination.
1.Open "Options".
2."Store as new contact" or "Add to existing
contact".
3.Select an existing contact, if available.
4.Select "Business address" or "Home
address".
5.Enter "Last name" and, if necessary,
"First name".
6."Store in vehicle"
Page 136 of 286

Destination entry
134
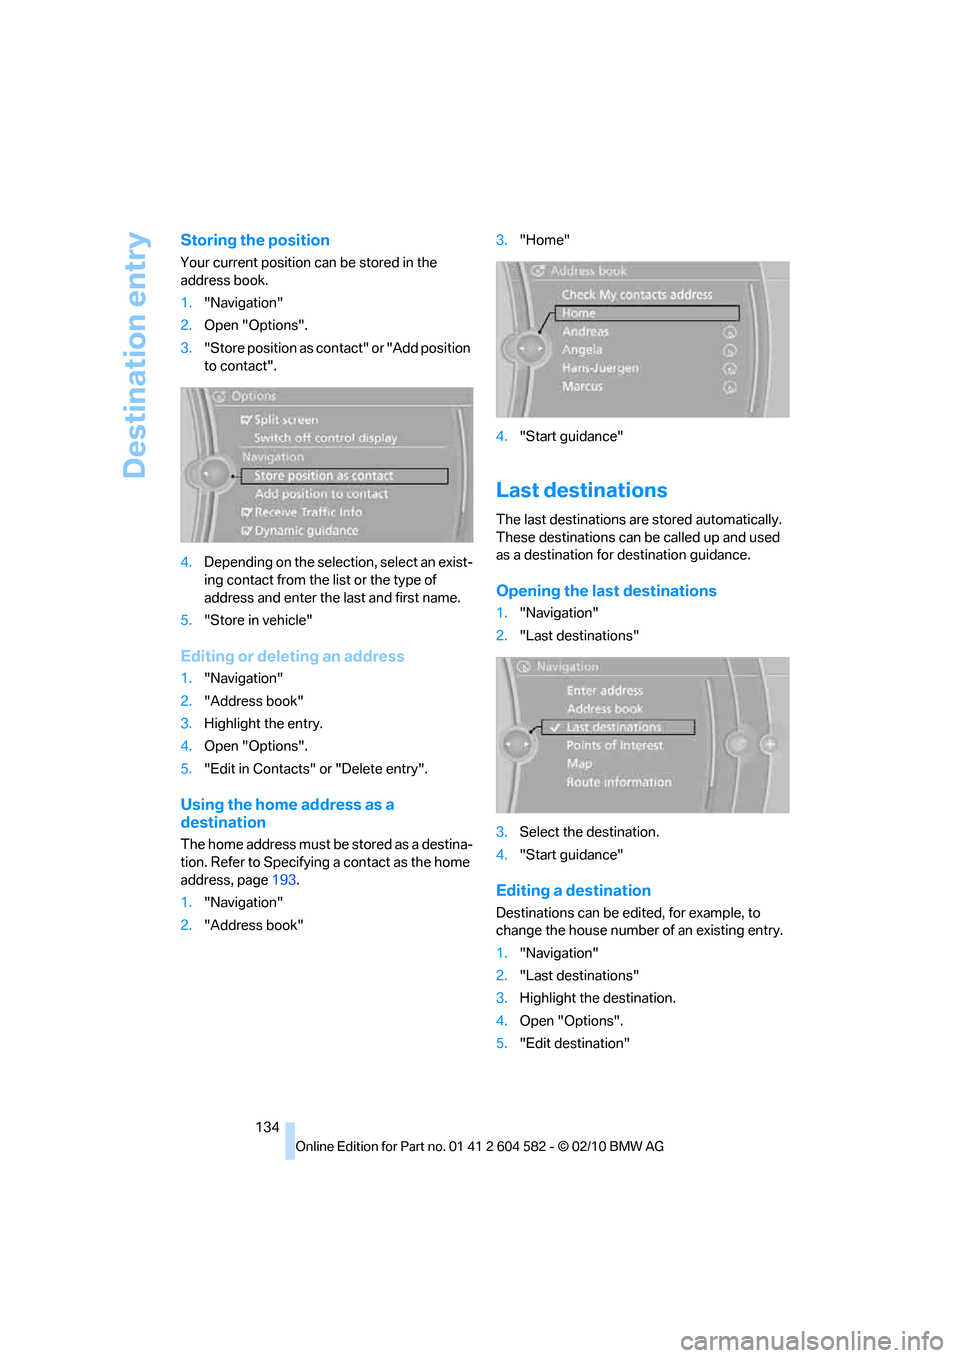
Storing the position
Your current position can be stored in the
address book.
1."Navigation"
2.Open "Options".
3."Store position as contact" or "Add position
to contact".
4.Depending on the selection, select an exist-
ing contact from the list or the type of
address and enter the last and first name.
5."Store in vehicle"
Editing or deleting an address
1."Navigation"
2."Address book"
3.Highlight the entry.
4.Open "Options".
5."Edit in Contacts" or "Delete entry".
Using the home address as a
destination
The home address must be stored as a destina-
tion. Refer to Specifying a contact as the home
address, page193.
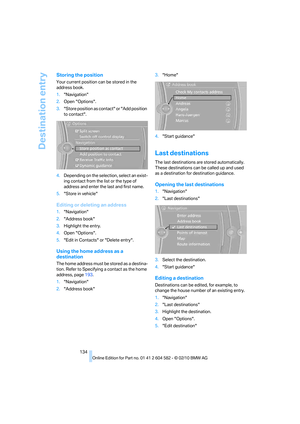
1."Navigation"
2."Address book"3."Home"
4."Start guidance"
Last destinations
The last destinations are stored automatically.
These destinations can be called up and used
as a destination for destination guidance.
Opening the last destinations
1."Navigation"
2."Last destinations"
3.Select the destination.
4."Start guidance"
Editing a destination
Destinations can be edited, for example, to
change the house number of an existing entry.
1."Navigation"
2."Last destinations"
3.Highlight the destination.
4.Open "Options".
5."Edit destination"