2011 BMW 128I CONVERTIBLE brake light
[x] Cancel search: brake lightPage 15 of 256

At a glance
13Reference
Controls
Driving tips
Communications
Navigation
Entertainment
Mobility
Indicator and warning lamps
The concept
Indicator and warning lamps can light up in a
variety of combinations and colors.
Several of the lamps are checked for proper
functioning and light up temporarily when the
engine is started or the ignition is switched on.
Text messages
Text messages at the upper edge of the Control
Display explain the meaning of the displayed
indicator and warning lamps.
Supplementary text messages
You can call up more information on the Control
Display, e.g. on the cause of a malfunction and
on how to respond, via Check Control, refer to
page76.In urgent cases, this information will be shown
as soon as the corresponding lamp comes on.
Indicator lamps without text messages
The following indicator lamps notify you that
certain functions are active:
High beams/headlamp flasher93
Fog lamps
*94
Lamp flashes:
DSC or DTC is regulating the propul-
sive forces in order to maintain driving
stability82
Canada: parking brake applied57
Parking brake applied57
Canada: engine malfunction with
adverse effect on emissions208
Engine malfunction with adverse
effect on emissions208
Page 36 of 256

Opening and closing
34
Unlocking
Grasp the handle on the driver's or front pas-
senger door completely, arrow 1. This corre-
sponds to pressing the button.
Locking
Touch the surface, arrow 2, with your finger for
approx. 1 second. This corresponds to pressing
the button.
To preserve the battery, please make
sure that the ignition and all electrical
consumers are switched off before locking the
vehicle.<
Coupe: convenient closing
For Convenient closing, keep your finger on the
surface, arrow 2.
Convertible: window and convertible
top operation
With the ignition at radio readiness or beyond,
you can open and close the windows and the
convertible top when a remote control is
located inside the vehicle.
Unlocking the trunk lid separately
Press the button on the outside of the trunk lid.
This corresponds to pressing the button.
If the vehicle detects that a remote con-
trol has been accidentally left inside the
locked vehicle after the trunk lid is closed, the
lid will reopen. The hazard warning flashers
flash and a signal
* sounds.<
Switching on radio readiness
Radio readiness is switched on by pressing the
start/stop button, refer to page55.Do not depress the brake or the clutch;
otherwise, the engine will start immedi-
ately.<
Starting the engine
You can start the engine or switch on the igni-
tion when a remote control is inside the vehicle.
It is not necessary to insert a remote control into
the ignition lock, refer to page55.
Switching off the engine in cars with
automatic transmission
The engine can only be switched off when the
selector lever is in position P, refer to page56.
To switch the engine off when the selector lever
is in position N, the remote control must be in
the ignition lock.
Malfunctions
Comfort Access may malfunction due to local
radio waves. If this happens, open and close the
vehicle via the buttons on the remote control or
using the integrated key. To start the engine
afterward, insert the remote control into the
ignition lock.
Warning lamps
The warning lamp in the instrument
cluster lights up when you attempt to
start the engine: the engine cannot
be started. The remote control is not inside the
vehicle or is malfunctioning. Take the remote
control with you inside the vehicle or have it
checked. If necessary, insert another remote
control into the ignition lock.
The warning lamp in the instrument
cluster lights up while the engine is
running: the remote control is no
longer inside the vehicle. After the engine is
switched off, the engine can only be restarted
within approx. 10 seconds.
The indicator lamp in the instrument
cluster comes on and a message
appears on the Control Display:
replace the battery in the remote control.
Page 59 of 256

Controls
57Reference
At a glance
Driving tips
Communications
Navigation
Entertainment
Mobility
3.Forcefully apply the parking brake.
4.Removing the remote control from the igni-
tion lock, refer to page55.
Sports automatic transmission with
double clutch
1.With the car at a standstill, press the start/
stop button.
If the transmission is shifted into N when the
engine is switched off, you will be notified
visually and acoustically of this fact.
2.Forcefully apply the parking brake.
3.Remove remote control from the ignition
lock, refer to page55. The transmission is
automatically shifted into transmission
position P.
Parking brake
The parking brake is primarily intended to pre-
vent the vehicle from rolling while parked; it
brakes the rear wheels.
Indicator lamp
The indicator lamp is lit, and when you
drive off a signal sounds in addition.
The parking brake is still applied.
Indicator lamp for Canadian models.
Applying
The lever locks in position automatically.
Releasing
Pull slightly upwards, press the button and
lower the lever.In exceptional cases, if the parking brake
has to be used to slow or stop the car, do
not pull the lever up too hard. In doing so, con-
tinuously press the button of the parking brake
lever.
Otherwise, excessive force on the parking
brake can lock up the rear wheels and cause the
rear of the car to swerve.<
To prevent corrosion and one-sided brak-
ing action, occasionally apply the parking
brake lightly when the vehicle is slowly coming
to a stop if the traffic conditions are suitable.
The brake lamps do not light up when the park-
ing brake is applied.<
Manual transmission
When shifting into 5th or 6th gear, press
the gearshift lever to the right. Otherwise,
the engine could be damaged if you inadvert-
ently shift into 3rd or 4th gear.<
Reverse gear
Select this only when the vehicle is stationary.
When the gearshift lever is pressed to the left, a
slight resistance has to be overcome.
Automatic transmission with
Steptronic*
In addition to fully automatic operation, you can
also manually shift with the Steptronic, refer to
page59.
Page 62 of 256

Driving
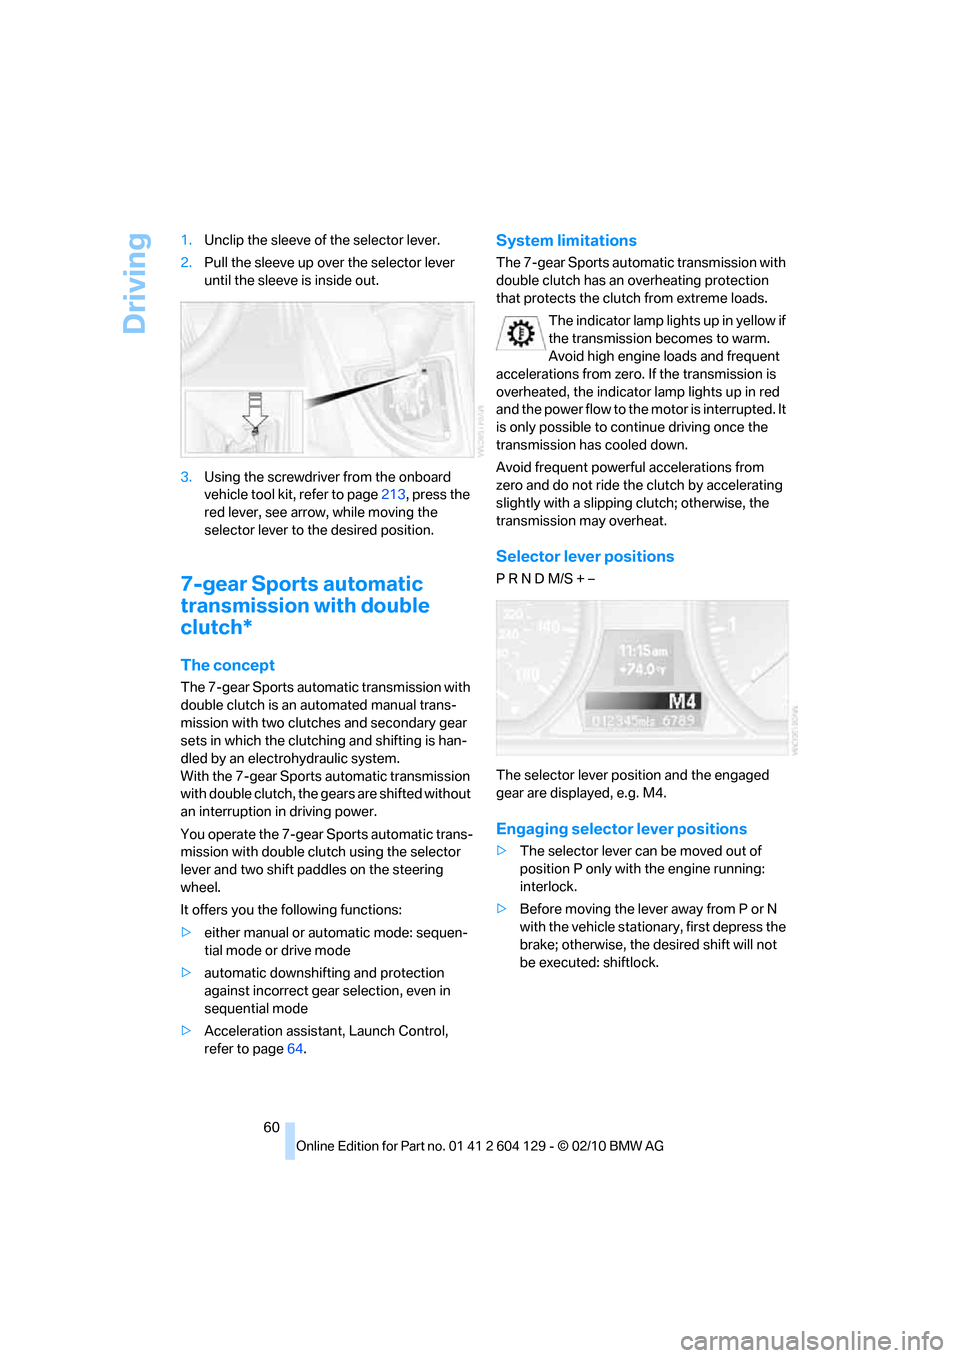
60 1.Unclip the sleeve of the selector lever.
2.Pull the sleeve up over the selector lever
until the sleeve is inside out.
3.Using the screwdriver from the onboard
vehicle tool kit, refer to page213, press the
red lever, see arrow, while moving the
selector lever to the desired position.
7-gear Sports automatic
transmission with double
clutch*
The concept
The 7-gear Sports automatic transmission with
double clutch is an automated manual trans-
mission with two clutches and secondary gear
sets in which the clutching and shifting is han-
dled by an electrohydraulic system.
With the 7-gear Sports automatic transmission
with double clutch, the gears are shifted without
an interruption in driving power.
You operate the 7-gear Sports automatic trans-
mission with double clutch using the selector
lever and two shift paddles on the steering
wheel.
It offers you the following functions:
>either manual or automatic mode: sequen-
tial mode or drive mode
>automatic downshifting and protection
against incorrect gear selection, even in
sequential mode
>Acceleration assistant, Launch Control,
refer to page64.
System limitations
The 7-gear Sports automatic transmission with
double clutch has an overheating protection
that protects the clutch from extreme loads.
The indicator lamp lights up in yellow if
the transmission becomes to warm.
Avoid high engine loads and frequent
accelerations from zero. If the transmission is
overheated, the indicator lamp lights up in red
and the power flow to the motor is interrupted. It
is only possible to continue driving once the
transmission has cooled down.
Avoid frequent powerful accelerations from
zero and do not ride the clutch by accelerating
slightly with a slipping clutch; otherwise, the
transmission may overheat.
Selector lever positions
P R N D M/S + –
The selector lever position and the engaged
gear are displayed, e.g. M4.
Engaging selector lever positions
>The selector lever can be moved out of
position P only with the engine running:
interlock.
>Before moving the lever away from P or N
with the vehicle stationary, first depress the
brake; otherwise, the desired shift will not
be executed: shiftlock.
Page 66 of 256

Driving
64
Launch Control
Launch Control enables an optimum accelera-
tion when starting off on a road surface with
good traction.
Do not use Launch Control too often; oth-
erwise, the powerful stresses on the vehi-
cle will lead to premature component wear.<
Launch Control is ready for use when the
engine is at operating temperature, i.e. after
uninterrupted travel of at least 6.2 miles/10 km.
1.With the engine running, step on the brake
with your left foot.
2.Activate Dynamic Traction Control (DTC),
refer to page, 82.
3.Activate Driving dynamics control, refer to
page62.
4.With the vehicle stationary, activate the
manual mode and select 1
stgear.
5.With your right foot, push the accelerator
pedal past the resistance point. The accel-
eration speed is adjusted. A flag symbol
appears in the instrument cluster.
6.When you release the brake pedal, the vehi-
cle accelerates. Keep the accelerator pedal
floored.
7.The upshifting occurs automatically as long
as you keep the accelerator pedal pressed
past the resistance point.
Launch Control will be ready for use again after
you drive a certain distance.
Launch Control is not available for use during
the break-in phase, refer to page112.
To maintain driving stability, keep DSC
activated whenever possible.<
Turn signals/
headlamp flasher
1High beams
2Headlamp flasher
3Turn signals
Using turn signals
Press the lever beyond the resistance point.
To turn off manually, press the lever to the
resistance point.
Unusually rapid flashing of the indicator
lamp and the turn signals indicates that
one of the turn signal bulbs has failed.<
Indicating a turn briefly
Press the lever as far as the resistance point for
as long as you wish to indicate a turn.
Triple turn signal activation
Press the lever as far as the resistance point.
The turn signals flash three times.
You can activate or deactivate this function.
1."Settings"
2."Lighting"
3."Triple turn signal"
Page 69 of 256

Controls
67Reference
At a glance
Driving tips
Communications
Navigation
Entertainment
Mobility
Increasing speed
Repeatedly press the lever, arrow 1, until the
desired speed is reached.
Each time the lever is pressed lightly, the speed
is increased by approx. 1 mph/1 km/h.
Accelerating using the lever
Press the lever, arrow 1, until the desired speed
is reached.
The vehicle accelerates without pressure on
the accelerator pedal. The system stores and
maintains the speed.
Decreasing speed
Repeatedly pull the lever, arrow2, until the
desired speed is reached.
The functions are the same as when the set
speed is increased or the vehicle is accelerated,
except that in this case the speed decreases.
Deactivating cruise control
Tap the lever upwards or downwards, arrow3.
In addition, the system is automatically deacti-
vated:
>When you brake the vehicle
>When you depress the clutch of a manual
transmission or shift to neutral
>When you select the automatic transmis-
sion's neutral position N
>When you select the neutral position N with
the Sports automatic transmission with
double clutch
>When the vehicle travels faster or slower
than the set speed for an extended period,
e.g. when the accelerator is depressed
>When you activate DTC or deactivate DSC
>When DSC is intervening
Resuming a speed stored beforehand
Press the button, arrow4.
The last stored speed is resumed and main-
tained.
The stored speed is briefly displayed in the
instrument cluster.The stored speed is cleared when the ignition is
switched off.
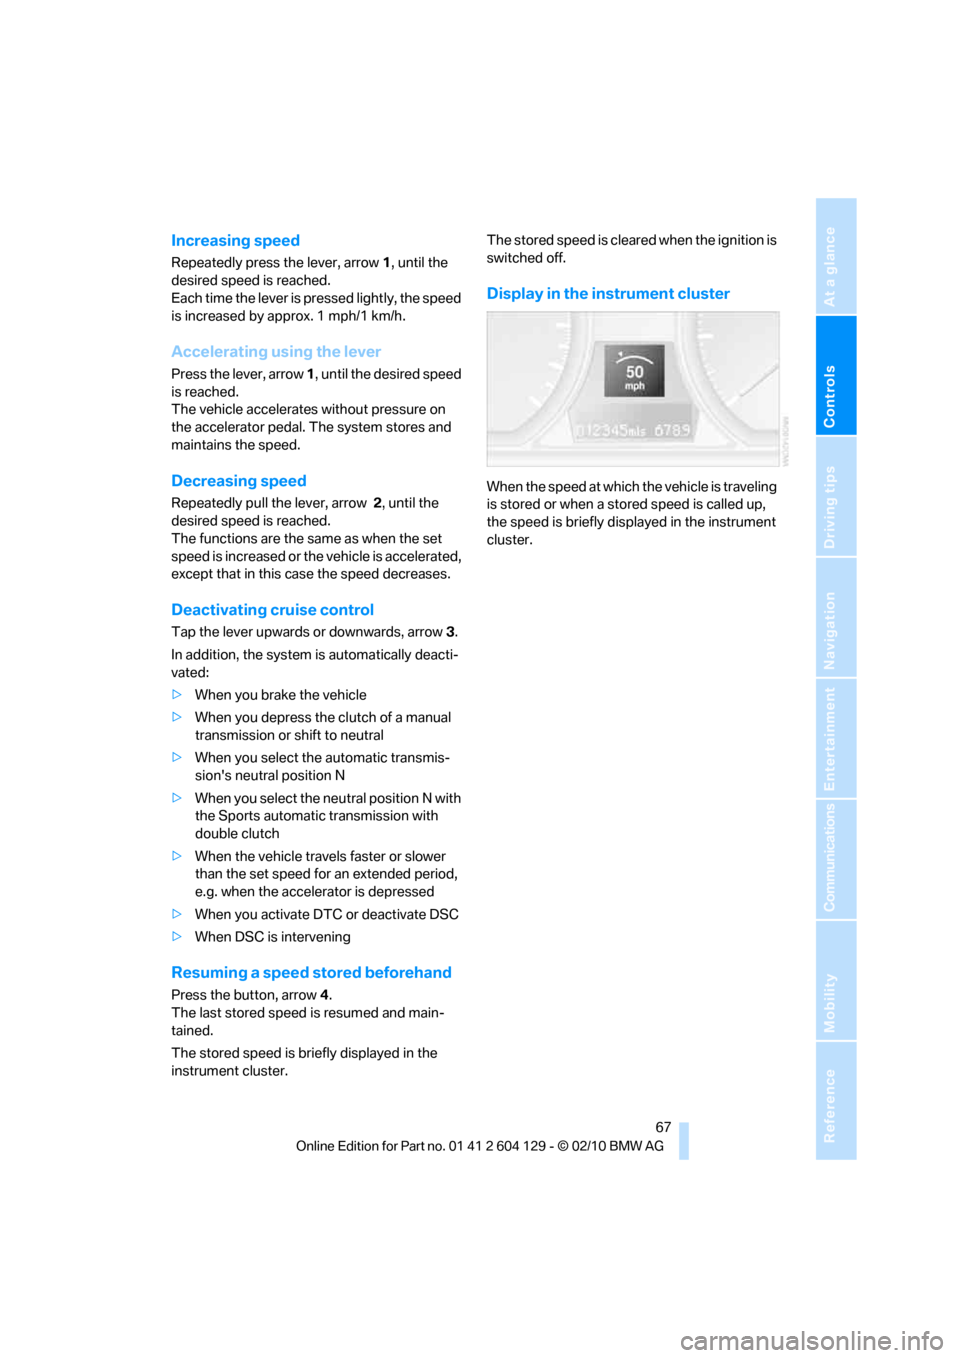
Display in the instrument cluster
When the speed at which the vehicle is traveling
is stored or when a stored speed is called up,
the speed is briefly displayed in the instrument
cluster.
Page 83 of 256

Controls
81Reference
At a glance
Driving tips
Communications
Navigation
Entertainment
Mobility
Driving stability control
systems
Your BMW has a number of systems that help
to maintain the vehicle's stability even in
adverse driving conditions.
Antilock Brake System ABS
ABS prevents locking of the wheels during
braking. Safe steering response is maintained
even during full braking. Active safety is thus
increased.
The ABS is operational every time you start the
engine. Braking safely, refer to page114.
Electronic brake-force distribution
EBV
The system controls the brake pressure in the
rear wheels to ensure stable braking behavior.
Dynamic Brake Control DBC
When you apply the brakes rapidly, this system
automatically produces the maximum braking
force boost and thus helps to achieve the short-
est possible braking distance during full brak-
ing. This system exploits all of the benefits pro-
vided by ABS.
Do not reduce the pressure on the brake for the
duration of the full braking application.
Dynamic Stability Control DSC
DSC prevents the driving wheels from losing
traction when you pull away from rest or accel-
erate. The system also recognizes unstable
driving conditions, for example if the rear of the
car is about to swerve or if momentum is acting
at an angle past the front wheels. In these
cases, DSC helps the vehicle maintain a safe
course within physical limits by reducing engine
output and through braking actions at the indi-
vidual wheels.
The laws of physics cannot be repealed,
even with DSC. An appropriate driving
style always remains the responsibility of the
driver. Therefore, do not reduce the additional
safety margin again by taking risks, as this could
result in an accident.<
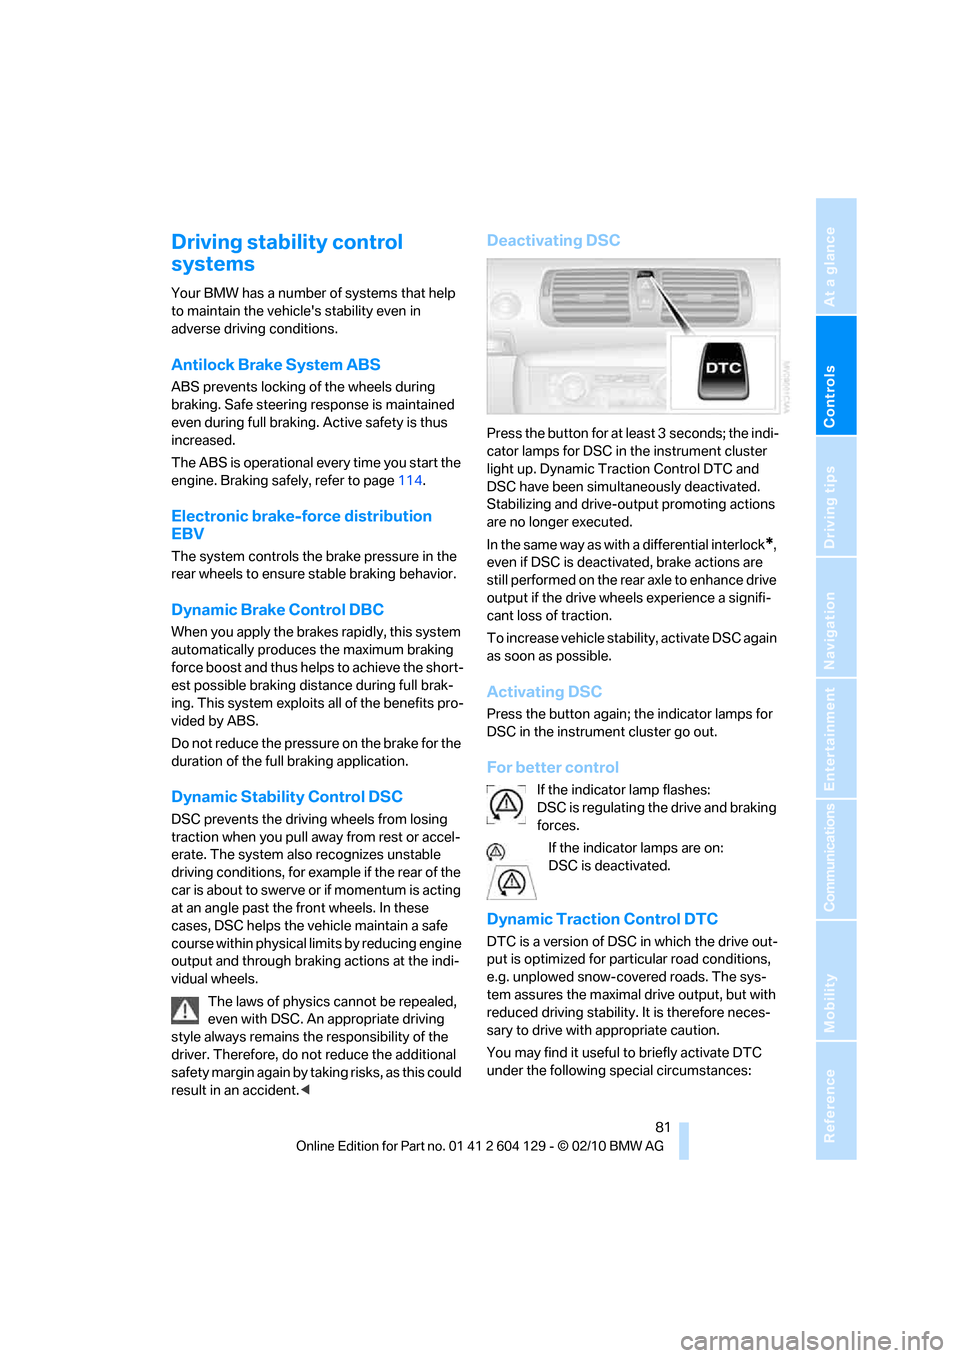
Deactivating DSC
Press the button for at least 3 seconds; the indi-
cator lamps for DSC in the instrument cluster
light up. Dynamic Traction Control DTC and
DSC have been simultaneously deactivated.
Stabilizing and drive-output promoting actions
are no longer executed.
In the same way as with a differential interlock
*,
even if DSC is deactivated, brake actions are
still performed on the rear axle to enhance drive
output if the drive wheels experience a signifi-
cant loss of traction.
To increase vehicle stability, activate DSC again
as soon as possible.
Activating DSC
Press the button again; the indicator lamps for
DSC in the instrument cluster go out.
For better control
If the indicator lamp flashes:
DSC is regulating the drive and braking
forces.
If the indicator lamps are on:
DSC is deactivated.
Dynamic Traction Control DTC
DTC is a version of DSC in which the drive out-
put is optimized for particular road conditions,
e.g. unplowed snow-covered roads. The sys-
tem assures the maximal drive output, but with
reduced driving stability. It is therefore neces-
sary to drive with appropriate caution.
You may find it useful to briefly activate DTC
under the following special circumstances:
Page 115 of 256

Driving tips
113Reference
At a glance
Controls
Communications
Navigation
Entertainment
Mobility
Drive defensively
Avoid unnecessary acceleration and braking
maneuvers. To do so, keep an adequate dis-
tance between you and the vehicle in front of
you. A defensive and smooth driving style
keeps fuel consumption down.
Avoid high engine speeds
Only use first gear when setting off. In second
and higher gears, accelerate without hesitation
or pauses. When accelerating, shift up before
reaching high engine speeds.
When you reach the desired speed, shift into
the highest applicable gear and drive with the
engine speed as low as possible and at a con-
stant speed.
As a rule: driving at low engine speeds lowers
fuel consumption and reduces wear.
Coasting
When approaching a red light, take your foot off
the accelerator and coast to a stop in the high-
est applicable gear.
O n a d o w n h il l s lo p e , t a k e y o u r f o o t o f f t h e a c c el -
erator and coast in a suitable gear.
The fuel supply is interrupted when coasting.
Switch off the engine during lengthy
stops
Switch off the engine when stopping for lengthy
periods, e.g. at traffic lights, railroad crossings
or in traffic congestions. You achieve fuel sav-
ings even if standing time is as short as approx.
4 seconds.
Switch off functions you do not need at
the moment
Functions such as the air conditioner, seat
heating or rear window defroster draw large
amounts of power and consume additional fuel.
Especially in city traffic and in stop-and-go driv-
ing they have a considerable impact. Therefore,
switch these functions off when they are not
really needed.
Have the vehicle serviced
Have the vehicle serviced regularly to achieve
good economy and a long vehicle life. BMW
recommends having the vehicle serviced at a
BMW center. Also note the BMW service sys-
tem, refer to page207.
General driving notes
Close the trunk lid
Operate the vehicle only when the trunk
lid is closed. Otherwise, exhaust fumes
could enter the interior of the vehicle.<
If the vehicle must be driven with the trunk lid
open:
1.Close all windows and the glass roof.
2.Greatly increase the air volume of the auto-
matic climate control system, refer to
page98.
Hot exhaust system
In all vehicles, extremely high tempera-
tures are generated in the exhaust sys-
tem. Do not remove the heat shields installed in
its vicinity, and never apply undercoating to
them. When driving, standing at idle and while
parking, take care to avoid possible contact
between the hot exhaust system and any highly
flammable materials such as hay, leaves, grass,
etc. Such contact could lead to a fire, with the
risk of serious personal injuries and property
damage. Do not touch hot exhaust tail pipes.
Otherwise, there is a risk of burns.<
Hydroplaning
When driving on wet or slushy roads,
reduce road speed. If you do not, a wedge
of water can form between tires and road sur-
face. This situation, known as hydroplaning,
means that the tire can completely lose contact
with the road surface, so that neither the car can
be steered nor the brake be properly applied.<
The risk of hydroplaning increases with declin-
ing tread depth on the tires, refer also to Mini-
mum tread depth on page199.