2011 BMW 128I CONVERTIBLE transmission
[x] Cancel search: transmissionPage 64 of 256
Driving
62 In the following situations, the 7-gear Sports
automatic transmission with double clutch
does the thinking for you:
>Upshifts and downshifts are executed only
when they will result in a plausible combina-
tion of engine and vehicle speed; thus, for
example, a downshift that could cause the
engine to overrev will not be executed by
the system.
>At a stop, the transmission is automatically
shifted down to the first gear.
>Shortly before the speed falls below a gear-
dependent minimum speed, the transmis-
sion automatically downshifts without your
intervention.
Quick downshifting: even in sequential mode,
you can skip over several gears in order to
achieve an optimum acceleration. To do so,
depress the accelerator past the resistance
point.
To return to automatic mode, push the selector
lever to the right.
Gear shifting
Upshift or downshift using the selector lever or
the shift paddles. You do not have to let off of
the gas to do this.
Using the selector lever
>To upshift, pull the selector lever toward the
rear.
>To downshift, push it toward the front.
Using the shift paddles on the steering
wheel
You can also shift manually using two shift pad-
dles on the steering wheel. The shift paddles
allow you to shift gears quickly since both
hands can remain on the steering wheel.
>When you use the shift paddles on the
steering wheel to shift gears in automatic
mode, the transmission switches to manual
mode.
>If you do not accelerate or shift gears using
the shift paddles for a certain amount of
time, the transmission switches back to automatic mode if the selector lever is in
position D.
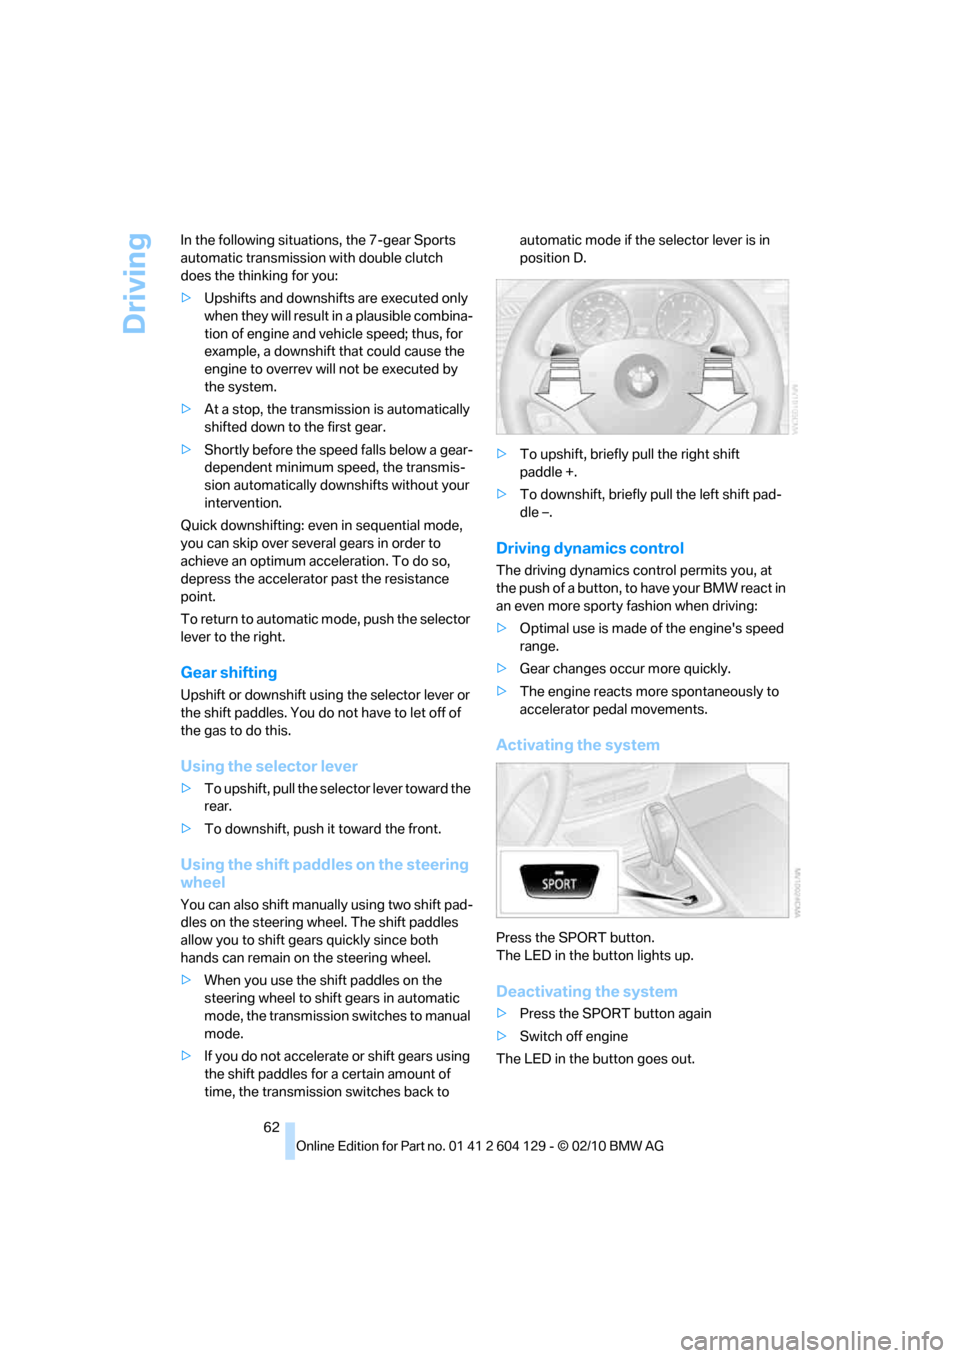
>To upshift, briefly pull the right shift
paddle +.
>To downshift, briefly pull the left shift pad-
dle –.
Driving dynamics control
The driving dynamics control permits you, at
the push of a button, to have your BMW react in
an even more sporty fashion when driving:
>Optimal use is made of the engine's speed
range.
>Gear changes occur more quickly.
>The engine reacts more spontaneously to
accelerator pedal movements.
Activating the system
Press the SPORT button.
The LED in the button lights up.
Deactivating the system
>Press the SPORT button again
>Switch off engine
The LED in the button goes out.
Page 69 of 256
Controls
67Reference
At a glance
Driving tips
Communications
Navigation
Entertainment
Mobility
Increasing speed
Repeatedly press the lever, arrow 1, until the
desired speed is reached.
Each time the lever is pressed lightly, the speed
is increased by approx. 1 mph/1 km/h.
Accelerating using the lever
Press the lever, arrow 1, until the desired speed
is reached.
The vehicle accelerates without pressure on
the accelerator pedal. The system stores and
maintains the speed.
Decreasing speed
Repeatedly pull the lever, arrow2, until the
desired speed is reached.
The functions are the same as when the set
speed is increased or the vehicle is accelerated,
except that in this case the speed decreases.
Deactivating cruise control
Tap the lever upwards or downwards, arrow3.
In addition, the system is automatically deacti-
vated:
>When you brake the vehicle
>When you depress the clutch of a manual
transmission or shift to neutral
>When you select the automatic transmis-
sion's neutral position N
>When you select the neutral position N with
the Sports automatic transmission with
double clutch
>When the vehicle travels faster or slower
than the set speed for an extended period,
e.g. when the accelerator is depressed
>When you activate DTC or deactivate DSC
>When DSC is intervening
Resuming a speed stored beforehand
Press the button, arrow4.
The last stored speed is resumed and main-
tained.
The stored speed is briefly displayed in the
instrument cluster.The stored speed is cleared when the ignition is
switched off.
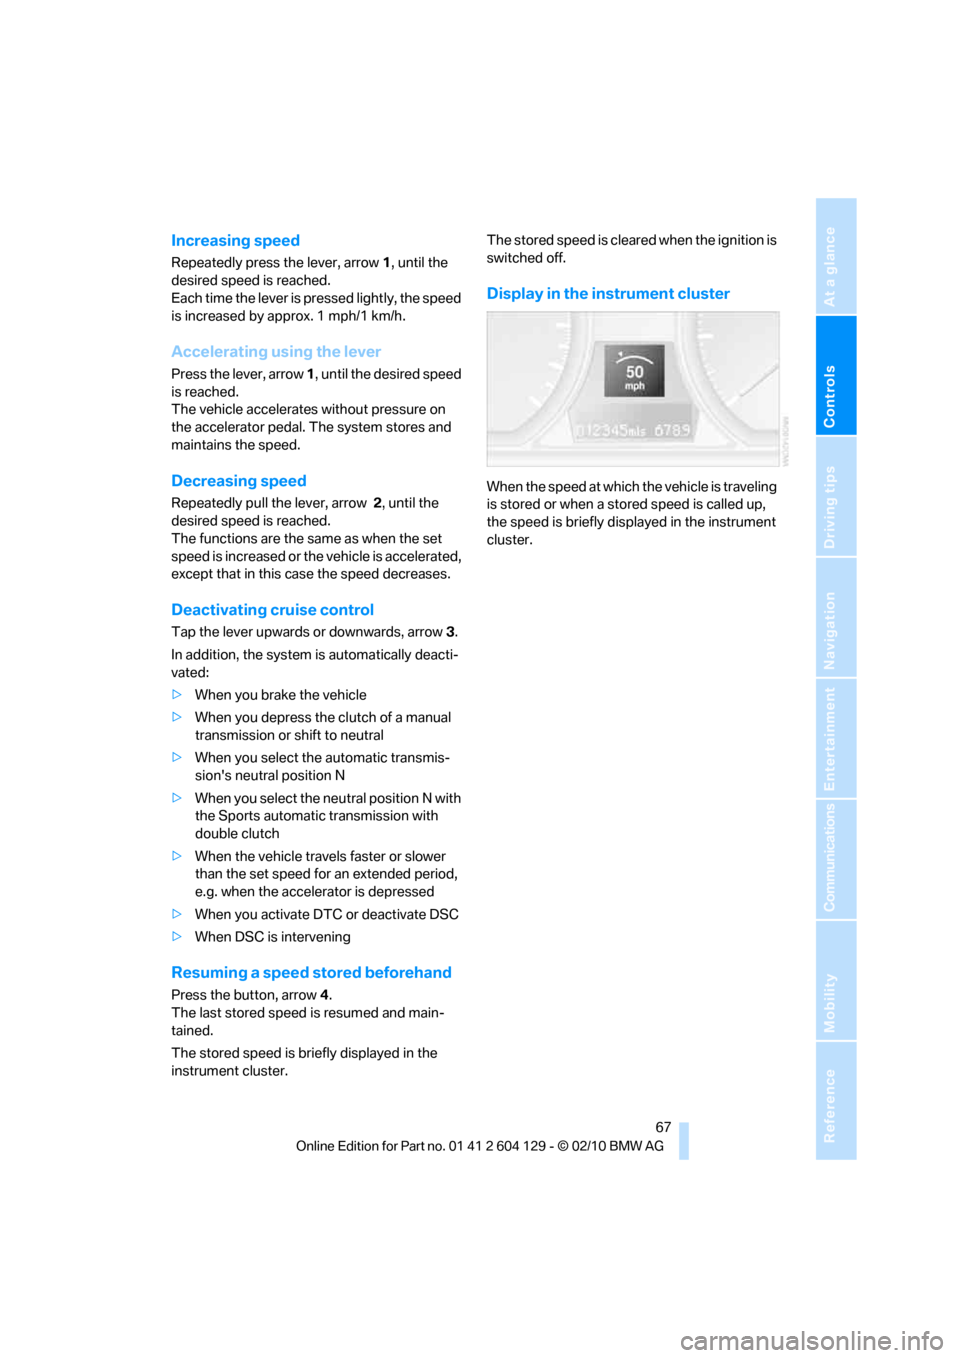
Display in the instrument cluster
When the speed at which the vehicle is traveling
is stored or when a stored speed is called up,
the speed is briefly displayed in the instrument
cluster.
Page 82 of 256

Technology for driving comfort and safety
80
Technology for driving comfort and safety
Park Distance Control PDC*
The concept
The PDC assists you with maneuvering in tight
parking spaces. Acoustic signals and a visual
indicator
warn you of the presence of an object
behind your vehicle. Four ultrasonic sensors in
the bumper measure the distance.
These sensors have a range of approx. 6.5 ft/
2 m. However, an acoustic warning does not
sound until an object is approx. 2 ft/60 cm from
the corner sensors, or approx. 5 ft/1.50 m from
the center sensors.
PDC is a parking aid that can indicate
objects when they are approached
slowly, as is usually the case when parking.
Avoid approaching an object at high speed; oth-
erwise, physical circumstances may lead to the
system warning being issued too late.<
Switching on automatically
With the engine running or the ignition switched
on, the system is activated after approx. second
when you engage reverse gear or move the
automatic transmission selector lever to
position R. Wait this short period before driving.
Switching off automatically
After approx. 55 yd/50 m of driving or above
approx. 20 mph/30 km/h, the system switches
off and the LED goes out.
Signal tones
When nearing an object, its position is indicated
correspondingly by an interval tone. As the dis-
tance between vehicle and object decreases,
the intervals between the tones become
shorter. If the distance to the nearest object
falls to below roughly 1 ft/30 cm, then a contin-
uous tone sounds.
An interval tone is interrupted after approx.
3seconds:>If you stop in front of an object that has been
detected by only one of the corner sensors
>If you are driving parallel to a wall
Malfunction
The indicator lamp in the instrument
cluster comes on. PDC is malfunc-
tioning. A message appears on the
Control Display. Have the system checked.
To avoid this problem, keep the sensors clean
and free of ice or snow in order to ensure that
they will continue to operate effectively. When
using a high-pressure cleaner, do not spray the
sensors for extended periods of time and only
from a distance of at least 1 ft/30 cm.
PDC with visual warning
The approach of the vehicle to an object is
shown on the Control Display. Objects that are
farther away are displayed on the Control Dis-
play before a signal tone sounds. The display
appears on the Control Display as soon as PDC
is activated.
System limitations
Even with PDC, final responsibility for
estimating the distance between the
vehicle and any obstructions always remains
with the driver. Even when sensors are pro-
vided, there is a blind spot in which objects can
no longer be detected. The system is also sub-
ject to the physical limits that apply to all forms
of ultrasonic measurement, such as those
encountered with trailer towbars and hitches,
thin or wedge-shaped objects, etc. Low objects
that have already been displayed, e.g. curbs,
can disappear again from the detection area of
the sensors before or after a continuous tone
sounds. Higher, protruding objects, e.g. ledges,
cannot be detected. Loud sound sources out-
side or inside the car can drown out the PDC
signal. Therefore, always drive cautiously; oth-
erwise, there is a risk of personal injury or prop-
erty damage.<
Page 106 of 256

Practical interior accessories
104
Calibrating the digital compass
The digital compass must be calibrated in the
following situations:
>An incorrect compass direction is shown.
>The compass direction shown does not
change although the direction of travel
does.
>Not all compass directions are shown.
Procedure
1.Make sure that no large metal objects or
overhead power lines are in the vicinity of
your vehicle and that you have enough
space to drive in a circle.
2.Set the currently valid compass zone.
3.Convertible: ensure that the convertible top
is fully closed.
4.Press the adjustment button for approx.
6-7 seconds to call up C. Then drive in at
least one full circle at a speed of no more
than 4 mph/7 km/h.
If calibration is successful, the display
changes from C to a compass direction.
5.Convertible: open the convertible top fully
and repeat step 4.
Setting right-hand/left-hand steering
Your digital compass is factory-set to right-
hand or left-hand steering, in accordance with
your vehicle.
Set the language
You can set the language of the display:
Press the adjustment button for approx.
12-13 seconds. Briefly press the adjustment
button again to switch between English, "E",
and German, "O".
The setting is automatically saved after approx.
10 seconds.
Glove compartment
Opening
Pull the handle.
The light in the glove compartment comes on.
To prevent injury in the event of an acci-
dent while the vehicle is being driven,
close the glove compartment immediately after
use.<
Closing
Fold the cover up.
Locking
To lock the glove compartment, use the inte-
grated key of the remote control, refer to
page26.
USB interface for data transmission
Port for importing and exporting data on USB
devices, e.g. music collections, refer to
page162.
Observe the following when connecting:
>Do not forcibly connect the plug to the USB
interface.
>Do not connect devices such as fans or
lamps to the USB interface.
Page 114 of 256

Things to remember when driving
112
Things to remember when driving
Break-in period
Moving parts need breaking-in time to adjust to
each other. Please follow the instructions below
in order to achieve the optimal service life and
economy of operation for your vehicle.
Engine and differential
Always obey all official speed limits.
Up to 1,200 miles/2,000 km
Drive at varying engine and road speeds, but do
not exceed an engine speed of 4,500 rpm or a
road speed of 100 mph/160 km/h.
Avoid full-throttle operation and use of the
transmission's kickdown mode.
After driving 1,200 miles/2,000 km
Engine and vehicle speeds can be gradually
increased.
Tires
Due to technical factors associated with their
manufacture, tires do not achieve their full trac-
tion potential until after an initial break-in
period. Therefore, drive cautiously during the
first 200 miles/300 km.
Brake system
Brakes require an initial break-in period of
approx. 300 miles/500 km to achieve optimized
contact and wear patterns between brake pads
and rotors. Drive cautiously during this break-in
period.
Clutch
The function of the clutch reaches its optimal
level only after a distance driven of approx.
300 miles/500 km. During this break-in period,
engage the clutch gently.
Following part replacement
The same break-in procedures should be
observed if any of the components mentioned
above have to be renewed in the course of the
vehicle's operating life.
Saving fuel
The fuel consumption of your vehicle depends
on several factors. You can lower fuel consump-
tion and the environmental impact by taking
certain measures, adjusting your driving style
and having the vehicle serviced regularly.
Remove any unneeded cargo
Additional weight increases fuel consumption.
Remove any mounted parts after you
have finished using them
Remove unneeded additional mirrors, the roof
rack and the rear luggage rack after use.
Mounted parts affect the vehicle's aerodynam-
ics and increase fuel consumption.
Close the windows and glass roof
An open glass roof or window causes higher air
resistance and thus increases fuel consump-
tion.
Check tire inflation pressure regularly
Check the tire inflation pressure at least twice a
month and before embarking on a long journey,
and correct it if necessary.
Low tire inflation pressure causes higher rolling
resistance and thus increases fuel consumption
and tire wear.
Set off immediately
Do not let the engine warm up while the car is
still standing, but set off immediately at moder-
ate engine speed. This is the fastest way for the
cold engine to reach its operating temperature.
Page 116 of 256
Things to remember when driving
114
Driving through water
Drive through water on the road only if it is
not deeper than 1 ft/30 cm, and then only
at walking speed at the most. Otherwise, the
vehicle's engine, the electrical systems and the
transmission may be damaged.<
Use the parking brake on inclines
On inclines, do not hold the vehicle for a
lengthy period using the clutch; use the
parking brake instead. Otherwise, greater
clutch wear will result.<
For more information about the drive-off assis-
tant, refer to page82.
Braking safely
Your BMW is equipped with ABS as a standard
feature. Applying the brakes fully is the most
effective way of braking in situations in which
this is necessary. Since the vehicle maintains
steering responsiveness, you can still avoid
possible obstacles with a minimum of steering
effort.
Pulsation of the brake pedal, combined with
sounds from the hydraulic circuits, indicate that
ABS is in its active mode.
Driving in wet conditions
When roads are wet or there is heavy rain,
briefly exert gentle pressure on the brake pedal
every few miles. Monitor traffic conditions to
ensure that this maneuver does not endanger
other road users. The heat generated in this
process helps dry the pads and rotors to ensure
that full braking efficiency will then be available
when you need it.
Hills
To prevent overheating and the resulting
reduced efficiency of the brake system,
drive long or steep downhill gradients in the
gear in which the least braking is required. Even
light but consistent brake pressure can lead to
high temperatures, brake wear and possibly
even brake failure.<
You can increase the engine's braking effect by
shifting down, all the way to first gear if neces-sary. This strategy helps you avoid placing
excessive loads on the brake system. Down-
shifting in manual mode of the automatic trans-
mission, refer to page59.
Sports automatic transmission with dou-
ble clutch Never drive with the transmis-
sion in neutral or the engine switched off; other-
wise, there is no engine braking action or power
assist to the brakes and steering.
Manual transmission: never drive with the
clutch depressed, the transmission in neutral,
or the engine switched off; otherwise, there is
no engine braking action or power assist to the
brakes and steering.
Never allow floor mats, carpets or any other
objects to protrude into the area around the
pedals, otherwise, pedal function could be
impaired.<
Corrosion on brake rotors
When the vehicle is driven only occasionally,
during extended periods when the vehicle is not
used at all, and in operating conditions where
brake applications are less frequent, there is an
increased tendency for corrosion to form on
rotors, while contaminants accumulate on the
brake pads. This occurs because the minimum
pressure which must be exerted by the pads
during brake applications to clean the rotors is
not reached.
Should corrosion form on the brake rotors, the
brakes will tend to respond with a pulsating
effect that even extended application will fail to
cure.
When the vehicle is parked
Condensation forms while the automatic cli-
mate control is in operation, and then exits
under the vehicle. Traces of condensed water
under the vehicle are therefore normal.
Cargo loading
To avoid loading the tires beyond their
approved carrying capacity, never over-
load the vehicle. Overloading can lead to over-
heating and increases the rate at which damage
Page 166 of 256
External devices
164 back is possible only if no audio device/
mobile phone is connected to the USB
audio interface.
Due to the large number of different audio
devices/mobile phones available on the market,
it cannot be ensured that every audio device/
mobile phone is operable on the vehicle.
Ask about suitable audio devices/mobile
phones at your BMW center.
Audio files
The system can play standard audio formats,
e.g. MP3, WMA, WAV (PCM), and AAC, as well
as playlists in the M3U format.
Connecting via USB audio interface
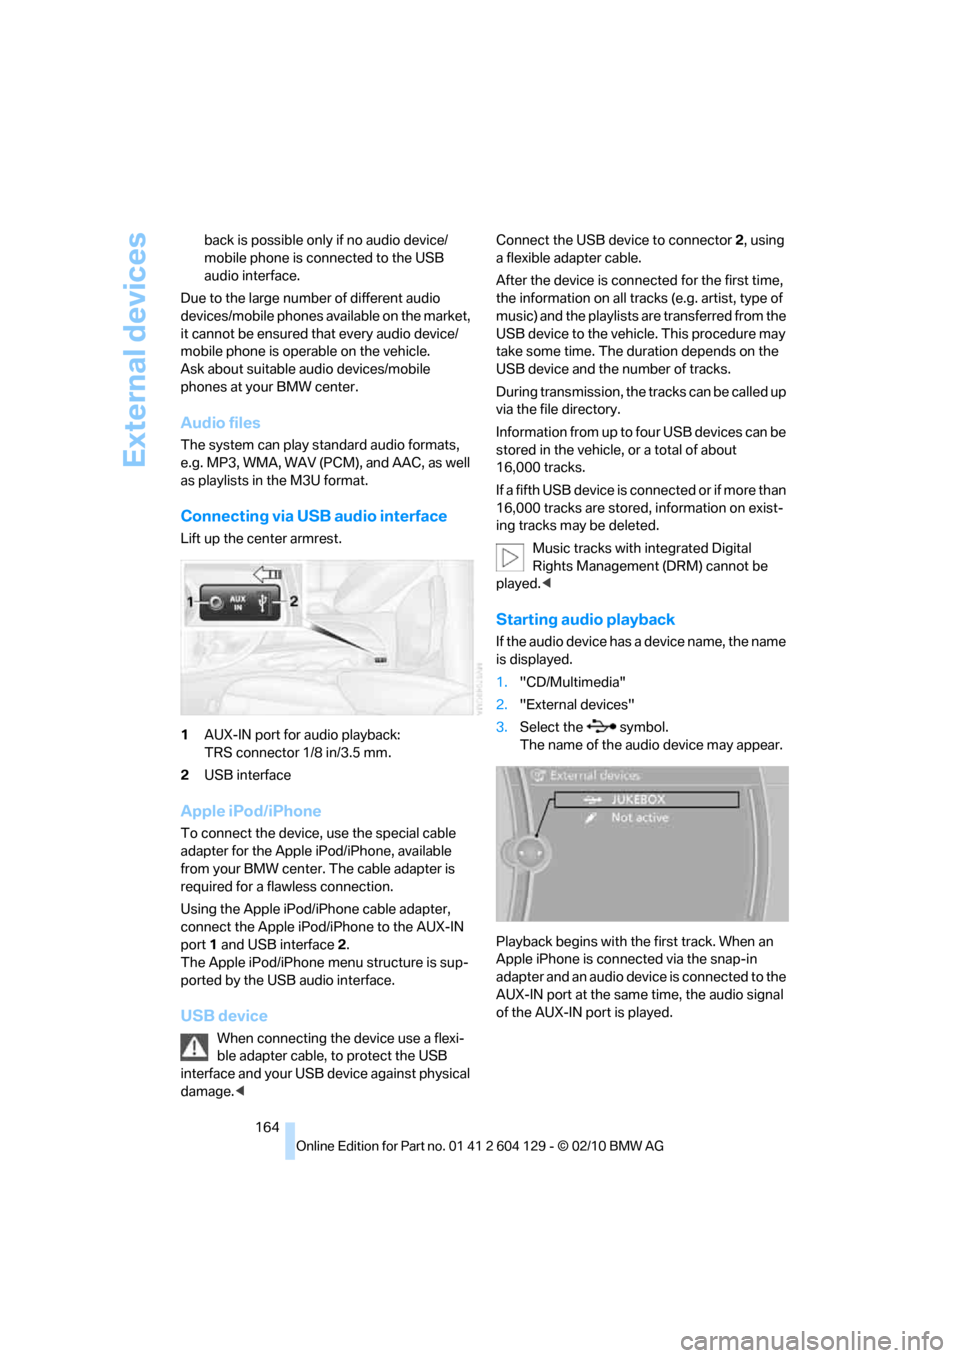
Lift up the center armrest.
1AUX-IN port for audio playback:
TRS connector 1/8 in/3.5 mm.
2USB interface
Apple iPod/iPhone
To connect the device, use the special cable
adapter for the Apple iPod/iPhone, available
from your BMW center. The cable adapter is
required for a flawless connection.
Using the Apple iPod/iPhone cable adapter,
connect the Apple iPod/iPhone to the AUX-IN
port1 and USB interface2.
The Apple iPod/iPhone menu structure is sup-
ported by the USB audio interface.
USB device
When connecting the device use a flexi-
ble adapter cable, to protect the USB
interface and your USB device against physical
damage.
After the device is connected for the first time,
the information on all tracks (e.g. artist, type of
music) and the playlists are transferred from the
USB device to the vehicle. This procedure may
take some time. The duration depends on the
USB device and the number of tracks.
During transmission, the tracks can be called up
via the file directory.
Information from up to four USB devices can be
stored in the vehicle, or a total of about
16,000 tracks.
If a fifth USB device is connected or if more than
16,000 tracks are stored, information on exist-
ing tracks may be deleted.
Music tracks with integrated Digital
Rights Management (DRM) cannot be
played.<
Starting audio playback
If the audio device has a device name, the name
is displayed.
1."CD/Multimedia"
2."External devices"
3.Select the symbol.
The name of the audio device may appear.
Playback begins with the first track. When an
Apple iPhone is connected via the snap-in
adapter and an audio device is connected to the
AUX-IN port at the same time, the audio signal
of the AUX-IN port is played.
Page 188 of 256
BMW Assist
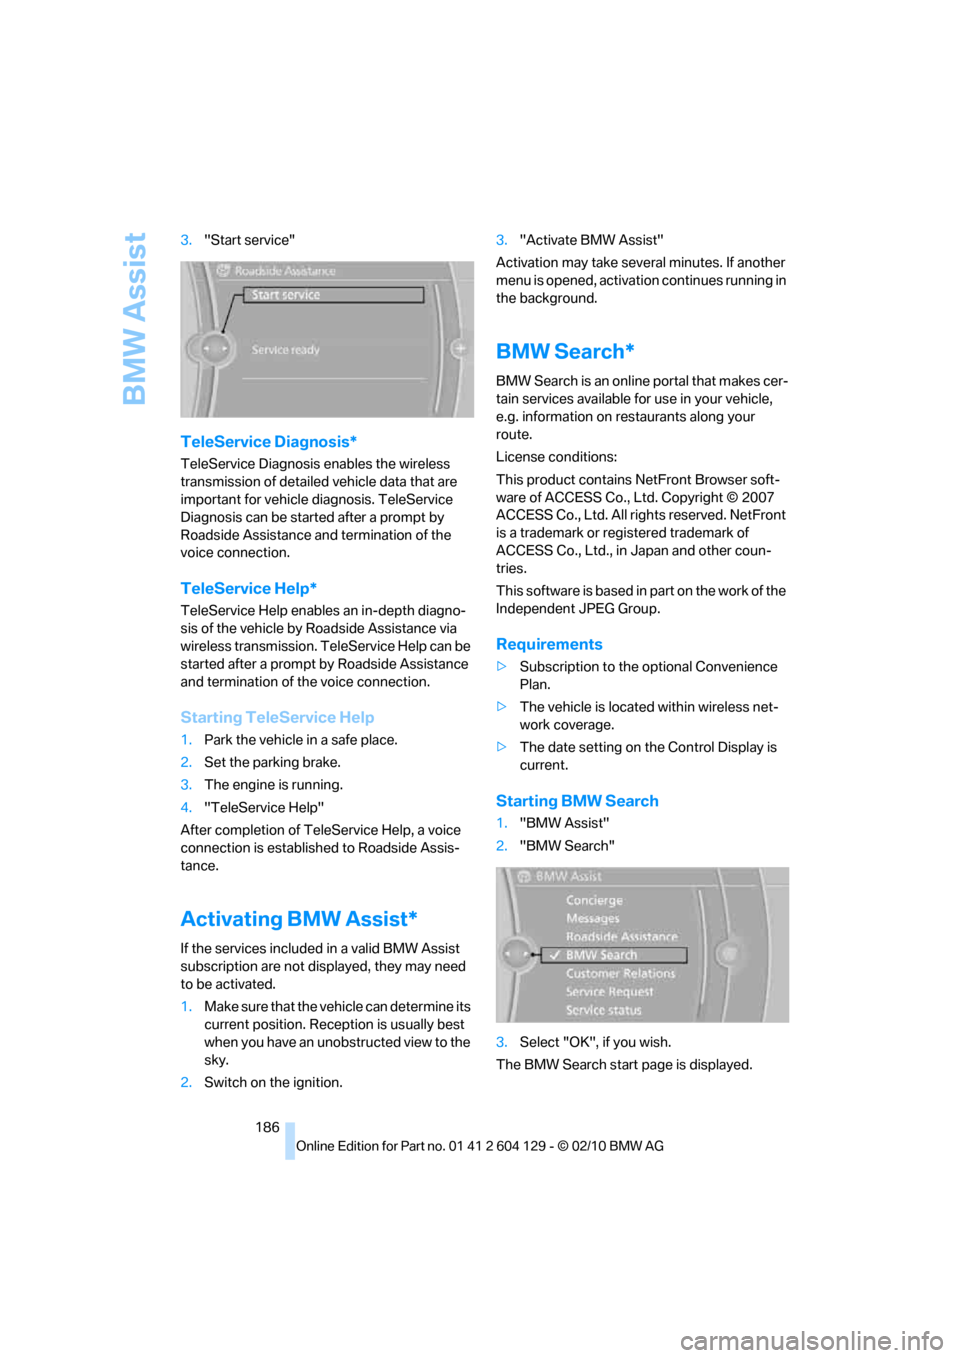
186 3."Start service"
TeleService Diagnosis*
TeleService Diagnosis enables the wireless
transmission of detailed vehicle data that are
important for vehicle diagnosis. TeleService
Diagnosis can be started after a prompt by
Roadside Assistance and termination of the
voice connection.
TeleService Help*
TeleService Help enables an in-depth diagno-
sis of the vehicle by Roadside Assistance via
wireless transmission. TeleService Help can be
started after a prompt by Roadside Assistance
and termination of the voice connection.
Starting TeleService Help
1.Park the vehicle in a safe place.
2.Set the parking brake.
3.The engine is running.
4."TeleService Help"
After completion of TeleService Help, a voice
connection is established to Roadside Assis-
tance.
Activating BMW Assist*
If the services included in a valid BMW Assist
subscription are not displayed, they may need
to be activated.
1.Make sure that the vehicle can determine its
current position. Reception is usually best
when you have an unobstructed view to the
sky.
2.Switch on the ignition.3."Activate BMW Assist"
Activation may take several minutes. If another
menu is opened, activation continues running in
the background.
BMW Search*
BMW Search is an online portal that makes cer-
tain services available for use in your vehicle,
e.g. information on restaurants along your
route.
License conditions:
This product contains NetFront Browser soft-
ware of ACCESS Co., Ltd. Copyright © 2007
ACCESS Co., Ltd. All rights reserved. NetFront
is a trademark or registered trademark of
ACCESS Co., Ltd., in Japan and other coun-
tries.
T h i s s o f t w a r e is b a s e d in p a rt o n t he w o r k o f t h e
Independent JPEG Group.
Requirements
>Subscription to the optional Convenience
Plan.
>The vehicle is located within wireless net-
work coverage.
>The date setting on the Control Display is
current.
Starting BMW Search
1."BMW Assist"
2."BMW Search"
3.Select "OK", if you wish.
The BMW Search start page is displayed.