2011 BMW 1 SERIES turn signal
[x] Cancel search: turn signalPage 13 of 256

At a glance
11Reference
Controls
Driving tips
Communications
Navigation
Entertainment
Mobility
7
Fog lamps*94
8
Turn signals64
High beams, headlamp flasher93
High-beam assistant
*93
Roadside parking lamps
*93
Computer69
Settings and information about the
vehicle71
9Instrument cluster12
10
Windshield wipers65
Rain sensor
*65
11Switching the ignition on/off and
starting/stopping the engine55
12Ignition lock55
13Buttons
on the steering wheel
Telephone
*:
Accepting and ending a call; dial-
ing
* the selected phone number;
redialing if no phone number is
selected
Volume
Activating/deactivating the voice
activation system
*
Changing the radio station
Interrupting a traffic bulletin
Selecting a music track
Scrolling through the redial list
Next entertainment source
Recirculated-air mode98
14
Steering wheel heating
*51
15Horn, entire surface
16Adjusting the steering wheel51
17
Cruise control
*66
18Releasing the hood202
19Opening the trunk lid31
Page 14 of 256

Dashboard
12
Instrument cluster
1Speedometer
135i: with fuel gauge
2Indicator lamps for turn signals
3Indicator and warning lamps13
4Tachometer68
5Fuel gauge69
135i: engine oil temperature69
6Display for
>Clock68
>Outside temperature68
>Indicator and warning lamps767Display for
>Position of automatic transmission
*57
>Gear indicator in 7-gear Sports auto-
matic transmission with double
clutch
*60
>Computer69
>Date of next scheduled service, and
remaining distance to be driven72
>Odometer and trip odometer68
>High-beam assistant
*93
>Checking the oil level203
>Settings and information71
8Resetting the trip odometer68
Page 28 of 256

Opening and closing
26
Opening and closing
Remote control
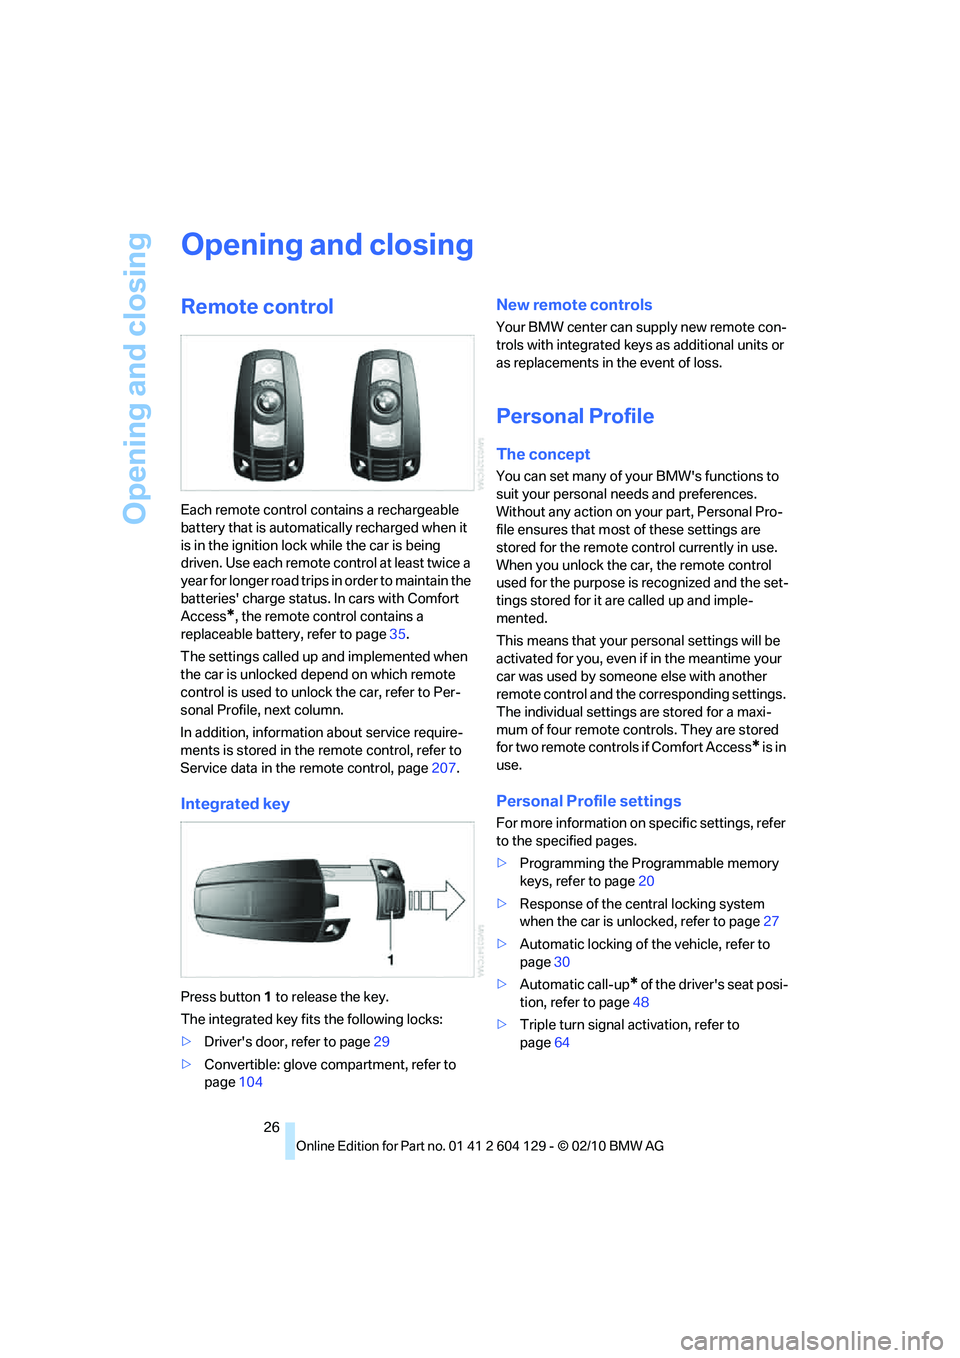
Each remote control contains a rechargeable
battery that is automatically recharged when it
is in the ignition lock while the car is being
driven. Use each remote control at least twice a
year for longer road trips in order to maintain the
batteries' charge status. In cars with Comfort
Access
*, the remote control contains a
replaceable battery, refer to page35.
The settings called up and implemented when
the car is unlocked depend on which remote
control is used to unlock the car, refer to Per-
sonal Profile, next column.
In addition, information about service require-
ments is stored in the remote control, refer to
Service data in the remote control, page207.
Integrated key
Press button1 to release the key.
The integrated key fits the following locks:
>Driver's door, refer to page29
>Convertible: glove compartment, refer to
page104
New remote controls
Your BMW center can supply new remote con-
trols with integrated keys as additional units or
as replacements in the event of loss.
Personal Profile
The concept
You can set many of your BMW's functions to
suit your personal needs and preferences.
Without any action on your part, Personal Pro-
file ensures that most of these settings are
stored for the remote control currently in use.
When you unlock the car, the remote control
used for the purpose is recognized and the set-
tings stored for it are called up and imple-
mented.
This means that your personal settings will be
activated for you, even if in the meantime your
car was used by someone else with another
remote control and the corresponding settings.
The individual settings are stored for a maxi-
mum of four remote controls. They are stored
for two remote controls if Comfort Access
* is in
use.
Personal Profile settings
For more information on specific settings, refer
to the specified pages.
>Programming the Programmable memory
keys, refer to page20
>Response of the central locking system
when the car is unlocked, refer to page27
>Automatic locking of the vehicle, refer to
page30
>Automatic call-up
* of the driver's seat posi-
tion, refer to page48
>Triple turn signal activation, refer to
page64
Page 66 of 256

Driving
64
Launch Control
Launch Control enables an optimum accelera-
tion when starting off on a road surface with
good traction.
Do not use Launch Control too often; oth-
erwise, the powerful stresses on the vehi-
cle will lead to premature component wear.<
Launch Control is ready for use when the
engine is at operating temperature, i.e. after
uninterrupted travel of at least 6.2 miles/10 km.
1.With the engine running, step on the brake
with your left foot.
2.Activate Dynamic Traction Control (DTC),
refer to page, 82.
3.Activate Driving dynamics control, refer to
page62.
4.With the vehicle stationary, activate the
manual mode and select 1
stgear.
5.With your right foot, push the accelerator
pedal past the resistance point. The accel-
eration speed is adjusted. A flag symbol
appears in the instrument cluster.
6.When you release the brake pedal, the vehi-
cle accelerates. Keep the accelerator pedal
floored.
7.The upshifting occurs automatically as long
as you keep the accelerator pedal pressed
past the resistance point.
Launch Control will be ready for use again after
you drive a certain distance.
Launch Control is not available for use during
the break-in phase, refer to page112.
To maintain driving stability, keep DSC
activated whenever possible.<
Turn signals/
headlamp flasher
1High beams
2Headlamp flasher
3Turn signals
Using turn signals
Press the lever beyond the resistance point.
To turn off manually, press the lever to the
resistance point.
Unusually rapid flashing of the indicator
lamp and the turn signals indicates that
one of the turn signal bulbs has failed.<
Indicating a turn briefly
Press the lever as far as the resistance point for
as long as you wish to indicate a turn.
Triple turn signal activation
Press the lever as far as the resistance point.
The turn signals flash three times.
You can activate or deactivate this function.
1."Settings"
2."Lighting"
3."Triple turn signal"
Page 67 of 256

Controls
65Reference
At a glance
Driving tips
Communications
Navigation
Entertainment
Mobility
Triple turn signal activation is activated and
is stored for the remote control currently in use.
Wiper system
1Switching on wipers
2Switching off wipers or brief wipe
3Activating/deactivating intermittent wipe or
rain sensor
*
4Cleaning windshield and headlamps*
5Setting speed for intermittent wipe, or sen-
sitivity of the rain sensor
Switching on wipers
Press the lever upward, arrow 1.
The lever automatically returns to its initial posi-
tion when released.
Normal wiper speed
Press once.
The system switches to operation in the inter-
mittent mode when the vehicle is stationary.
Fast wiper speed
Press twice or press beyond the resistance
point.
The system switches to normal speed when the
vehicle is stationary.
Intermittent wipe or rain sensor*
If the car is not equipped with a rain sensor, the
intermittent-wipe time is a preset.
If the car is equipped with a rain sensor, the time
between wipes is controlled automatically and
depends on the intensity of the rainfall. The rain sensor is mounted on the windshield, directly in
front of the interior rearview mirror.
Activating intermittent wipe or rain
sensor
Press the button, arrow3. The LED in the but-
ton lights up.
Setting speed for intermittent wipe or
sensitivity of the rain sensor
Turn the thumb wheel5.
Deactivating intermittent wipe or rain
sensor
Press the button again, arrow3.
The LED goes out.
Deactivate the rain sensor before enter-
ing an automatic car wash. Failure to do
so could result in damage caused by undesired
wiper activation.<
Cleaning windshield and headlamps*
Pull the lever, arrow 4.
Washer fluid is sprayed onto the windshield and
the wipers are operated for a short time.
When the vehicle lighting system is switched
on, the headlamps are cleaned at regular and
appropriate intervals.
Do not use the washers if there is any
danger that the fluid will freeze on the
windshield. If you do, your vision could be
obscured. Antifreeze should therefore be
added to the fluid, refer to Washer fluid.
Do not use the washers when the washer fluid
reservoir is empty; otherwise, you will damage
the washer pump.<
Page 71 of 256

Controls
69Reference
At a glance
Driving tips
Communications
Navigation
Entertainment
Mobility
Coolant temperature
A warning lamp will come on if the coolant, and
therefore the engine, becomes too hot.
In addition, a message will appear on the Con-
trol Display.
Check coolant level, refer to page206.
Engine oil temperature*
When the engine is at normal operating temper-
ature, the engine oil temperature is between
approx. 2107/1006 and approx. 3007/
1506.
If the engine oil temperature is too high, a mes-
sage appears on the Control Display.
Fuel gauge
Fuel tank capacity: approx. 14 US gallons/
53 liters.
You can find information on refueling on
page192.
If the tilt of the vehicle varies for a longer period,
when you are driving in mountainous areas, for
example, the indicator may fluctuate slightly.
Fuel display 135i: in speedometer.
Reserve
Once the fuel level has fallen to the reserve
zone, a message briefly appears on the Control
Display and the remaining cruising range is dis-
played on the computer. Under a cruising range
of approx. 30 miles/50 km, the message
appears continuously in the Control Display.
Refuel as soon as possible once your
cruising range falls below 30 miles/
50 km; otherwise, engine functions are not
ensured and damage can occur.<
Computer
Displays in the instrument cluster
Calling up information
Press the button in the turn signal/high beam
lever.
The following items of information are dis-
played in the order listed:
>Cruising range
>Average speed
>Average fuel consumption
>Current fuel consumption
>No information
Page 72 of 256

Controls overview
70 To set the corresponding units of measure,
refer to Setting the units of measure on
page72.
Cruising range
Displays the estimated cruising range available
with the remaining fuel. The range is calculated
on the basis of the way the car has been driven
over the last 18 miles/30 km and the amount of
fuel currently in the tank.
It is important that you refuel as soon as
possible once your cruising range falls
below 30 miles/50 km; otherwise, engine func-
tions are not ensured and damage can occur.<
Average speed
Periods with the vehicle parked and the engine
switched off are not included in the calculations
of average speed.
With the trip computer, refer to page71, you
can have the average speed for another trip dis-
played.
To reset average speed: press the button in the
turn signal/high beam lever for approx.
2seconds.
Average fuel consumption
The average fuel consumption is calculated for
the time during which the engine is running.
With the trip computer, refer to page71, you
can have the average consumption for another
trip displayed.
To reset average fuel consumption: press the
button in the turn signal/high beam lever for
approx. 2 seconds.
Current fuel consumption
Displays the current fuel consumption. This
allows you to see whether your current driving
style is conducive to fuel economy with mini-
mum exhaust emissions.
Displays on the Control Display
The computer can also be opened via iDrive.1."Vehicle Info"
2."Onboard info" or "Trip computer"
Displays in "Onboard info":
>Cruising range
>Distance from destination
>Estimated time of arrival if:
>A distance was manually entered in the
computer, refer to the information
below.
>A destination was entered in the naviga-
tion system
*, refer to page121.
Displays in "Trip computer":
>Departure time
>Trip duration
>Trip distance
Page 74 of 256

Controls overview
72
Units of measure
The units of measure can be set.
Setting the units of measure
You can change the units for fuel consumption,
route/distance, temperature and pressure.
1."Settings"
2."Language/Units"
3.Select the desired menu item.
4.Select the desired unit.
The settings are stored for the remote control
currently in use.
Service requirements
The remaining driving distance and the date of
the next scheduled service are displayed briefly
immediately after you start the engine or switch
on the ignition.
The extent of service work required can
be read out from the remote control by
your BMW Service Advisor.<
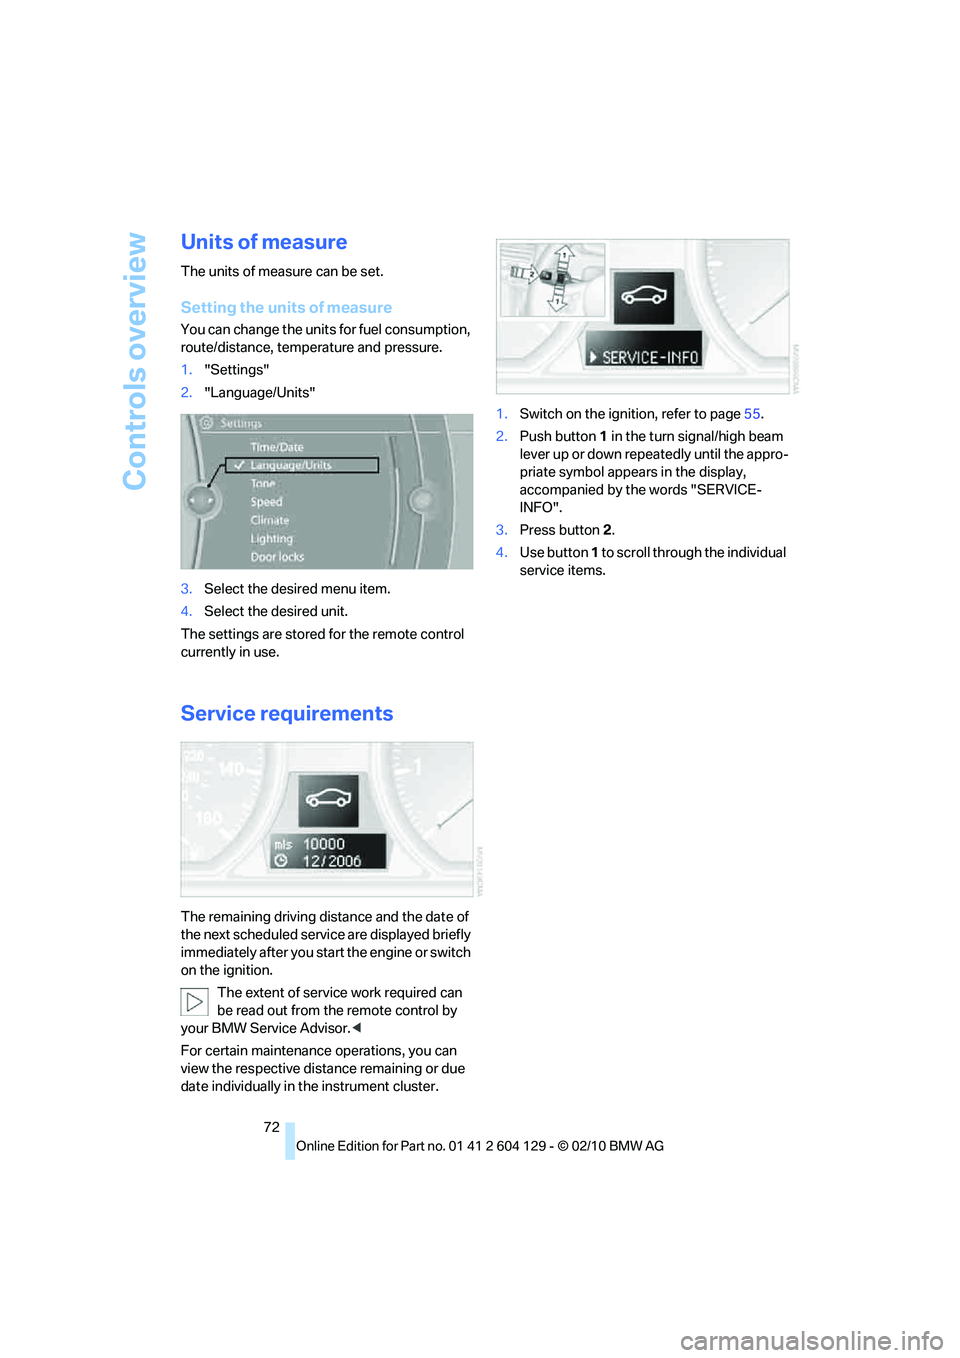
For certain maintenance operations, you can
view the respective distance remaining or due
date individually in the instrument cluster.1.Switch on the ignition, refer to page55.
2.Push button 1 in the turn signal/high beam
lever up or down repeatedly until the appro-
priate symbol appears in the display,
accompanied by the words "SERVICE-
INFO".
3.Press button2.
4.Use button 1 to scroll through the individual
service items.