2011 Acura TSX reset
[x] Cancel search: resetPage 3 of 253

Contents
2System Setup P. 19
Start-up 20 Voice Control System 22 Interfa ce Settings 24Personal Information 36
Music Search 44 Routing & Guidance 48 Clock Adjustment 58 Vehicle 60
AcuraLink® 63 Traffic and Weather Status 64 Data Reset 65
2Navigation P. 67
Entering a Destination 68 Calculating the Route 90 Driving to Your Destination 93 Map Menu 98
Changing Your Route 121 Changing Your Destination 128 Resuming Your Trip 132
2Audio P. 133
Audio System 134 Playing FM/AM Radio 136 Playing XM® Radio 140 Playing a Disc 145
Playing Hard Disc Drive (HDD)
Audio 149 Playing an iPod® 159
Searching for Music Using
Song By Voice™ (SBV) 163 Playing a USB Flash
Drive 164
Playing Bluetooth ®
Audio 168 Adjusting the Sound 170 Audio Remote Controls 171
2
Bluetooth® HandsFreeLink® P. 173
Bluetooth ®
HandsFreeLink® 174 Pairing a Phone 176
Importing Phonebook
Data 181 Setting Up Speed
Dialing 182
Editing User Name and
PIN 184 Making a Call 185
Receiving a Call 188HFL Menus 189
2AcuraLink® Messages P. 193
AcuraLink® Messages 194 Reading Messages 194 Message Categories 195 Message Options 196
Dealer Appointments 197
2 Other Features P. 199
Calendar 200 Calculator 202 Information Functions 204 Rearview Camera 208
2Troubleshooting P. 209
Troubleshooting 210 Error Messages 217
2Reference Information P. 221
System Initialization 222 System Limitations 224 Client Assistance 226 Legal Information 229
2Voice Commands P. 235
Voice Commands 236
Quick Reference GuideP.2
System SetupP.19
NavigationP.67
AudioP.133
Bluetooth® HandsFreeLink®P.173
AcuraLink® MessagesP.193
Other FeaturesP.199
TroubleshootingP.209
Reference InformationP.221
Voice CommandsP.235
IndexP.247
TSX_KA-31TL1820.book Page 1 Wednesday, September 22, 2010 3:17 PM
Page 6 of 253

4
Quick Reference GuideSystem Controls
8VOL 9 (Volume/Power)
Knob
(P6)
Display
9
8 (Sound) Button
(P170)
laDISC/HDD Button (P145)
3CATEGORY Bar (P6)
1FM/AM Button (P136)
2Preset Buttons (P6)
4TUNE Bar (P6)
5AUDIO Button (P7)
6XM Button (P140)
7TITLE Button (P6)
leMAP/GUIDE Button (P103)
lfCANCEL Button
lj Interface Dial/ENTER
Button
(P8)
maDisc Slot (P6)
mbE (Eject) Button
Navigation Screen
Audio Navigation
Voice Control
Bluetooth ® HandsFreeLink®
lbAUX Button (P159)
lcSKIP Bar (P6)
ldSCAN/A.SEL Bar (P6)
lgMENU Button (P68)
lhINFO/PHONE Button
(P174)
lia (Display Mode)
Button
(P29)
TSX_KA-31TL1820.book Page 4 Wednesday, September 22, 2010 3:17 PM
Page 8 of 253

6
Quick Reference GuideAudio System
You can play music from a wide array of media sources. You can also control the audio system using voice commands.
Basic Operation
Audio Buttons
aPress the VOL 9
(Volume/Power)
knob to turn the
audio system on/off.b Select the audio source.cRotate the VOL 9
(Volume/Power)
knob to adjust the
volume.
TITLE
Displays track title, artist, and other text
information, if available.
8
Bass, treble, and balance settings.
1 to 6
Preset stations (FM/AM) and channels (XM).
SKIP
Finds stations with strong signal (FM/AM).
Skip to start/end of tracks, or press and hold
to fast reverse/forward (Disc).
SCAN
Plays 10-second sample of each station (FM/
AM), channel (XM), or track (Disc).
Press again to play the current selection.
A.SEL
Scans and automatically stores the strongest
FM/AM station in each preset.
TUNE
Tunes to next frequency
(FM/AM) or channel (XM).
Fast-reverse/forward.
CATEGORY
Selects next category (XM) or
next folder (WMA, MP3, AAC).
Loading a Disc
a Press the DISC/HDD button.
bInsert a disc into the disc slot.
The disc automatically starts playing.
cPress the AUDIO button to display
the audio screen.
Select an audio source (e.g., FM/AM)
to stop the disc.
Press the E (Eject) button to remove
the disc. If you eject but do not
remove the disc, the disc
automatically reloads after a few
seconds.
TSX_KA-31TL1820.book Page 6 Wednesday, September 22, 2010 3:17 PM
Page 9 of 253

7
Quick Reference GuideAudio Control Display
Press the AUDIO button to display the audio system on the navigation screen.
FM/AM Radio (P136), XM® Radio (P140)
Hard Disk Drive (HDD) (P149), iPod®
(P159),USB Flash Drive (P164)
Band
Stereo indicatorPresets
Tune, scan, and
other functions
iPod® mode
(HDD mode,
USB mode)
Search
menu
Track list Repeat, shuffle, and other functions
Compact Disc (P145)
Bluetooth
® Audio (P168)
Disc mode
Play mode
Recorded
icon
Recording icon
Recording
ready icon
Repeat, random, scan, and
other functions
Track list
Bluetooth
®
Audio mode
Stop/Start
control
Sound preferences
TSX_KA-31TL1820.book Page 7 Wednesday, September 22, 2010 3:17 PM
Page 21 of 253

19
System Setup
This section describes the start-up procedure, and the navigation andaudio system setup functions.
Start-up................................................... 20
Voice Control System ............................. 22
Command Input .................................... 22
Voice Recognition .................................. 23
Interface Settings ................................... 24
Display and Volume Settings .................. 24
Interface Dial Feedback .......................... 25
Basic Settings ......................................... 26
Color ..................................................... 27
Language............................................... 31
Wallpaper .............................................. 32
Personal Information .............................. 36
Address Book ......................................... 37
Home Addresses .................................... 41 PIN Numbers ...........................................42
Previous Destinations ..............................43
Music Search ............................................44
Song By Voice™ (SBV) ............................45
Phonetic Modification .............................46
Routing & Guidance ................................48
Rerouting................................................49
Unverified Area Routing ..........................50
Traffic Rerouting .....................................52
Edit Avoid Area .......................................53
Edit Waypoint Search Area ......................55
Street Name Guidance ............................56
Guidance Screen Interruption ..................57 Clock Adjustment
.................................... 58
Adjust Time............................................ 59
Resetting the Clock Settings ................... 59
Vehicle ..................................................... 60
Off-road Tracking ................................... 61
Correct Vehicle Position ......................... 62
AcuraLink® .............................................. 63
AcuraLink/Messages ............................... 63
Traffic and Weather Status .................... 64
Data Reset ............................................... 65
Reset Factory Default Settings ................ 65
Clear Personal Data ................................ 66
TSX_KA-31TL1820.book Page 19 Wednesday, September 22, 2010 3:17 PM
Page 44 of 253

42
Personal InformationPIN Numbers
System Setup
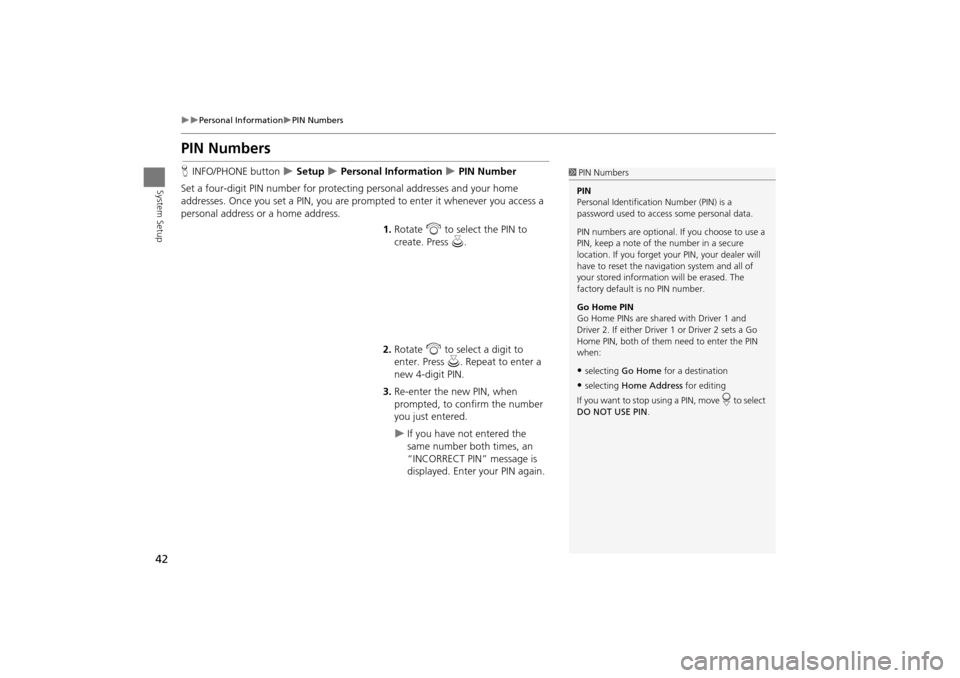
PIN Numbers
HINFO/PHONE button Setup Personal Information PIN Number
Set a four-digit PIN number for protecting personal addresses and your home
addresses. Once you set a PIN, you are prom pted to enter it whenever you access a
personal address or a home address.
1.Rotate i to select the PIN to
create. Press u.
2. Rotate i to select a digit to
enter. Press u. Repeat to enter a
new 4-digit PIN.
3. Re-enter the new PIN, when
prompted, to confirm the number
you just entered.
If you have not entered the
same number both times, an
“INCORRECT PIN” message is
displayed. Enter your PIN again.
1PIN Numbers
PIN
Personal Identification Number (PIN) is a
password used to access some personal data.
PIN numbers are optional. If you choose to use a
PIN, keep a note of the number in a secure
location. If you forget your PIN, your dealer will
have to reset the navigation system and all of
your stored informati on will be erased. The
factory default is no PIN number.
Go Home PIN
Go Home PINs are shared with Driver 1 and
Driver 2. If either Driver 1 or Driver 2 sets a Go
Home PIN, both of them need to enter the PIN
when:
•selecting Go Home for a destination
•selecting Home Address for editing
If you want to stop using a PIN, move
r to select
DO NOT USE PIN .
TSX_KA-31TL1820.book Page 42 Wednesday, September 22, 2010 3:17 PM
Page 60 of 253

58
System Setup
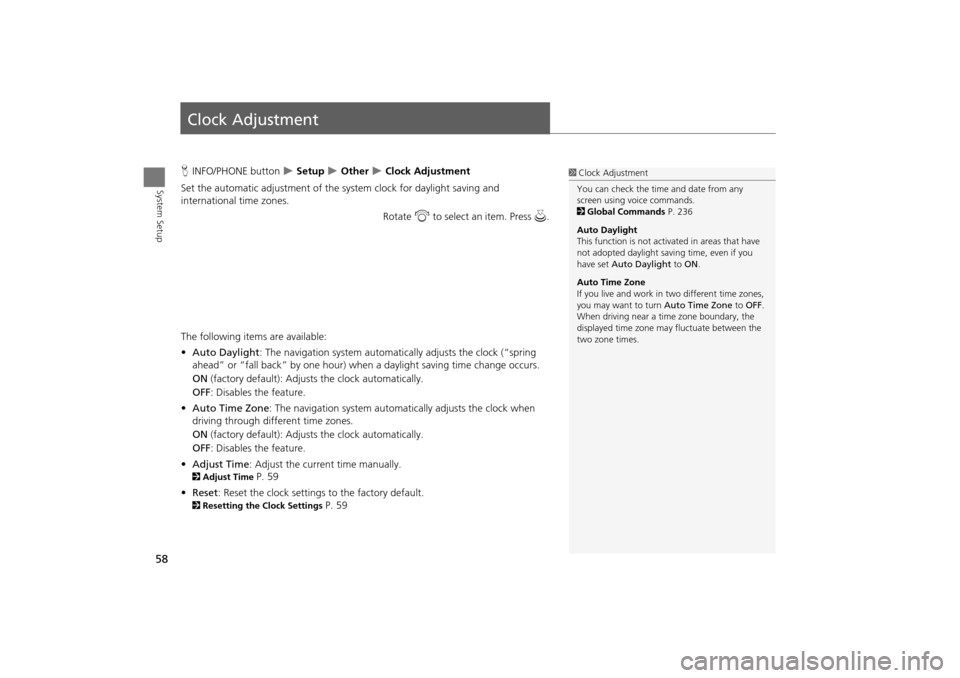
Clock Adjustment
HINFO/PHONE button Setup Other Clock Adjustment
Set the automatic adjustment of the system clock for daylight saving and
international time zones.
Rotate i to select an item. Press u .
The following item s are available:
• Auto Daylight : The navigation system automati cally adjusts the clock (“spring
ahead” or “fall back” by one hour) when a daylight saving time change occurs.
ON (factory default): Adjust s the clock automatically.
OFF : Disables the feature.
• Auto Time Zone : The navigation system automati cally adjusts the clock when
driving through different time zones.
ON (factory default): Adjust s the clock automatically.
OFF : Disables the feature.
• Adjust Time : Adjust the current time manually.
2Adjust Time P. 59
• Reset : Reset the clock settings to the factory default.
2Resetting the Clock Settings P. 59
1Clock Adjustment
You can check the time and date from any
screen using voice commands.
2 Global Commands P. 236
Auto Daylight
This function is not activated in areas that have
not adopted daylight saving time, even if you
have set Auto Daylight to ON .
Auto Time Zone
If you live and work in two different time zones,
you may want to turn Auto Time Zone to OFF.
When driving near a time zone boundary, the
displayed time zone ma y fluctuate between the
two zone times.
TSX_KA-31TL1820.book Page 58 Wednesday, September 22, 2010 3:17 PM
Page 61 of 253

59
Clock AdjustmentAdjust Time
System Setup
Adjust Time
HINFO/PHONE button Setup Other Clock Adjustment Adjust Time
Adjust the current time (hours and minutes).
1.Move w or y to select HOUR or
MINUTE .
2. Rotate i to adjust the value.
3. Move r to select OK.
Resetting the Clock Settings
HINFO/PHONE button Setup Other Clock Adjustment Reset
Reset the Auto Daylight and Auto Time Zone settings to the factory defaults.
TSX_KA-31TL1820.book Page 59 Wednesday, September 22, 2010 3:17 PM