2010 SUZUKI SX4 weight
[x] Cancel search: weightPage 71 of 297
2-54
BEFORE DRIVING
80J23-03E
When the ignition switch is turned to the
“ON” position, the “PASS AIR BAG OFF”
indicator comes on for several seconds to
let you know the system is working. When
the front passenger sensing system has
turned off the front passenger’s front air
bag including the seat belt pretensioner,
the “PASS AIR BAG OFF” indicator will
come on and stay on to remind you that
the front passenger’s front air bag is off.
The front passenger sensing system uses
front seat pressure measurements and
pressure locations to determine whether to
activate or deactivate the front passenger’s
front air bag. The front passenger sensing
system may or may not turn off the front air
bag, depending on the front passenger’s
seating posture and body build. The air
bag should be turned off in the following
situations:
There is no occupant in the front pas-
senger seat.
The occupant of the front passenger
seat lifts his or her weight off of the seat
for a period of time.
The occupant of the front passenger
seat is an infant or small child in a child
restraint system or a small child in a
booster seat.
A smaller person, such as a child who
has outgrown child restraints or a very
small adolescent is seated in the front
passenger seat.NOTE:
If the front passenger seat is unoccupied,
the “PASS AIR BAG OFF” indicator will not
come on but the front passenger’s front air
bag will not deploy and the seat belt pre-
tensioner will not operate.
If you have secured a child in the front pas-
senger seat in a forward-facing child
restraint system or booster seat and the
“PASS AIR BAG OFF” indicator light is not
on, turn the vehicle off, remove the child
restraint or booster seat from the vehicle
and reinstall it following the child restraint
or booster seat manufacturer’s directions.
Also refer to “Seat Belts and Child
Restraint Systems” in this section. If, after
reinstalling the child restraint and restart-
ing the vehicle, the “PASS AIR BAG OFF”
indicator is still not lit, check to make sure
that the vehicle’s seatback is not pressing
the child restraint into the seat cushion. If
this happens, slightly recline the vehicle’s
seatback and adjust the seat cushion if
possible. Also make sure the child restraint
is not trapped under the vehicle head
restraint. If this happens, adjust the head
restraint. If the “PASS AIR BAG OFF” indi-
cator is still not on, secure the child in the
child restraint or booster seat in a rear seat
position in the vehicle and check with your
dealer.
65D607
According to accident statistics, children
are safer when properly restrained in rear
seating positions than in front seating posi-
tions. Whenever possible, SUZUKI recom-
mends you install child restraints in the
rear seat.
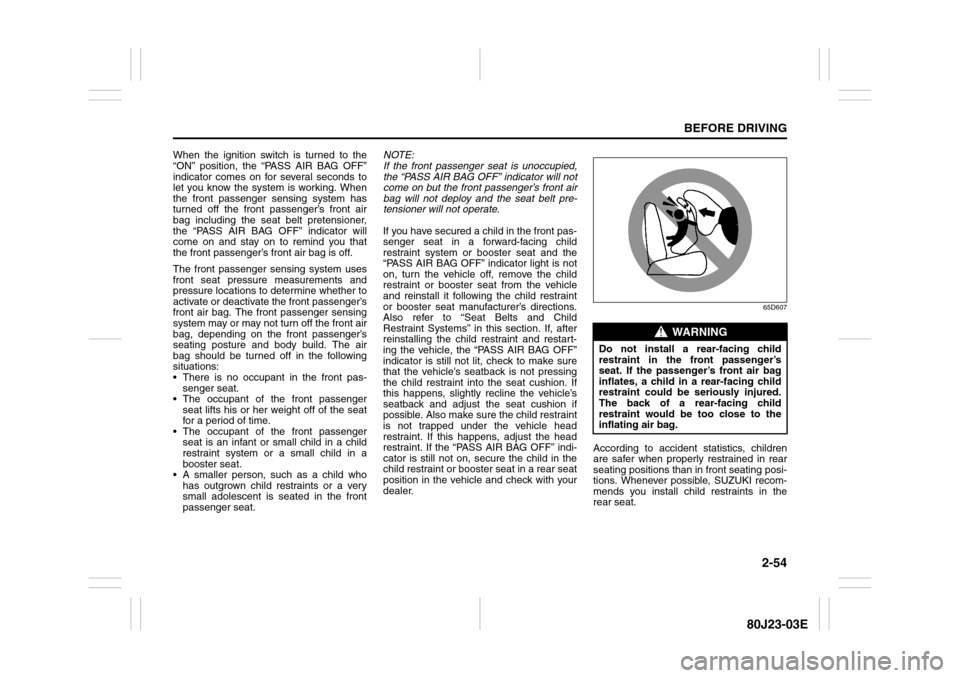
WARNING
Do not install a rear-facing child
restraint in the front passenger’s
seat. If the passenger’s front air bag
inflates, a child in a rear-facing child
restraint could be seriously injured.
The back of a rear-facing child
restraint would be too close to the
inflating air bag.
Page 108 of 297
3-7OPERATING YOUR VEHICLE
80J23-03E
For CVT vehicles, always set the parking
brake before moving the gearshift lever to
the “P” (Park) position. If you park on an
incline and shift into “P” before you set the
parking brake, the weight of the vehicle
may make it difficult to shift out of “P” when
you are ready to drive the vehicle. When
preparing to drive the vehicle, move the
gearshift lever out of the “P” position before
releasing the parking brake.
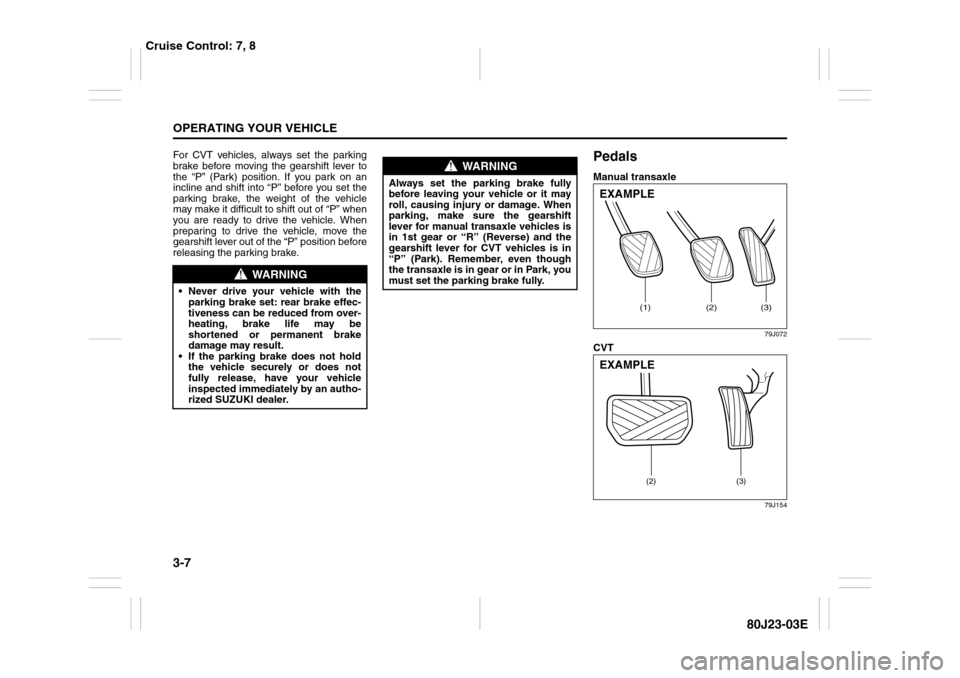
PedalsManual transaxle
79J072
CVT
79J154
WARNING
Never drive your vehicle with the
parking brake set: rear brake effec-
tiveness can be reduced from over-
heating, brake life may be
shortened or permanent brake
damage may result.
If the parking brake does not hold
the vehicle securely or does not
fully release, have your vehicle
inspected immediately by an autho-
rized SUZUKI dealer.
WARNING
Always set the parking brake fully
before leaving your vehicle or it may
roll, causing injury or damage. When
parking, make sure the gearshift
lever for manual transaxle vehicles is
in 1st gear or “R” (Reverse) and the
gearshift lever for CVT vehicles is in
“P” (Park). Remember, even though
the transaxle is in gear or in Park, you
must set the parking brake fully.
(1)
(2)
(3)
EXAMPLE
(2) (3)
EXAMPLE
Cruise Control: 7, 8
Page 136 of 297
4-3DRIVING TIPS
80J23-03E
60A183S
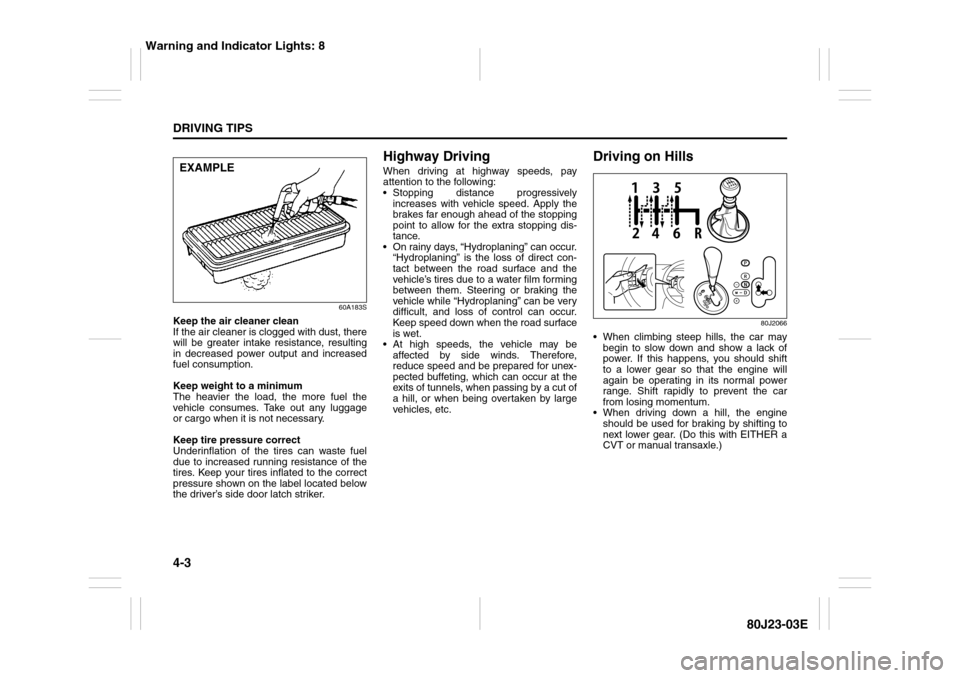
Keep the air cleaner clean
If the air cleaner is clogged with dust, there
will be greater intake resistance, resulting
in decreased power output and increased
fuel consumption.
Keep weight to a minimum
The heavier the load, the more fuel the
vehicle consumes. Take out any luggage
or cargo when it is not necessary.
Keep tire pressure correct
Underinflation of the tires can waste fuel
due to increased running resistance of the
tires. Keep your tires inflated to the correct
pressure shown on the label located below
the driver’s side door latch striker.
Highway DrivingWhen driving at highway speeds, pay
attention to the following:
Stopping distance progressively
increases with vehicle speed. Apply the
brakes far enough ahead of the stopping
point to allow for the extra stopping dis-
tance.
On rainy days, “Hydroplaning” can occur.
“Hydroplaning” is the loss of direct con-
tact between the road surface and the
vehicle’s tires due to a water film forming
between them. Steering or braking the
vehicle while “Hydroplaning” can be very
difficult, and loss of control can occur.
Keep speed down when the road surface
is wet.
At high speeds, the vehicle may be
affected by side winds. Therefore,
reduce speed and be prepared for unex-
pected buffeting, which can occur at the
exits of tunnels, when passing by a cut of
a hill, or when being overtaken by large
vehicles, etc.
Driving on Hills
80J2066
When climbing steep hills, the car may
begin to slow down and show a lack of
power. If this happens, you should shift
to a lower gear so that the engine will
again be operating in its normal power
range. Shift rapidly to prevent the car
from losing momentum.
When driving down a hill, the engine
should be used for braking by shifting to
next lower gear. (Do this with EITHER a
CVT or manual transaxle.)
EXAMPLE
Warning and Indicator Lights: 8
Page 196 of 297
5-55OTHER CONTROLS AND EQUIPMENT
80J23-03E
Roof Rails or Roof Rack
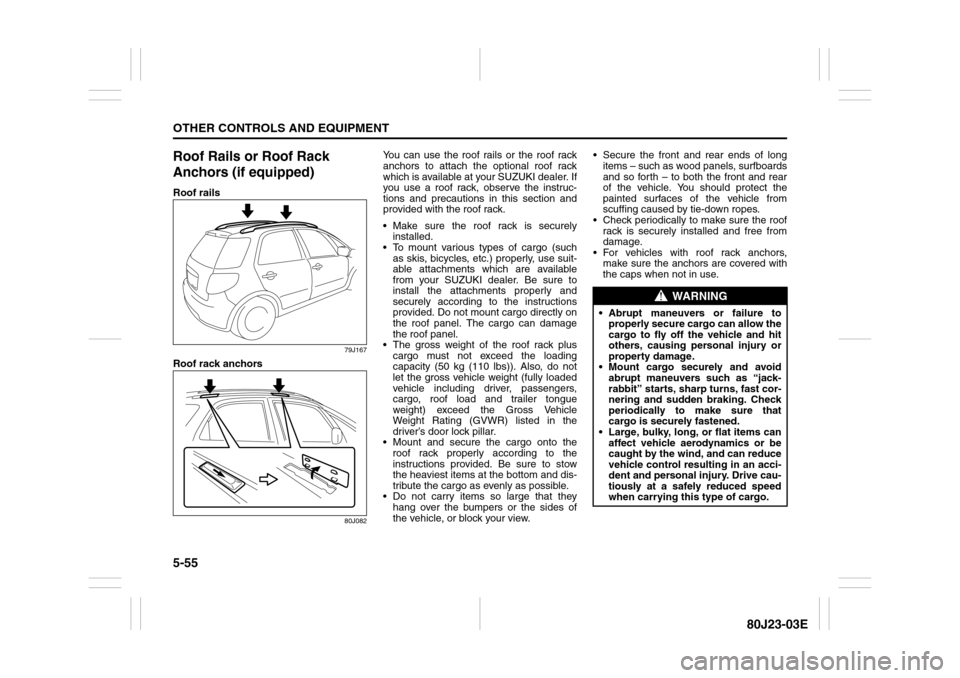
Anchors (if equipped)Roof rails
79J167
Roof rack anchors
80J082
You can use the roof rails or the roof rack
anchors to attach the optional roof rack
which is available at your SUZUKI dealer. If
you use a roof rack, observe the instruc-
tions and precautions in this section and
provided with the roof rack.
Make sure the roof rack is securely
installed.
To mount various types of cargo (such
as skis, bicycles, etc.) properly, use suit-
able attachments which are available
from your SUZUKI dealer. Be sure to
install the attachments properly and
securely according to the instructions
provided. Do not mount cargo directly on
the roof panel. The cargo can damage
the roof panel.
The gross weight of the roof rack plus
cargo must not exceed the loading
capacity (50 kg (110 lbs)). Also, do not
let the gross vehicle weight (fully loaded
vehicle including driver, passengers,
cargo, roof load and trailer tongue
weight) exceed the Gross Vehicle
Weight Rating (GVWR) listed in the
driver’s door lock pillar.
Mount and secure the cargo onto the
roof rack properly according to the
instructions provided. Be sure to stow
the heaviest items at the bottom and dis-
tribute the cargo as evenly as possible.
Do not carry items so large that they
hang over the bumpers or the sides of
the vehicle, or block your view. Secure the front and rear ends of long
items – such as wood panels, surfboards
and so forth – to both the front and rear
of the vehicle. You should protect the
painted surfaces of the vehicle from
scuffing caused by tie-down ropes.
Check periodically to make sure the roof
rack is securely installed and free from
damage.
For vehicles with roof rack anchors,
make sure the anchors are covered with
the caps when not in use.
WARNING
Abrupt maneuvers or failure to
properly secure cargo can allow the
cargo to fly off the vehicle and hit
others, causing personal injury or
property damage.
Mount cargo securely and avoid
abrupt maneuvers such as “jack-
rabbit” starts, sharp turns, fast cor-
nering and sudden braking. Check
periodically to make sure that
cargo is securely fastened.
Large, bulky, long, or flat items can
affect vehicle aerodynamics or be
caught by the wind, and can reduce
vehicle control resulting in an acci-
dent and personal injury. Drive cau-
tiously at a safely reduced speed
when carrying this type of cargo.
Page 200 of 297
6-1VEHICLE LOADING AND TOWING
80J23-03E
Vehicle Loading
80JS025
Your vehicle was designed for specific
weight capacities. The weight capacities of
your vehicle are indicated by the Gross
Vehicle Weight Rating (GVWR), the Gross
Axle Weight Rating (GAWR, front and rear)
and the Vehicle Capacity Weight. The
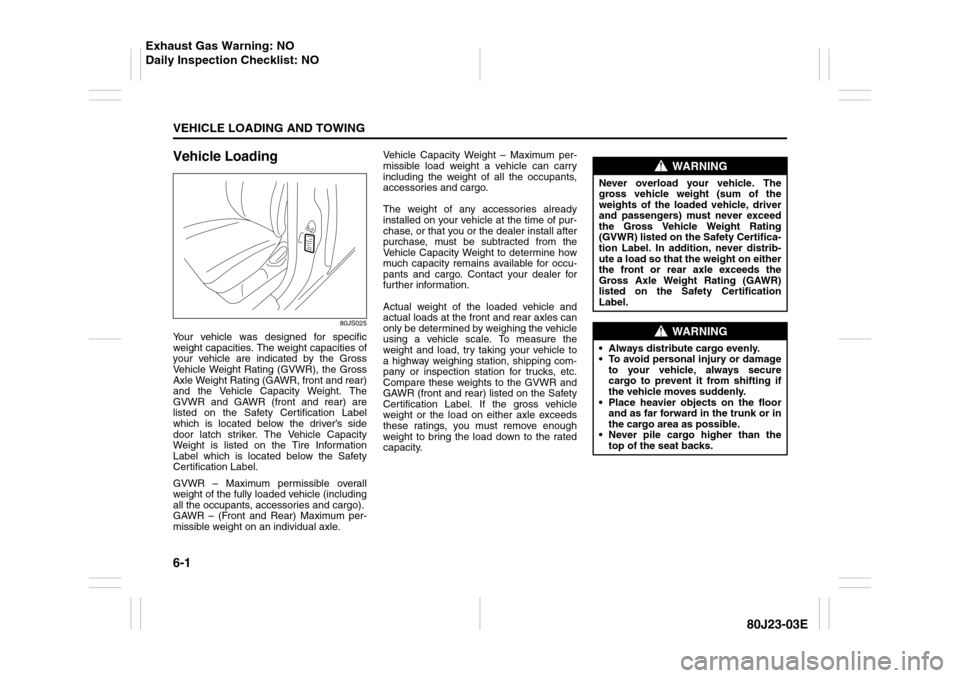
GVWR and GAWR (front and rear) are
listed on the Safety Certification Label
which is located below the driver’s side
door latch striker. The Vehicle Capacity
Weight is listed on the Tire Information
Label which is located below the Safety
Certification Label.
GVWR – Maximum permissible overall
weight of the fully loaded vehicle (including
all the occupants, accessories and cargo).
GAWR – (Front and Rear) Maximum per-
missible weight on an individual axle.Vehicle Capacity Weight – Maximum per-
missible load weight a vehicle can carry
including the weight of all the occupants,
accessories and cargo.
The weight of any accessories already
installed on your vehicle at the time of pur-
chase, or that you or the dealer install after
purchase, must be subtracted from the
Vehicle Capacity Weight to determine how
much capacity remains available for occu-
pants and cargo. Contact your dealer for
further information.
Actual weight of the loaded vehicle and
actual loads at the front and rear axles can
only be determined by weighing the vehicle
using a vehicle scale. To measure the
weight and load, try taking your vehicle to
a highway weighing station, shipping com-
pany or inspection station for trucks, etc.
Compare these weights to the GVWR and
GAWR (front and rear) listed on the Safety
Certification Label. If the gross vehicle
weight or the load on either axle exceeds
these ratings, you must remove enough
weight to bring the load down to the rated
capacity.
WARNING
Never overload your vehicle. The
gross vehicle weight (sum of the
weights of the loaded vehicle, driver
and passengers) must never exceed
the Gross Vehicle Weight Rating
(GVWR) listed on the Safety Certifica-
tion Label. In addition, never distrib-
ute a load so that the weight on either
the front or rear axle exceeds the
Gross Axle Weight Rating (GAWR)
listed on the Safety Certification
Label.
WARNING
Always distribute cargo evenly.
To avoid personal injury or damage
to your vehicle, always secure
cargo to prevent it from shifting if
the vehicle moves suddenly.
Place heavier objects on the floor
and as far forward in the trunk or in
the cargo area as possible.
Never pile cargo higher than the
top of the seat backs.
Exhaust Gas Warning: NO
Daily Inspection Checklist: NO
Page 230 of 297
7-25INSPECTION AND MAINTENANCE
80J23-03E
F. Load Rating
Load rating is the maximum
weight a tire is designed to sup-
port in normal service.
G. Max Inflation Pressure
Max inflation pressure is the max-
imum inflation pressure a tire is
designed for.
H. Tire Ply Material
These tire markings describe the
type of cord and number of plies
in the sidewall and under the
tread.
I. Load Index and Speed Rating
The two- or three-digit number is
the tire’s load index, the maximum
load a tire can carry at the speed
indicated by its speed symbol at
the maximum inflation pressure.
The higher the number is, the
greater the load carrying capacity.
The letter symbol denotes the
speed at which a tire is designed
to be driven for extended periods
of time. (Ratings are listed below.)*The letters ZR may be used on tires
with a maximum speed capability over
149 mph and will always be used on
tires with a maximum speed capability
over 186 mph.
J. M+S Marking
This marking indicates the tire
has some mud and snow capabili-
ties and is designed for all-season
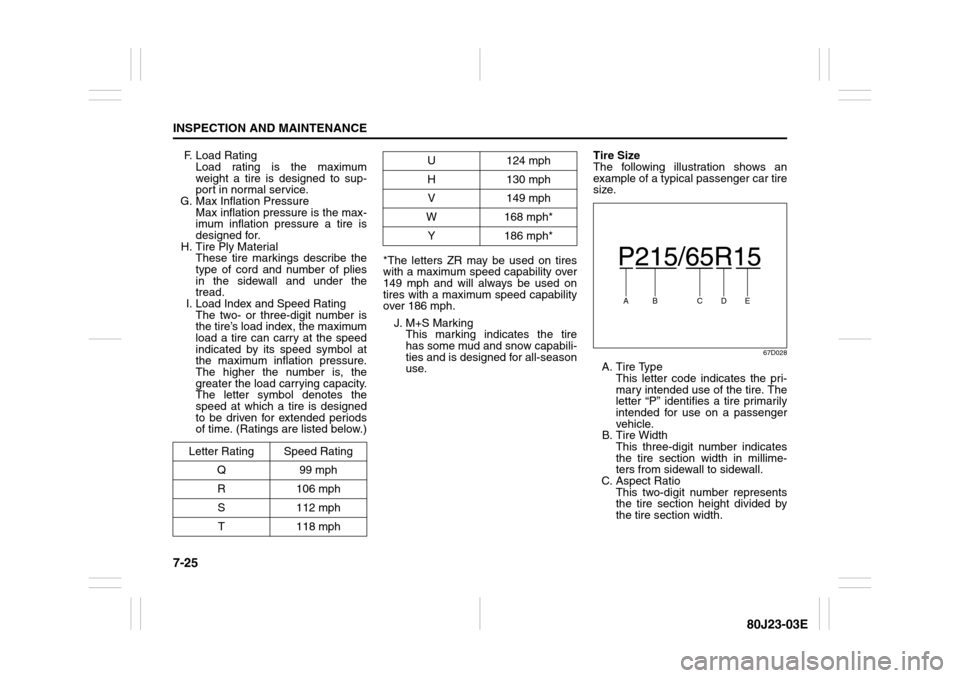
use.Tire Size
The following illustration shows an
example of a typical passenger car tire
size.
67D028
A. Tire Type
This letter code indicates the pri-
mary intended use of the tire. The
letter “P” identifies a tire primarily
intended for use on a passenger
vehicle.
B. Tire Width
This three-digit number indicates
the tire section width in millime-
ters from sidewall to sidewall.
C. Aspect Ratio
This two-digit number represents
the tire section height divided by
the tire section width. Letter Rating Speed Rating
Q99 mph
R 106 mph
S 112 mph
T 118 mph
U 124 mph
H 130 mph
V 149 mph
W 168 mph*
Y 186 mph*
A
B
C
D
E
Page 231 of 297
7-26
INSPECTION AND MAINTENANCE
80J23-03E
D. Construction Code
This letter code is used to indicate
the type of ply construction in the
tire. The letter “R” means radial
ply tire construction, the letter “D”
means diagonal or bias ply con-
struction, and the letter “B” means
belted-bias ply construction.
E. Rim Diameter
This two-digit number is the wheel
or rim diameter in inches.Tire Inflation Pressure
Tire inflation pressure should be
checked when the tire is cold. “Cold
tire inflation pressure” is the pressure
in a tire that has been driven less than
1 mile (1.6 km) or has been standing
for three hours or more.
80JS025
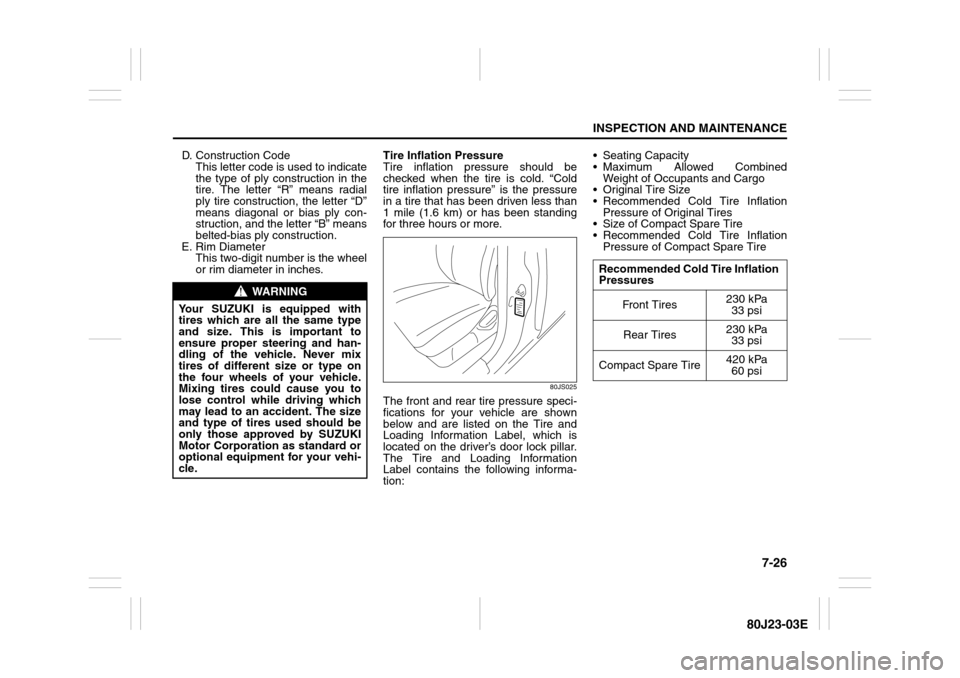
The front and rear tire pressure speci-
fications for your vehicle are shown
below and are listed on the Tire and
Loading Information Label, which is
located on the driver’s door lock pillar.
The Tire and Loading Information
Label contains the following informa-
tion: Seating Capacity
Maximum Allowed Combined
Weight of Occupants and Cargo
Original Tire Size
Recommended Cold Tire Inflation
Pressure of Original Tires
Size of Compact Spare Tire
Recommended Cold Tire Inflation
Pressure of Compact Spare Tire
WARNING
Your SUZUKI is equipped with
tires which are all the same type
and size. This is important to
ensure proper steering and han-
dling of the vehicle. Never mix
tires of different size or type on
the four wheels of your vehicle.
Mixing tires could cause you to
lose control while driving which
may lead to an accident. The size
and type of tires used should be
only those approved by SUZUKI
Motor Corporation as standard or
optional equipment for your vehi-
cle.
Recommended Cold Tire Inflation
Pressures
Front Tires230 kPa
33 psi
Rear Tires230 kPa
33 psi
Compact Spare Tire420 kPa
60 psi
Page 236 of 297
7-31INSPECTION AND MAINTENANCE
80J23-03E
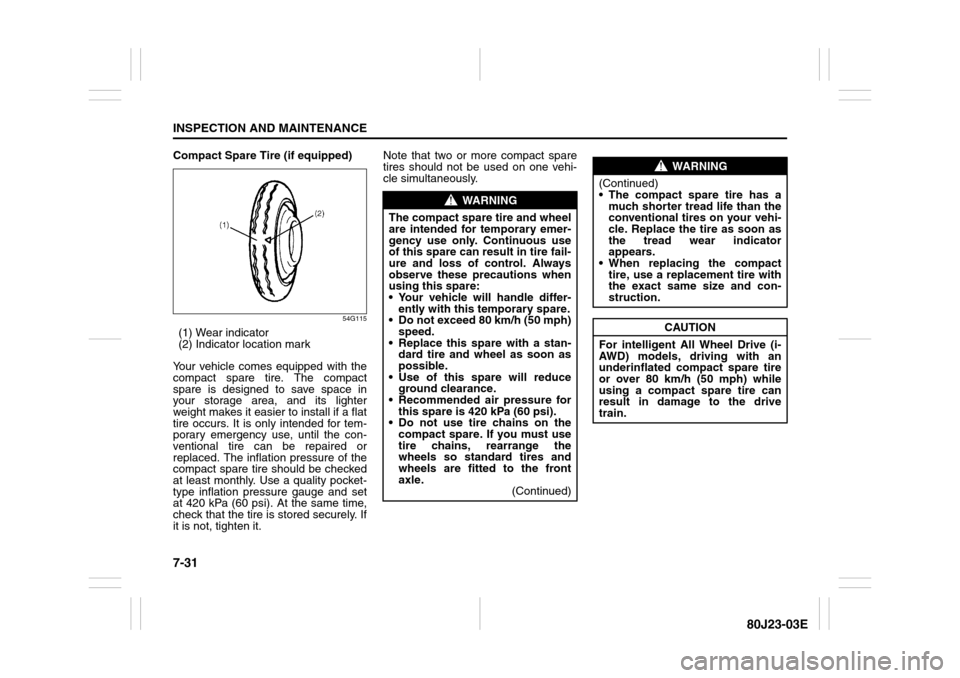
Compact Spare Tire (if equipped)
54G115
(1) Wear indicator
(2) Indicator location mark
Your vehicle comes equipped with the
compact spare tire. The compact
spare is designed to save space in
your storage area, and its lighter
weight makes it easier to install if a flat
tire occurs. It is only intended for tem-
porary emergency use, until the con-
ventional tire can be repaired or
replaced. The inflation pressure of the
compact spare tire should be checked
at least monthly. Use a quality pocket-
type inflation pressure gauge and set
at 420 kPa (60 psi). At the same time,
check that the tire is stored securely. If
it is not, tighten it.Note that two or more compact spare
tires should not be used on one vehi-
cle simultaneously.
WARNING
The compact spare tire and wheel
are intended for temporary emer-
gency use only. Continuous use
of this spare can result in tire fail-
ure and loss of control. Always
observe these precautions when
using this spare:
Your vehicle will handle differ-
ently with this temporary spare.
Do not exceed 80 km/h (50 mph)
speed.
Replace this spare with a stan-
dard tire and wheel as soon as
possible.
Use of this spare will reduce
ground clearance.
Recommended air pressure for
this spare is 420 kPa (60 psi).
Do not use tire chains on the
compact spare. If you must use
tire chains, rearrange the
wheels so standard tires and
wheels are fitted to the front
axle.
(Continued)
WARNING
(Continued)
The compact spare tire has a
much shorter tread life than the
conventional tires on your vehi-
cle. Replace the tire as soon as
the tread wear indicator
appears.
When replacing the compact
tire, use a replacement tire with
the exact same size and con-
struction.
CAUTION
For intelligent All Wheel Drive (i-
AWD) models, driving with an
underinflated compact spare tire
or over 80 km/h (50 mph) while
using a compact spare tire can
result in damage to the drive
train.