Page 254 of 297
7-49INSPECTION AND MAINTENANCE
80J23-03E
3) When reinstalling wiper frame to arm,
install the wiper frame in the reverse
order of removal.
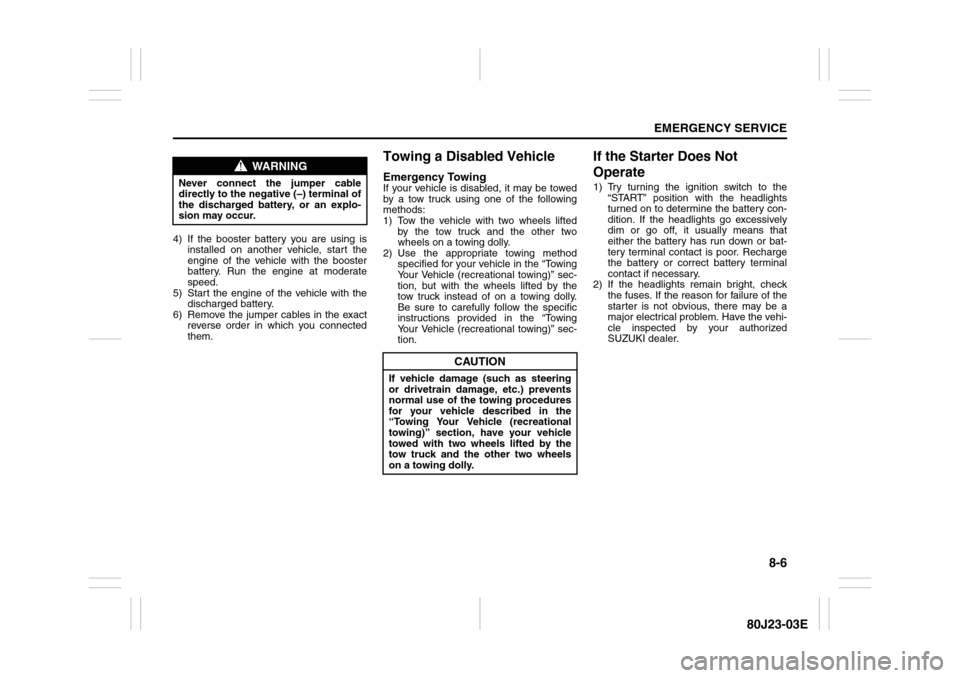
To remove and install some types of
rear wiper blade from and to the wiper
frame.
Removal
52D104
1) Flex the locked end of blade (3) away
from retainer (4) to unlock it and slide
the blade out as shown.Installation
60A265
2) Install the new blade in the reverse
order of removal. Make sure that the
blade is properly retained by all the
hooks and the end is locked in place.To remove and install some types of
rear wiper blade from and to the wiper
frame.
65D151
1) Flex the ends of blade and frame, and
slide the blade out as shown.
But do not flex the frame end more than
necessary.
If you do, it can break off.
2) Install the new blade in the reverse
order of removal. Make sure that the
blade is properly retained by all the
hooks and both ends are in place.
Page 259 of 297

8-2
EMERGENCY SERVICE
80J23-03E
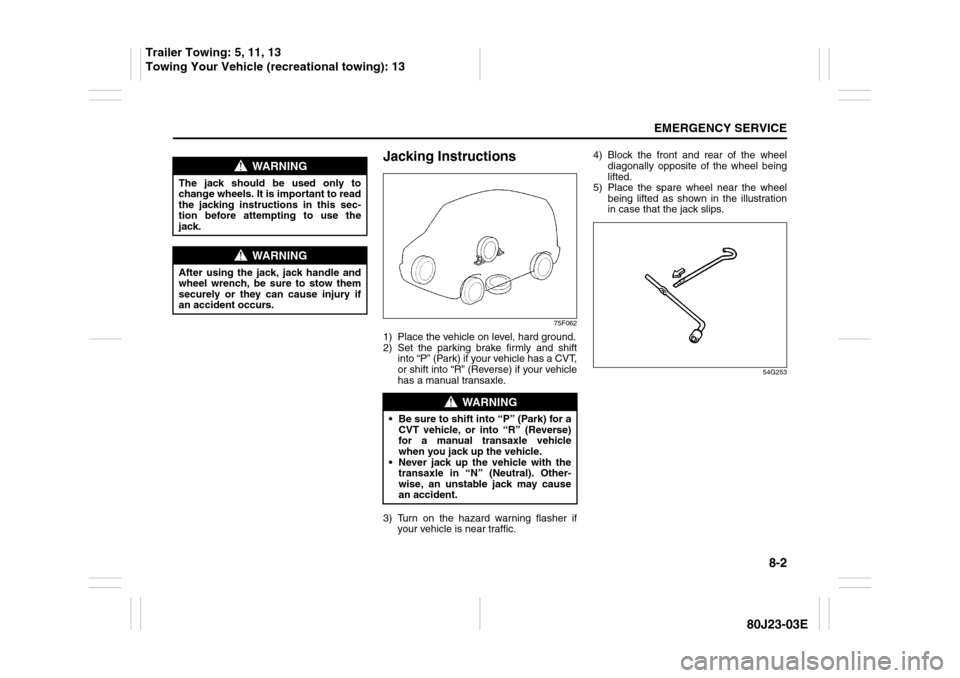
Jacking Instructions
75F062
1) Place the vehicle on level, hard ground.
2) Set the parking brake firmly and shift
into “P” (Park) if your vehicle has a CVT,
or shift into “R” (Reverse) if your vehicle
has a manual transaxle.
3) Turn on the hazard warning flasher if
your vehicle is near traffic.4) Block the front and rear of the wheel
diagonally opposite of the wheel being
lifted.
5) Place the spare wheel near the wheel
being lifted as shown in the illustration
in case that the jack slips.
54G253
WARNING
The jack should be used only to
change wheels. It is important to read
the jacking instructions in this sec-
tion before attempting to use the
jack.
WARNING
After using the jack, jack handle and
wheel wrench, be sure to stow them
securely or they can cause injury if
an accident occurs.
WARNING
Be sure to shift into “P” (Park) for a
CVT vehicle, or into “R” (Reverse)
for a manual transaxle vehicle
when you jack up the vehicle.
Never jack up the vehicle with the
transaxle in “N” (Neutral). Other-
wise, an unstable jack may cause
an accident.
Trailer Towing: 5, 11, 13
Towing Your Vehicle (recreational towing): 13
Page 261 of 297

8-4
EMERGENCY SERVICE
80J23-03E
Changing WheelsTo change a wheel, use the following pro-
cedure:
1) Remove the jack, tools and spare wheel
from the vehicle.
2) Loosen, but do not remove the wheel
nuts.
3) Jack up the vehicle (follow the jacking
instructions in this section).
4) Remove the wheel nuts and wheel.
5) Before installing the new wheel, clean
any mud or dirt off from the surface of
the wheel and hub with a clean cloth.
Clean the hub carefully; it may be hot
from driving.
6) Install the new wheel and replace the
wheel nuts with their cone shaped end
facing the wheel. Tighten each nut
snugly by hand until the wheel is
securely seated on the hub.
81A057
7) Lower the jack and fully tighten the nuts
in a crisscross fashion with a wrench as
shown in the illustration.
Full Wheel Cover (if equipped)
60G309
(1) or (2) Flat end tool
Your vehicle includes two tools, a wheel
brace and a jack crank, one of which has a
flat end.
Use the tool with the flat end to remove the
full wheel cap, as shown above.
54G117
When installing the cover, make sure that it
is positioned so that it does not cover or
foul the air valve.
WARNING
Be sure to shift into “P” (Park) in
CVT, or shift into “R” (Reverse) in
manual transaxle when you jack up
the vehicle.
Never jack up the vehicle with the
transaxle in “N” (Neutral). Other-
wise, unstable jack may cause an
accident.
Wheel tightening torque
85 Nm (61.5 lb-ft, 8.5 kg-m)
WARNING
Use genuine wheel nuts and tighten
them to the specified torque as soon
as possible after changing wheels.
Incorrect wheel nuts or improperly
tightened wheel nuts may come
loose or fall off, which can result in
an accident. If you do not have a
torque wrench, have the wheel nut
torque checked by an authorized
SUZUKI dealer.
EXAMPLEEXAMPLE
Towing Your Vehicle (recreational towing): 13
Page 263 of 297

8-6
EMERGENCY SERVICE
80J23-03E
4) If the booster battery you are using is
installed on another vehicle, start the
engine of the vehicle with the booster
battery. Run the engine at moderate
speed.
5) Start the engine of the vehicle with the
discharged battery.
6) Remove the jumper cables in the exact
reverse order in which you connected
them.
Towing a Disabled VehicleEmergency TowingIf your vehicle is disabled, it may be towed
by a tow truck using one of the following
methods:
1) Tow the vehicle with two wheels lifted
by the tow truck and the other two
wheels on a towing dolly.
2) Use the appropriate towing method
specified for your vehicle in the “Towing
Your Vehicle (recreational towing)” sec-
tion, but with the wheels lifted by the
tow truck instead of on a towing dolly.
Be sure to carefully follow the specific
instructions provided in the “Towing
Your Vehicle (recreational towing)” sec-
tion.
If the Starter Does Not
Operate1) Try turning the ignition switch to the
“START” position with the headlights
turned on to determine the battery con-
dition. If the headlights go excessively
dim or go off, it usually means that
either the battery has run down or bat-
tery terminal contact is poor. Recharge
the battery or correct battery terminal
contact if necessary.
2) If the headlights remain bright, check
the fuses. If the reason for failure of the
starter is not obvious, there may be a
major electrical problem. Have the vehi-
cle inspected by your authorized
SUZUKI dealer.
WARNING
Never connect the jumper cable
directly to the negative (–) terminal of
the discharged battery, or an explo-
sion may occur.
CAUTION
If vehicle damage (such as steering
or drivetrain damage, etc.) prevents
normal use of the towing procedures
for your vehicle described in the
“Towing Your Vehicle (recreational
towing)” section, have your vehicle
towed with two wheels lifted by the
tow truck and the other two wheels
on a towing dolly.