2010 SUBARU FORESTER battery
[x] Cancel search: batteryPage 136 of 402
Light control switch
The light control switch only operates
when the ignition key is inserted into the
ignition switch.
Regardless of the position of the light
control switch, the illuminated lights are
turned off when the ignition key is
removed from the ignition switch. NOTE .Even if the ignition key is removed
from the ignition switch, the lights can
be illuminated by operating the light
control switch position from “OFF ”to
“
” and/or “”.
. If the driver ’s door is opened while
the lights are illuminated and the igni-
tion key is removed from the ignition
switch, the chirp sound informs the
driver that the lights are illuminated.
CAUTION
. Use of any lights for a long period
of time while the engine is not
running can cause the battery todischarge.
. Before leaving the vehicle, make
sure that the light control switch
is turned to the “OFF ”position. If
the vehicle is left unattended for a long time with the light control
switch set to a position otherthan
“OFF ”, the battery may be
discharged. &
Headlights
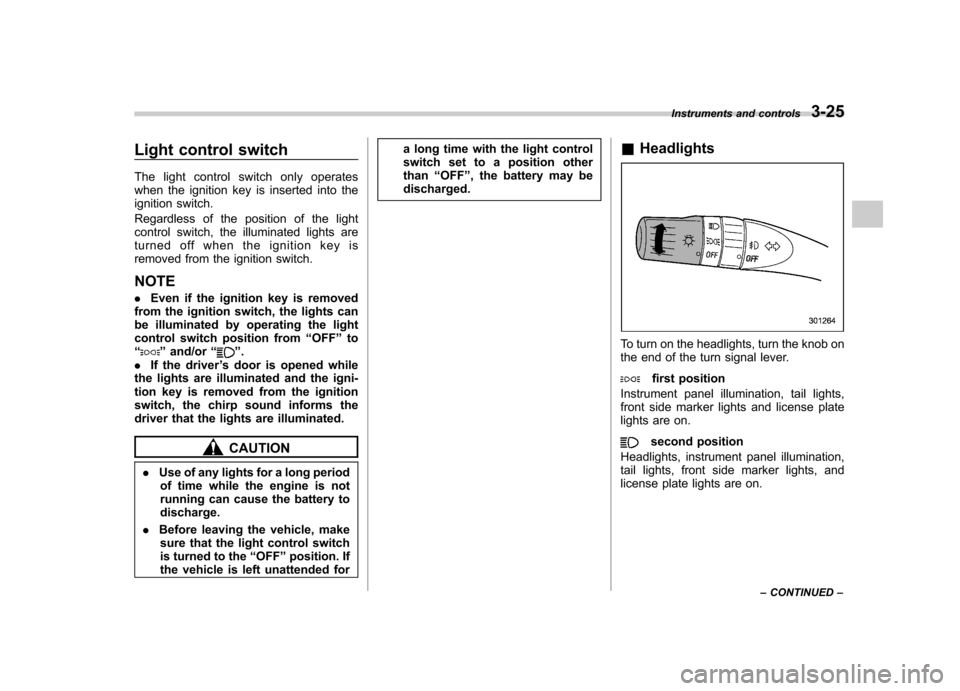
To turn on the headlights, turn the knob on
the end of the turn signal lever.
first position
Instrument panel illumination, tail lights,
front side marker lights and license plate
lights are on.
second position
Headlights, instrument panel illumination,
tail lights, front side marker lights, and
license plate lights are on. Instruments and controls
3-25
– CONTINUED –
Page 147 of 402

3-36Instruments and controls
and objects are out of the way of
the garage door or other device
to prevent potential harm ordamage.
. Do not use the HomeLink
®Wire-
less Control System with a gar-
age door opener that lacks the
safety stop and reverse feature
as required by applicable safety
standards. A garage door opener
which cannot detect an object,
signaling the door to stop and
reverse, does not meet these
safety standards. Using a garage
door opener without these fea-
tures increases risk of serious
injury or death. For more infor-
mation, consult the HomeLink
®website at www.homelink.com or
call 1-800-355-3515.
CAUTION
When programming the HomeLink
®Wireless Control System to operate
a garage door opener or an entrance
gate, unplug the device ’s motor
from the outlet during programming
to prevent motor burnout. NOTE .
After programming your HomeLink
®Wireless Control System for the de-
sired devices, retain the hand-held
transmitters for further programming
or device testing in the event of aproblem..It is recommended that you insert a
new battery in the hand-held transmit-
ter of a device to ensure correctprogramming. ! Garage door opener programming in
the U.S.A.
NOTE
When programming the HomeLink
®Wireless Control System for a garage
door opener, it is suggested that you
park the vehicle outside the garage.
1. Unplug the motor of the garage door
opener from the outlet. NOTE
If any of the HomeLink
®buttons are
already programmed for other devices,
skip step 2 because it clears the
memory of all three buttons.
1) HomeLink®button 1
2) HomeLink®button 2
3) HomeLink®button 3
2. Press and hold the two outer HomeLink
®buttons (button 1 and button
3) until the indicator light begins to flash
(after approximately 20 seconds). Then
release both buttons.
3. Hold the end of the garage door opener ’s hand-held transmitter between
1 and 3 inches (25 and 76 mm) away from
the HomeLink
®button you wish to pro-
gram.
4. Simultaneously press and hold both
the hand-held transmitter button and the
desired HomeLink
®button. DO NOT re-
lease the buttons until step 5 has beencompleted.
Page 152 of 402

window defogger. For some models, the
outside mirror defogger and/or windshield
wiper deicer are/is also equipped. The
defogger and deicer system is activated
only when the ignition switch is in the“ON ”
position.
Manual climate control system
Automatic climate control system
To activate the defogger and deicer
system, push the control switch that is
located on the climate control panel. The
rear window defogger, outside mirror
defogger and windshield wiper deicer are
activated simultaneously. The indicator
light on the control switch illuminates while
the defogger and deicer system is acti-vated.
To turn them off, push the control switch
again. They also turn off when the ignition
switch is turned to the “Acc ”or “LOCK ”
position.
The defogger and deicer system will
automatically shut off after approximately
15 minutes. If the rear window and the
outside mirrors have been cleared and the windshield wiper blades have been deiced
completely before that time, push the
control switch to turn them off. If defrost-
ing, defogging or deicing is not complete,
you have to push the control switch to turn
them on again.
For models with the automatic climate
control system,
it is possible to set the
defogger and deicer system for the con-
tinuous operation mode as follows. . Models with genuine SUBARU navi-
gation system:
The settings can be changed for the
continuous operation mode using the
navigation monitor. For details, refer to
the Owner ’s Manual supplement for the
navigation system.
The settings can also be changed by a
SUBARU dealer. Contact your SUBARU
dealer for details. . Models without genuine SUBARU
navigation system:
The settings can be changed by a
SUBARU dealer. Contact your SUBARU
dealer for details.
CAUTION
. To prevent the battery from being
discharged, do not operate the
defogger and deicer system con-
tinuously for any longer than Instruments and controls
3-41
– CONTINUED –
Page 153 of 402
3-42Instruments and controls
necessary.
. Do not use sharp instruments or
window cleaner containing abra-
sives to clean the inner surface
of the rear window. They may
damage the conductors printed
on the window.
NOTE . Turn on the defogger and deicer
system if the wipers are frozen to the windshield.. If the windshield is covered with
snow, remove the snow so that the
windshield wiper deicer works effec-
tively.. While the defogger and deicer sys-
tem is in the continuous operation
mode, if the vehicle speed remains at
9 mph (15 km/h) or less for 15 minutes,
the windshield wiper deicer automati-
cally stops operating, though the rear
window defogger and outside mirror
defogger maintain continuous opera-
tion in this condition.. While the defogger and deicer sys-
tem is in the continuous operation
mode, if the battery voltage drops
below the permissible level, continu-
ous operation of the defogger and
deicer system is canceled and the system stops operating.
Tilt/telescopic steering wheel
WARNING
. Do not adjust the steering wheel
tilt/telescopic position while driv-
ing. This may cause loss of
vehicle control and result in
personal injury.
. If the lever cannot be raised to
the fixed position, adjust the
steering wheel again. It is dan-
gerous to drive without locking
the steering wheel. This may
cause loss of vehicle control
and result in personal injury.
Page 183 of 402
5-12Audio
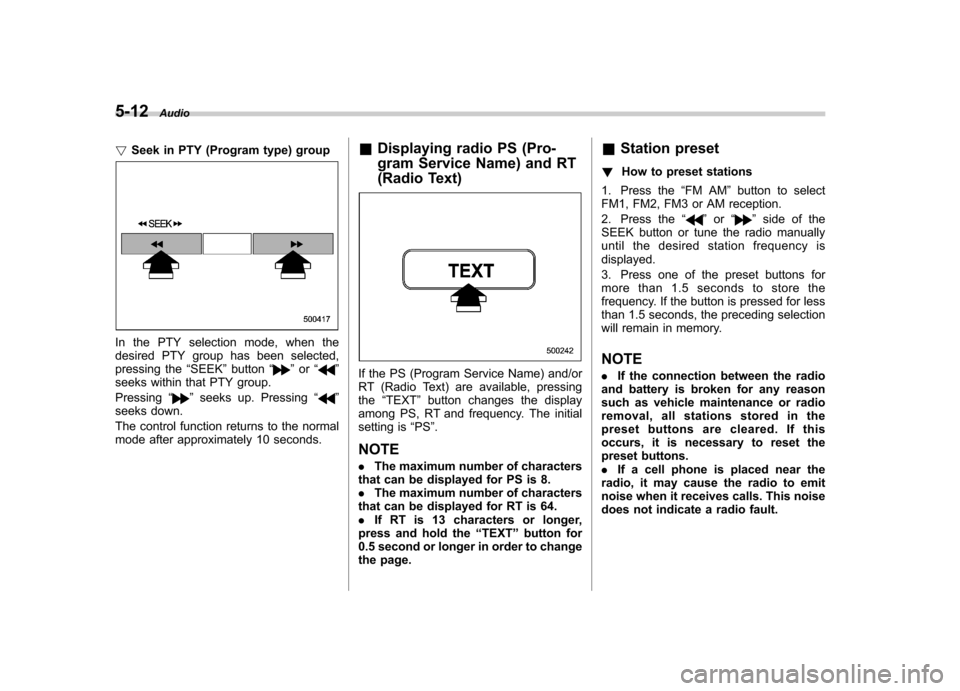
! Seek in PTY (Program type) group
In the PTY selection mode, when the
desired PTY group has been selected,
pressing the “SEEK ”button “
”or “”
seeks within that PTY group. Pressing “
”seeks up. Pressing “”
seeks down.
The control function returns to the normal
mode after approximately 10 seconds. &
Displaying radio PS (Pro-
gram Service Name) and RT
(Radio Text)
If the PS (Program Service Name) and/or
RT (Radio Text) are available, pressingthe “TEXT ”button changes the display
among PS, RT and frequency. The initial
setting is “PS ”.
NOTE . The maximum number of characters
that can be displayed for PS is 8. . The maximum number of characters
that can be displayed for RT is 64.. If RT is 13 characters or longer,
press and hold the “TEXT ”button for
0.5 second or longer in order to change
the page. &
Station preset
! How to preset stations
1. Press the “FM AM ”button to select
FM1, FM2, FM3 or AM reception.
2. Press the “
”or “”side of the
SEEK button or tune the radio manually
until the desired station frequency isdisplayed.
3. Press one of the preset buttons for
more than 1.5 seconds to store the
frequency. If the button is pressed for less
than 1.5 seconds, the preceding selection
will remain in memory. NOTE . If the connection between the radio
and battery is broken for any reason
such as vehicle maintenance or radio
removal, all stations stored in the
preset buttons are cleared. If this
occurs, it is necessary to reset the
preset buttons.. If a cell phone is placed near the
radio, it may cause the radio to emit
noise when it receives calls. This noise
does not indicate a radio fault.
Page 187 of 402
5-16Audio
& Channel preset
! How to preset channels
1. Press the “SAT ”button to select SAT1,
SAT2 and SAT3 reception.
2. Select the desired channel.
3. Press one of the preset buttons for
more than 1.5 seconds to store the
channel. If the button is pressed for less
than 1.5 seconds, the preceding selection
will remain in memory. NOTE
If the connection between the radio and
battery is broken for any reason such
as vehicle maintenance or radio re-
moval, all channels stored in the preset
buttons are cleared. If this occurs, it is
necessary to reset the preset buttons. !
Selecting preset channels
Presetting a channel with a preset button
allows you to select that channel in a
single operation. Up to six SAT1, SAT2
and SAT3 channels each may be preset. &
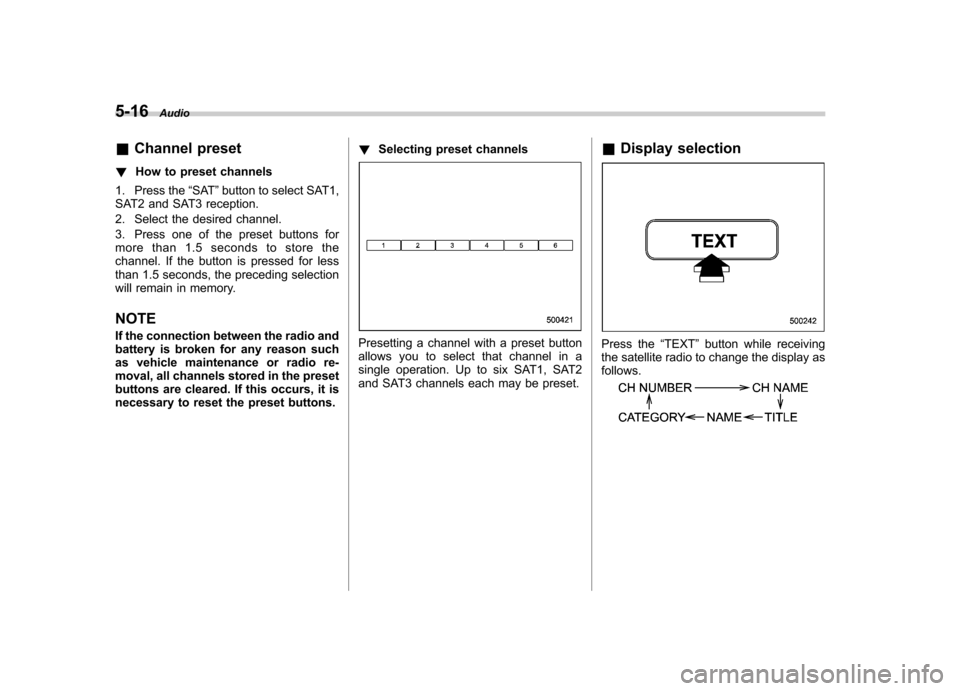
Display selectionPress the “TEXT ”button while receiving
the satellite radio to change the display as follows.
Page 203 of 402

6-2Interior equipment
Interior lights
When leaving your vehicle, make sure the
light is turned off to avoid battery dis-charge. &Dome light
Type A
Type B
1) ON
2) DOOR
3) OFF
The dome light switch has the following
three positions. ON: The light remains on continuously.
OFF: The light remains off.
DOOR: The dome light illuminates auto-
matically in the following cases. . Any of the doors or the rear gate is
opened.. The doors or the rear gate are un-
locked using the remote keyless entry
transmitter. . The ignition switch is turned from the
“ Acc ”position to the “LOCK ”position. The automatically illuminated dome light
remains on for several seconds and then
gradually turns off after all doors and the
rear gate are closed.
While the light is illuminated, if any of the
following operations are performed, the
dome light turns off immediately. .
The ignition switch is turned from the
“ LOCK ”position to the “Acc ”or “ON ”
position.. All doors and the rear gate are locked
using the remote keyless entry transmitter.
The setting of the period for which the light
remains on (OFF delay timer) can be
changed as follows. . Models with genuine SUBARU navi-
gation system:
The setting can be changed using the
navigation monitor. For details, please
refer to the Owner ’s Manual supplement
for the navigation system. Also, the setting
can be changed by a SUBARU dealer.
Contact your SUBARU dealer for details. . Models without genuine SUBARU
navigation system:
The setting can be changed by a
SUBARU dealer. Contact your SUBARU
dealer for details.
Page 204 of 402
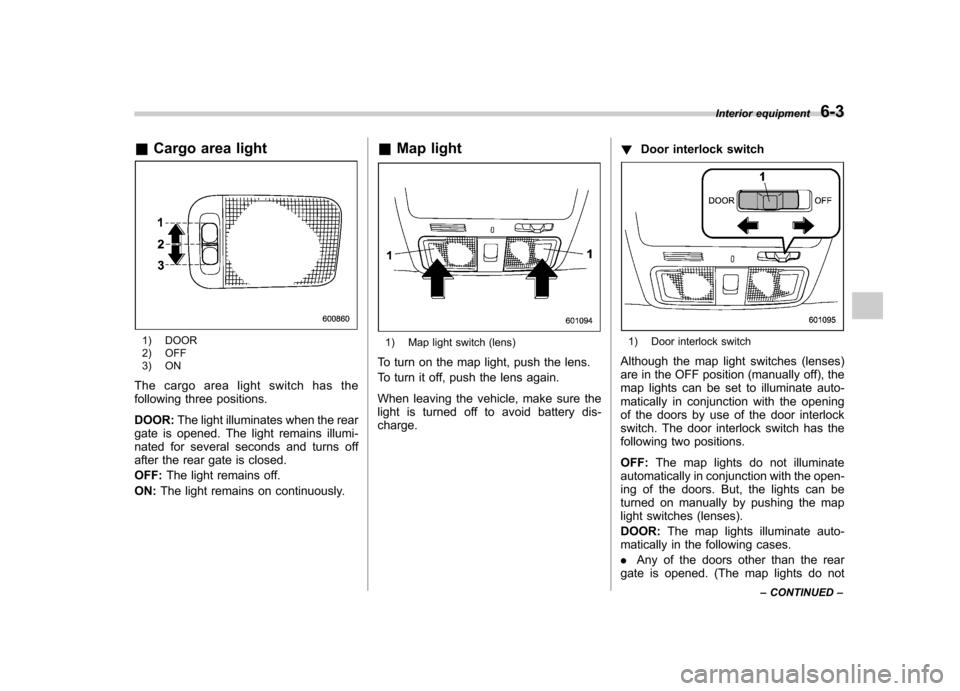
&Cargo area light
1) DOOR
2) OFF
3) ON
The cargo area light switch has the
following three positions. DOOR: The light illuminates when the rear
gate is opened. The light remains illumi-
nated for several seconds and turns off
after the rear gate is closed. OFF: The light remains off.
ON: The light remains on continuously. &
Map light1) Map light switch (lens)
To turn on the map light, push the lens.
To turn it off, push the lens again.
When leaving the vehicle, make sure the
light is turned off to avoid battery dis-charge. !
Door interlock switch1) Door interlock switch
Although the map light switches (lenses)
are in the OFF position (manually off), the
map lights can be set to illuminate auto-
matically in conjunction with the opening
of the doors by use of the door interlock
switch. The door interlock switch has the
following two positions. OFF: The map lights do not illuminate
automatically in conjunction with the open-
ing of the doors. But, the lights can be
turned on manually by pushing the map
light switches (lenses). DOOR: The map lights illuminate auto-
matically in the following cases.. Any of the doors other than the rear
gate is opened. (The map lights do not Interior equipment
6-3
– CONTINUED –