2010 SUBARU FORESTER buttons
[x] Cancel search: buttonsPage 172 of 402
Antenna system.................................................. 5-2
Roof antenna ...................................................... 5-2
FM reception ....................................................... 5-2
XM
TMsatellite radio reception (if equipped) ...... 5-2
Installation of accessories .................................. 5-4
Audio set ............................................................. 5-4
Type A audio set (if equipped) ............................. 5-5
Type B audio set (if equipped) ............................. 5-6
Power and sound controls ................................. 5-7
Power switch and volume control ........................ 5-7
Sound control ..................................................... 5-7
Adjustable level of each mode ............................. 5-9
FM/AM radio operation ...................................... 5-10
FM/AM selection ................................................. 5-10
Tuning ............................................................... 5-10
Displaying radio PS (Program Service Name) and RT (Radio Text) ................................................ 5-12
Station preset .................................................... 5-12
Satellite radio operation (if equipped) .............. 5-13
XM
TMsatellite radio ............................................ 5-13
Sirius satellite radio ........................................... 5-13
Satellite radio reception ...................................... 5-13
Displaying satellite radio ID of tuner ................... 5-13Band selection
................................................... 5-14
Channel and category selection ......................... 5-14
Channel preset .................................................. 5-16
Display selection ............................................... 5-16
CD player operation .......................................... 5-17
How to insert a CD (type A) ................................ 5-17
How to insert a CD(s) (type B) .. .......................... 5-17
How to play back a CD ...................................... 5-19
To select a track from its beginning. ................... 5-19
Fast-forwarding and fast-reversing ..................... 5-20
Repeating .......................................................... 5-21
Random playback .............................................. 5-21
Scan ................................................................. 5-22
Display selection ............................................... 5-22
Folder selection ................................................. 5-23
How to eject a CD from the player (type A) .... ..... 5-23
How to eject CDs from the player (type B) ..... ..... 5-24
When the following messages are displayed. . ..... 5-25
Auxiliary input jack (if equipped). ..................... 5-25
Precautions to observe when handling a compact disc ................................................... 5-26
Audio control buttons (if equipped) ................. 5-28
MODE button ..................................................... 5-28 Audio
5
Page 183 of 402
5-12Audio
! Seek in PTY (Program type) group
In the PTY selection mode, when the
desired PTY group has been selected,
pressing the “SEEK ”button “
”or “”
seeks within that PTY group. Pressing “
”seeks up. Pressing “”
seeks down.
The control function returns to the normal
mode after approximately 10 seconds. &
Displaying radio PS (Pro-
gram Service Name) and RT
(Radio Text)
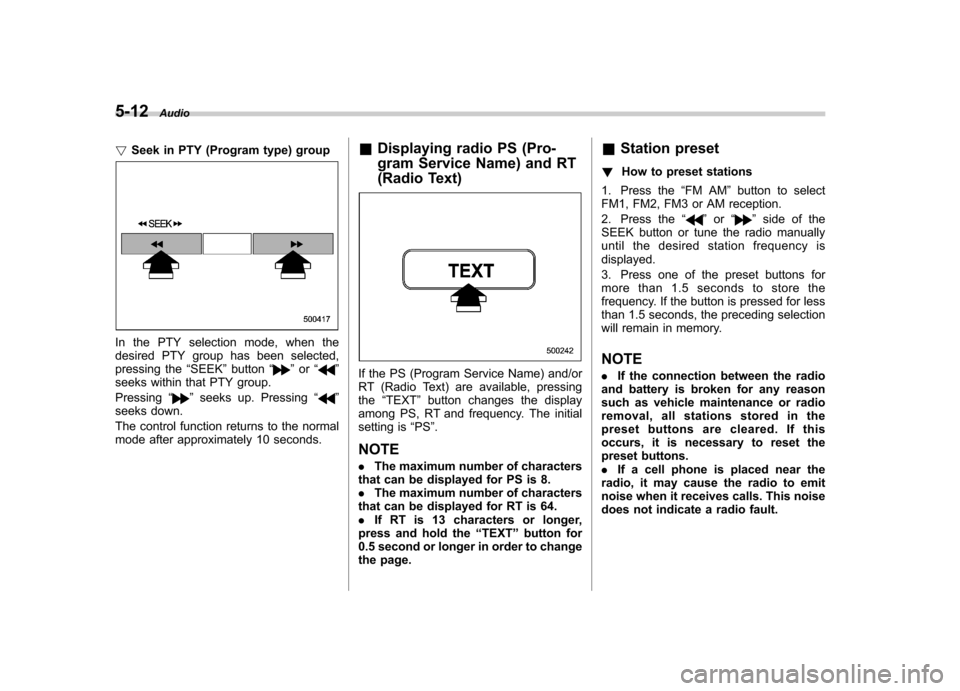
If the PS (Program Service Name) and/or
RT (Radio Text) are available, pressingthe “TEXT ”button changes the display
among PS, RT and frequency. The initial
setting is “PS ”.
NOTE . The maximum number of characters
that can be displayed for PS is 8. . The maximum number of characters
that can be displayed for RT is 64.. If RT is 13 characters or longer,
press and hold the “TEXT ”button for
0.5 second or longer in order to change
the page. &
Station preset
! How to preset stations
1. Press the “FM AM ”button to select
FM1, FM2, FM3 or AM reception.
2. Press the “
”or “”side of the
SEEK button or tune the radio manually
until the desired station frequency isdisplayed.
3. Press one of the preset buttons for
more than 1.5 seconds to store the
frequency. If the button is pressed for less
than 1.5 seconds, the preceding selection
will remain in memory. NOTE . If the connection between the radio
and battery is broken for any reason
such as vehicle maintenance or radio
removal, all stations stored in the
preset buttons are cleared. If this
occurs, it is necessary to reset the
preset buttons.. If a cell phone is placed near the
radio, it may cause the radio to emit
noise when it receives calls. This noise
does not indicate a radio fault.
Page 187 of 402
5-16Audio
& Channel preset
! How to preset channels
1. Press the “SAT ”button to select SAT1,
SAT2 and SAT3 reception.
2. Select the desired channel.
3. Press one of the preset buttons for
more than 1.5 seconds to store the
channel. If the button is pressed for less
than 1.5 seconds, the preceding selection
will remain in memory. NOTE
If the connection between the radio and
battery is broken for any reason such
as vehicle maintenance or radio re-
moval, all channels stored in the preset
buttons are cleared. If this occurs, it is
necessary to reset the preset buttons. !
Selecting preset channels
Presetting a channel with a preset button
allows you to select that channel in a
single operation. Up to six SAT1, SAT2
and SAT3 channels each may be preset. &
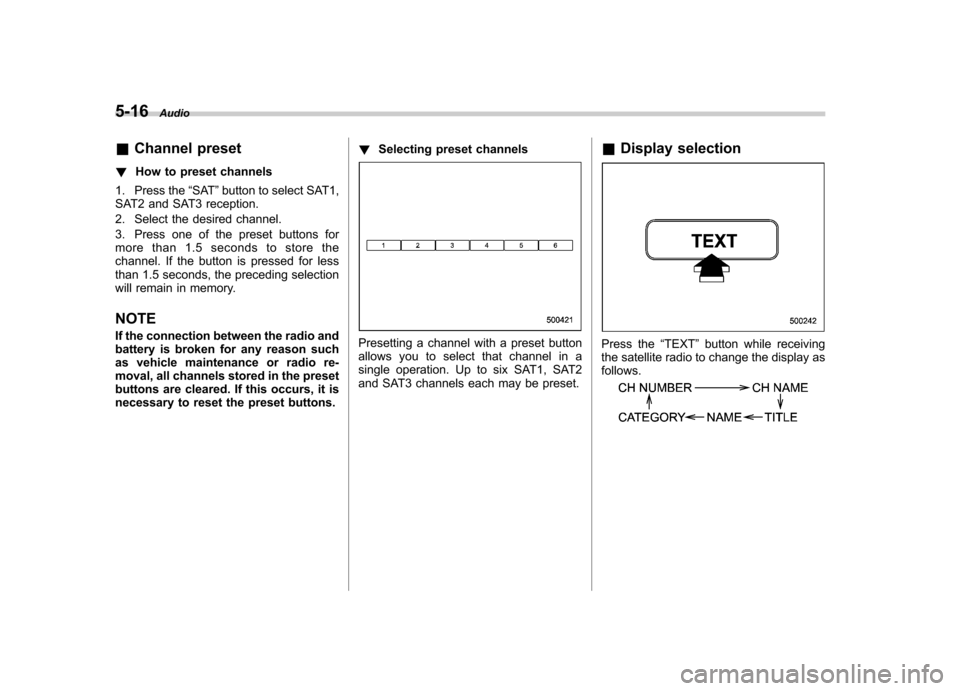
Display selectionPress the “TEXT ”button while receiving
the satellite radio to change the display as follows.
Page 190 of 402
start playback of the discs, beginning with
the one inserted first.
If you fail to insert any disc during each 15
seconds interval, the full disc loading
mode will be canceled, and the player will
start playback of the disc inserted first. &How to play back a CD
! When there is no CD inserted
Properly insert a CD. Refer to “How to
insert a CD (type A) ”F 5-17 / “How to
insert a CD(s) (type B) ”F 5-17.
When a CD is loaded, the player will start
playback of the CD, beginning with the
first track. ! When CD is in the player (type A)
When the “CD ”button is pressed, the
player will start playback. !
When there are CDs loaded (type B)
Press a desired one of the disc select
buttons the disc number indicator of which
steadily lights up. The player will then start
playback of the selected CD, beginning
with the first track.
If a disc that the player cannot read has
been loaded, the player will display themessage “CHECK DISC ”. &
To select a track from its beginning
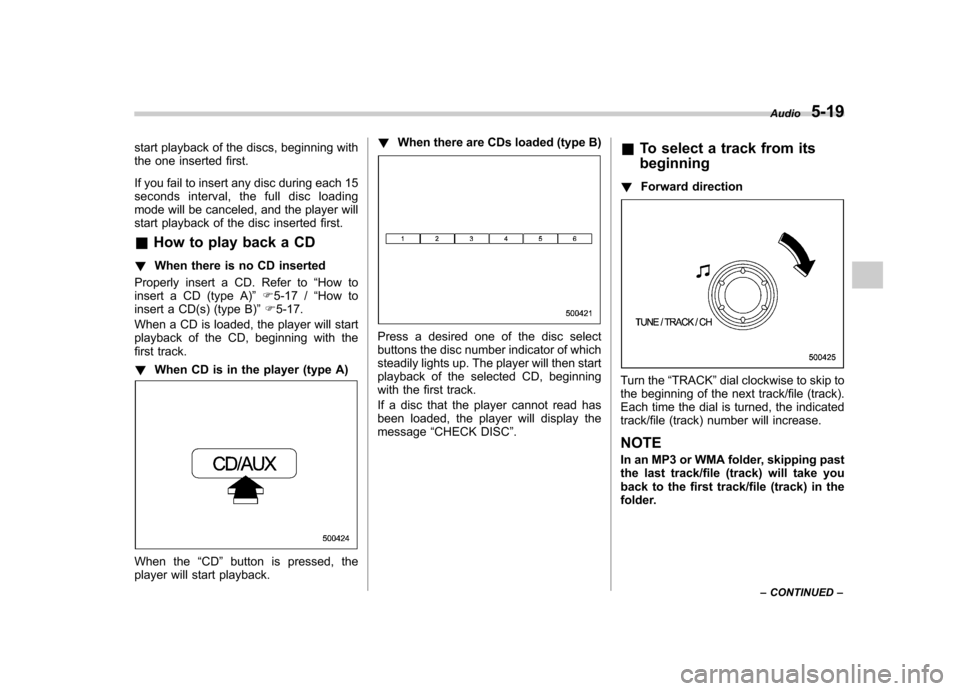
! Forward direction
Turn the “TRACK ”dial clockwise to skip to
the beginning of the next track/file (track).
Each time the dial is turned, the indicated
track/file (track) number will increase.
NOTE
In an MP3 or WMA folder, skipping past
the last track/file (track) will take you
back to the first track/file (track) in the
folder. Audio
5-19
– CONTINUED –
Page 194 of 402
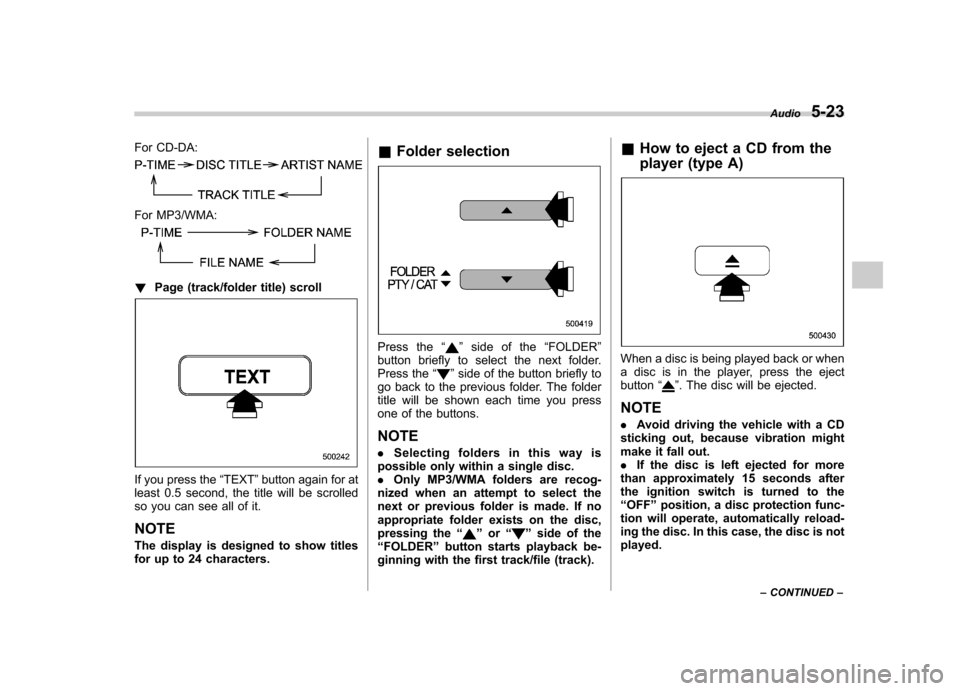
For CD-DA:
For MP3/WMA:
!Page (track/folder title) scroll
If you press the “TEXT ”button again for at
least 0.5 second, the title will be scrolled
so you can see all of it. NOTE
The display is designed to show titles
for up to 24 characters. &
Folder selection
Press the “”side of the “FOLDER ”
button briefly to select the next folder.
Press the “
”side of the button briefly to
go back to the previous folder. The folder
title will be shown each time you press
one of the buttons.
NOTE . Selecting folders in this way is
possible only within a single disc. . Only MP3/WMA folders are recog-
nized when an attempt to select the
next or previous folder is made. If no
appropriate folder exists on the disc,
pressing the “
”or “”side of the
“ FOLDER ”button starts playback be-
ginning with the first track/file (track). &
How to eject a CD from the
player (type A)
When a disc is being played back or when
a disc is in the player, press the ejectbutton “
”. The disc will be ejected.
NOTE . Avoid driving the vehicle with a CD
sticking out, because vibration might
make it fall out.. If the disc is left ejected for more
than approximately 15 seconds after
the ignition switch is turned to the“ OFF ”position, a disc protection func-
tion will operate, automatically reload-
ing the disc. In this case, the disc is not played. Audio
5-23
– CONTINUED –
Page 199 of 402
5-28Audio
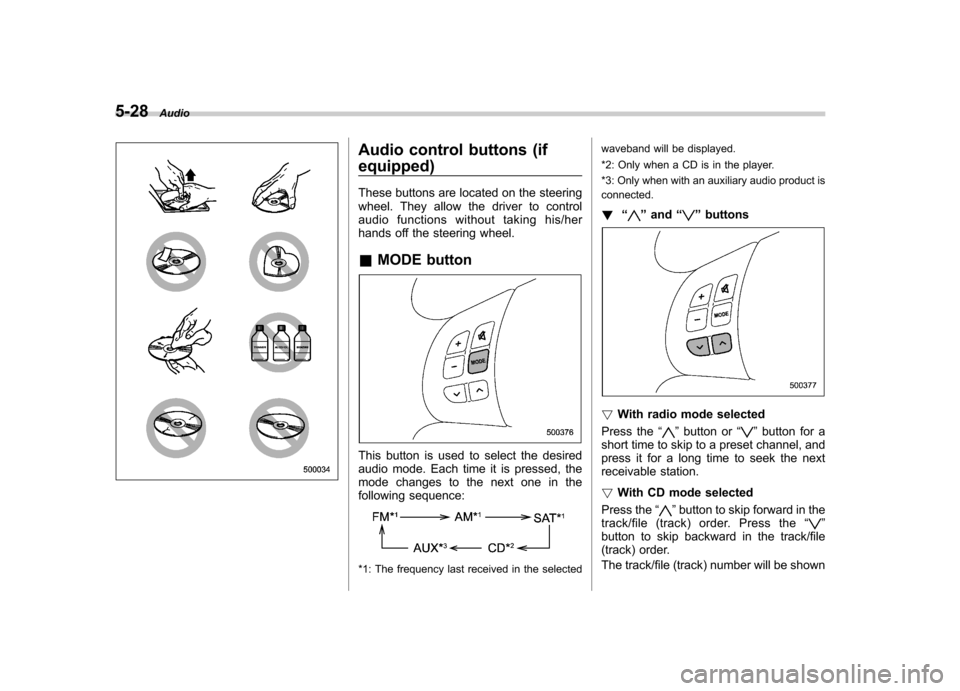
Audio control buttons (if equipped)
These buttons are located on the steering
wheel. They allow the driver to control
audio functions without taking his/her
hands off the steering wheel. &MODE button
This button is used to select the desired
audio mode. Each time it is pressed, the
mode changes to the next one in the
following sequence:
*1: The frequency last received in the selected waveband will be displayed.
*2: Only when a CD is in the player.
*3: Only when with an auxiliary audio product is connected.
! “
”and “”buttons
! With radio mode selected
Press the “
”button or “”button for a
short time to skip to a preset channel, and
press it for a long time to seek the next
receivable station. ! With CD mode selected
Press the “
”button to skip forward in the
track/file (track) order. Press the “”
button to skip backward in the track/file
(track) order.
The track/file (track) number will be shown
Page 200 of 402
on the audio display. !With SAT mode selected
Press the “
”button to skip forward in the
channel order. Press the “”button to
skip backward in the channel order. The
channel will be shown on the audio
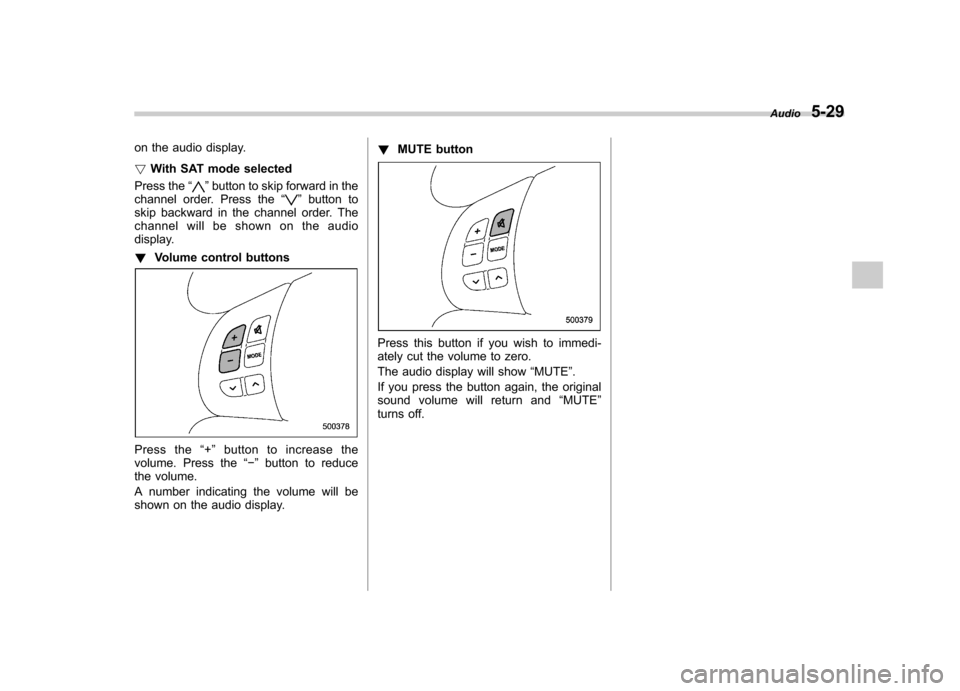
display. ! Volume control buttons
Press the “+ ” button to increase the
volume. Press the “� ” button to reduce
the volume.
A number indicating the volume will be
shown on the audio display. !
MUTE button
Press this button if you wish to immedi-
ately cut the volume to zero.
The audio display will show “MUTE ”.
If you press the button again, the original
sound volume will return and “MUTE ”
turns off. Audio
5-29