Page 31 of 84

Navigation 41
Setting Route
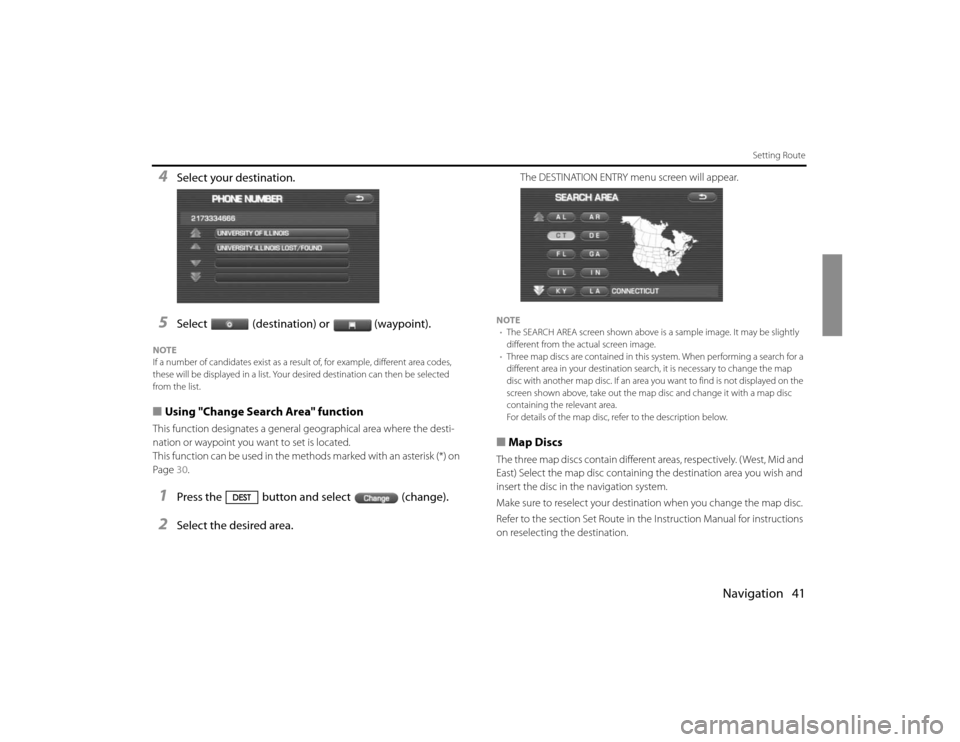
4
Select your destination.
5
Select (destination) or (waypoint).
NOTE
If a number of candidates exist as a result of, for example, different area codes,
these will be displayed in a list. Your desired destination can then be selected
from the list.■Using "Change Search Area" functionThis function designates a general geographical area where the desti-
nation or waypoint you want to set is located.
This function can be used in the methods marked with an asterisk (*) on
Page 30.1
Press the button and select (change).
2
Select the desired area.
The DESTINATION ENTRY menu screen will appear.
NOTE
•The SEARCH AREA screen shown above is a sample image. It may be slightly
different from the actual screen image.
•Three map discs are contained in this system. When performing a search for a
different area in your destination search, it is necessary to change the map
disc with another map disc. If an area you want to find is not displayed on the
screen shown above, take out the map disc and change it with a map disc
containing the relevant area.
For details of the map disc, refer to the description below.■Map DiscsThe three map discs contain different areas, respectively. ( West, Mid and
East) Select the map disc containing the destination area you wish and
insert the disc in the navigation system.
Make sure to reselect your destination when you change the map disc.
Refer to the section Set Route in the Instruction Manual for instructions
on reselecting the destination.
Page 42 of 84
52 NavigationRoute OptionsRoute preferencesUse this function to specify preferred route search conditions. The sys-
tem will start recalculating the route according to your specified condi-
tions.1
Press the button, then select (route
options), and then select (route preferences).
2
Specify conditions by selecting keys.Each time you select a key, it will toggle between "usage" and
"non-usage" of the corresponding roads or ferries.
3
Select (calculate).
NOTE
•The (calculate) key can be selected during route guidance.
•The route calculation will not always be able to follow the specified condi-
tions.
Destination and waypointsYou can change the destination or waypoints for the route calculation
by using this function.■Addition of waypointsUse the following procedure to add new waypoints to the current route
for recalculation.1
Press the button, then select (route
options), and then select (destination and way-
points).
2
Select (add).
Page 44 of 84
54 NavigationRoute Options4
Select the key corresponding to the location that is to be
modified. The map for the area around your current location will be dis-
played.
5
Scroll the map to bring the crosshair to the location
and then select .
6
Select (calculate).
■Modifying visiting order
You can change the order for visiting your waypoints by using this pro-
cedure.1
Press the button, then select (route
options), and then select (destination and way-
points)
2
Select (list).
3
Select the waypoint keys according to the order of your
visit.If you wish to cancel the visiting order number indication, select
(undo).
4
When you complete the sequencing, the visiting order
will be updated automatically.
5
Select .
6
Select
(calculate).
Page 45 of 84
Navigation 55
Route Options
■Deleting destination or waypointsUse this procedure when you wish to delete the previously set destina-
tion or waypoint.1
Press the button, then select (route
options), and then select (destination and way-
points).
2
Select (delete).
3
Select the key corresponding to the destination or way-
point you wish to delete.
4
Confirmation message will be displayed. Select
(yes).Select (no) to cancel the deletion.
5
Select (calculate).
Page 52 of 84

62 NavigationNavigation Setup
Distance:
Units of distance can be selected from (km)
and (mile).
Road Restriction Warnings:
You can select or deselect display of traffic restriction warnings
during route guidance.
Keyboard layout:
The layout of input keys can be selected from ("ABC" lay-
out) or ("QWERTY" layout).
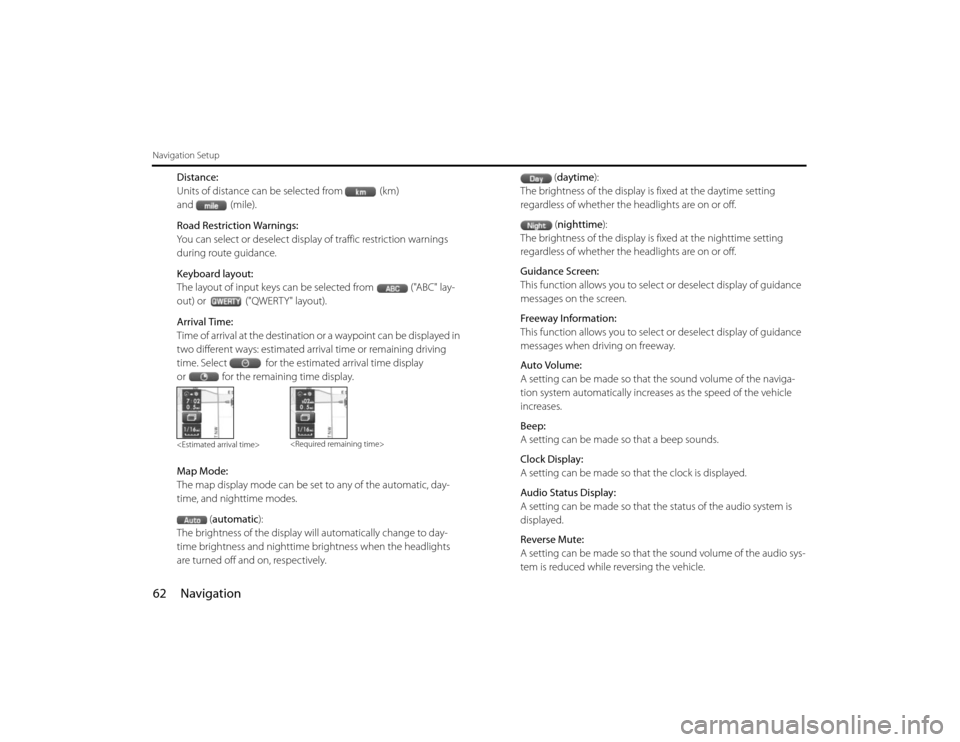
Arrival Time:
Time of arrival at the destination or a waypoint can be displayed in
two different ways: estimated arrival time or remaining driving
time. Select for the estimated arrival time display
or for the remaining time display.
Map Mode:
The map display mode can be set to any of the automatic, day-
time, and nighttime modes.
(automatic):
The brightness of the display will automatically change to day-
time brightness and nighttime brightness when the headlights
are turned off and on, respectively.(daytime):
The brightness of the display is fixed at the daytime setting
regardless of whether the headlights are on or off.
(nighttime):
The brightness of the display is fixed at the nighttime setting
regardless of whether the headlights are on or off.
Guidance Screen:
This function allows you to select or deselect display of guidance
messages on the screen.
Freeway Information:
This function allows you to select or deselect display of guidance
messages when driving on freeway.
Auto Volume:
A setting can be made so that the sound volume of the naviga-
tion system automatically increases as the speed of the vehicle
increases.
Beep:
A setting can be made so that a beep sounds.
Clock Display:
A setting can be made so that the clock is displayed.
Audio Status Display:
A setting can be made so that the status of the audio system is
displayed.
Reverse Mute:
A setting can be made so that the sound volume of the audio sys-
tem is reduced while reversing the vehicle.
Page 58 of 84
![SUBARU FORESTER 2010 SH / 3.G Navigation Manual 68 NavigationNavigation Setup
[Default List]Item Initial condition
Map display
Search Area
Display Guidance Language
Map Orientation (1 and 2 screen)
Map Display Mode
Map Display Scale
Map Configurati SUBARU FORESTER 2010 SH / 3.G Navigation Manual 68 NavigationNavigation Setup
[Default List]Item Initial condition
Map display
Search Area
Display Guidance Language
Map Orientation (1 and 2 screen)
Map Display Mode
Map Display Scale
Map Configurati](/manual-img/17/7206/w960_7206-57.png)
68 NavigationNavigation Setup
[Default List]Item Initial condition
Map display
Search Area
Display Guidance Language
Map Orientation (1 and 2 screen)
Map Display Mode
Map Display Scale
Map Configuration
Q-POI Map Display
Show POI Icon Display
Right Screen Setting, POI
Passage Point Display/Current Location, Map Screen ( Time
Requirement, Time, Direction / Distance)Passage Point Display/
Full Route, Map Screen ( Time Require-
ment, Time, Direction / Distance)
Restricted Road
Freeway InformationDisc A ( WEST ): CA
Disc B (MID): IL
Disc C (EAST ): DC
US English, female
North up
Single-screen display
Single-screen:
10,000 map (1/16 mi) (100 m)
Dual-screen:
40,000 map (1/4 mi) (500 m)
Arrow Mode
Off
Off
On
Next passage point
Destination
On
Off
Volume Control
Volume Preset
4
Navigation Setup Menu
Distance
Road Restriction Warnings
Reverse Mute
Keyboard Layout
Arrival Timemile
On
Off
ABC
Required remaining time
Item Initial condition
Map Mode
Guidance Screen
Q-POI Selection
Language SelectionAuto
On
A: Gas station
B: ATM
C: Parking
D: Grocery store
E: All Restaurants
F: Hotel
US English, female, male,
French, Espanõl
Route Options
Search Condition
Route PreferencesQuick
Allow Toll Road: Off
Allow Ferry: Off
Allow Major Roads: On
Allow Time Restricted Road:
Off Item Initial condition
Page 62 of 84
72 NavigationStored Locations3
Select the memory point to be modified.You can change the sequence in which memory points are listed by
selecting (Attribute), (icon), (na
me), or (date)
.
4
Select the category key corresponding to the memory
point to be modified.
(icon): Selecting this key allows you to choose a dis-
play icon. (Page 1) and (Page 2) of
the CHANGE ICON screen contain standard icons, whereas the
"With Sound" (with sound) page contains icons that are accompa-
nied by response sounds. Select (with sound) to
listen to these sounds.
Page 63 of 84

Navigation 73
Stored Locations
NOTEThe "With direction" ( / ) keys in the "With Sound" page are
used to activate response sounds only when you come near the mem-
ory point from the specified direction. Select or and set
the direction using or . Selecting allows you to listen to
respective sounds.
(category): Use this key to change the storage cate-
gory. After selecting this key, select either key of HOME or Preset
Destinations 1 to 5.
For memory points to which the category has been set, it is possi-
ble to set them quickly as a destination. It is convenient to set in
advance the category to your home or a spot to which you go fre-
quently. When setting it as a destination, select the relevant key
on the DESTINATION ENTRY screen. See Page 29.
(name): Select this key to change the name of a mem-
ory point. When the change has been completed,
select (OK). Then select (on) if the name is to be
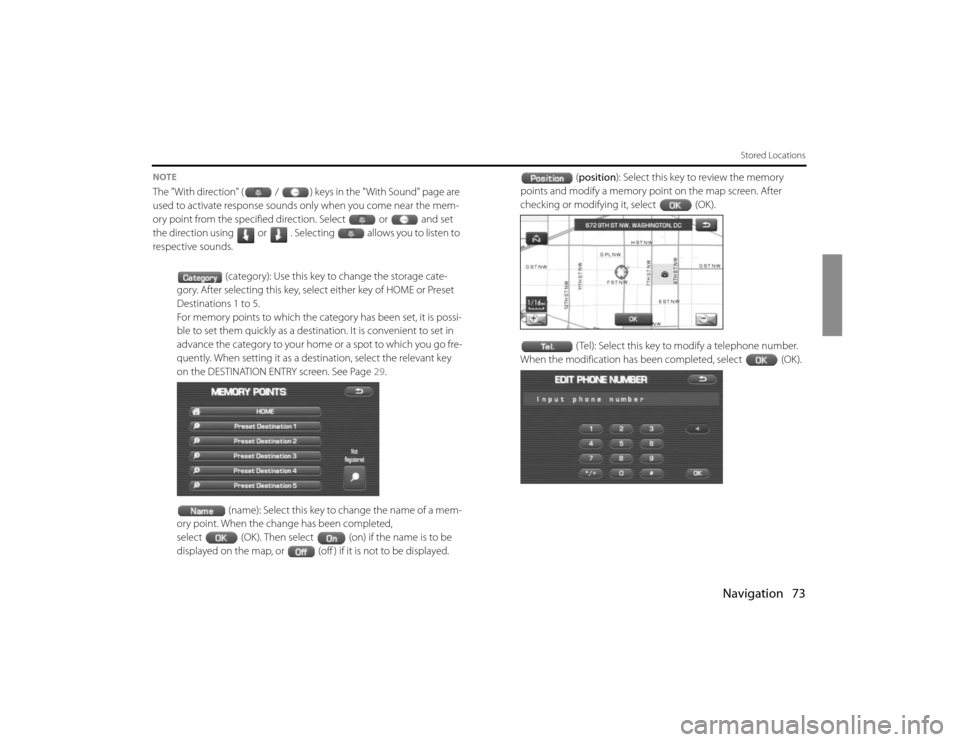
displayed on the map, or (off ) if it is not to be displayed.(position): Select this key to review the memory
points and modify a memory point on the map screen. After
checking or modifying it, select (OK).
( Tel): Select this key to modify a telephone number.
When the modification has been completed, select (OK).