2010 SKODA OCTAVIA TOUR ECU
[x] Cancel search: ECUPage 32 of 199

Unlocking and locking31
Using the system
Safety
Driving Tips
General Maintenance
Breakdown assistance
Technical Data
Note
Pay attention to the correct pola rity when changing the battery.
The replacement battery must have the same specification as the original battery.
If it is still not be possible to unlock or lock the vehicle with the remote control even
after replacing the battery this means that the system has to be synchronised
page 37.
Electronic immobiliserThe electronic immobiliser prevents the vehicle being operated by an
unauthorised person.An electronic chip is integrated in the he ad of the key. The immobiliser is deactivated
with the aid of this chip when the key is in serted in the ignition lock. The electronic
immobiliser is automatically activated when you withdraw the ignition key from the
lock.
Note
It is only possible to start the engine of your car with a Genuine Škoda key with the
matching code.Child safety lockThe child safety lock prevents the re ar door from being opened from the
inside.
The rear doors are equipped with a child safe ty lock. You can switch the child safety
lock on and off using the vehicle key.Switching child safety lock on– Use the vehicle key to turn the slit in the rear door to the left in the direction of the arrow fig. 23 .Switching child safety lock off– Use the vehicle key to turn the slit to the right against the direction of the arrow.
So long as the child safety lock is switched on it is not possible to open the door from
the inside with the door opening lever. In this case the door can be opened only from
the outside.Central locking systemDescriptionUnlocking or locking the vehicle causes all doors to be unlocked or locked at the same
time by the central locking system. The boot lid is unlocked when opening. It can be
opened by pressing the hand grip above the licence plate page 35.
Operation of the central locking system is possible:
from the outside using the vehicle key page 33,
using the button for the central locking system page 33,
by using the remote control page 36.
Indicator light in the driver's door on vehicles without anti-theft alarm system
After the car is locked, the indica tor light flashes after 2 seconds.
After the car is locked with the deactivate d safe securing system, the indicator light
flashes only after 30 seconds.
Indicator light in the driver's door on vehicles with anti-theft alarm system
After locking the vehicle the indicator light flashes for 2 seconds fast, then more slowly.
Fig. 23 Child safety locks on the rear
doors
s2bs.2.book Page 31 Monday, September 27, 2010 9:53 AM
Page 33 of 199

Unlocking and locking
32
If the vehicle is locked and the safe securing system page 32 is not operating, the
indicator light in the driver door flashes for about 2 seconds fast, goes out and starts to
flash slowly after about 30 seconds.
If the indicator light first of all flashes fast for about 2 seconds, afterwards lights up for
about 30 seconds and then flashes slowly, there is a fault in the system of the central
locking or the interior monitor* page 38. Visit a specialist garage to obtain assist-
ance.
Convenience operatio n of the windows*
One can open and close the electrically powered windows when unlocking and
locking the vehicle page 41.
Opening a single door*
This function makes it possible to only unlock the driver's door. The other doors
remain locked and are only unlocked when the command is repeated.
If you wish, you can have your authorised Škoda Service Partner activate the function
of the single door opening mode.
Automatic unlocking and locking*
All the doors and the boot lid are locked au tomatically once the car reaches a speed of
about 15 km/h.
If the ignition key is withdrawn, the car is then automatically unlocked again. In addi-
tion, it is possible for the driver to unlock the car by pressing the central locking button or by pulling the door opening lever.
If you wish, you can have a sp ecialist garage activate the automatic locking function.
WARNING
Locking the doors prevents involuntary opening in an exceptional situation (an
accident). Locked doors prevent unwanted entry into the vehicle from outside,
for example at road crossings. Locked doors do, however, make it more difficult
for rescuers to get into the vehicle in an emergency - danger to life!
Note
In the event of an accident in which the airbags are deployed, the locked doors are
automatically unlocked in order to enable rescuers to gain access to the vehicle.
Only the front doors can be unlocked and locked using the key if the central locking
system fails. You can lock or unlock ma nually the other doors and the boot lid.
Emergency locking of the door page 34.
Emergency unlocking of the boot lid page 35.
Safe securingThe central locking system is equipped with a safe securing
2) system. Locking the
vehicle from the outside causes the door locks to be automatically blocked. It is not
possible to open the doors with the door handle either from the inside or from the
outside. This acts as an effective deterrent for attemp ts to break into your vehicle.
You can deactivate the safe securing sy stem by locking twice within 2 seconds.
If the safe securing system is not operating, the warning light in the driver door flashes
for about 2 seconds fast, goes out and starts to flash slowly again after about
30°seconds.
The safe securing system is again activated the next time the vehicle is unlocked and
locked again.
The doors can be opened from the inside if the vehicle is locked and the safe securing
system is deactivated:
The door is unlocked by actuating the door-opening lever.
The door opens upon actuating the door-opening lever again.
WARNING
If the vehicle is locked from the outsid e and the safe securing system is acti-
vated, there must not be any person and animals in the vehicle as it is then not
possible to open either a door or a window from the inside. The locked doors
make it more difficult for rescuers to get into the vehicle in an emergency -
hazard!2)Only valid for some countries.
s2bs.2.book Page 32 Monday, September 27, 2010 9:53 AM
Page 34 of 199

Unlocking and locking33
Using the system
Safety
Driving Tips
General Maintenance
Breakdown assistance
Technical Data
Note
The anti-theft alarm system* is also activated with the deactivated safe securing
system when locking the vehicle. The interior monitor* is however not activated.Unlocking the vehicle using the key– Turn the key in the locking cylinder of the driver's door in the direction of travel
(unlock position) fig. 24 .
– Pull on the door handle and open the door.
All the doors (only the driver 's door on vehicles with anti-theft alarm system) are
unlocked.
The boot lid is then unlocked.
The switched on interior lights come on over the door contact.
The safe securing system is deactivated.
The windows open provided the key is held* in the unlock posi tion. On vehicles
fitted with anti-theft alarm system the wi ndow operation is only possible 45 seconds
after deactivation of the warning system.
The indicator light in the driver's door stop s flashing if the vehicle is not fitted with
an anti-theft alarm system* page 37.Note
If the vehicle is equippe d with an anti-theft alarm system*, you must insert the key into
the ignition lock and switch the ignition on within 15 seconds after unlocking the door in order to deactivate the anti-theft alarm system. The alarm will be triggered
if you
do not switch on the ignition within 15 seconds.
Locking the vehicle with the key– Turn the key in the locking cylinder of the driver's door in the opposite direction of
travel (lock position) fig. 24 .
All the doors and the boot lid are locked.
The switched on interior lights will switch off over the door contact.
The windows close provided the key is held in the lock position.*
The safe securing system is activated immediately.
The indicator light in the dr iver door begins flashing.Note
If the driver's door has been op ened, the vehicle cannot be locked.Button for the central locking systemIf the vehicle was not locked from outside, you can also unlock and lock it with the
rocker switch on the centre consol e without the ignition switched on.Locking all doors and the boot lid– Press button fig. 25 . The symbol
in the button comes on.
Fig. 24 Turning the key for unlocking
and locking the vehicle
AA
AB
Fig. 25 Centre console: Buttons for
central locking
A1
s2bs.2.book Page 33 Monday, September 27, 2010 9:53 AM
Page 35 of 199

Unlocking and locking
34
Unlocking all doors and the boot lid
– Press button page 33, fig. 25. The symbol
goes out in the button.
The following applies if you have locked your vehicle using the button :
It is not possible to open the doors or the boot lid from the outside (safety feature,
e.g. when stopping at traffic lights etc.).
You can unlock the doors individually from the inside and open them by pulling the
door opening lever.
As long as one door is opened
3), the vehicle cannot be locked in order to avoid
inadvertently locking the key in the vehicle.
In the event of an accident in which the airbags are deployed, the locked doors are
automatically unlocked from the inside in orde r to enable rescuers to gain access to
the vehicle.
By pressing and holding the button or , you can conveniently close or open the
windows page 41.
WARNING
The central locking system al so operates if the ignition is switched off. All the
doors and the boot lid are locked. Children should never be left unattended in
the vehicle since it is difficult to prov ide assistance from the outside when the
doors are locked. Locked doors make it difficult for rescuers to get into the
vehicle in an emergency - hazard!
Note
The door opening lever and the buttons for the central locking system do not operate
if the safe securing system is activated.
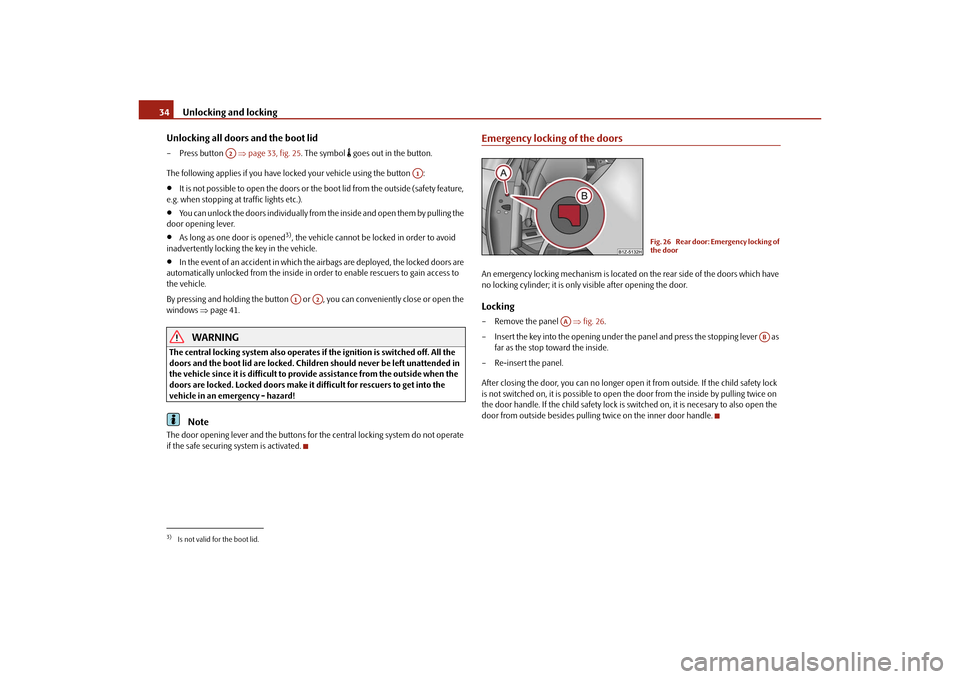
Emergency locking of the doorsAn emergency locking mechanism is located on the rear side of the doors which have
no locking cylinder; it is only visible after opening the door.Locking– Remove the panel fig. 26 .
– Insert the key into the opening under the panel and press the stopping lever as
far as the stop toward the inside.
– Re-insert the panel.
After closing the door, you can no longer open it from outside. If the child safety lock
is not switched on, it is possible to open the door from the inside by pulling twice on
the door handle. If the child sa fety lock is switched on, it is necesary to also open the
door from outside besides pulling twice on the inner door handle.
3)Is not valid for the boot lid.
A2
A1
A1
A2
Fig. 26 Rear door: Emergency locking of
the door
AA
AB
s2bs.2.book Page 34 Monday, September 27, 2010 9:53 AM
Page 38 of 199

Unlocking and locking37
Using the system
Safety
Driving Tips
General Maintenance
Breakdown assistance
Technical Data
Deactivating safe securing system– Press button twice in 2 seconds. Further information page 32.Boot lid remote release
– Press button for about 2 second. Further information page 35.Folding out of the key– Press button .Folding up of the key– Press button and collapse the key bit in the housing.
The turn signal lights flash twice as confir mation that the vehicle has been unlocked.
The vehicle will lock again automatically if you unlock the vehicle using button but
do not open a door or the boot lid within th e next 30 seconds. This function is intended
to prevent the car being unlocked unintentionally.
Display of the locking
The turn signal lights flash once to confir m that the vehicle has been correctly locked.
If the vehicle is locked by pressing the bu tton and some doors or the boot lid are
not closed, the turn signal lights flash only after closing.
WARNING
If the vehicle is locked from the outside and the safe securing system is acti-
vated, there must not be any person in the vehicle as it is then not possible to
open either a door or a window from th e inside. The locked doors make it more
difficult for rescuers to get into the vehicle in an emergency - hazard!
Note
Operate the radio remote control only when the doors and boot lid are closed and
you have visual contact with the vehicle.
Once in the car, you must not press the lock button
of the radio remote control
before inserting the key into the ignition lo ck in order to avoid the car being inadvert- ently locked and the alarm system* being sw
itched on. Should this happen, press the
unlock button
of the radio remote control.
Synchronisation of the remote controlIf the vehicle cannot be unlocked by actuating the remote control system then it is
possible that the code in the key and the control unit in the vehicle are no longer
synchronised. This can occur when the button s on the radio-operated key are actuated
a number of times outside of the operative range of the equipment or the battery on
the remote control was replaced.
This means it is necessary to synchronise the code as follows:
Press any button on the remote control.
pressing of the button means that the door will unlock with the key within 1
minute.
Anti-theft alarm system*DescriptionThe anti-theft alarm system increases the level of protection against people seeking to
break into the vehicle. The system triggers audible and visual warning signals if an
attempt is made to break into the vehicle.
How is the alarm system activated?
The anti-theft alarm system is activated au tomatically when the vehicle is locked with
the key on the closed driver's door or by us ing the radio remote control. It is activated
30 seconds after locking the door.
How is the alarm system deactivated?
The anti-theft alarm system is deactivated if the vehicle is unlocked by only using the
radio remote control. The vehicle is automati cally locked again if the vehicle is not
opened within 30 seconds after reactivating the anti-theft alarm system.
Once you unlock the vehicle by inserting the ke y into the driver door you then have to
insert the key into the ignition lock and sw itch the ignition on within 15 seconds after
A3A2A4A4
A1
A3
s2bs.2.book Page 37 Monday, September 27, 2010 9:53 AM
Page 39 of 199

Unlocking and locking
38
opening the door in order to deactiva te the anti-theft alarm system. The alarm will be
triggered if you do not switch on the ignition within 15 seconds.
When is the alarm triggered?
The following security areas of the locked vehicle are monitored:
Bonnet,
Boot lid,
Doors,
Ignition lock,
vehicle's angle of inclinationpage 38, “Interior monitor* and Towing protection
monitoring*”,
Vehicle interior page 38, “Interior monitor* and Towing protection moni-
toring*”,
A drop in voltage of the on-board power supply.
An alarm is immediately triggered if either of the two battery terminals is disconnected
while the anti-theft alarm system is activated.
How is the alarm switched off?
You switch the alarm off if you unlock the vehi cle with the radio remote control or if you
switch the ignition on.Note
The working life of the alarm siren is 6 years. More detailed information is available
by a specialist garage.
Before leaving the vehicle, check that all the doors and windows are closed in order
to ensure that the anti-theft alarm system is fully operational.
Coding of the radio remote control and th e receiver unit precludes the use of the
radio remote control from other vehicles.
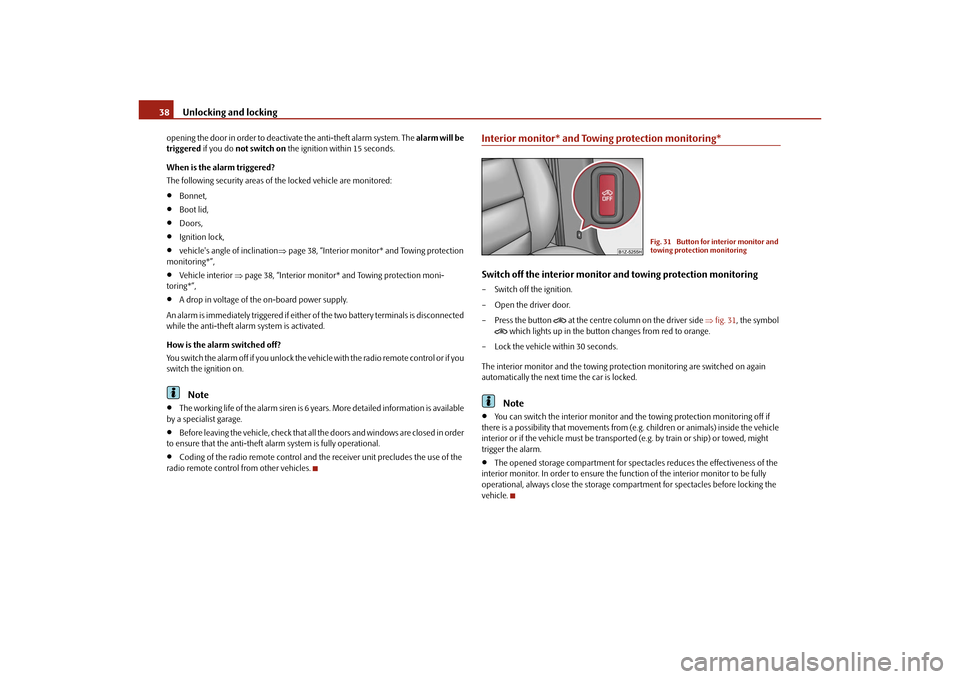
Interior monitor* and Towing protection monitoring*Switch off the interior monitor and towing protection monitoring– Switch off the ignition.
– Open the driver door.
–Press the button
at the centre column on the driver side fig. 31 , the symbol
which lights up in the button changes from red to orange.
– Lock the vehicle within 30 seconds.
The interior monitor and the towing protec tion monitoring are switched on again
automatically the next ti me the car is locked.Note
You can switch the interior monitor and th e towing protection monitoring off if
there is a possibility that movements from (e.g. children or animals) inside the vehicle
interior or if the vehicle must be transported (e.g. by train or ship) or towed, might
trigger the alarm.
The opened storage compartment for spectacles reduces the effectiveness of the
interior monitor. In order to ensure the func tion of the interior monitor to be fully
operational, always close the storage comp artment for spectacles before locking the
vehicle.
Fig. 31 Button for interior monitor and
towing protection monitoring
s2bs.2.book Page 38 Monday, September 27, 2010 9:53 AM
Page 56 of 199

Seats and Stowage55
Using the system
Safety
Driving Tips
General Maintenance
Breakdown assistance
Technical Data
Move seats into the initial positionMove seats into the initial position– Install the head restraint in the slightly lifted seat backrest.
– Place the rear lateral seat belt be hind the edge of the side trim panel fig. 51 .
– Then push the seat backrest back into th e upright position until the securing knob
clicks into place - check by pulling on the seat backrest.
– Make sure that the red pin is covered page 54, fig. 50 .
– Move the seat cushion into its original position.
WARNING
The belts and the belt locks must be in their original position after folding
back the seat cushions and the seat backrests - they must be ready to use.
The seat backrests must be securely interlocked in position so that no
objects in the luggage compartment can slide forwards if there is sudden
braking - risk of injury!
Pay attention that the seat backrests are correctly interlocked. It is only then
that the three-point seat belt for the middle seat can reliably fulfil its function.
Before folding the seat backrest back in to the secure position, place the rear
lateral seat belt behind the edge of the si de trim panel. Take suitable measures
to prevent that the seat belt is jammed between the seat backrest and the side
trim panel and is thus damaged.
Removing the seat cushionYou can enlarge the luggage compartment on vehicles with divided rear seats* by
removing the rear seat.Removing– Fold the seat cushion forwards completely.
– Press the wire clamps in the direction of the arrow fig. 52 and remove the seat
cushion from its holder.Installing– Press the wire clamps in the direction of the arrow and place it in its holder.
– Fold the seat cushion back into its original position.Rear seat armrest*
Fig. 51 Lock the seat backrest
AC
AB
Fig. 52 Removing seat cushionsFig. 53 Rear seats: Armrest
s2bs.2.book Page 55 Monday, September 27, 2010 9:53 AM
Page 57 of 199

Seats and Stowage
56
– You can fold down the armrest at the loop to enhance occupant comfort
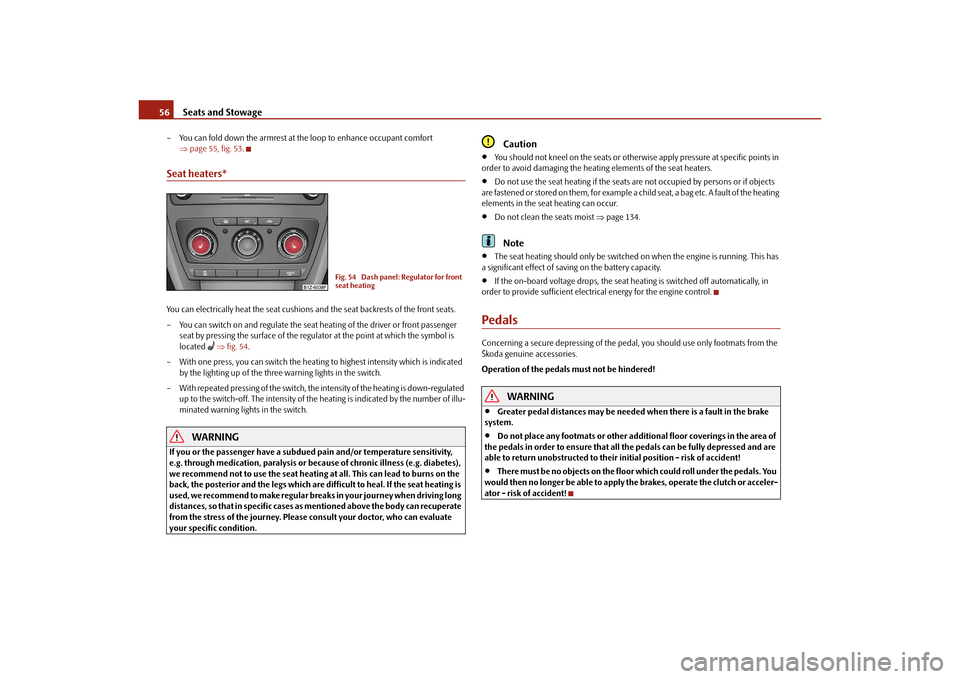
page 55, fig. 53 .Seat heaters*You can electrically heat the seat cushions and the seat backrests of the front seats.
– You can switch on and regulate the seat heating of the driver or front passenger
seat by pressing the surface of the regula tor at the point at which the symbol is
located
fig. 54 .
– With one press, you can switch the heating to highest intensity which is indicated by the lighting up of the three warning lights in the switch.
– With repeated pressing of the switch, the intensity of the heating is down-regulated up to the switch-off. The intensity of the heating is indicated by the number of illu-
minated warning lights in the switch.
WARNING
If you or the passenger have a subdued pain and/or temperature sensitivity,
e.g. through medication, paralysis or beca use of chronic illness (e.g. diabetes),
we recommend not to use the seat heating at all. This can lead to burns on the
back, the posterior and the legs which are di fficult to heal. If the seat heating is
used, we recommend to make regular brea ks in your journey when driving long
distances, so that in specific cases as mentioned above the body can recuperate
from the stress of the journey. Please consult your doctor, who can evaluate
your specific condition.
Caution
You should not kneel on the seats or otherwise apply pressure at specific points in
order to avoid damaging the heating elements of the seat heaters.
Do not use the seat heating if the seats ar e not occupied by persons or if objects
are fastened or stored on them, for example a child seat, a bag etc. A fault of the heating
elements in the seat heating can occur.
Do not clean the seats moist page 134.Note
The seat heating should only be switched on when the engine is running. This has
a significant effect of savi ng on the battery capacity.
If the on-board voltage drops, the seat heating is switched off automatically, in
order to provide sufficient electrical energy for the engine control.
PedalsConcerning a secure de pressing of the pedal, you should use only footmats from the
Škoda genuine accessories.
Operation of the pedals must not be hindered!
WARNING
Greater pedal distances may be needed when there is a fault in the brake
system.
Do not place any footmats or other additional floor coverings in the area of
the pedals in order to ensure that all the pedals can be fully depressed and are
able to return unobstructed to their initial position - risk of accident!
There must be no objects on the floor which could roll under the pedals. You
would then no longer be able to apply the brakes, operate the clutch or acceler-
ator - risk of accident!
Fig. 54 Dash panel: Regulator for front
seat heating
s2bs.2.book Page 56 Monday, September 27, 2010 9:53 AM