2010 SATURN OUTLOOK auxiliary battery
[x] Cancel search: auxiliary batteryPage 208 of 444

7-24 Infotainment System
The album name displays on the
second line between the arrows and
songs from the current album
begins to play. Once all songs from
that album have played, the player
moves to the next album in
alphabetical order on the CD and
begins playing MP3 files from that
album.
To exit music navigator mode, press
the softkey below the Back tab to
return to normal MP3 playback.
Connecting a USB Storage
Device or iPod®
The USB Port can be used to
control an iPod or a USB storage
device.
To connect a USB storage device,
connect the device to the USB port
located in the center console.
To connect an iPod, connect one
end of the USB cable that came
with the iPod to the iPod’s dockconnector and connect the other
end to the USB port located in the
center console. If the vehicle is on
and the USB connection works,
“OK
to disconnect” and a GM logo may
appear on the iPod and iPod
appears on the radio's display. The
iPod music appears on the radio’s
display and begins playing.
The iPod charges while it is
connected to the vehicle if the
vehicle is in the ACC/ACCESSORY
or ON/RUN position. When the
vehicle is turned off, the iPod
automatically powers off and will not
charge or draw power from the
vehicle's battery.
If you have an older iPod model that
is not supported, it can still be used
by connecting it to the Auxiliary
Input Jack using a standard 3.5 mm
(1/8 in) stereo cable. See “Using the
Auxiliary Input Jack” earlier for more
information.
Using the Radio to Control a
USB Storage Device or iPod
The radio can control a USB
storage device or an iPod using the
radio buttons and knobs and display
song information on the radio’s
display.
f(Tune): Turn to select files.
©SEEK:Press to go to the start
of the track, if more than ten
seconds have played. Press and
hold or press multiple times to
continue moving backward through
tracks.
¨SEEK: Press to go to the next
track. Press and hold or press
multiple times to continue moving
forward through tracks.
sREV (Reverse): Press and
hold to reverse playback quickly.
Sound is heard at a reduced
volume. Release
sREV to
resume playing. The elapsed time of
the file displays.
ProCarManuals.com
Page 214 of 444

7-30 Infotainment System
are played, the player moves to the
next artist in alphabetical order and
begins playing files by that artist.
To listen to files by another artist,
press the softkey located below
either arrow tab. The disc goes to
the next or previous artist in
alphabetical order. Continue
pressing either softkey below the
arrow tab until the artist displays.
To change from playback by artist to
playback by album:
1. Press the softkey located belowthe Sort By tab.
2. Press one of the softkeys below the album tab from the sort
screen.
3. Press the softkey below the back tab to return to the main
music navigator screen. The album name displays on the
second line between the arrows and
songs from the current album
begins to play. Once all songs from
that album have played, the player
moves to the next album in
alphabetical order on the CD and
begins playing MP3 files from that
album.
To exit music navigator mode, press
the softkey below the Back tab to
return to normal MP3 playback.
Connecting a USB Storage
Device or iPod®
The USB Port can be used to
control an iPod or a USB storage
device.
To connect a USB storage device,
connect the device to the USB port
located in the center console.
To connect an iPod, connect one
end of the USB cable that came
with the iPod to the iPod’s dock connector and connect the other
end to the USB port located in the
center console. If the vehicle is on
and the USB connection works,
“OK
to disconnect” and a GM logo may
appear on the iPod and iPod
appears on the radio's display. The
iPod music appears on the radio’s
display and begins playing.
The iPod charges while it is
connected to the vehicle if the
vehicle is in the ACC/ACCESSORY
or ON/RUN position. When the
vehicle is turned off, the iPod
automatically powers off and will not
charge or draw power from the
vehicle's battery.
If you have an older iPod model that
is not supported, it can still be used
by connecting it to the Auxiliary
Input Jack using a standard 3.5 mm
(1/8 in) stereo cable. See “Using the
Auxiliary Input Jack” earlier for more
information.
ProCarManuals.com
Page 219 of 444

Infotainment System 7-35
Rear Seat
Infotainment
Rear Seat Entertainment
(RSE) System
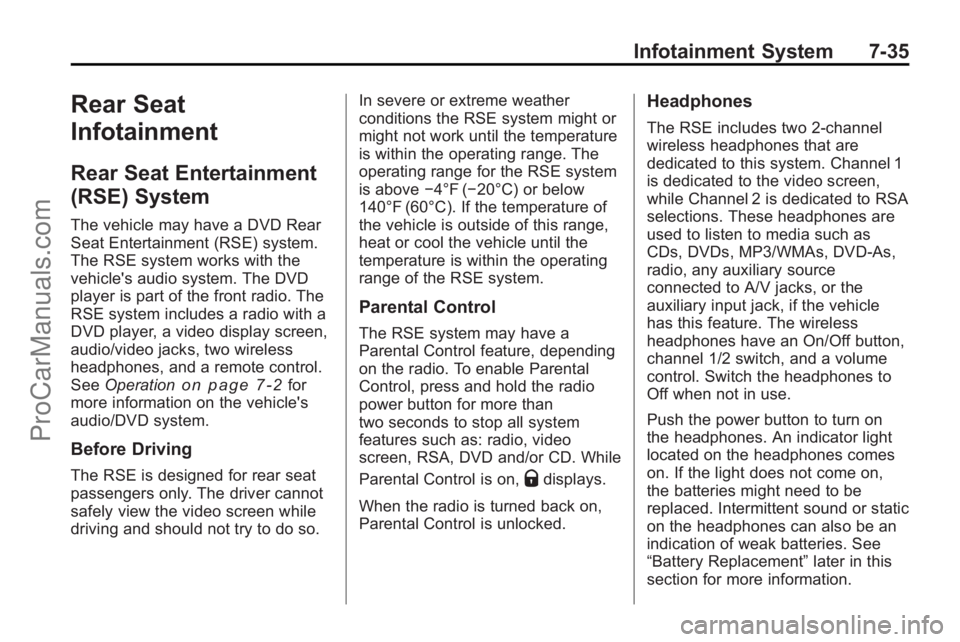
The vehicle may have a DVD Rear
Seat Entertainment (RSE) system.
The RSE system works with the
vehicle's audio system. The DVD
player is part of the front radio. The
RSE system includes a radio with a
DVD player, a video display screen,
audio/video jacks, two wireless
headphones, and a remote control.
SeeOperation
on page 7‑2for
more information on the vehicle's
audio/DVD system.
Before Driving
The RSE is designed for rear seat
passengers only. The driver cannot
safely view the video screen while
driving and should not try to do so. In severe or extreme weather
conditions the RSE system might or
might not work until the temperature
is within the operating range. The
operating range for the RSE system
is above
−4°F (−20°C) or below
140°F (60°C). If the temperature of
the vehicle is outside of this range,
heat or cool the vehicle until the
temperature is within the operating
range of the RSE system.
Parental Control
The RSE system may have a
Parental Control feature, depending
on the radio. To enable Parental
Control, press and hold the radio
power button for more than
two seconds to stop all system
features such as: radio, video
screen, RSA, DVD and/or CD. While
Parental Control is on,
Qdisplays.
When the radio is turned back on,
Parental Control is unlocked.
Headphones
The RSE includes two 2-channel
wireless headphones that are
dedicated to this system. Channel 1
is dedicated to the video screen,
while Channel 2 is dedicated to RSA
selections. These headphones are
used to listen to media such as
CDs, DVDs, MP3/WMAs, DVD-As,
radio, any auxiliary source
connected to A/V jacks, or the
auxiliary input jack, if the vehicle
has this feature. The wireless
headphones have an On/Off button,
channel 1/2 switch, and a volume
control. Switch the headphones to
Off when not in use.
Push the power button to turn on
the headphones. An indicator light
located on the headphones comes
on. If the light does not come on,
the batteries might need to be
replaced. Intermittent sound or static
on the headphones can also be an
indication of weak batteries. See
“Battery Replacement” later in this
section for more information.
ProCarManuals.com
Page 222 of 444

7-38 Infotainment System
The RSE system always transmits
the audio signal to the wireless
headphones, if there is audio
available. See“Headphones” earlier
in this section for more information.
The DVD player is capable of
outputting audio to the wired
headphone jacks on the RSA
system, if the vehicle has this
feature. The DVD player can be
selected as an audio source on the
RSA system. See Rear Seat Audio
(RSA) System
on page 7‑43for
more information.
When a device is connected to the
A/V jacks, or the radio's auxiliary
input jack, if the vehicle has this
feature, the rear seat passengers
are able to hear audio from the
auxiliary device through the wireless
or wired headphones. The front seat
passengers are able to listen to
playback from this device through
the vehicle speakers by selecting
AUX as the source on the radio.
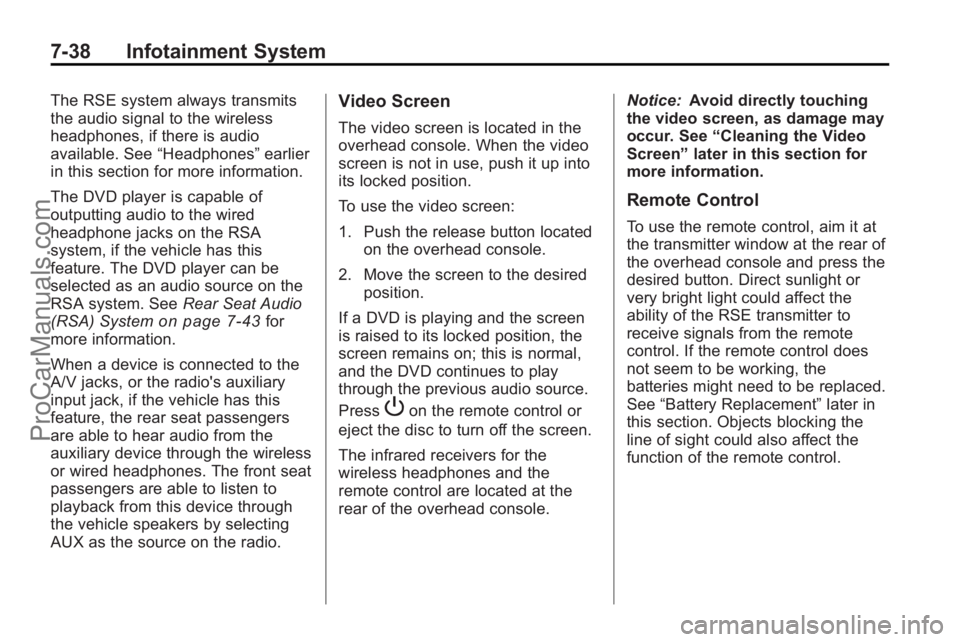
Video Screen
The video screen is located in the
overhead console. When the video
screen is not in use, push it up into
its locked position.
To use the video screen:
1. Push the release button located on the overhead console.
2. Move the screen to the desired position.
If a DVD is playing and the screen
is raised to its locked position, the
screen remains on; this is normal,
and the DVD continues to play
through the previous audio source.
Press
Pon the remote control or
eject the disc to turn off the screen.
The infrared receivers for the
wireless headphones and the
remote control are located at the
rear of the overhead console. Notice:
Avoid directly touching
the video screen, as damage may
occur. See “Cleaning the Video
Screen” later in this section for
more information.
Remote Control
To use the remote control, aim it at
the transmitter window at the rear of
the overhead console and press the
desired button. Direct sunlight or
very bright light could affect the
ability of the RSE transmitter to
receive signals from the remote
control. If the remote control does
not seem to be working, the
batteries might need to be replaced.
See “Battery Replacement” later in
this section. Objects blocking the
line of sight could also affect the
function of the remote control.
ProCarManuals.com
Page 225 of 444

Infotainment System 7-41
Battery Replacement
To change the remote control
batteries:
1. Slide the rear cover back, on theremote control.
2. Replace the two batteries in the compartment. Make sure that
they are installed correctly, using
the diagram on the inside of the
battery compartment.
3. Replace the battery cover.
If the remote control is to be stored
for a long period of time, remove the
batteries and keep them in a cool,
dry place.Tips and Troubleshooting Chart
Problem Recommended Action
No power. The ignition might not be turned ON/
RUN or in ACC/ACCESSORY.
The picture does not fill the screen.
There are black borders on the top
and bottom or on both sides or it
looks stretched out. Check the display mode settings in
the setup menu by pressing the
display menu button on the remote
control.
In auxiliary mode, the picture moves
or scrolls. Check the auxiliary input
connections at both devices.
The remote control does not work. Check to make sure there is no obstruction between the remote
control and the transmitter window.
Check the batteries to make sure
they are not dead or installed
incorrectly.
ProCarManuals.com
Page 338 of 444

10-32 Vehicle Care
FusesUsage
A/C CLUTCH Air Conditioning
Clutch
ABS MTR Antilock Braking
System (ABS)
Motor
AFS Adaptive Forward
Lighting System
AIRBAG Airbag System
AUX POWER Auxiliary Power
AUX
VAC PUMP Auxiliary
Vacuum Pump
AWD All-Wheel-Drive
System
BATT 1 Battery 1
BATT 2 Battery 2
BATT 3 Battery 3
ECM Engine Control
Module
ECM 1 Engine Control
Module 1
EMISSION 1 Emission 1
ProCarManuals.com
Page 433 of 444

INDEX i-1
A
Accessories andModifications . . . . . . . . . . . . . . . . . 10-3
Accessory Power . . . . . . . . . . . . . . 9-17
Add-On Electrical Equipment . . . . . . . . . . . . . . . . . . . 9-54
Adding Equipment to the
Airbag-Equipped Vehicle . . . . . 3-42
Adjustments Lumbar, Front Seats . . . . . . . . . . . 3-5
Air Cleaner/Filter, Engine . . . . . 10-12
Air Vents . . . . . . . . . . . . . . . . . . . . . . 8-12
Airbag System
Check . . . . . . . . . . . . . . . . . . . . . . . . 3-43
How Does an AirbagRestrain? . . . . . . . . . . . . . . . . . . . 3-35
Passenger Sensing System . . . . . . . . . . . . . . . . . . . . . . 3-37
What Makes an Airbag Inflate? . . . . . . . . . . . . . . . . . . . . . . 3-34
What Will You See After an Airbag Inflates? . . . . . . . . . . 3-35
When Should an Airbag Inflate? . . . . . . . . . . . . . . . . . . . . . . 3-33
Where Are the Airbags? . . . . . . 3-31 Airbags
Adding Equipment to the
Vehicle . . . . . . . . . . . . . . . . . . . . . . 3-42
Passenger Status Indicator . . . 5-16
Readiness Light . . . . . . . . . . . . . . 5-15
Servicing Airbag-Equipped Vehicles . . . . . . . . . . . . . . . . . . . . . 3-41
System Check . . . . . . . . . . . . . . . . 3-29
Alarm System Anti-Theft . . . . . . . . . . . . . . . . . . . . . 2-13
All-Wheel Drive . . . . . . . . . 10-25, 9-25
AM-FM Radio . . . . . . . . . . . . . . . . . . . 7-6
Antenna
Multi-Band . . . . . . . . . . . . . . . . . . . . 7-11
Anti-Theft Alarm System . . . . . . . . . . . . . . . . 2-13
Alarm System Messages . . . . . 5-38
Antilock Brake System (ABS) . . . . . . . . . . . . . . . . 9-26
Warning Light . . . . . . . . . . . . . . . . . 5-21
Appearance Care
Exterior . . . . . . . . . . . . . . . . . . . . . 10-86
Interior . . . . . . . . . . . . . . . . . . . . . . 10-90
Armrest Stoarge . . . . . . . . . . . . . . . . 4-1
Assistance Program, Roadside . . . . . . . . . . . . . . . . . . . . . 13-5 Audio Players . . . . . . . . . . . . . . . . . 7-12
CD . . . . . . . . . . . . . . . . . . . . . . . . . . . 7-12
MP3 . . . . . . . . . . . . . . . . . . . . 7-21, 7-27
Audio System Radio Reception . . . . . . . . . . . . . . 7-11
Rear Seat (RSA) . . . . . . . . . . . . . 7-43
Theft-Deterrent Feature . . . . . . . . 7-2
Automatic Door Locks . . . . . . . . . . . . . . . . . . . . 2-8
Automatic Transmission . . . . . . . 9-22 Fluid . . . . . . . . . . . . . . . . . . . . . . . . 10-12
Manual Mode . . . . . . . . . . . . . . . . . 9-24
Shiftlock Control System
Check . . . . . . . . . . . . . . . . . . . . . 10-25
Auxiliary Devices . . . . . . . . . . . . . . 7-33
B
Battery . . . . . . . . . . . . . . . . . . . . . . . 10-24 Jump Starting . . . . . . . . . . . . . . . 10-78
Load Management . . . . . . . . . . . . . 6-7
Power Protection . . . . . . . . . . . . . . 6-8
Voltage and ChargingMessages . . . . . . . . . . . . . . . . . . . 5-33
Blade Replacement, Wiper . . . 10-26
Bluetooth . . . . . . . . . . . . . . . . . . . . . . 7-45
ProCarManuals.com