2010 NISSAN PATHFINDER change language
[x] Cancel search: change languagePage 180 of 463

NOTE:
If you change the horn beep or the lamp
flash feature with the keyfob, the mode will
not be changed with the display. Use the
keyfob to return to the previous mode and
re-enable the display control.
Remote Key Response Lights:Select to turn
on or turn off the hazard indicator flash mode
used when the LOCK or UNLOCK button on the
keyfob is pressed.
NOTE:
If you change the horn beep or the lamp
flash feature with the keyfob, the mode will
not be changed with the display. Use the
keyfob to return to the previous mode and
re-enable the display control.
Auto Re-Lock Time:Select to set the length of
time before doors automatically re-lock.
Selective Door Unlock:When this item is
turned on, only the driver’s door is unlocked first
after the door unlock operation. When the door
handle request switch on the driver’s or front
passenger’s side door is pushed to be unlocked,
only the corresponding door is unlocked first. All
the doors can be unlocked if the door unlock
operation is performed again within 1 minute.When this item is turned to off, all the doors will
be unlocked after the door unlock operation is
performed once.
Return All Settings to Default:Select to
change all the comfort and convenience systems
to their default settings.
Language / Units
Use the NISSAN controller to select the “Lan-
guage / Units” key. Select which setting you want
to change using the NISSAN controller.
LHA0934
4-16Monitor, climate, audio, phone and voice recognition systems
Page 181 of 463

Select Language:
Select the “English” key, the “Français” key or the
“Español” key to change the language shown on
the display.Select Units:
Select the “US” (mi, °F, MPG) key or the “Metric”
(km, °C, L/100 km) key to change the units
shown on the display.
Audio settings
For audio settings, refer to “Audio System” in this
section.
OFF BUTTON
To change the display brightness, press
the
OFF button. Pressing the button again
will change the display to the day
or the
night
display. The brightness can then be
adjusted using the NISSAN controller.
The display brightness can also be adjusted us-
ing the + (brighter) button or the2(dimmer)
button.
If no operation is done within 10 seconds, the
display will return to the previous display.
Press and hold the
OFF button for more
than 2 seconds to turn the display off. Press the
button again to turn the display on.LHA0935LHA0936
Monitor, climate, audio, phone and voice recognition systems4-17
Page 195 of 463

Select to turn off all sounds made when a door
handle request switch is pushed, by selecting the
“OFF” key.
Intelligent Key Unlock Reply:Select to
change the sound of the Intelligent Key mode
used when a door handle request switch is
pushed to unlock.
Select to turn off all sounds made when a door
handle request switch is pushed, by selecting the
“OFF” key.
Slide Driver Seat Back on Exit:Select to turn
on or turn off the driver’s seat moving backward
for easy exit when the ignition switch is in the OFF
position and the driver’s door is opened. After
getting into the vehicle and placing the ignition
switch in the ACC position, the driver’s seat
moves to the previous position.
Return All Settings to Default:Select to
change all the comfort and convenience systems
to their default settings.
Others settings
Select the “Others” key using the NISSAN con-
troller. Voice recognition, language and units set-
ting screen will be displayed.
Voice Recognition:
For Voice Recognition settings, refer to “NISSAN
Voice Recognition system” later in this section.Language / Units:
Use the NISSAN controller to select the “Lan-
guage / Units” key and press the ENTER button.
Select which setting you want to change using
the NISSAN controller and selecting either the
“Select Language” key or the “Select Units” key
by pressing the ENTER button.
LHA0909LHA0911
Monitor, climate, audio, phone and voice recognition systems4-31
Page 196 of 463

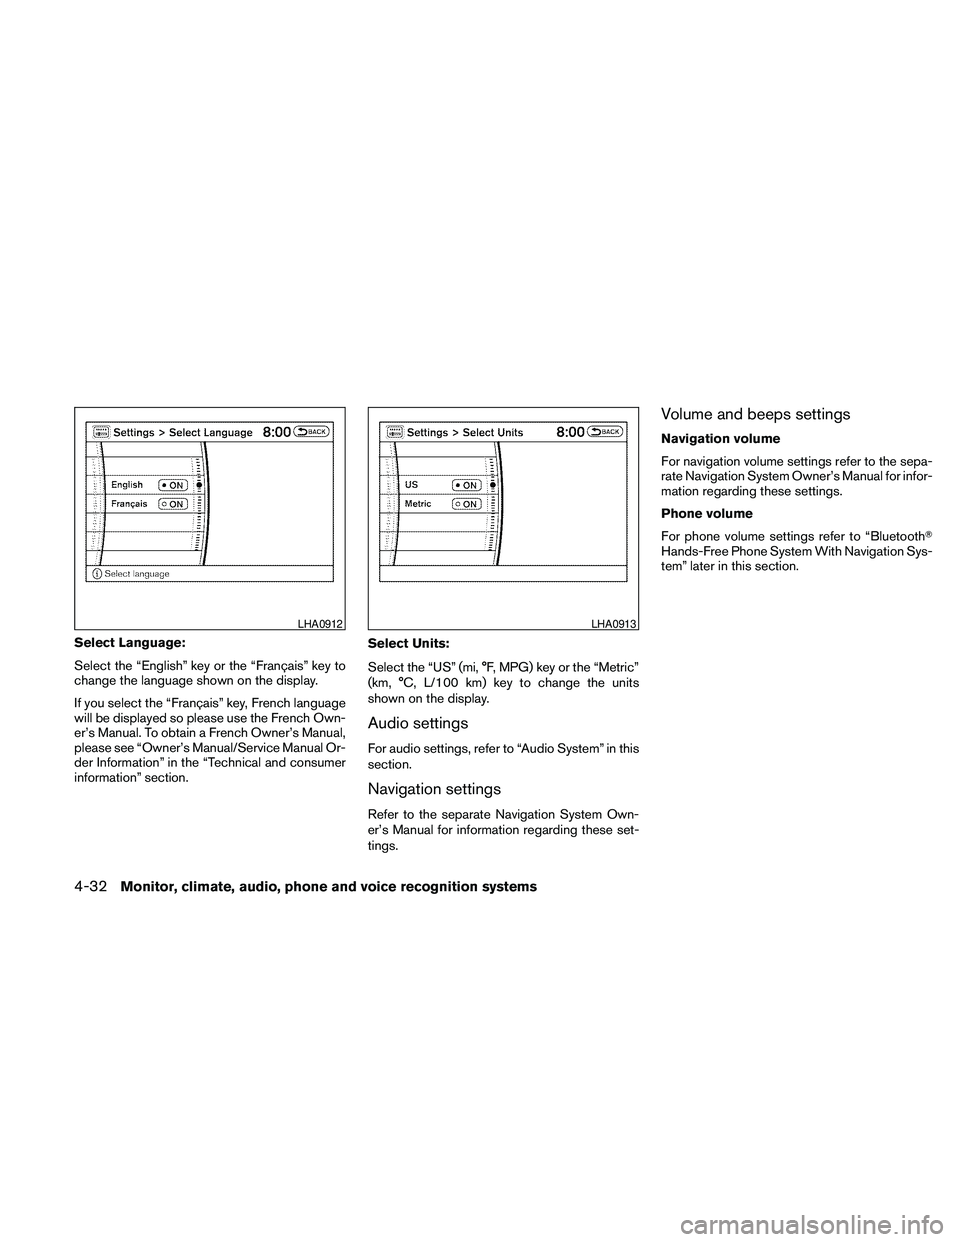
Select Language:
Select the “English” key or the “Français” key to
change the language shown on the display.
If you select the “Français” key, French language
will be displayed so please use the French Own-
er’s Manual. To obtain a French Owner’s Manual,
please see “Owner’s Manual/Service Manual Or-
der Information” in the “Technical and consumer
information” section.Select Units:
Select the “US” (mi, °F, MPG) key or the “Metric”
(km, °C, L/100 km) key to change the units
shown on the display.
Audio settings
For audio settings, refer to “Audio System” in this
section.
Navigation settings
Refer to the separate Navigation System Own-
er’s Manual for information regarding these set-
tings.
Volume and beeps settings
Navigation volume
For navigation volume settings refer to the sepa-
rate Navigation System Owner’s Manual for infor-
mation regarding these settings.
Phone volume
For phone volume settings refer to “BluetoothT
Hands-Free Phone System With Navigation Sys-
tem” later in this section.
LHA0912LHA0913
4-32Monitor, climate, audio, phone and voice recognition systems
Page 260 of 463

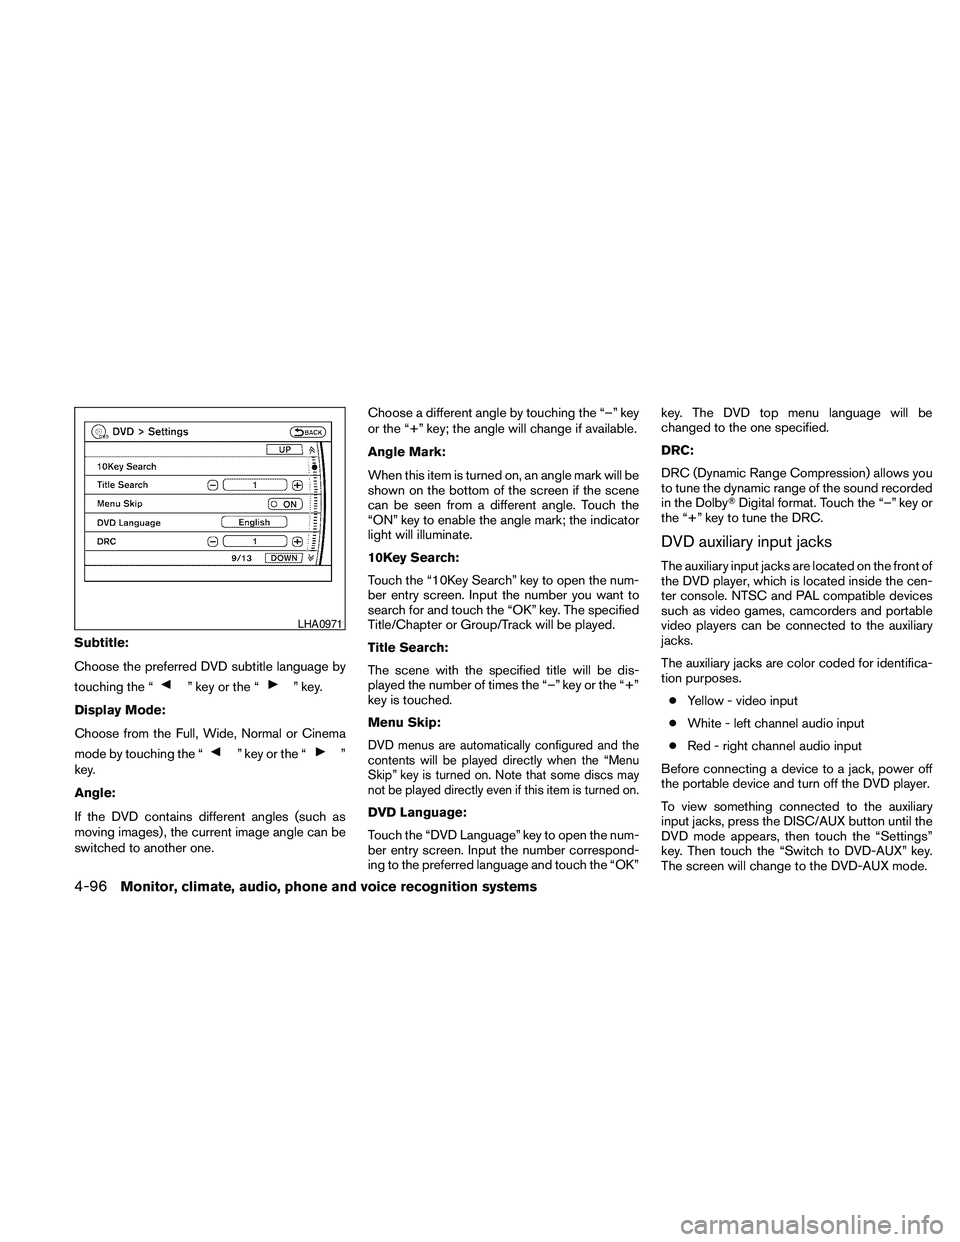
Subtitle:
Choose the preferred DVD subtitle language by
touching the “
” key or the “” key.
Display Mode:
Choose from the Full, Wide, Normal or Cinema
mode by touching the “
” key or the “”
key.
Angle:
If the DVD contains different angles (such as
moving images) , the current image angle can be
switched to another one.Choose a different angle by touching the “–” key
or the “+” key; the angle will change if available.
Angle Mark:
When this item is turned on, an angle mark will be
shown on the bottom of the screen if the scene
can be seen from a different angle. Touch the
“ON” key to enable the angle mark; the indicator
light will illuminate.
10Key Search:
Touch the “10Key Search” key to open the num-
ber entry screen. Input the number you want to
search for and touch the “OK” key. The specified
Title/Chapter or Group/Track will be played.
Title Search:
The scene with the specified title will be dis-
played the number of times the “–” key or the “+”
key is touched.
Menu Skip:DVD menus are automatically configured and the
contents will be played directly when the “Menu
Skip” key is turned on. Note that some discs may
not be played directly even if this item is turned on.
DVD Language:
Touch the “DVD Language” key to open the num-
ber entry screen. Input the number correspond-
ing to the preferred language and touch the “OK”key. The DVD top menu language will be
changed to the one specified.
DRC:
DRC (Dynamic Range Compression) allows you
to tune the dynamic range of the sound recorded
in the DolbyTDigital format. Touch the “–” key or
the “+” key to tune the DRC.
DVD auxiliary input jacks
The auxiliary input jacks are located on the front of
the DVD player, which is located inside the cen-
ter console. NTSC and PAL compatible devices
such as video games, camcorders and portable
video players can be connected to the auxiliary
jacks.
The auxiliary jacks are color coded for identifica-
tion purposes.
cYellow - video input
cWhite - left channel audio input
cRed - right channel audio input
Before connecting a device to a jack, power off
the portable device and turn off the DVD player.
To view something connected to the auxiliary
input jacks, press the DISC/AUX button until the
DVD mode appears, then touch the “Settings”
key. Then touch the “Switch to DVD-AUX” key.
The screen will change to the DVD-AUX mode.
LHA0971
4-96Monitor, climate, audio, phone and voice recognition systems
Page 272 of 463

PHONE/END
Press the
button to cancel a VR
session or end a call.
GETTING STARTED
The following procedures will help you get
started using the BluetoothTHands-Free Phone
System with NISSAN Voice Recognition. For ad-
ditional command options, refer to “List of voice
commands” in this section.
Choosing a language
You can interact with the BluetoothTHands-Free
Phone System using English, Spanish or French.
To change the language, perform the following.
1. Press and hold the
button for more
than 5 seconds.
2. The system announces: “Press the
PHONE/SEND (
) button for the
hands-free phone system to enter the
speaker adaptation mode or press the
PHONE/END (
) button to select a dif-
ferent language.”
3. Press the
button.For information on speaker adaptation, see
“Speaker adaptation (SA) mode” later in this
section.
4. The system announces the current language
and gives you the option to change the lan-
guage to Spanish (in Spanish) or French (in
French) . Use the following chart to select
the language.
NOTE:
You must press the
button or
the
button within 5 seconds to
change the language.
Current
languagePress(PHONE/SEND)
to selectPress(PHONE/END)
to select
English Spanish French
Spanish English French
French English Spanish
5. If you decide not to change the language, do
not press either button. After 5 seconds, the
VR session will end, and the language will
not be changed.
Pairing procedure
NOTE:
The pairing procedure must be performed
when the vehicle is stationary. If the vehicle
starts moving during the procedure, the
procedure will be cancelled.
Main Menu
“Setup”
sA
“Pair phone”sB
“New phone”sC
Initiate from handsetsD
Name phonesE
Assign prioritysF
Choose ringtonesG
1. Press thebutton on the steering
wheel. The system announces the available
commands.
2. Say: “Setup”
sA. The system acknowledges
the command and announces the next set of
available commands.
3. Say: “Pair phone”
sB. The system acknowl-
edges the command and announces the
next set of available commands.
4-108Monitor, climate, audio, phone and voice recognition systems
Page 280 of 463

4. The system announces: “Press the
PHONE/SEND (
) button for the
hands-free phone system to enter the
speaker adaptation mode or press the
PHONE/END (
) button to select a dif-
ferent language.”
5. Press the
button.
For information on selecting a different lan-
guage, see “Choosing a language” earlier in
this section.
6. Voice memory A or memory B is selected
automatically. If both memory locations are
already in use, the system will prompt you to
overwrite one. Follow the instructions pro-
vided by the system.
7. When preparation is complete and you are
ready to begin, press the
button.
8. The SA mode will be explained. Follow the
instructions provided by the system.
9. When training is finished, the system will tell
you an adequate number of phrases have
been recorded.
10.
The system will ask you to say your name.
Follow the instructions to register your name.
11. The system will announce that speaker ad-
aptation has been completed and the sys-
tem is ready.The SA mode will stop if:
cThe
button is pressed for more than 5
seconds in SA mode.
cThe vehicle begins moving during SA mode.
cThe ignition switch is placed in the OFF or
LOCK position.
Training phrases
During the SA mode, the system instructs the
trainer to say the following phrases. (The system
will prompt you for each phrase.)
cphone book new entry
cdial three oh four two nine
cdelete call back number
csetup pair phone
cmemo pad play
ceight pause nine three two pause seven
cdelete all entries
ccall seven two four zero nine
cphone book delete entry
cmemo pad record
cdial star two one seven oh
cYe s
cNo
cselect ring tone
cdial eight five six nine twocBluetooth on
csetup change priority
ccall three one nine oh two
cnine seven pause pause three oh eight
cCancel
ccall back number
ccall star two zero nine five
cdelete phone
cdial eight three zero five one
cHome
cfour three pause two nine pause zero
cdelete redial number
cphone book list names
ccall eight oh five four one
cCorrection
csetup change ring tone
cdial seven four oh one eight
csetup main menu
cDelete
cdial nine seven two six six
cmemo pad delete
ccall seven six three oh one
cgo back
ccall five six two eight zero
cdial six six four three seven
4-116Monitor, climate, audio, phone and voice recognition systems