2010 NISSAN FRONTIER ignition
[x] Cancel search: ignitionPage 137 of 373

Always evenly distribute the cargo on the tubular
roof rack.The maximum total load is 125 lb
(56 kg) evenly distributed.Be careful that your
vehicle does not exceed the Gross Vehicle
Weight Rating (GVWR) or the Gross Axle
Weight Ratings (GAWR front and rear) . The
GVWR and GAWR are located on the F.M.V.S.S.
label (located on the driver’s side door jamb
pillar) . For more information regarding GVWR
and GAWR, refer to “Vehicle loading information”
in the “Technical and consumer information” sec-
tion later in this manual.
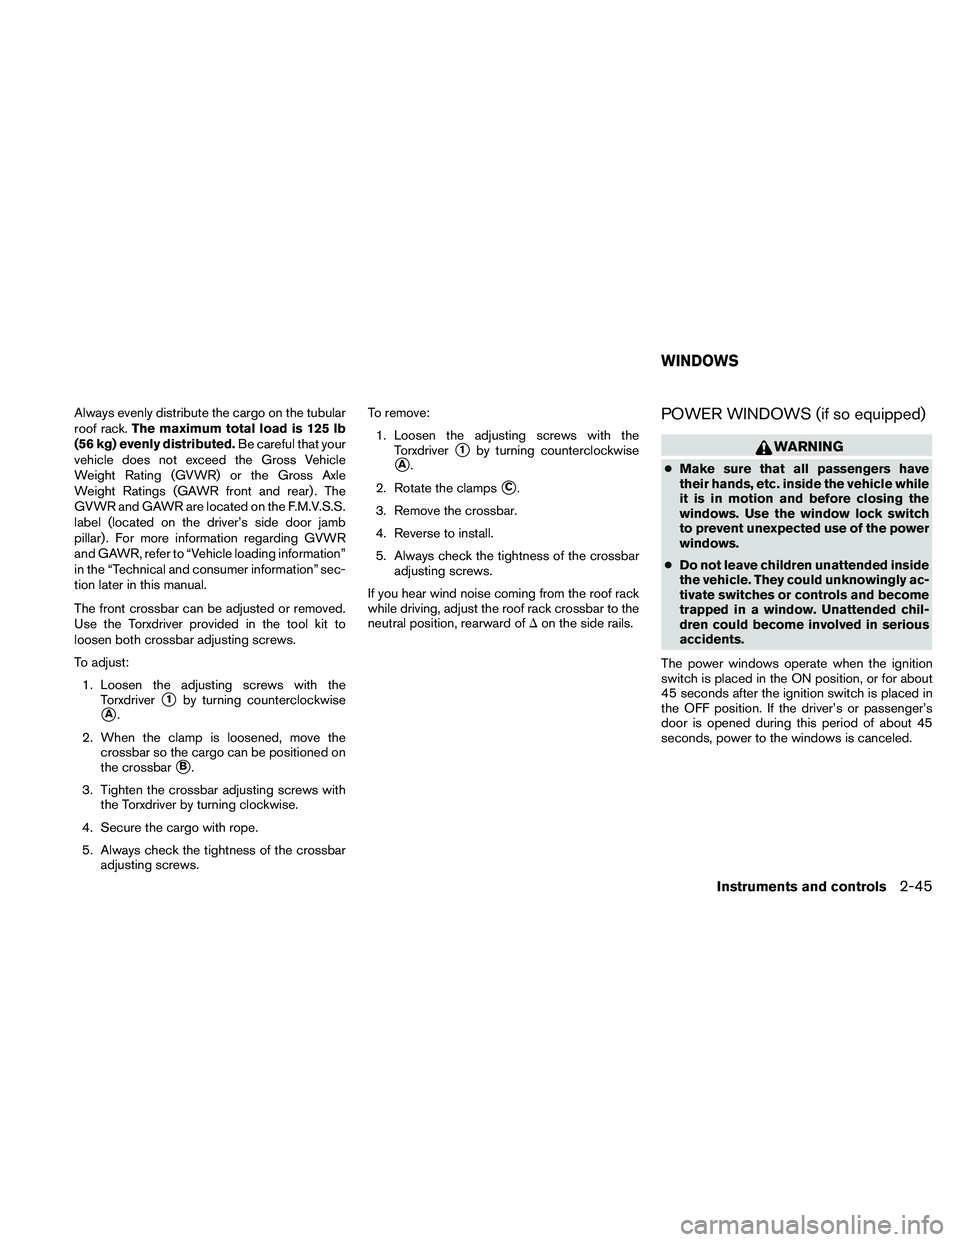
The front crossbar can be adjusted or removed.
Use the Torxdriver provided in the tool kit to
loosen both crossbar adjusting screws.
To adjust:
1. Loosen the adjusting screws with the
Torxdriver
s1by turning counterclockwise
sA.
2. When the clamp is loosened, move the
crossbar so the cargo can be positioned on
the crossbar
sB.
3. Tighten the crossbar adjusting screws with
the Torxdriver by turning clockwise.
4. Secure the cargo with rope.
5. Always check the tightness of the crossbar
adjusting screws.To remove:
1. Loosen the adjusting screws with the
Torxdriver
s1by turning counterclockwise
sA.
2. Rotate the clamps
sC.
3. Remove the crossbar.
4. Reverse to install.
5. Always check the tightness of the crossbar
adjusting screws.
If you hear wind noise coming from the roof rack
while driving, adjust the roof rack crossbar to the
neutral position, rearward ofDon the side rails.
POWER WINDOWS (if so equipped)
WARNING
cMake sure that all passengers have
their hands, etc. inside the vehicle while
it is in motion and before closing the
windows. Use the window lock switch
to prevent unexpected use of the power
windows.
cDo not leave children unattended inside
the vehicle. They could unknowingly ac-
tivate switches or controls and become
trapped in a window. Unattended chil-
dren could become involved in serious
accidents.
The power windows operate when the ignition
switch is placed in the ON position, or for about
45 seconds after the ignition switch is placed in
the OFF position. If the driver’s or passenger’s
door is opened during this period of about 45
seconds, power to the windows is canceled.
WINDOWS
Instruments and controls2-45
Page 141 of 373

Auto-reverse function (when closing or
tilting down the moonroof)
The auto-reverse function can be activated when
the moonroof is closed or tilted down by auto-
matic operation when the ignition switch is
placed in the ON position or for about 45 sec-
onds after the ignition switch is placed in the OFF
position.
Depending on the environment or driving
conditions, the auto-reverse function may
be activated if an impact or load similar to
something being caught in the moonroof
occurs.
WARNING
There are some small distances immedi-
ately before the closed position which
cannot be detected. Make sure that all
passengers have their hands, etc., inside
the vehicle before closing the moonroof.
When closing:
If the control unit detects something caught in the
moonroof as it moves to the front, the moonroof
will immediately open backward.When tilting down:
If the control unit detects something caught in the
moonroof as it tilts down, the moonroof will im-
mediately tilt up.
If the auto-reverse function malfunctions and re-
peats opening or tilting up the moonroof, keep
pushing the tilt down switch within 5 seconds
after it happens; the moonroof will fully close
gradually. Make sure nothing is caught in the
moonroof.
WARNING
cIn an accident you could be thrown from
the vehicle through an open moonroof.
Always use seat belts and child
restraints.
cDo not allow anyone to stand up or
extend any portion of their body out of
the moonroof opening while the vehicle
is in motion or while the moonroof is
closing.
CAUTION
cRemove water drops, snow, ice or sand
from the moonroof before opening.
cDo not place heavy objects on the
moonroof or surrounding area.
Sunshade
Open and close the sunshade by sliding it for-
ward or backward.
If the moonroof does not close
Have your NISSAN dealer check and repair the
moonroof.
Instruments and controls2-49
Page 142 of 373

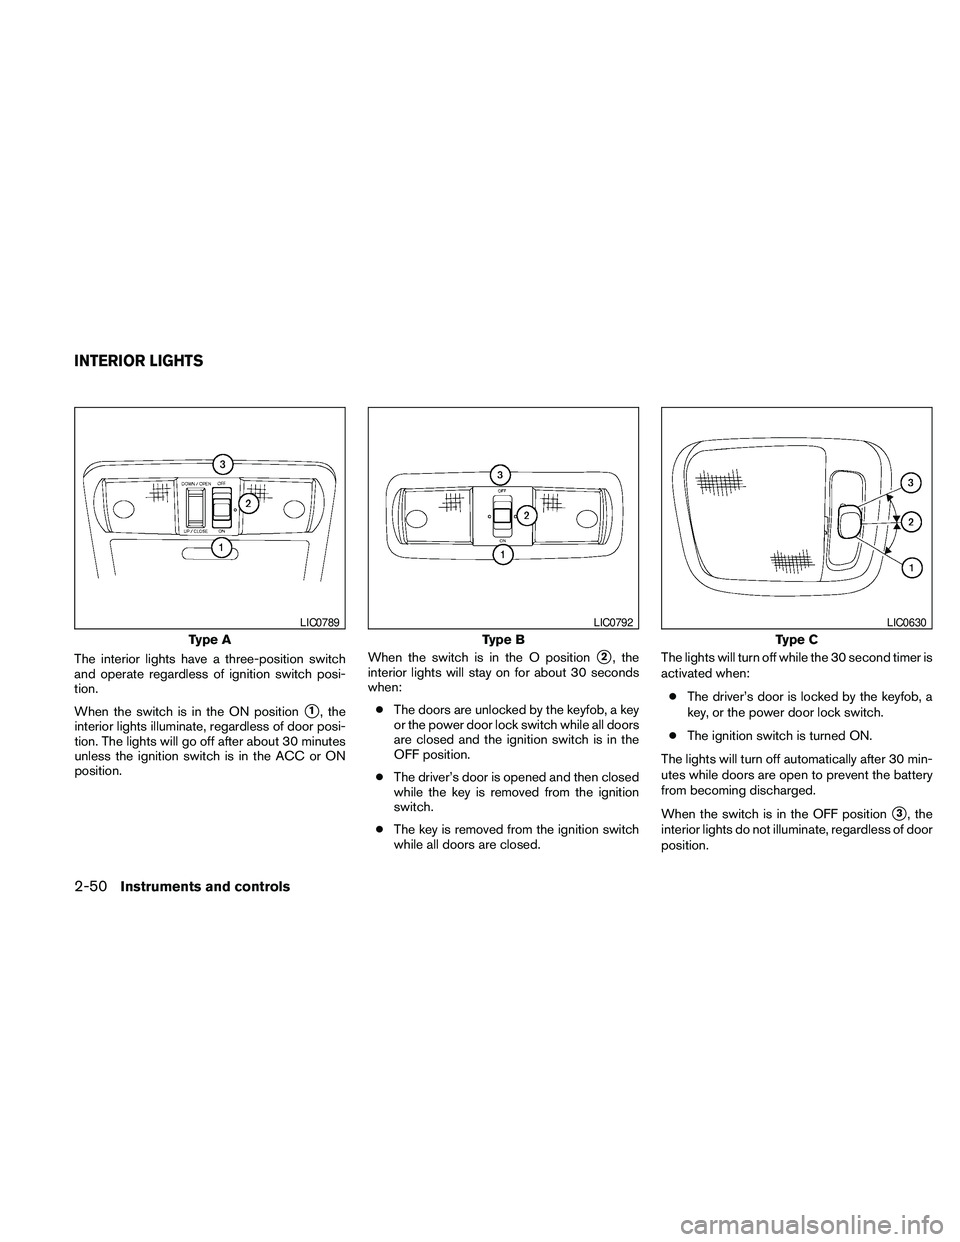
The interior lights have a three-position switch
and operate regardless of ignition switch posi-
tion.
When the switch is in the ON position
s1, the
interior lights illuminate, regardless of door posi-
tion. The lights will go off after about 30 minutes
unless the ignition switch is in the ACC or ON
position.When the switch is in the O position
s2, the
interior lights will stay on for about 30 seconds
when:
cThe doors are unlocked by the keyfob, a key
or the power door lock switch while all doors
are closed and the ignition switch is in the
OFF position.
cThe driver’s door is opened and then closed
while the key is removed from the ignition
switch.
cThe key is removed from the ignition switch
while all doors are closed.The lights will turn off while the 30 second timer is
activated when:
cThe driver’s door is locked by the keyfob, a
key, or the power door lock switch.
cThe ignition switch is turned ON.
The lights will turn off automatically after 30 min-
utes while doors are open to prevent the battery
from becoming discharged.
When the switch is in the OFF position
s3, the
interior lights do not illuminate, regardless of door
position.
Type A
LIC0789
Type B
LIC0792
Type C
LIC0630
INTERIOR LIGHTS
2-50Instruments and controls
Page 150 of 373

LOCKING WITH INSIDE LOCK
KNOB
To lock the door without the key, move the inside
lock knob to the lock position
s1, then close the
door.
To unlock the door without the key, move the
inside lock knob to the unlock position
s2.
LOCKING WITH POWER DOOR
LOCK SWITCH (if so equipped)
To lock all the doors without a key, push the door
lock switch (driver’s or front passenger’s side) to
the lock position
s1. When locking the door this
way, be certain not to leave the key inside the
vehicle.
To unlock all the doors without a key, push the
door lock switch (driver’s or front passenger’s
side) to the unlock position
s2.
Lockout protection
When the power door lock switch (driver’s or
front passenger’s side) is moved to the lock
position with the key in the ignition switch and any
door open, all doors will lock and then unlock
automatically. This helps to prevent the keys from
being accidently locked inside the vehicle.
Inside lock
LPD0298
Door lock switch
WPD0381
3-4Pre-driving checks and adjustments
Page 151 of 373

REAR DOORS (King Cab models)
1. Open the driver’s or passenger’s door.2. From the outside, pull the door handle
sA
toward you.3. Open the door to the desired position.AUTOMATIC DOOR LOCKS (if so
equipped)
cAll doors lock automatically when the vehicle
speed reaches 15 MPH (24 km/h) .
cFor automatic transmission models: All
doors unlock automatically when the trans-
mission is placed in the P (Park) position.
cFor manual transmission models: All doors
unlock automatically when the key is re-
moved from the ignition switch.
LPD0278LPD0312WPD0313
Pre-driving checks and adjustments3-5
Page 152 of 373

The automatic lock and unlock functions
can be deactivated or activated indepen-
dently of each other.To deactivate or activate
the automatic door lock or unlock system, per-
form the following procedure:
1. Close all doors.
2. Place the ignition switch in the ON position.
3. Do one of the following within 20 seconds of
performing Step #2:
cTo change AUTO UNLOCK settings:
push and hold the power door lock switch
to the
position (UNLOCK) for more
than 5 seconds.
cTo change AUTO LOCK settings: push
and hold the power door lock switch to
the
position (LOCK) for more
than 5 seconds.
4. When activated, the hazard warning lights
will flash twice. When deactivated, the haz-
ard warning lights will flash once.
5. The ignition switch must be placed in the
OFF and ON position again between each
setting change.
CHILD SAFETY REAR DOOR LOCK
(Crew Cab models only)
Child safety locks help prevent the rear doors
from being opened accidentally, especially when
small children are in the vehicle.
The child safety lock levers are located on the
edge of the rear doors.
When the lever is in the lock position, the
door can be opened only from the outside.
WARNING
cRadio waves could adversely affect
electric medical equipment. Those who
use a pacemaker should contact the
electric medical equipment manufac-
turer for the possible influences before
use.
cThe remote keyless entry keyfob trans-
mits radio waves when the buttons are
pushed. The FAA advises radio waves
may affect aircraft navigation and com-
munication systems. Do not operate the
remote keyless entry keyfob while on
an airplane. Make sure the buttons are
not operated unintentionally when the
unit is stored for a flight
It is possible to lock/unlock all doors, turn the
interior lights on, and activate the panic alarm by
using the keyfob from outside the vehicle.
Be sure to remove the key from the vehicle
before locking the doors.
The keyfob can operate at a distance of approxi-
mately 33 ft (10 m) from the vehicle. The effective
distance depends on the conditions around the
vehicle.
WPD0314
REMOTE KEYLESS ENTRY SYSTEM
(if so equipped)
3-6Pre-driving checks and adjustments
Page 153 of 373

As many as 5 keyfobs can be used with one
vehicle. For information concerning the purchase
and use of additional keyfobs, contact a NISSAN
dealer.
The keyfob will not function when:
cthe battery is discharged
cthe distance between the vehicle and the
keyfob is over 33 ft (10 m)
The panic alarm will not activate when the
key is in the ignition switch.
CAUTION
Listed below are conditions or occur-
rences which will damage the keyfob:
cDo not allow the keyfob, which contains
electrical components, to come into
contact with water or salt water. This
could affect the system function.
cDo not drop the keyfob.
cDo not strike the keyfob sharply against
another object.
cDo not change or modify the keyfob.
cWetting may damage the keyfob. If the
keyfob gets wet, immediately wipe until
it is completely dry.cDo not place the keyfob for an extended
period in an area where temperatures
exceed 140°F (60°C) .
cDo not attach the keyfob with a key
holder that contains a magnet.
cDo not place the keyfob near equip-
ment that produces a magnetic field,
such as a TV, audio equipment and per-
sonal computers.
If a keyfob is lost or stolen, NISSAN rec-
ommends erasing the ID code of that key-
fob. This will prevent the keyfob from un-
authorized use to unlock the vehicle. For
information regarding the erasing proce-
dure, please contact a NISSAN dealer.HOW TO USE REMOTE KEYLESS
ENTRY SYSTEM
Locking doors
1. Close all windows.
2. Remove the key from the ignition switch.
3. Close the hood and all doors.
4. Press the
button on the keyfob. All
the doors lock. The hazard warning lights
flash twice and the horn beeps once to
indicate all doors are locked.
LPD0209
Pre-driving checks and adjustments3-7
Page 154 of 373

cWhen thebutton is pressed with
all doors locked, the hazard warning lights
flash twice and the horn beeps once as a
reminder that the doors are already
locked.
cIf a door is open and you press
the
button, the doors will lock
but the horn will not beep and the hazard
lights will not flash.
The horn may or may not beep. Refer to “Silenc-
ing the horn beep feature” in this section for
details.
Unlocking doors
Press thebutton on the keyfob once.
cOnly the driver’s door unlocks.
cThe hazard warning lights flash once if all
doors are completely closed with the ignition
switch in any position except the ON posi-
tion.
cThe interior lights illuminate for 30 seconds
when the interior light switch is in the normal
operation position.Press the
button on the keyfob again
within 5 seconds.
cAll doors unlock.
cThe hazard warning lights flash once if all
doors are completely closed.
The interior lights can be turned off without wait-
ing 30 seconds by inserting the key into the
ignition switch and placing the ignition switch in
the ON or START position, locking the doors with
the keyfob or pushing the interior light switch to
the OFF position.
Auto relock
When thebutton on the keyfob is pressed,
all doors will lock automatically within 1 minute
unless one of the following operations is per-
formed:
cAny door is opened.
cA key is inserted into the ignition switch and
the switch is cycled from OFF to ON.LPD0210
3-8Pre-driving checks and adjustments