Page 24 of 438

●The power seat motor has an auto-reset
overload protection circuit. If the motor
stops during operation, wait 30 seconds,
then reactivate the switch.
● Do not operate the power seat switch for a
long period of time when the engine is off.
This will discharge the battery. ●
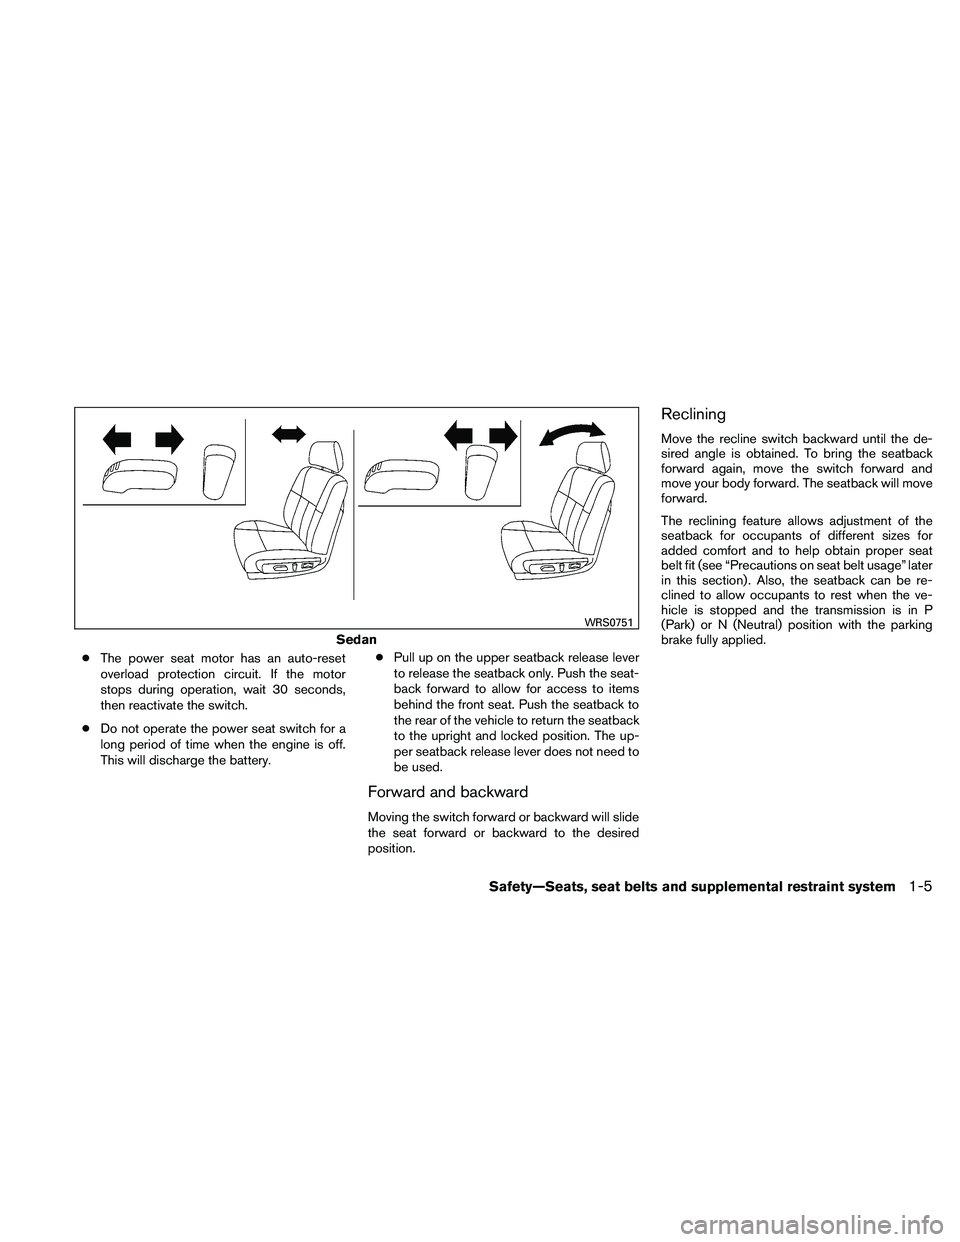
Pull up on the upper seatback release lever
to release the seatback only. Push the seat-
back forward to allow for access to items
behind the front seat. Push the seatback to
the rear of the vehicle to return the seatback
to the upright and locked position. The up-
per seatback release lever does not need to
be used.
Forward and backward
Moving the switch forward or backward will slide
the seat forward or backward to the desired
position.
Reclining
Move the recline switch backward until the de-
sired angle is obtained. To bring the seatback
forward again, move the switch forward and
move your body forward. The seatback will move
forward.
The reclining feature allows adjustment of the
seatback for occupants of different sizes for
added comfort and to help obtain proper seat
belt fit (see “Precautions on seat belt usage” later
in this section) . Also, the seatback can be re-
clined to allow occupants to rest when the ve-
hicle is stopped and the transmission is in P
(Park) or N (Neutral) position with the parking
brake fully applied.
Page 95 of 438
Average speed mode
The average speed mode can be selected to
display the average miles per gallon and miles per
hour since the last reset.Time/Miles (km) mode
The time/miles (km) mode can be selected to
show the time and distance driven since the last
reset.Range mode
The range mode can be selected to give you an
estimation of the distance that can be driven
before refueling. The range is constantly calcu-
lated based on the amount of fuel in the fuel tank
and the actual fuel consumption.
Page 97 of 438
Reset mode
The reset mode can be selected in any screen
that allows for preferences to be programmed.
Once the screen is selected, you have the option
to reset the selected distances or time to a new
setting.Maintenance mode
The maintenance mode allows you to set alerts
for the reminding of maintenance intervals for the
following:
● tires
● oil
● filter
● other
Set a desired interval by pushing
Page 107 of 438
Autolight system (if so equipped)
The autolight system allows the headlights to be
set so they turn on and off automatically. The
autolight system can:● Turn on the headlights, front parking, tail,
license plate and instrument panel lights au-
tomatically when it is dark.
● Turn off all the lights when it is light.
● Keep all the lights on for 45 seconds after
you place the ignition switch in the OFF
position and all doors are closed. To turn on the autolight system:
1. Turn the headlight switch to the AUTO posi- tion
�1.
2. Push the push-button ignition switch to the ON position.
3. The autolight system automatically turns the headlights on and off.
Initially, if the ignition switch is placed in the OFF
position and a door is opened and left open, the
headlights remain ON for 5 minutes. If another
door is opened during the 5 minutes, then the 5
minute timer is reset.
To turn the autolight system off, turn the switch to
the OFF,
Page 196 of 438

●If you are using an iPod� (3rd Generation
with Dock connector) , do not use very long
names for the song title, album name or artist
name to avoid the iPod� resetting itself.
iPod� is a trademark of Apple Inc., registered in
the U.S. and other countries.
Bluetooth� streaming audio (if so
equipped)
● Some Bluetooth� audio devices may not be
recognized by the in-vehicle audio system.
● It is necessary to set up the wireless con-
nection between a compatible Bluetooth�
audio device and the in-vehicle Bluetooth�
module before using the Bluetooth� audio.
● Operating procedure of the Bluetooth� au-
dio will vary depending on the devices. Make
sure how to operate your audio device be-
fore using it with this system.
● The Bluetooth� audio may be stopped under
the following conditions:
● Receiving a call on the Hands-Free
Phone System.
● Checking the connection to the hands-
free phone. ●
Do not place the Bluetooth� audio device in
an area surrounded by metal or far away from
the in-vehicle Bluetooth� module to prevent
tone quality degradation and wireless con-
nection disruption.
● While an audio device is connected through
the Bluetooth� wireless connection, the bat-
tery power of the device may discharge
quicker than usual.
● This system supports the Bluetooth� Audio
Distribution Profile (A2DP, AVRCP) .
Page 214 of 438

If the battery cable is disconnected or if the fuse
opens, the radio memory will be canceled. In that
case, reset the desired stations.
Compact disc (CD) player operation
Place the ignition switch in the ACC or ON
position and carefully insert the compact disc
into the slot with the label side up. The compact
disc is automatically pulled into the slot and starts
to play.
If the radio is already operating, it automatically
turns off and the compact disc begins to play.
CD button:
When the CD button is pressed with the system
off and the compact disc loaded, the system will
turn on and the compact disc will start to play.
When the CD button is pressed with a compact
disc loaded and the radio playing, the radio will
automatically be turned off and the compact disc
will start to play.CD/MP3 display mode:
While listening to an MP3/WMA CD, certain text
may be displayed on the screen if the CD has
been encoded with text information. Depending
on how the MP3/WMA CD is encoded, informa-
tion such as Artist, Song and Folder will be dis-
played.
The track number and the total number of tracks
in the current folder or on the current disc are
displayed on the screen as well. For example, the
first track out of fourteen total is currently playing.
Page 220 of 438

Menu (XM, if so equipped)
Select the “Menu” key to see a list of options:● Preset List – Displays the list of presets.
Press and hold the key on the touchscreen
to save a preset.
● Customize Channel List – deselect chan-
nels to skip while using the TUNE/FOLDER
knob.
● Favorite Artist & Songs
– Tags the current artist or song playing on XM as a favorite. – Turn the Alert ON to indicate whenever a
favorite artist or song is playing on XM.
The audio system must be playing XM
radio for this feature to work.
– Delete a favorite artist or song.
● Categories – Displays a category list for XM
radio. Select a category to select the first
channel for that category.
● Direct Tune – Tune to a channel by entering
the channel number.
Radio data system (RDS):
RDS stands for Radio Data System, and is a data
information service transmitted by some radio
stations on the FM band (not AM band) . Cur-
rently, most RDS stations are in large cities, but
many stations are now considering broadcasting
RDS data.
RDS can display: ● Station call sign, such as “WHFR 98.3”.
● Station name, such as “The Groove”.
● Music or programming type such as “Clas-
sical”, “Country”, or “Rock”.
● Station specific text.
If the station broadcasts RDS information, the
text information is automatically displayed.Compact disc (CD) player operation
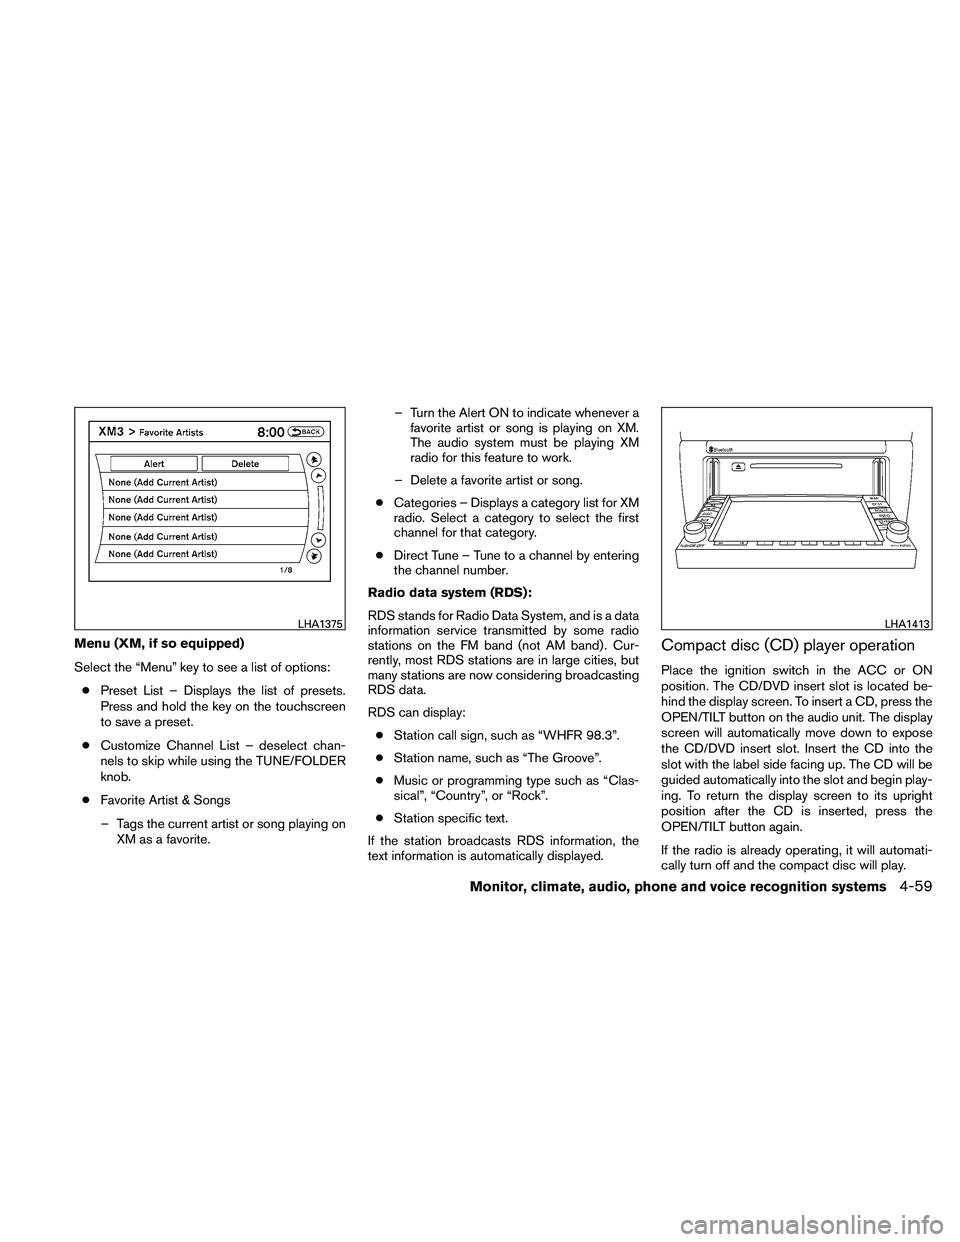
Place the ignition switch in the ACC or ON
position. The CD/DVD insert slot is located be-
hind the display screen. To insert a CD, press the
OPEN/TILT button on the audio unit. The display
screen will automatically move down to expose
the CD/DVD insert slot. Insert the CD into the
slot with the label side facing up. The CD will be
guided automatically into the slot and begin play-
ing. To return the display screen to its upright
position after the CD is inserted, press the
OPEN/TILT button again.
If the radio is already operating, it will automati-
cally turn off and the compact disc will play.
Page 250 of 438
1. Source select and Power on switch
2. Tuning switch
3. Volume control switch1. Source select and Power on switch
2. Menu control switch/ENTER button
3. Volume control switch
STEERING WHEEL SWITCH FOR
AUDIO CONTROL (if so equipped)
POWER on switch
With the ignition switch in the ACC or ON posi-
tion, push the SOURCE switch to turn the audio
system on.
SOURCE select switch
Push the source select switch to change the
mode in the following sequence:
Type A Switch:
PRESET BANK A
→PRESET BANK B →PRE-
SET BANK C →CD* →AUX* →PRESET BANK
A.
* These modes are only available when compat-
ible media storage is inserted into the device.
While in one of the preset radio station banks (A,
B or C) , use the tuning switch