Page 153 of 438
●Closely supervise children when they
are around cars to prevent them from
playing and becoming locked in the
trunk where they could be seriously in-
jured. Keep the car locked, with the rear
seatback and trunk lid securely latched
when not in use, and prevent children’s
access to car keys.
To open the trunk lid, push the opener switch
down.
To close the trunk lid, lower and push the trunk lid
down securely.
NOTE:
You can open the trunk lid with the Intelli-
gent Key. Refer to “NISSAN Intelligent
Key™” in this section.
Cancel switch
When the switch, located inside the glove box, is
in the OFF position, the power to the trunk lid will
be cancelled. The trunk can only be opened with
the master key or keyfob.
The trunk lid cannot be opened when: ● using the trunk lid release switch,
● the trunk open request switch (if so
equipped) is pushed, when the Intelligent
Key is in range of the vehicle or
● the HOLD button on the Intelligent Key is
pressed.
INTERIOR TRUNK LID RELEASE
Page 158 of 438
AUTOMATIC ANTI-GLARE
REARVIEW MIRROR (if so equipped)
The inside mirror is designed so that it automati-
cally dims during night time conditions and ac-
cording to the intensity of the headlights of the
vehicle following you. The automatic anti-glare
feature is activated when the ignition switch is in
the ON position.
The indicator light will illuminate when the auto-
matic anti-glare feature is operating.
NOTE:
Do not hang any objects over the sensors
�1or apply glass cleaner to the sensors.
Doing so will reduce the sensitivity of the
sensors, resulting in improper operation.
Type A and Type B
The indicator light�2will illuminate when the
automatic anti-glare feature is operating.
To turn off the automatic anti-glare feature, press:
● the O button for inside mirrors without
compass.
● the
Page 172 of 438

Speed Sensing Wiper Interval:Select to turn
on or turn off the wiper interval adjusted automati-
cally according to the vehicle speed.
Selective Door Unlock: When this item is
turned on, only the driver’s door is unlocked first
after the door unlock operation. When the door
handle request switch on the driver’s or front
passenger’s side door is pushed to be unlocked,
only the corresponding door is unlocked first. All
the doors can be unlocked if the door unlock
operation is performed again within one minute.
When this item is turned to off, all the doors will
be unlocked after the door unlock operation is
performed once.
Intelligent Key Lock / Unlock: Select to turn
on or turn off the door lock/unlock function by
pushing the door handle request switch.
Return All Settings to Default: Select to
change all the comfort and convenience systems
to their default settings. Language & Units:
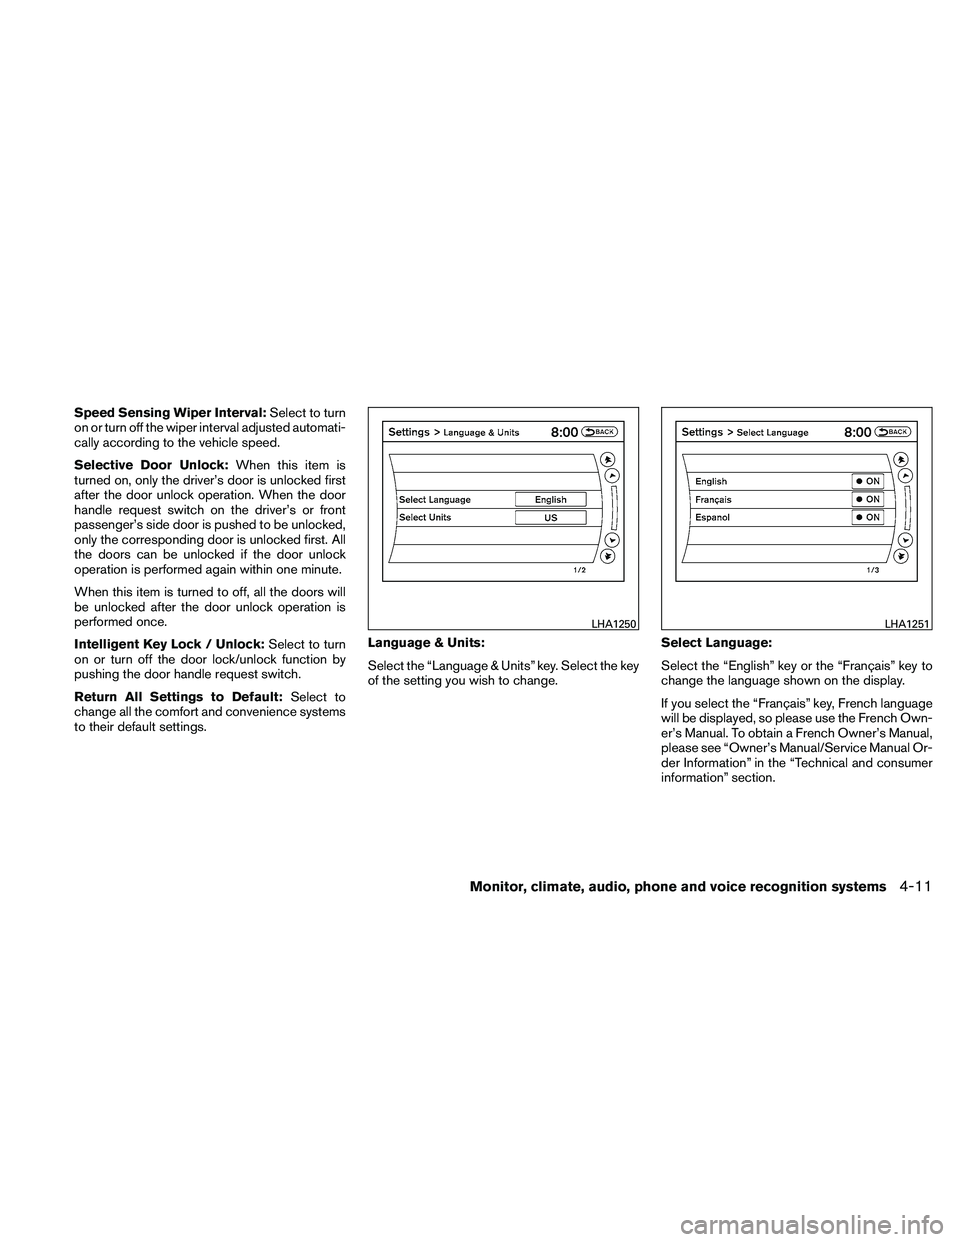
Select the “Language & Units” key. Select the key
of the setting you wish to change.
Select Language:
Select the “English” key or the “Français” key to
change the language shown on the display.
If you select the “Français” key, French language
will be displayed, so please use the French Own-
er’s Manual. To obtain a French Owner’s Manual,
please see “Owner’s Manual/Service Manual Or-
der Information” in the “Technical and consumer
information” section.
Page 173 of 438

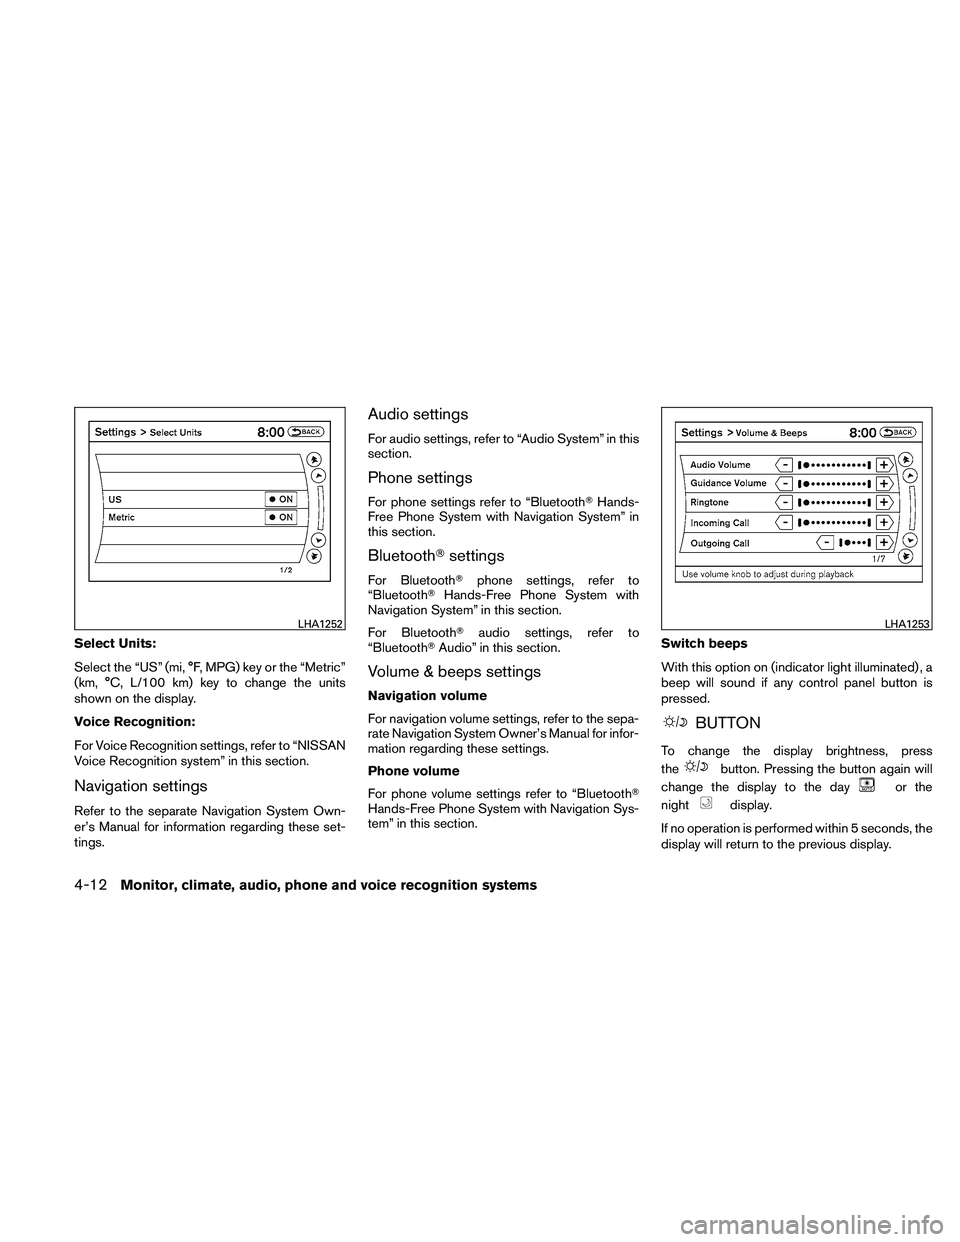
Select Units:
Select the “US” (mi, °F, MPG) key or the “Metric”
(km, °C, L/100 km) key to change the units
shown on the display.
Voice Recognition:
For Voice Recognition settings, refer to “NISSAN
Voice Recognition system” in this section.
Navigation settings
Refer to the separate Navigation System Own-
er’s Manual for information regarding these set-
tings.
Audio settings
For audio settings, refer to “Audio System” in this
section.
Phone settings
For phone settings refer to “Bluetooth�Hands-
Free Phone System with Navigation System” in
this section.
Bluetooth� settings
For Bluetooth� phone settings, refer to
“Bluetooth� Hands-Free Phone System with
Navigation System” in this section.
For Bluetooth� audio settings, refer to
“Bluetooth� Audio” in this section.
Volume & beeps settings
Navigation volume
For navigation volume settings, refer to the sepa-
rate Navigation System Owner’s Manual for infor-
mation regarding these settings.
Phone volume
For phone volume settings refer to “Bluetooth�
Hands-Free Phone System with Navigation Sys-
tem” in this section. Switch beeps
With this option on (indicator light illuminated) , a
beep will sound if any control panel button is
pressed.
Page 208 of 438
FM/AM radio operation
FM/AM band select:
Pressing the RADIO button will change the band
as follows:
AM←→ FM
When the RADIO button is pressed while the
ignition switch is in the ACC or ON position, the
radio will come on at the station last played.
If a compact disc is playing when the RADIO
button is pressed, the compact disc will auto-
matically be turned off and the last radio station
played will come on.
The FM stereo indicator, ST, illuminates during
FM stereo reception. When the stereo broadcast
signal is weak, the radio automatically changes
from stereo to monaural reception.
Page 213 of 438

iPod�MENU button
This button can only be used for iPod� opera-
tions. See “iPod� player operation without Navi-
gation System” later in this section for details
about the function of this button.
FM/AM/SAT radio operation
AM·FM button:
Press the AM·FM button to change the band as
follows:
AM →FM1 →FM2 →AM
If another audio source is playing when the
AM·FM button is pressed, the audio source play-
ing will automatically be turned off and the last
radio station played will begin playing.
The FM stereo indicator (STEREO) is shown on
the screen during FM stereo reception. When the
stereo broadcast signal is weak, the radio auto-
matically changes from stereo to monaural re-
ception.
SAT band select:
Pressing the AUX button will change the band as
follows:
AUX →XM1* →XM2* →AUX (satellite, if so
equipped) When the AUX button is pressed while the igni-
tion switch is in the ACC or ON position, the
radio will come on at the station last played.
The last station played will also come on when
the VOL/ON-OFF control knob is pressed to turn
the radio on.
*When the AUX button is pressed, the satellite
radio mode will be skipped unless an optional
satellite receiver and antenna are installed and an
XM�
satellite radio service subscription is active.
Satellite radio is not available in Alaska, Hawaii
and Guam.
If a compact disc is playing when the AUX button
is pressed, the compact disc will automatically be
turned off and the last radio station played will
come on.
SCROLL/TUNE knob (Tuning):
Turn the SCROLL/TUNE knob to the left or right
for manual tuning.
Page 214 of 438

If the battery cable is disconnected or if the fuse
opens, the radio memory will be canceled. In that
case, reset the desired stations.
Compact disc (CD) player operation
Place the ignition switch in the ACC or ON
position and carefully insert the compact disc
into the slot with the label side up. The compact
disc is automatically pulled into the slot and starts
to play.
If the radio is already operating, it automatically
turns off and the compact disc begins to play.
CD button:
When the CD button is pressed with the system
off and the compact disc loaded, the system will
turn on and the compact disc will start to play.
When the CD button is pressed with a compact
disc loaded and the radio playing, the radio will
automatically be turned off and the compact disc
will start to play.CD/MP3 display mode:
While listening to an MP3/WMA CD, certain text
may be displayed on the screen if the CD has
been encoded with text information. Depending
on how the MP3/WMA CD is encoded, informa-
tion such as Artist, Song and Folder will be dis-
played.
The track number and the total number of tracks
in the current folder or on the current disc are
displayed on the screen as well. For example, the
first track out of fourteen total is currently playing.
Page 215 of 438

SCROLL/TUNE knob (MP3/WMA CD only):
If an MP3/WMA CD with multiple folders is play-
ing, turn the SCROLL/TUNE knob to change
folders. Turn the knob to the left to skip back a
folder. Turn the knob to the right to skip ahead a
folder.
RPT button:
When the RPT button is pressed while a com-
pact disc is playing, the play pattern can be
changed as follows:
CD:
1 TRK RPT←→OFF
CD with MP3 or WMA:
1 FOLDER RPT →1 TRK RPT →OFF
1 TRK RPT: the current track will be repeated.
1 FOLDER RPT: the current folder will be re-
peated.
OFF: No repeat play pattern is applied. The indi-
cator on the display will turn off.
The current play pattern of the CD is displayed on
the screen unless no pattern is applied. RDM button:
When the RDM button is pressed while a com-
pact disc is playing, the play pattern can be
changed as follows:
CD:
1 DISC RDM
←→OFF
CD with MP3 or WMA:
1 DISC RDM →1 FOLDER RDM →OFF
1 DISC RDM: all tracks on the disc will be played
randomly.
1 FOLDER RDM: all tracks in the current folder
will be played randomly.
OFF: No random play pattern is applied. The
indicator on the display will turn off.
The current play pattern of the CD is displayed on
the screen unless no pattern is applied.
AUX button:
The AUX IN jack is located on the CD player. The
AUX IN audio input jack accepts any standard
analog audio input such as from a portable cas-
sette tape/CD player, MP3 player or a laptop
computer. Press the AUX button to play a compatible device
plugged into the AUX IN jack. The AUX button is
also used to switch the audio system to a source
plugged into the USB input jack in the center
console. When a device is plugged into the AUX
IN jack while another device is plugged into the
USB input jack, the AUX button is used to toggle
between the two functions.
For more information about the USB input jack,
see “USB interface” in this section.