Page 54 of 438
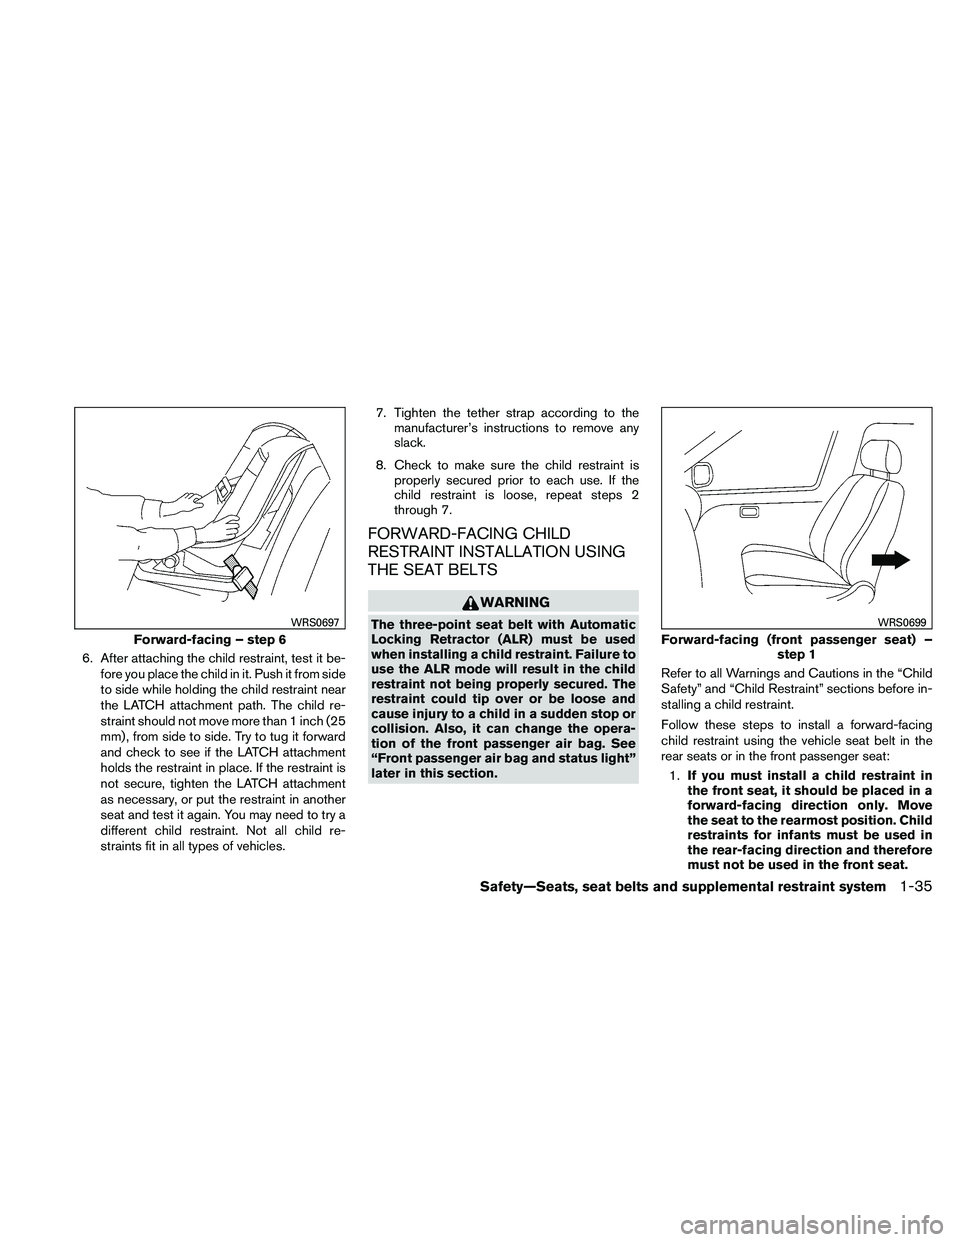
6. After attaching the child restraint, test it be-fore you place the child in it. Push it from side
to side while holding the child restraint near
the LATCH attachment path. The child re-
straint should not move more than 1 inch (25
mm) , from side to side. Try to tug it forward
and check to see if the LATCH attachment
holds the restraint in place. If the restraint is
not secure, tighten the LATCH attachment
as necessary, or put the restraint in another
seat and test it again. You may need to try a
different child restraint. Not all child re-
straints fit in all types of vehicles. 7. Tighten the tether strap according to the
manufacturer’s instructions to remove any
slack.
8. Check to make sure the child restraint is properly secured prior to each use. If the
child restraint is loose, repeat steps 2
through 7.
FORWARD-FACING CHILD
RESTRAINT INSTALLATION USING
THE SEAT BELTS
Page 55 of 438
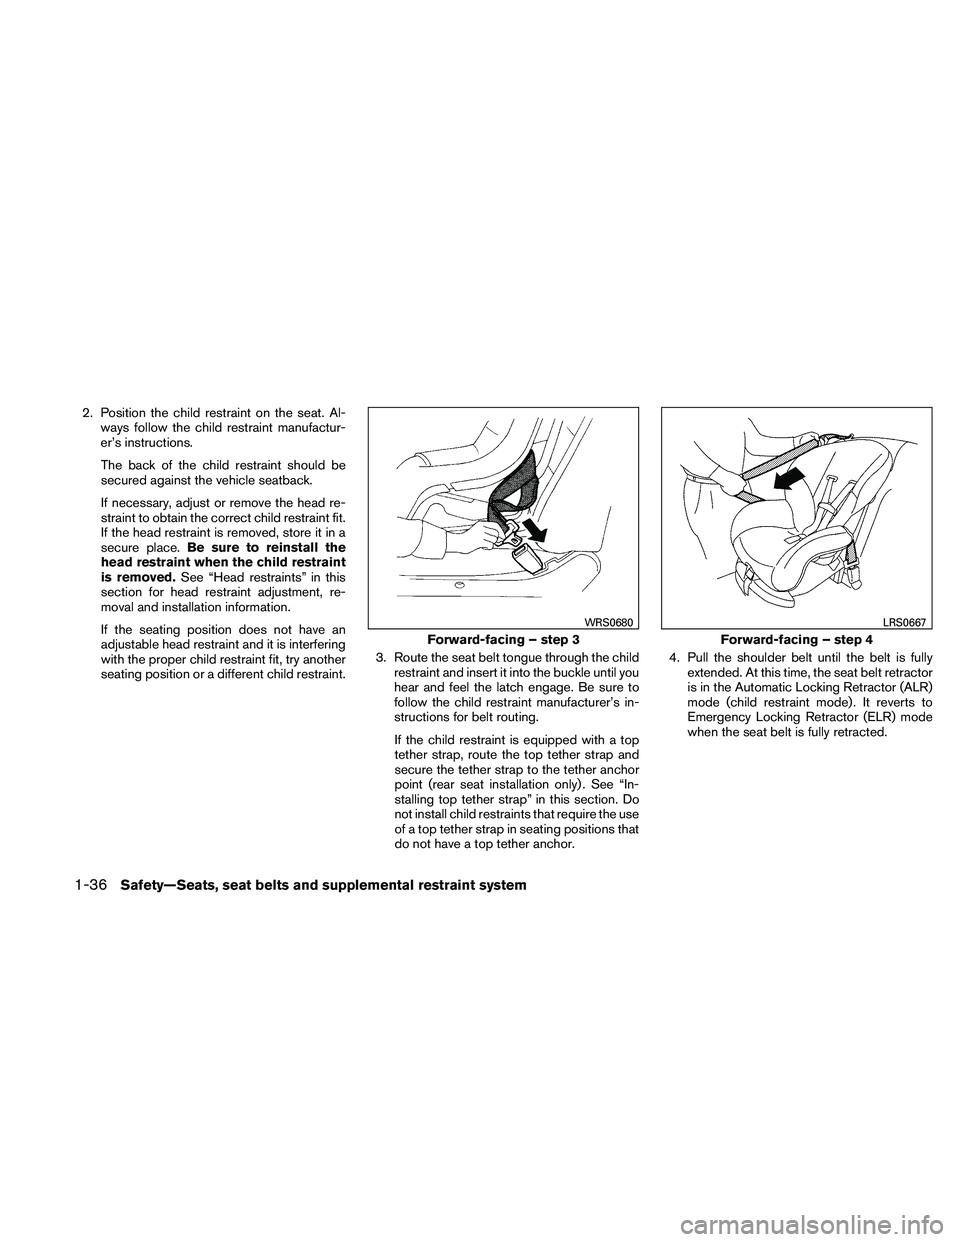
2. Position the child restraint on the seat. Al-ways follow the child restraint manufactur-
er’s instructions.
The back of the child restraint should be
secured against the vehicle seatback.
If necessary, adjust or remove the head re-
straint to obtain the correct child restraint fit.
If the head restraint is removed, store it in a
secure place. Be sure to reinstall the
head restraint when the child restraint
is removed. See “Head restraints” in this
section for head restraint adjustment, re-
moval and installation information.
If the seating position does not have an
adjustable head restraint and it is interfering
with the proper child restraint fit, try another
seating position or a different child restraint. 3. Route the seat belt tongue through the child
restraint and insert it into the buckle until you
hear and feel the latch engage. Be sure to
follow the child restraint manufacturer’s in-
structions for belt routing.
If the child restraint is equipped with a top
tether strap, route the top tether strap and
secure the tether strap to the tether anchor
point (rear seat installation only) . See “In-
stalling top tether strap” in this section. Do
not install child restraints that require the use
of a top tether strap in seating positions that
do not have a top tether anchor. 4. Pull the shoulder belt until the belt is fully
extended. At this time, the seat belt retractor
is in the Automatic Locking Retractor (ALR)
mode (child restraint mode) . It reverts to
Emergency Locking Retractor (ELR) mode
when the seat belt is fully retracted.
Page 56 of 438
5. Allow the seat belt to retract. Pull up on theshoulder belt to remove any slack in the belt. 6. Remove any additional slack from the seat
belt; press downward and rearward firmly in
the center of the child restraint with your
knee to compress the vehicle seat cushion
and seatback while pulling up on the seat
belt. 7. After attaching the child restraint, test it be-
fore you place the child in it. Push it from side
to side while holding the child restraint near
the seat belt path. The child restraint should
not move more than 1 inch (25 mm) , from
side to side. Try to tug it forward and check
to see if the belt holds the restraint in place.
If the restraint is not secure, tighten the seat
belt as necessary, or put the restraint in
another seat and test it again. You may need
to try a different child restraint. Not all child
restraints fit in all types of vehicles.
Page 57 of 438
8. Tighten the tether strap according to themanufacturer’s instructions to remove any
slack.
9. Check to make sure the child restraint is properly secured prior to each use. If the
seat belt is not locked, repeat steps 2
through 8.
10. If the child restraint is installed in the frontpassenger seat, place the ignition switch in
the ON position. The front passenger air bag
status light
Page 59 of 438
All U.S. states and Canadian provinces or
territories require that infants and small
children be restrained in an approved child
restraint at all times while the vehicle is
being operated.
The instructions in this section apply to booster
seat installation in the rear seats or the front
passenger seat.
Booster seat installation
Page 60 of 438

3. The booster seat should be positioned onthe vehicle seat so that it is stable.
If necessary, adjust or remove the head re-
straint to obtain the correct booster seat fit. If
the head restraint is removed, store it in a
secure place. Be sure to reinstall the
head restraint when the booster seat is
removed. See “Head restraints” in this sec-
tion for head restraint adjustment, removal
and installation information. If the seating position does not have an
adjustable head restraint and it is interfering
with the proper booster seat fit, try another
seating position or a different booster seat.
4. Position the lap portion of the seat belt low and snug on the child’s hips. Be sure to
follow the booster seat manufacturer’s in-
structions for adjusting the seat belt routing.
5. Pull the shoulder belt portion of the seat belt toward the retractor to take up extra slack.
Be sure the shoulder belt is positioned
across the top, middle portion of the child’s
shoulder. Be sure to follow the booster seat
manufacturer’s instructions for adjusting the
seat belt routing.
6. Follow the warnings, cautions and instruc- tions for properly fastening a seat belt
shown in “Three-point type seat belt with
retractor” earlier in this section. 7. If the booster seat is installed in the front
passenger seat, place the ignition switch in
the ON position. The front passenger air bag
status light
Page 65 of 438
WARNING
●Children may be severely injured or
killed when the front air bags, side air
bags or curtain air bags inflate if they
are not properly restrained. Pre-teens
and children should be properly re-
strained in the rear seat, if possible.
● Even with the NISSAN Advanced Air
Bag System, never install a rear-facing
child restraint in the front seat. An in-
flating front air bag could seriously in-
jure or kill your child. See “Child re-
straints” earlier in this section for
details.
Page 71 of 438

restraints and booster seats be properly installed
in a rear seat. If this is not possible, the occupant
classification sensor is designed to operate as
described above to turn the front passenger air
bag OFF for specified child restraints as required
by the regulations. Failing to properly secure
child restraints and to use the ALR mode (child
restraint mode) may allow the restraint to tip or
move in an accident or sudden stop. This can
also result in the passenger air bag inflating in a
crash instead of being OFF. See “Child re-
straints” earlier in this section for proper use and
installation.
If the front passenger seat is not occupied, the
passenger air bag is designed not to inflate in a
crash. However, heavy objects placed on the
seat could result in air bag inflation, because of
the object being detected by the occupant clas-
sification sensor. Other conditions could also
result in air bag inflation, such as if a child is
standing on the seat, or if two children are on the
seat, contrary to the instructions in this manual.
Always be sure that you and all vehicle occupants
are seated and restrained properly.
Using the passenger air bag status light, you can
monitor when the front passenger air bag is au-
tomatically turned OFF with the seat occupied.
The light will not illuminate when the front pas-
senger seat is unoccupied.If an adult occupant is in the seat but the passen-
ger air bag status light is illuminated (indicating
that the air bag is OFF) , it could be that the
person is a small adult, or is not sitting on the seat
properly.
If a child restraint must be used in the front seat,
the passenger air bag status light may or may not
be illuminated, depending on the size of the child
and the type of child restraint being used. If the air
bag status light is not illuminated (indicating that
the air bag might inflate in a crash) , it could be
that the child restraint or seat belt is not being
used properly. Make sure that the child restraint is
installed properly, the seat belt is used properly
and the occupant is positioned properly. If the air
bag status light is not illuminated, reposition the
occupant or child restraint in a rear seat.
If the passenger air bag status light will not illu-
minate even though you believe that the child
restraint, the seat belts and the occupant are
properly positioned, the system may be sensing
an unoccupied seat (in which case the air bag is
OFF) . Your NISSAN dealer can check that the
system is OFF by using a special tool. However,
until you have confirmed with your dealer that
your air bag is working properly, reposition the
occupant or child restraint in a rear seat.
The air bag system and passenger air bag status
light will take a few seconds to register a change
in the passenger seat status. However, if the seat
becomes unoccupied, the air bag status light will
remain off.
If a malfunction occurs in the front passenger air
bag system, the supplemental air bag warning
light