2010 NISSAN ALTIMA COUPE belt
[x] Cancel search: beltPage 3 of 40

TABLe Of cOnTenTS
ni SSAn intelligent k ey™........................................... 2
Automatic door Locks ............................................. 3
Windshield Wiper/Washer Switch ................................... 3
Headlight and Turn Signal control ................................... 4
Steering Wheel Switches for Audio control/Bluetooth
® (if so equipped) ... 5
cruise control .................................................... 5
Automatic climate control (if so equipped) ............................6
f M/AM/XM
®* Radio with cd Player (vehicles with navigation) ............8
u SB Jack with iPod® connectivity (if so equipped) ..................... 9
Music BoxTM Hard drive Audio System (if so equipped) .................10
Bluetooth® Streaming Audio (if so equipped) ......................... 11
Vehicle information display ........................................ 11
clock Set/Adjustment ............................................ 12
RearView Monitor (if so equipped) .................................. 12
Twin Trip Odometer .............................................. 12
continuously Variable Transmission (cVT) (if so equipped) ..............13
6-Speed Manual Transmission (if so equipped) ........................14
Vehicle dynamic control (Vdc) Off Switch ...........................14
front Passenger Air Bag Status Light ............................... 14
Tire Pressure Monitoring System (TPMS) ............................ 15
Seat Belt Warning Light and chime ................................. 15
child Safety Rear door Locks (Sedan only) .......................... 15
fuel-filler door Release ........................................... 15
fuel-filler cap ................................................... 15
Trunk Lid cancel Switch (if so equipped) .............................16
Moonroof controls (if so equipped) ................................. 16
front Seat Adjustments ........................................... 16
Passenger Rear Seat entry (coupe only) .............................17
f olding down the Rear Seats . . . . . . . . . . . . . . . . . . . . . . . . . . . . . . . . . . . .\
. . 18
HomeLink
® universal Transceiver (if so equipped) ..................... 18
Bluetooth® Hands-free Phone System (vehicles without navigation -
if so equipped) .................................................. 19
Bluetooth
® Hands-free Phone System (vehicles with navigation -
if so equipped) .................................................. 22
ni SSAn Voice Recognition System (vehicles with navigation -
if so equipped) .................................................. 25
navigation System (if so equipped) ................................. 30
This easy-to-use Quick Reference Guide is intended to help you more fully
appreciate some of the unique features and functions of your new vehicle.
However, it is not intended to replace your Owner’s Manual. The Owner’s
Manual contains more detailed information to help you better understand
the important safety warnings, features, operation and maintenance of your
vehicle. All information, specifications, photographs and illustrations in this
publication are those in effect at the time of printing. niSSA n reserves the
right to change specifications or design without notice and without obligation.
Page 17 of 40

15
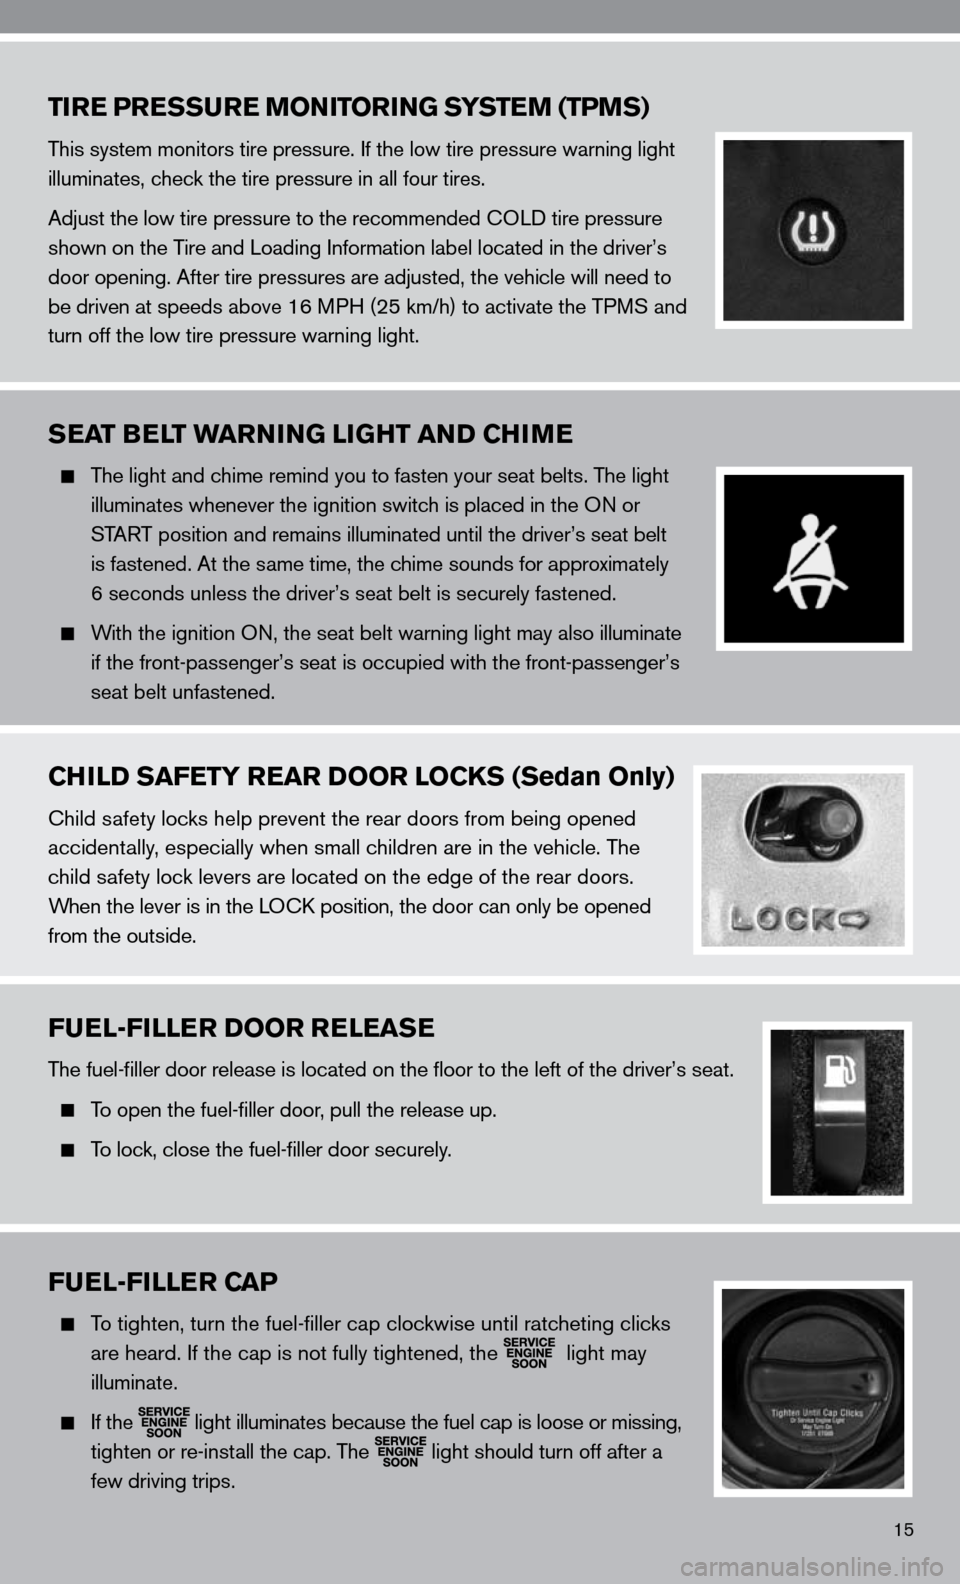
TIRE PRESSURE MONITORING SYSTEM (TPMS)
This system monitors tire pressure. if the low tire pressure warning light
illuminates, check the tire pressure in all four tires.
Adjust the low tire pressure to the recommended cOL d tire pressure
shown on the Tire and Loading information label located in the driver’s
door opening. After tire pressures are adjusted, the vehicle will need to
be driven at speeds above 16 MPH (25 km/h) to activate the TPMS and
turn off the low tire pressure warning light.
SEAT BELT WARNING LIGHT AND CHIME
The light and chime remind you to fasten your seat belts. The light
illuminates whenever the ignition switch is placed in the O n or
START position and remains illuminated until the driver’s seat belt
is fastened. At the same time, the chime sounds for approximately
6 seconds unless the driver’s seat belt is securely fastened.
With the ignition O n, the seat belt warning light may also illuminate
if the front-passenger’s seat is occupied with the front-passenger’s
seat belt unfastened.
CHILD SAFETY REAR DOOR LOCKS (Sedan Only)
child safety locks help prevent the rear doors from being opened
accidentally, especially when small children are in the vehicle. The
child safety lock levers are located on the edge of the rear doors.
When the lever is in the LO ck position, the door can only be opened
from the outside.
FUEL-FILLER DOOR RELEASE
The fuel-filler door release is located on the floor to the left of t\
he driver’s seat.
To open the fuel-filler door, pull the release up.
To lock, close the fuel-filler door securely.
FUEL-FILLER CAP
To tighten, turn the fuel-filler cap clockwise until ratcheting clicks
are heard. if the cap is not fully tightened, the
light may
illuminate.
if the
light illuminates because the fuel cap is loose or missing,
tighten or re-install the cap. The
light should turn off after a
few driving trips.
Page 18 of 40

16
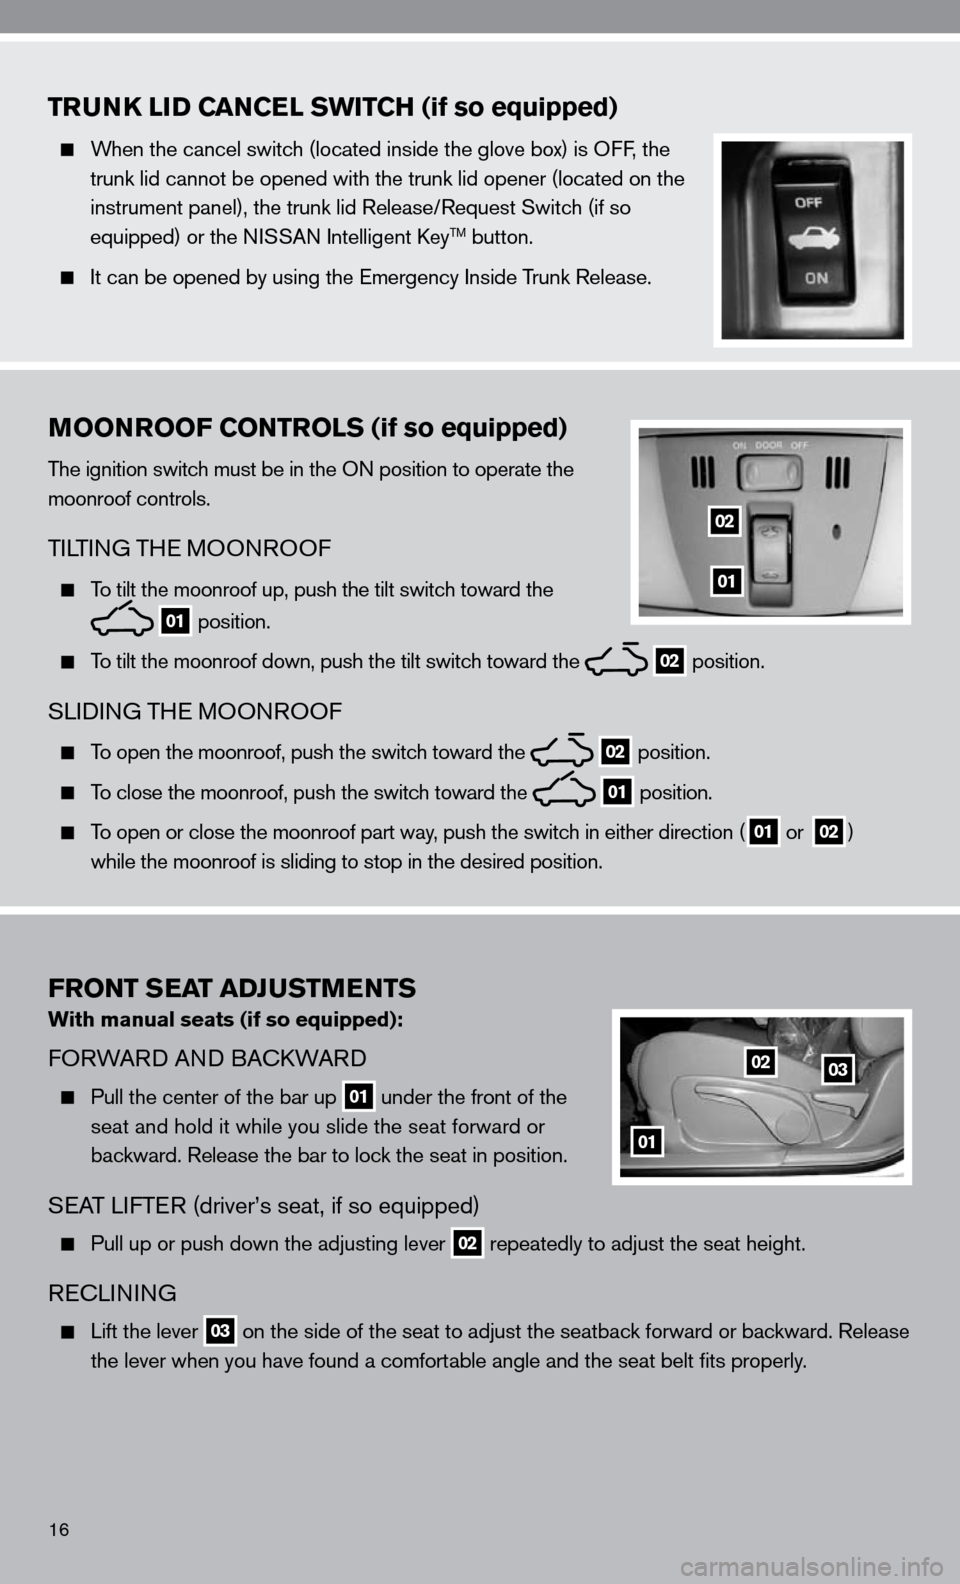
FRONT SEAT ADJUSTMENTS
With manual seats (if so equipped):
fORWARd And BA ckWARd
Pull the center of the bar up 01 under the front of the
seat and hold it while you slide the seat forward or
backward. Release the bar to lock the seat in position.
SeAT LifTe R (driver’s seat, if so equipped)
Pull up or push down the adjusting lever 02 repeatedly to adjust the seat height.
Rec
Linin G
Lift the lever 03 on the side of the seat to adjust the seatback forward or backward. Release
the lever when you have found a comfortable angle and the seat belt fits properly.
01
0203
TRUNK LID CANCEL SWITCH (if so equipped)
When the cancel switch (located inside the glove box) is O ff, the
trunk lid cannot be opened with the trunk lid opener (located on the
instrument panel), the trunk lid Release/Request Switch (if so
equipped) or the ni SSAn intelligent key
TM button.
it can be opened by using the emergency inside Trunk Release.
MOONROOF CONTROLS (if so equipped)
The ignition switch must be in the O n position to operate the
moonroof controls.
Ti LTin G TH e MOO nROO f
To tilt the moonroof up, push the tilt switch toward the
01 position.
To tilt the moonroof down, push the tilt switch toward the 02 position.
SL
idinG TH e MOOn ROOf
To open the moonroof, push the switch toward the 02 position.
To close the moonroof, push the switch toward the 01 position.
To open or close the moonroof part way, push the switch in either direction (01 or
02)
while the moonroof is sliding to stop in the desired position.
01
02