Page 318 of 496
Comfort controls
5-27
5
To adjust the volume
N00712000323
VOL (Volume control) Turn the VOL knob (2) clockwise to increase the volume;
counterclockwise to decrease the volume.
The status will be displayed in the display (4).NOTE�The volume control mode will shut off automatically if
either the radio or CD is selected, or if no adjustment is
made within about 2 seconds.
BK0098300US.book 27 ページ 2008年12月8日 月曜日 午前11時37分
Page 319 of 496
5-28 Comfort controls
5
To adjust the tone
N00712100281
1. Press the AUDIO switch (3) repeatedly to select the tone
or balance control to change. The order is: BASS → TRE
→ FADE → BAL → Audio adjust mode off.
The status will be displayed in the display (4).
BK0098300US.book 28 ページ 2008年12月8日 月曜日 午前11時37分
Page 321 of 496
5-30 Comfort controls
5
Radio control panel and display
N00734900670
1- PWR (On-Off) switch
2- Memory select buttons
3- RADIO (AM/FM selection) button
4- SEEK (Up-seek) button
5- SEEK (Down-seek) button
6- SCAN button
7- TUNE/FOLDER switch
8- SCAN indicator
9- AM/FM (AM/FM1/FM2) indicators
10- Preset memory number display
11- ST (Stereo) indicator
12- Frequency display
BK0098300US.book 30 ページ 2008年12月8日 月曜日 午前11時37分
Page 322 of 496

Comfort controls
5-31
5
To listen to the radio
N00735000737
1. Press the PWR switch (1) to turn the audio system on and
off. The system turns on in the last mode used.
2. Press the RADIO button (3) to select the desired band
(AM/FM1/FM2).
3. Press the SEEK button (4 or 5) to tune to station, or press
one of the memory select buttons (2) to tune in to a station
memorized for that button.To tune the radioAutomatic tuning
1. After pressing the SEEK button (4 or 5), reception of the
selected station will begin.
2. Press the SCAN button (6). SCAN indicator (8) will come
on and the radio will tune consecutively to each available
station for about 5 seconds per station. If you want to stop
scanning, press the SCAN button again.
The frequency display of the current station blinks once
per second during SCAN.
Manual tuning
The frequency changes every time the TUNE/FOLDER switch
(7) is turned.
Turn the switch to select the desired station. To enter frequencies into the memoryAs many as 6 AM and 12 FM stations can be entered into the
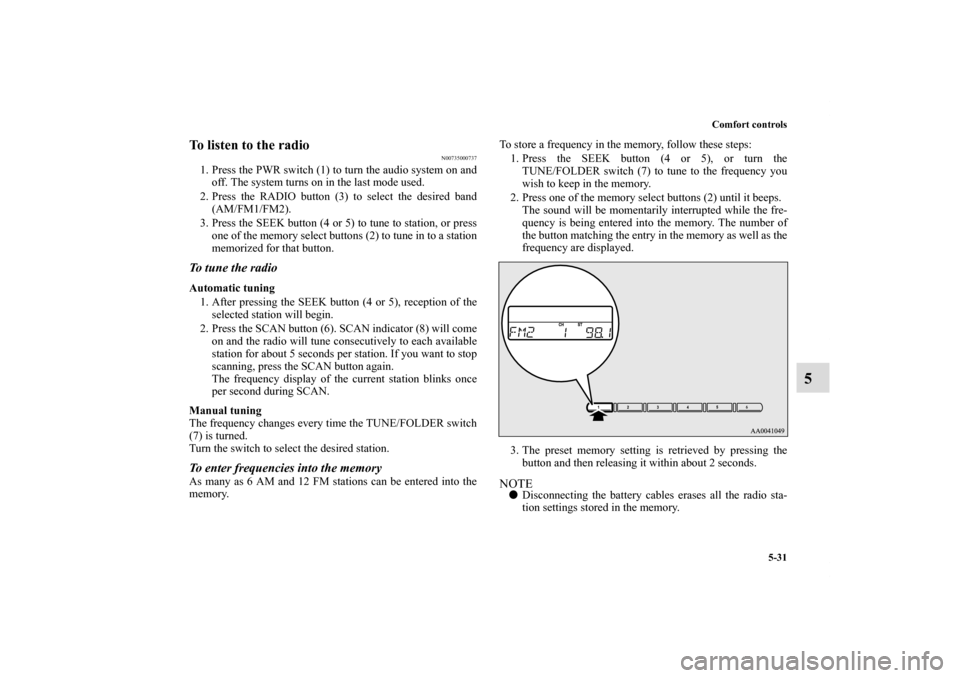
memory.To store a frequency in the memory, follow these steps:
1. Press the SEEK button (4 or 5), or turn the
TUNE/FOLDER switch (7) to tune to the frequency you
wish to keep in the memory.
2. Press one of the memory select buttons (2) until it beeps.
The sound will be momentarily interrupted while the fre-
quency is being entered into the memory. The number of
the button matching the entry in the memory as well as the
frequency are displayed.
3. The preset memory setting is retrieved by pressing the
button and then releasing it within about 2 seconds.
NOTE�Disconnecting the battery cables erases all the radio sta-
tion settings stored in the memory.
BK0098300US.book 31 ページ 2008年12月8日 月曜日 午前11時37分
Page 323 of 496
5-32 Comfort controls
5
CD control panel and display
N00735300583
1- PWR (On-Off) switch
2- CD eject button
3- Disc loading slot
4- RADIO (AM/FM selection) button
5- CD (CD mode changeover) button
6- TRACK (Track up) button
7- TRACK (Track down) button
8- RPT/RDM (Repeat/Random) button
9- SCAN button
10- TUNE/FOLDER switch
11- RPT (Repeat-mode) indicator
12- RDM (Random-mode) indicator
13- SCAN indicator
14- CD indicator
15- TRACK indicator16- Track play time display
BK0098300US.book 32 ページ 2008年12月8日 月曜日 午前11時37分
Page 324 of 496

Comfort controls
5-33
5
To listen to a CD
N00735500891
1. Press the CD button (5) and the CD mode will be selected,
starting a playback.
2. To adjust the volume and tone, refer to “To adjust the vol-
ume” on page 5-27 and “To adjust the tone” on page 5-28.
3. To stop the CD, turn off the power by pressing the PWR
switch (1) or switch to the other mode by pressing the
RADIO button (4).NOTE�For information concerning the handling of the compact
discs, refer to “Handling of compact discs” on page 5-71.
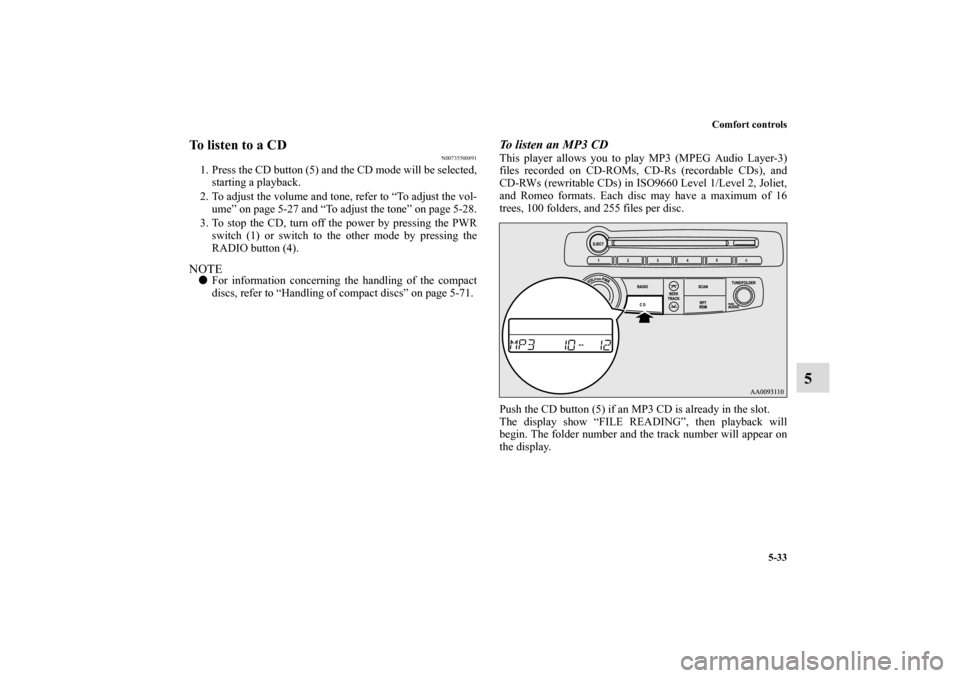
To listen an MP3 CDThis player allows you to play MP3 (MPEG Audio Layer-3)
files recorded on CD-ROMs, CD-Rs (recordable CDs), and
CD-RWs (rewritable CDs) in ISO9660 Level 1/Level 2, Joliet,
and Romeo formats. Each disc may have a maximum of 16
trees, 100 folders, and 255 files per disc.
Push the CD button (5) if an MP3 CD is already in the slot.
The display show “FILE READING”, then playback will
begin. The folder number and the track number will appear on
the display.
BK0098300US.book 33 ページ 2008年12月8日 月曜日 午前11時37分
Page 326 of 496
Comfort controls
5-35
5
To fast forward/reverse the discTo fast forward or reverse, use the TRACK button (6 or 7).
Fast forward
You can fast forward by holding down the side of the
TRACK button (6) for more than about 1 second.
Fast reverse
You can fast reverse by holding down the side of the
TRACK button (7) for more than about 1 second.
To select a desired folderYou can select your desired folder by turning the
TUNE/FOLDER switch (10).
Folder up
Turn the TUNE/FOLDER switch (10) clockwise until the
desired folder number appears on the display.
Folder down
Turn the TUNE/FOLDER switch (10) counterclockwise until
the desired folder number appears on the display.
BK0098300US.book 35 ページ 2008年12月8日 月曜日 午前11時37分
Page 327 of 496

5-36 Comfort controls
5
To select a desired trackYou can select by using the TRACK button (6 or 7).
Track up
Press the side of the TRACK button (6) until the desired
track is reached.
The TRACK indicator (15) will display the number of the
selected track.
Track down
Press the side of the TRACK button (7) until the desired
track is reached.
The TRACK indicator (15) will display the number of the
selected track.NOTE�Pressing the side of the TRACK button (7) once during
the song will cause the CD to restart playing from the
beginning of the song.
To repeat the same track or change the order of tracks
for playback Press the RPT/RDM button (8) to select RPT → RDM →
RPT/RDM mode off.To repeat the same track Select the RPT mode, and the RPT indicator (11) will come on.
You can listen to the same track repeatedly. NOTE�The track repeat mode will be canceled by pressing the
TRACK button (6 or 7), the SCAN button (9) or the CD
eject button (2).
�With a disc that contains both CD-DA and MP3 files, the
repeat mode causes only files of the same format (CD-DA
only or MP3 files only) to be repeated. To change the order of tracks for playbackRandom playback for a disc (music CDs only)
Select the RDM mode, and the RDM indicator (12) will come
on. Tracks are randomly played.
BK0098300US.book 36 ページ 2008年12月8日 月曜日 午前11時37分