Page 69 of 339
CENTER CONSOLE
Your vehicle is equipped with a variety of console features. These
include:
1. Cupholders
2. Utility compartment console lid
has a CD holder, a business card
holder and two pen holders. The
utility compartment has a removable
bin with coin holder slots, a sliding
tray, a cell phone holder and CD
holders
3. Rear power point
4. Rear cupholders
5. Small storage trays and (if equipped) an ambient light control switch
WARNING:Use only soft cups in the cupholders. Hard objects
can injure you in a collision.
The tray and inside bin can be
removed to open up space to fit a
laptop computer, MP3 players, CDs
or handbags. To remove, open the
console lid and pull the bin straight
up and out from the console
housing.
Driver Controls
69
2010 Mariner(mrn)
Owners Guide, 2nd Printing
USA(fus)
Page 70 of 339

The sliding tray and inside bin can
be hooked on the side or rear of the
console for extra storage.
AUXILIARY POWER POINT (12VDC)
Power outlets are designed for accessory plugs only. Do not insert
any other object in the power outlet as this will damage the
outlet and blow the fuse. Do not hang any type of accessory or
accessory bracket from the plug. Improper use of the power
outlet can cause damage not covered by your warranty.
Auxiliary power points can be found in the following locations:
•On the instrument panel
•On the rear side of the center console
Do not use the power point for operating the cigarette lighter element (if
equipped).
To prevent the fuse from being blown, do not use the power point(s)
over the vehicle capacity of 12 VDC/180W. If the power point or cigar
lighter socket is not working, a fuse may have blown. Refer toFuses and
relaysin theRoadside Emergencieschapter for information on
checking and replacing fuses.
To have full capacity usage of your power point, the engine is required to
be running to avoid unintentional discharge of the battery. To prevent
the battery from being discharged:
•do not use the power point longer than necessary when the engine is
not running,
•do not leave battery chargers, video game adapters, computers and
other devices plugged in overnight or when the vehicle is parked for
extended periods.
Always keep the power point caps closed when not being used.
Driver Controls
70
2010 Mariner(mrn)
Owners Guide, 2nd Printing
USA(fus)
Page 71 of 339

POWER WINDOWS (IF EQUIPPED)
WARNING:Do not leave children unattended in the vehicle and
do not let children play with the power windows. They may
seriously injure themselves.
WARNING:When closing the power windows, you should verify
they are free of obstructions and ensure that children and/or
pets are not in the proximity of the window openings.
Press and pull the window switches
to open and close windows.
•Press down (to the first detent)
and hold the switch to open.
•Pull up and hold the switch to
close.
Rear window buffeting:When one or both of the rear windows are
open, the vehicle may demonstrate a wind throb or buffeting noise; this
noise can be alleviated by lowering a front window approximately two to
three inches.
One-touch down (AUTO)
Allows the driver’s window to open
fully without holding the control
down. Press the switch completely
down to the second detent and
release quickly. The window will
open fully. Momentarily press the
switch to any position to stop the
window operation.
Driver Controls
71
2010 Mariner(mrn)
Owners Guide, 2nd Printing
USA(fus)
Page 72 of 339

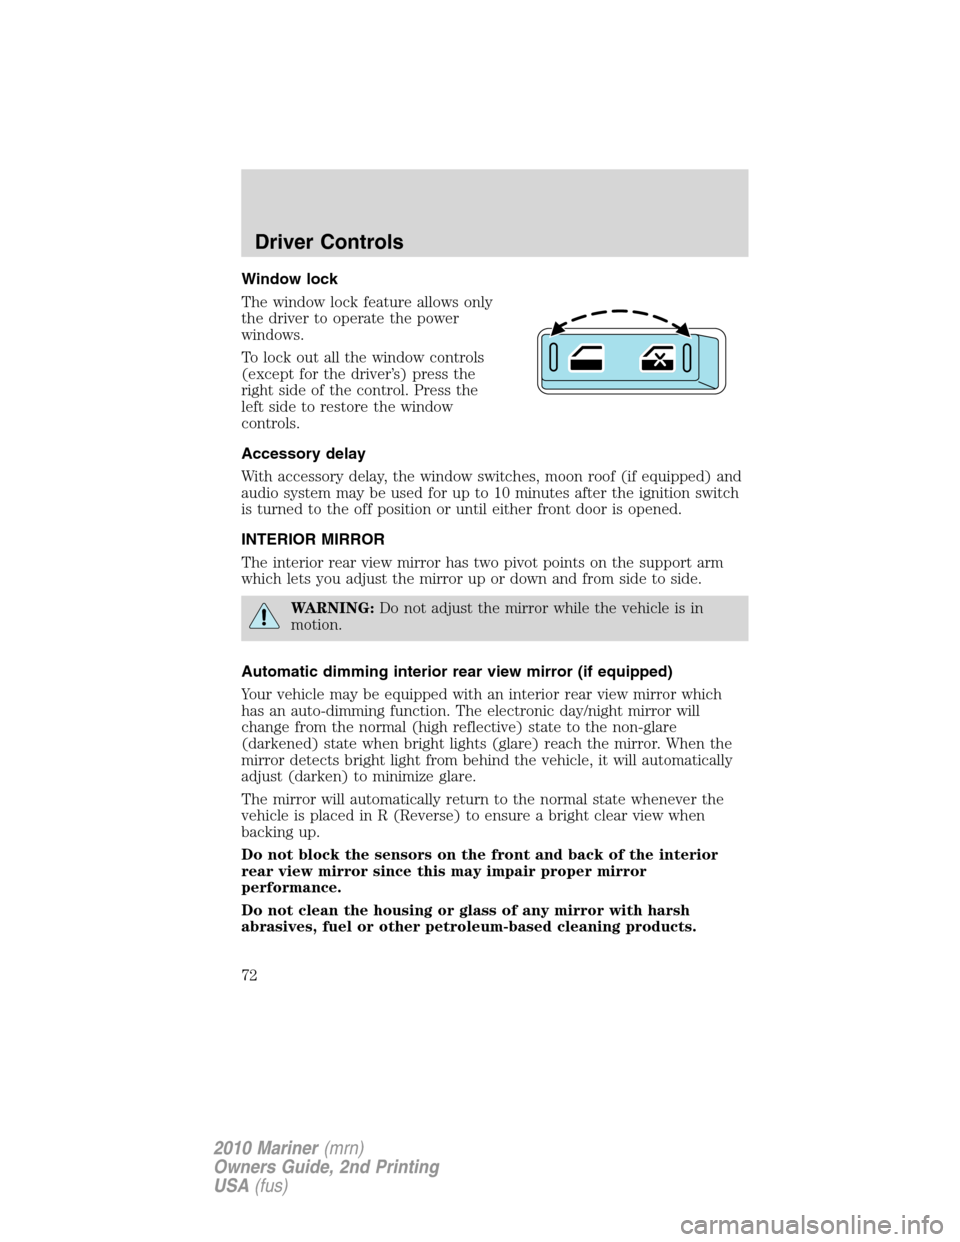
Window lock
The window lock feature allows only
the driver to operate the power
windows.
To lock out all the window controls
(except for the driver’s) press the
right side of the control. Press the
left side to restore the window
controls.
Accessory delay
With accessory delay, the window switches, moon roof (if equipped) and
audio system may be used for up to 10 minutes after the ignition switch
is turned to the off position or until either front door is opened.
INTERIOR MIRROR
The interior rear view mirror has two pivot points on the support arm
which lets you adjust the mirror up or down and from side to side.
WARNING:Do not adjust the mirror while the vehicle is in
motion.
Automatic dimming interior rear view mirror (if equipped)
Your vehicle may be equipped with an interior rear view mirror which
has an auto-dimming function. The electronic day/night mirror will
change from the normal (high reflective) state to the non-glare
(darkened) state when bright lights (glare) reach the mirror. When the
mirror detects bright light from behind the vehicle, it will automatically
adjust (darken) to minimize glare.
The mirror will automatically return to the normal state whenever the
vehicle is placed in R (Reverse) to ensure a bright clear view when
backing up.
Do not block the sensors on the front and back of the interior
rear view mirror since this may impair proper mirror
performance.
Do not clean the housing or glass of any mirror with harsh
abrasives, fuel or other petroleum-based cleaning products.
Driver Controls
72
2010 Mariner(mrn)
Owners Guide, 2nd Printing
USA(fus)
Page 73 of 339

Note:If equipped with a rearview camera system, a video image will
display in the mirror or the navigation system display (if equipped) when
the vehicle is put in R (Reverse). As you shift into any other gear from R
(Reverse), the image will remain for a few seconds and then turn off.
Refer toRearview camera systemin theDrivingchapter.
EXTERIOR MIRRORS
Power side view mirrors
WARNING:Do not adjust the mirror while the vehicle is in
motion.
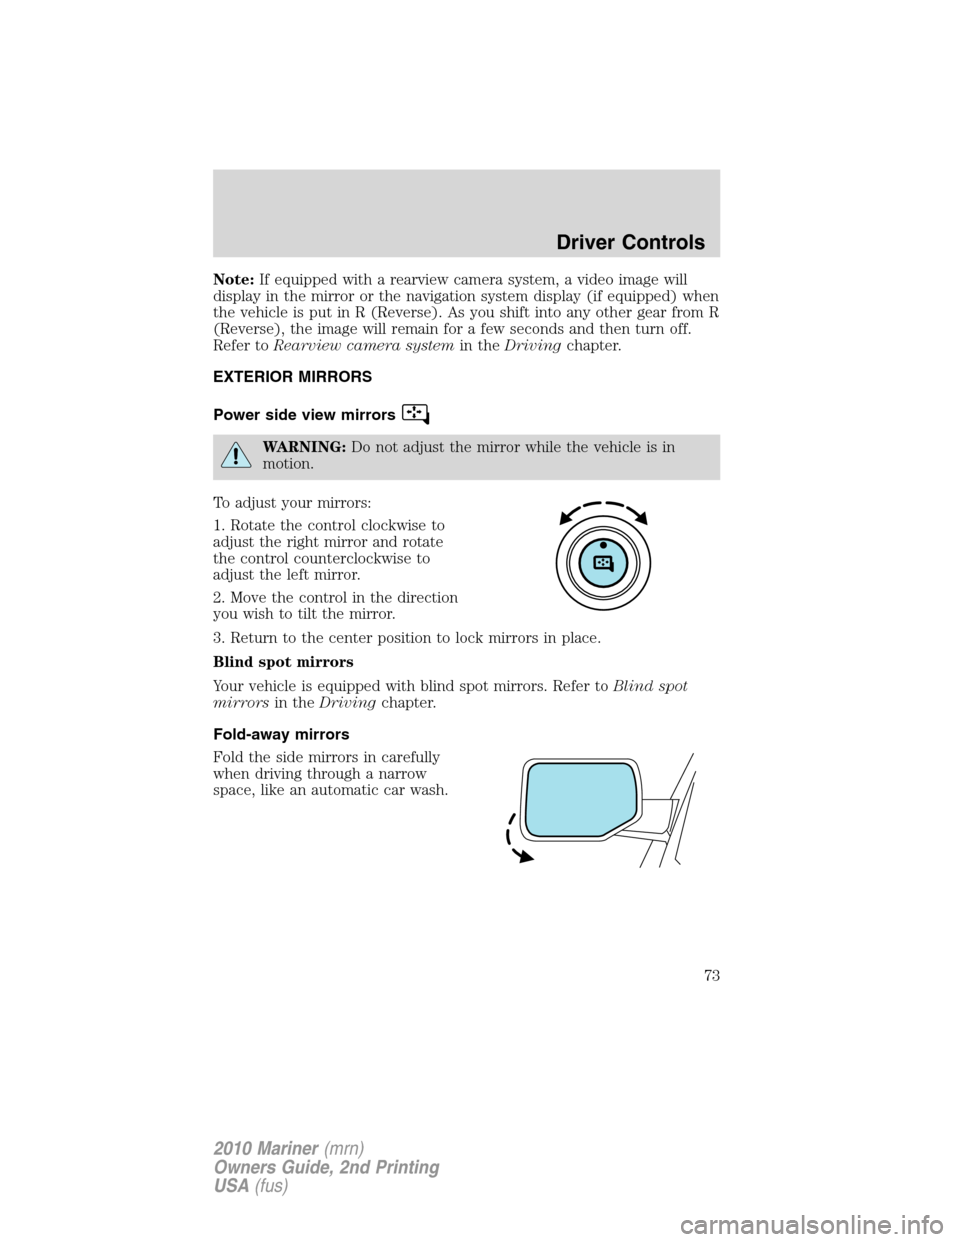
To adjust your mirrors:
1. Rotate the control clockwise to
adjust the right mirror and rotate
the control counterclockwise to
adjust the left mirror.
2. Move the control in the direction
you wish to tilt the mirror.
3. Return to the center position to lock mirrors in place.
Blind spot mirrors
Your vehicle is equipped with blind spot mirrors. Refer toBlind spot
mirrorsin theDrivingchapter.
Fold-away mirrors
Fold the side mirrors in carefully
when driving through a narrow
space, like an automatic car wash.
Driver Controls
73
2010 Mariner(mrn)
Owners Guide, 2nd Printing
USA(fus)
Page 86 of 339

FCC and RSS-210 Industry Canada Compliance
The Car2U�system complies with Part 15 of the FCC rules and with
RSS-210 of Industry Canada. Operation is subject to the following two
conditions: (1) This device may not cause harmful interference, and (2)
This device must accept any interference received including interference
that may cause undesired operation.
Changes and modifications to the Car2U�system transmitter by other
than an authorized service facility could void authorization to use the
equipment.
LIFTGATE
•To open the liftgate window,
unlock the liftgate (with the
power door locks or the remote
entry) and press the right side
control button located under the
license plate lamp shield.
•To open the liftgate, unlock the
liftgate (with the power door
locks or the remote entry) and
press the middle control button
located below the license plate.
To lock the liftgate and the liftgate window, use the power door locks.
Do not open the liftgate or liftgate window in a garage or other enclosed
area with a low ceiling. If the liftgate window is raised and the liftgate is
also opened, both liftgate and window could be damaged against a low
ceiling.
Do not leave the liftgate or liftgate window open while driving. Doing so
could cause serious damage to the liftgate and its components as well as
allowing carbon monoxide to enter the vehicle.
Driver Controls
86
2010 Mariner(mrn)
Owners Guide, 2nd Printing
USA(fus)
Page 97 of 339

POWER DOOR LOCKS
•Press the
control to unlock all
doors.
•Press the
control to lock all
doors.
Door key unlocking/locking
Unlocking the doors
Turn the key in the door cylinder to unlock the driver’s door only. All
other doors will remain locked.
Locking the doors
Turn the key in the door cylinder to lock the driver’s door only.
Autolock
The autolock feature will lock all the doors, liftgate and liftgate window
when:
•all doors are closed,
•the ignition is in the on position,
•you shift into any gear putting the vehicle in motion, and
•the vehicle attains a speed greater than 12 mph (20 km/h).
The autolock feature repeats when:
•any door is opened then closed while the ignition is in the on position
and the vehicle speed is 9 mph (15 km/h) or lower, and
•the vehicle attains a speed greater than 12 mph (20 km/h).
Deactivating/activating autolock
Your vehicle comes with the autolock feature enabled. There are four
methods to enable/disable this feature:
•Through your authorized dealer, or
•Performing the power door lock control procedure, or
•Performing the keyless entry keypad procedure, or
•Performing the message center procedure.
Locks and Security
97
2010 Mariner(mrn)
Owners Guide, 2nd Printing
USA(fus)
Page 98 of 339

Note:The autolock feature can be activated/deactivated independently
of the autounlock feature.
Before following the activation or deactivation procedures, make sure
that the anti-theft system is not armed, ignition is in the off position, and
all vehicle doors, liftgate and liftgate window are closed.
Power door unlock/lock procedure
You must complete Steps 1-5 within 30 seconds or the procedure will
have to be repeated. If the procedure needs to be repeated, you must
wait 30 seconds.
Note: Alldoors must be closed and remain closed throughout the
configuration process.
1. The ignition must be off to begin
sequence.
2. Turn the ignition to the on
position.
3. Press the power door unlock
control three times.
4. Turn the ignition from the on to
the off position.
5. Press the power door unlock control three times.
6. Turn the ignition back to the on position. The horn will chirp.
7. Press the unlock control, then press the lock control. The horn will
chirp once if autolock was deactivated or twice (one short and one long
chirp) if autolock was activated.
8. Turn the ignition to the off position. The horn will chirp once to
confirm the procedure is complete.
Keyless entry keypad procedure
1. Turn the ignition to the off position.
2. Close all doors, the liftgate and liftgate window.
3. Enter 5–digit entry code
4. Press and hold the 3•4. While holding the 3•4pressthe7•8.
5. Release the 7•8.
6. Release the 3•4.
The user should receive a horn chirp to indicate the system has been
disabled or a chirp followed by a honk to indicate the system has been
enabled.
Locks and Security
98
2010 Mariner(mrn)
Owners Guide, 2nd Printing
USA(fus)