2010 MERCEDES-BENZ R350 set clock
[x] Cancel search: set clockPage 8 of 364

Cargo net ...........................................
196
Cargo tie-down rings .........................188
Carpets, cleaning .............................. 267
Central locking
Automatic ................................ 74, 137
KEYLESS-GO
.................................... 71
Locking/unlocking from inside ........ 74
SmartKey ......................................... 70
Central locking/unlocking switch .....74
Certification label .............................. 344
Children in the vehicle
Air bags ........................................... 37
BabySmart™ air bag deactivation
system ............................................. 45
Child safety locks (rear doors) ......... 61
Child seat anchors – LATCH-type ....60
Indicator lamp, front passenger
front air bag off (Canada only) ......... 45
Indicator lamp, front passenger
front air bag off (USA only) .............. 42
Infant and child restraint systems .... 55
OCS (Occupant Classification
System) ........................................... 42
Override switch ................................ 62
Safety notes ..................................... 55
Tether anchorage points .................. 57
Top tether ........................................ 57
Child safety
see Children in the vehicle
Child seat anchors – LATCH-type
see Children in the vehicle
Chrome-plated exhaust tip,
cleaning .............................................. 268
Cigarette lighter ................................ 205
Climate control system ....................162
3-zone automatic climate control ..170
Air conditioning .....................167, 175
Air conditioning refrigerant ............ 352
Air distribution ....................... 168, 177
Air recirculation mode ........... 169, 179
Air volume ............................. 168, 178
Automatic mode .................... 167, 176
Climate control .............................. 164
Deactivating system ..............166, 175
Front defroster ...................... 168, 178
Residual heat and
ventilation .............................. 170, 180
Temperature .......................... 168, 176Clock
............................................ 28, 133
Cockpit ................................................. 27
Cold tire inflation pressure ..............249
Collapsible tire (spare wheel) ..........350
Collapsible wheel chock ...................272
COMAND system see separate COMAND system
operating instructions
Combination switch ..........................100
Comfort submenu Easy-entry/exit feature .................. 137
Fold-in function for exterior rear
view mirrors ................................... 138
Seat belt adjustment feature ......... 138
Compass
Calling up ....................................... 216
Control system .................................. 123
Multifunction display .....................125
Multifunction steering wheel ......... 123
Resetting to factory settings .......... 131
Control system menus ...................... 126
AIRMATIC/Compass ...................... 129
Audio/DVD .................................... 128
Distronic ........................................ 129
Navigation ..................................... 129
Settings ......................................... 130
Standard display ............................ 126
Telephone ...................................... 140
Trip computer ................................ 139
Vehicle status message memory ...130
Control system submenus
Comfort ......................................... 137
Instrument cluster .........................132
Lighting .......................................... 134
Time/Date ..................................... 133
Vehicle ........................................... 137
Coolant
Anticorrosion/antifreeze ............... 356
Capacities ...................................... 351
Checking level ............................... 225
Messages in the multifunction
display ........................................... 290
Corner-illuminating front fog
lamps .................................................. 101
Cruise control .................................... 142
Activating ....................................... 143
Canceling ....................................... 1436
Index 251_AKB; 4; 52, en-US
d2ureepe,
Version: 2.11.8.1 2009-03-23T09:22:52+01:00 - Seite 6
Page 9 of 364

Changing the set speed
.................144
Last stored speed .......................... 144
Lever ..............................................
143
Messages in the mutlifunction
display ........................................... 280
Resume function ............................ 144
Setting current speed .................... 143
Cup holders ........................................ 201
Curb weight ....................................... 249
Customer Assistance Center (CAC) ...23
Customer Relations Department .......23 D
Dashboard see Instrument cluster
Data recording ..................................... 23
Date, Setting ...................................... 134
Daytime running lamp mode ..............99
Switching on or off ......................... 134
Deep water
see Standing water
Defroster
Rear window .................................. 180
Windshield ............................. 168, 178
Delayed shut-off
Exterior lamps ................................ 135
Interior lighting .............................. 136
Department of Transportation
see DOT
Diesel engine
Preglow indicator lamp ....................29
Diesel fuel
see Fuel
Difficulties
While driving .................................. 113
With starting .................................. 111
Digital clock
see Clock
Digital speedometer .........................127
Dimensions (vehicle) see Vehicle specification
Direction of rotation (tires) ..............240
Displays
Digital speedometer ......................127
Distronic ........................................ 146
Maintenance service indicator .......261 Messages in the multifunction
display
........................................... 274
Multifunction display .....................125
Outside temperature .............127, 133
Symbol messages .......................... 285
Text messages ............................... 275
Trip computer ................................ 139
Vehicle status message memory ...130
Vehicle system settings ................. 130
Distronic ............................................ 145
Cleaning system sensor cover ....... 265
Control system .............................. 129
Distance warning function .............152
Distance warning
lamp ...................................... 147, 304
Driving with .................................... 151
Menu ............................................. 147
Messages in the multifunction
display ........................................... 280
Resume function ............................ 150
Sensor cover .................................. 265
Speed settings ............................... 149
Door control panel .............................. 33
Door handles ........................................ 33
Doors
Child safety locks ............................ 61
Locking/unlocking (KEYLESS-GO) ...71
Locking/unlocking (SmartKey) ........ 70
Messages in the multifunction
display ........................................... 289
Opening from inside ......................... 74
Remote door unlock (Tele Aid) ....... 212
Unlocking (Mechanical key) ........... 308
DOT (Department of
Transportation) .................................. 249
Drinking and driving .........................253
Driving
Abroad ........................................... 259
Hydroplaning ................................. 255
Instructions ........................... 110, 253
In winter ........................................ 252
Problems ....................................... 113
Safety systems ................................ 63
Systems ......................................... 142
Through standing water .................256
With Distronic ................................ 151
Driving and parking
Safety notes .................................. 110 Index
7 251_AKB; 4; 52, en-US
d2ureepe,
Version: 2.11.8.1 2009-03-23T09:22:52+01:00 - Seite 7
Page 30 of 364

Instrument cluster
Function Page
:
# Left turn signal
indicator lamp
;
To dim instrument cluster
illumination
123
=
Reset button for:
Trip odometer 123
Settings 131
?
To brighten instrument
cluster illumination
123
A
! Right turn signal
indicator lamp
B
Clock 133
C
Speedometer with:
! Antilock Brake
System (ABS) indicator
lamp
300
È Variable speed limiter
indicator lamp
2 Function Page
$ Brake warning lamp,
USA only
301
d ESP
®
warning lamp 303
· Distance warning
lamp
3
304
J Brake warning lamp,
Canada only
301
h Combination low tire
pressure/TPMS
malfunction telltale, USA
only
232,
306 2
Lamp without function. It illuminates when the ignition is on. It should go out when the engine is running.
3 Vehicles without Distronic: Warning lamp without function. It illuminates when the ignition is on. It should
go out when the engine is running. 28
Instrument clusterAt a glance
251_AKB; 4; 52, en-US
d2ureepe,
Version: 2.11.8.1 2009-03-23T09:22:52+01:00 - Seite 28
Page 136 of 364

X
Press button V or U repeatedly until
the Settings menu appears in the
multifunction display.
X Press button &.
X Move the selection marker with button
W or X to the Time/Date submenu.
X Press button & or * repeatedly until
the message Clock Set Hour or Clock
Set Minute(s) appears in the
multifunction display.
The selection marker is on the current
setting. Example illustration for setting the hour
X
Press button W or X to set the hours
or minute(s).
Setting the date
This function is not available if your vehicle is
equipped with the COMAND system and
navigation module.
X Press button V or U repeatedly until
the Settings menu appears in the
multifunction display.
X Press button &.
X Move the selection marker with button
W or X to the Time/Date submenu.
X Press button & or * repeatedly until
the message Date Set Month , Date Set
Day, or Date Set Year appears in the
multifunction display.
The selection marker is on the current
setting. Example illustration for setting the month
X
Press button W or X to set the
month, day, or year.
Lighting submenu Access the
Lighting submenu via the
Settings menu. Use the Lighting submenu
to change the lamp and lighting settings on
your vehicle.
The following functions are available:
R Switching daytime running lamp mode on
or off (USA only) (Y page 134)
R Switching locator lighting on or off
(Y page 135)
R Switching night security illumination on or
off (Y page 135)
R Switching interior lighting delayed shut-off
on or off ( Y page 136)
Switching daytime running lamp mode on
or off (USA only)
X Press button V or U repeatedly until
the Settings menu appears in the
multifunction display.
X Press button &.
X Move the selection marker with button
W or X to the Lighting submenu.
X Press button & or * repeatedly until
the message Daytime Running Lamps
appears in the multifunction display.
The selection marker is on the current
setting. 134
Control systemControls in detail
251_AKB; 4; 52, en-US
d2ureepe,
Version: 2.11.8.1 2009-03-23T09:22:52+01:00 - Seite 134
Page 170 of 364

shown in air volume display
G
(Y page 164).
or
X Press air distribution button ¯, P, or
O.
The indicator lamp in button à goes out.
The automatic operation of air distribution
switches off. Setting the temperature
You can adjust the air temperature on each
side of the passenger compartment. You
should
raise or lower the temperature setting
in small increments, preferably starting at
72‡ (22†).
X Increasing/decreasing: Turn
temperature control : and/or C
(Y page 164) slightly clockwise or
counterclockwise. Adjusting air distribution
The
air distribution can be adjusted manually.
The symbols on the buttons represent the
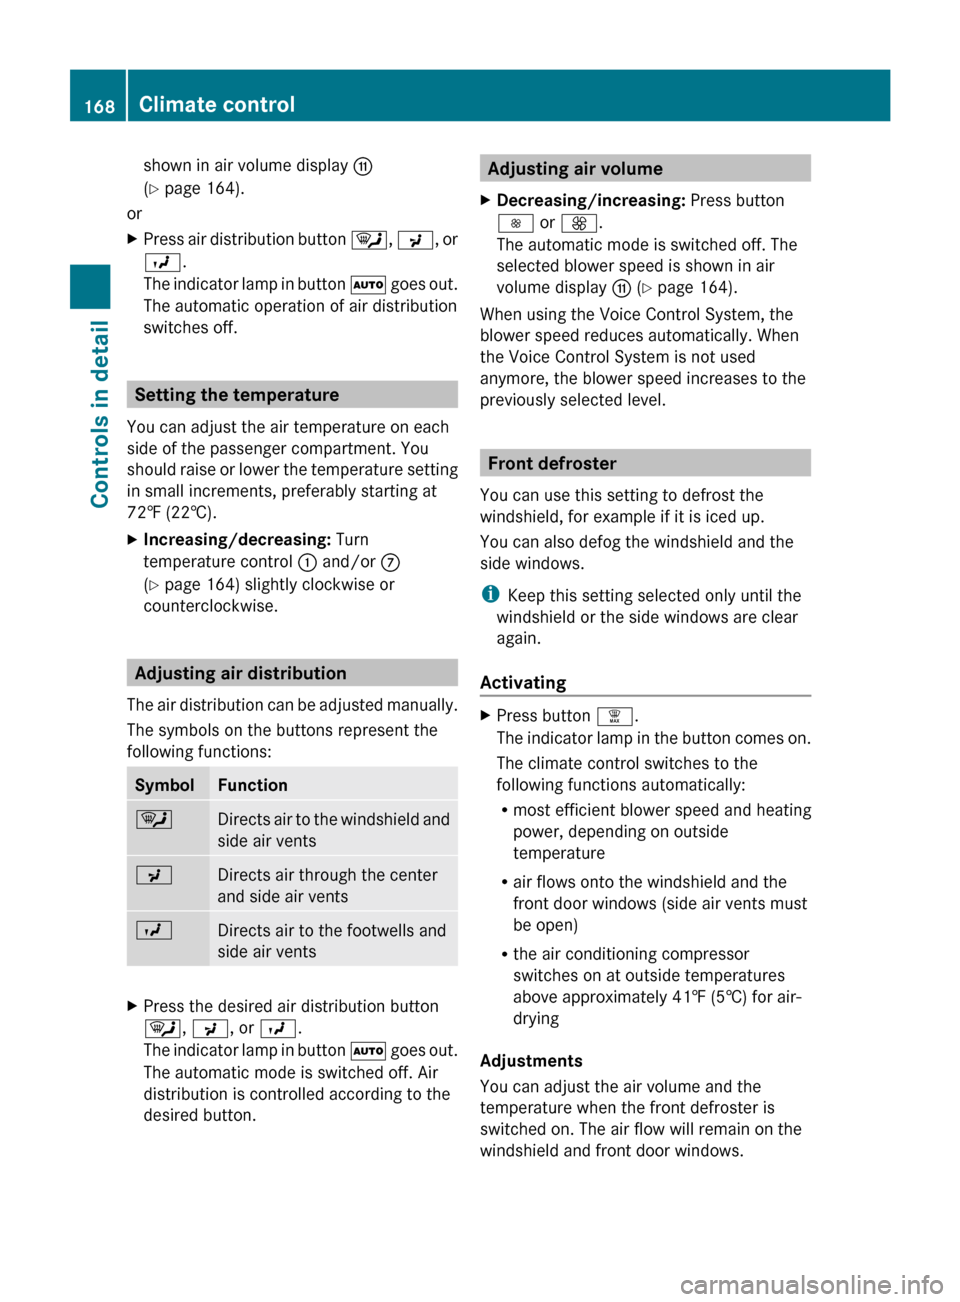
following functions: Symbol Function
¯
Directs air to the windshield and
side air vents
P
Directs air through the center
and side air vents
O
Directs air to the footwells and
side air vents
X
Press the desired air distribution button
¯, P, or O.
The
indicator lamp in button à goes out.
The automatic mode is switched off. Air
distribution is controlled according to the
desired button. Adjusting air volume
X Decreasing/increasing: Press button
I or K.
The automatic mode is switched off. The
selected blower speed is shown in air
volume display G (Y page 164).
When using the Voice Control System, the
blower speed reduces automatically. When
the Voice Control System is not used
anymore, the blower speed increases to the
previously selected level. Front defroster
You can use this setting to defrost the
windshield, for example if it is iced up.
You can also defog the windshield and the
side windows.
i Keep this setting selected only until the
windshield or the side windows are clear
again.
Activating X
Press button ¦.
The
indicator lamp in the button comes on.
The climate control switches to the
following functions automatically:
R most efficient blower speed and heating
power, depending on outside
temperature
R air flows onto the windshield and the
front door windows (side air vents must
be open)
R the air conditioning compressor
switches on at outside temperatures
above approximately 41‡ (5†) for air-
drying
Adjustments
You can adjust the air volume and the
temperature when the front defroster is
switched on. The air flow will remain on the
windshield and front door windows. 168
Climate control
Controls in detail
251_AKB; 4; 52, en-US
d2ureepe,
Version: 2.11.8.1 2009-03-23T09:22:52+01:00 - Seite 168
Page 224 of 364

i
Leaving the engine running and the fuel
filler cap open can cause the yellow fuel
tank
reserve warning lamp to flash and the
malfunction indicator lamp ! (USA
only) or ; (Canada only) to illuminate.
For more information, see also “Practical
hints” (Y page 305).
X Remove the SmartKey from the starter
switch.
KEYLESS-GO: Open the driver’s door (this
puts the starter switch in position 0, same
as with the SmartKey removed from the
starter switch). The driver’s door then can
be closed again.
X Opening: Press fuel filler flap : at the
point indicated by the arrow.
X Turn fuel filler cap ; counterclockwise.
X Take off fuel filler cap ;.
! The fuel filler cap is tethered to the fuel
filler neck. Do not drop the cap. It could
damage the vehicle paint finish.
X Set fuel filler cap ; on fuel filler flap :.
X Fully insert filler nozzle unit and refuel.
X Only fill your tank until the filler nozzle unit
cuts out – do not top off or overfill .
X Closing: Turn fuel filler cap ; clockwise
until it audibly engages.
X Close fuel filler flap :.
Low outside temperatures (diesel
engine) !
Do not fill the tank with gasoline. Do not
blend
diesel fuel with gasoline or kerosene.
The fuel system and engine will otherwise
be damaged, which is not covered by the
Mercedes-Benz Limited Warranty.
To prevent malfunctions, diesel fuel with
improved cold flow characteristics is offered
in the winter months. Check with your fuel
retailer. Check regularly and before a long trip
For information on quantities and
requirements
of operating agents, see “Fuels,
coolants, lubricants, etc.” (Y page 350).
Check the following:
R Engine oil level ( Y page 224)
R Tire inflation pressure ( Y page 230)
R Coolant level ( Y page 225)
R Vehicle lighting ( Y page 313)
R Washer system and headlamp cleaning
system (Y page 226)
R Brake fluid ( Y page 227) Engine compartment
Hood
G
Warning!
Do not pull the release lever while the vehicle
is in motion. Otherwise the hood could be
forced open by passing air flow.
This
could cause the hood to come loose and
injure you and/or others.
Opening G
Warning!
Do not open the hood when the engine is
overheated. You could be seriously injured.
Observe the coolant temperature display to
determine whether the engine may be
overheated. If you see flames or smoke
coming from the engine compartment, move
away from the vehicle. Wait until the engine
has cooled. If necessary, call the fire
department. G
Warning!
You could be injured when the hood is open –
even when the engine is turned off.
Parts of the engine can become very hot. To
prevent
burns, let the engine cool completely
before touching any components on the 222
Engine compartment
Operation
251_AKB; 4; 52, en-US
d2ureepe,
Version: 2.11.8.1 2009-03-23T09:22:52+01:00 - Seite 222
Page 337 of 364

battery cover is non-removable. Do not
attempt to open the battery as otherwise
the battery will be damaged.
VRLA
batteries do not require topping-up of
the electrolyte level. They cannot be
opened to check the electrolyte level.
However, the battery condition must be
checked periodically by performing a
battery conductance test. Refer to
Maintenance Booklet for battery condition
testing intervals.
The factory-equipped battery may only be
replaced with a battery that
R has the same security features
R is of identical size
R is of identical voltage
R is of identical capacity
! As any other battery, the battery may
discharge if you do not operate the vehicle
for an extended period of time. Have the
battery disconnected at a qualified
workshop or an authorized Mercedes-Benz
Center in such a case. You may also
connect an accessory battery charge unit
expressly approved by Mercedes-Benz for
your vehicle model to maintain the battery
charge. Contact an authorized Mercedes-
Benz Center for further information.
The battery, the battery ventilation hose
and the lateral plug must always be
securely installed when the vehicle is in
operation.
! Never loosen or detach battery terminal
clamps while the engine is running or the
SmartKey is in the starter switch or
KEYLESS-GO button is in position 1.
Otherwise the alternator and other
electronic components could be severely
damaged.
Have the battery checked regularly at an
authorized Mercedes-Benz Center.
Refer to Maintenance Booklet for
maintenance intervals or contact an authorized Mercedes-Benz Center for
further information.
i After battery power was interrupted, do
the following:
R Set the clock
(Y page 133).
Vehicles with COMAND system with
navigation module: Time and date are set
automatically.
R Synchronize the door windows
(Y page 107).
R Synchronize the power tilt/sliding
sunroof (Y page 183).
R Synchronize the power tilt/sliding panel
(Y page 186).
R Synchronize the exterior rear view
mirrors (Y page 96). Charging the battery
G
Warning!
Never charge a battery while still installed in
the vehicle unless the accessory battery
charge unit approved by Mercedes-Benz is
being used. Gases may escape during
charging and could cause an explosion that
may
result in personal injury, paint damage or
corrosion.
An accessory battery charge unit specially
adapted for Mercedes-Benz vehicles and
tested and approved by Mercedes-Benz is
available. It permits the charging of the
battery in its installed position. Contact an
authorized Mercedes-Benz Center for
information and availability.
Charge battery in accordance with the
separate instructions for the accessory
battery charger.
Have the battery charged at an authorized
Mercedes-Benz Center. If you charge the
battery yourself, follow the operating
instructions for your charging device. Battery
335
Practical hints
251_AKB; 4; 52, en-US
d2ureepe, Version: 2.11.8.1 2009-03-23T09:22:52+01:00 - Seite 335 Z