2010 MERCEDES-BENZ ML320 lock
[x] Cancel search: lockPage 138 of 368

The following functions are available:
RActivating easy-entry/exit feature
(Y page 136)
RActivating/deactivating the seat belt
adjustment feature (Y page 136)
RSwitching fold-in function for exterior rear
view mirrors on or off (Y page 137)
Activating easy-entry/exit feature
Use this function to activate and deactivate
the easy-entry/exit feature (Y page 87).
GWarning!
You must make sure no one can become
trapped or injured by the moving steering
wheel when the easy-entry/exit feature is
activated.
To stop steering wheel movement do one of
the following:
RMove steering wheel adjustment stalk.
RPress one of the memory position buttons.
RPress memory button M.
Do not leave children unattended in the
vehicle, or with access to an unlocked vehicle.
Children could open the driver’s door and
unintentionally activate the easy-entry/exit
feature, which could result in an accident
and/or serious personal injury.
XPress button V or U repeatedly until
the Settings menu appears in the
multifunction display.
XPress button &.XMove the selection marker with button
W or X to the Comfort submenu.
XPress button & or * repeatedly until
the message Easy-entry Function
appears in the multifunction display.
The selection marker is on the current
setting.
XPress button W or X to activate (On)
or deactivate (Off) the easy-entry/exit
feature.
Activating/deactivating seat belt
adjustment feature
Use this feature to set the seat belts to be
adjusted automatically with the driver’s or
front passenger seat belt fastened and the
starter switch in position 2.
For more information on the seat belt
adjustment feature, see (Y page 51).
XPress button V or U repeatedly until
the Settings menu appears in the
multifunction display.
XPress button &.XMove the selection marker with button
W or X to the Comfort submenu.
XPress button & or * repeatedly until
the message Belt Adjustment appears in
the multifunction display.
The selection marker is on the current
setting.
XPress button W or X to active (On) or
deactivate (Off) the seat belt adjustment
feature.
136Control systemControls in detail
164_AKB; 7; 31, en-USd2ureepe,Version: 2.11.8.12009-09-11T12:07:36+02:00 - Seite 136
Page 139 of 368

Switching fold-in function for exterior
rear view mirrors on or off
Use this function to set the exterior rear view
mirrors to be folded in automatically when
you lock your vehicle.
With this function set to On and the exterior
rear view mirrors folded in using the button
on the door control panel (Y page 91), the
exterior rear view mirrors will not fold out
when you switch on the ignition. You will then
have to fold out the exterior rear view mirrors
using the button on the door control panel
(Y page 91).
Make sure both exterior rear view mirrors are
folded out completely before driving off.
XPress button V or U repeatedly until
the Settings menu appears in the
multifunction display.
XPress button &.XMove the selection marker with button
W or X to the Comfort submenu.
XPress button & or * repeatedly until
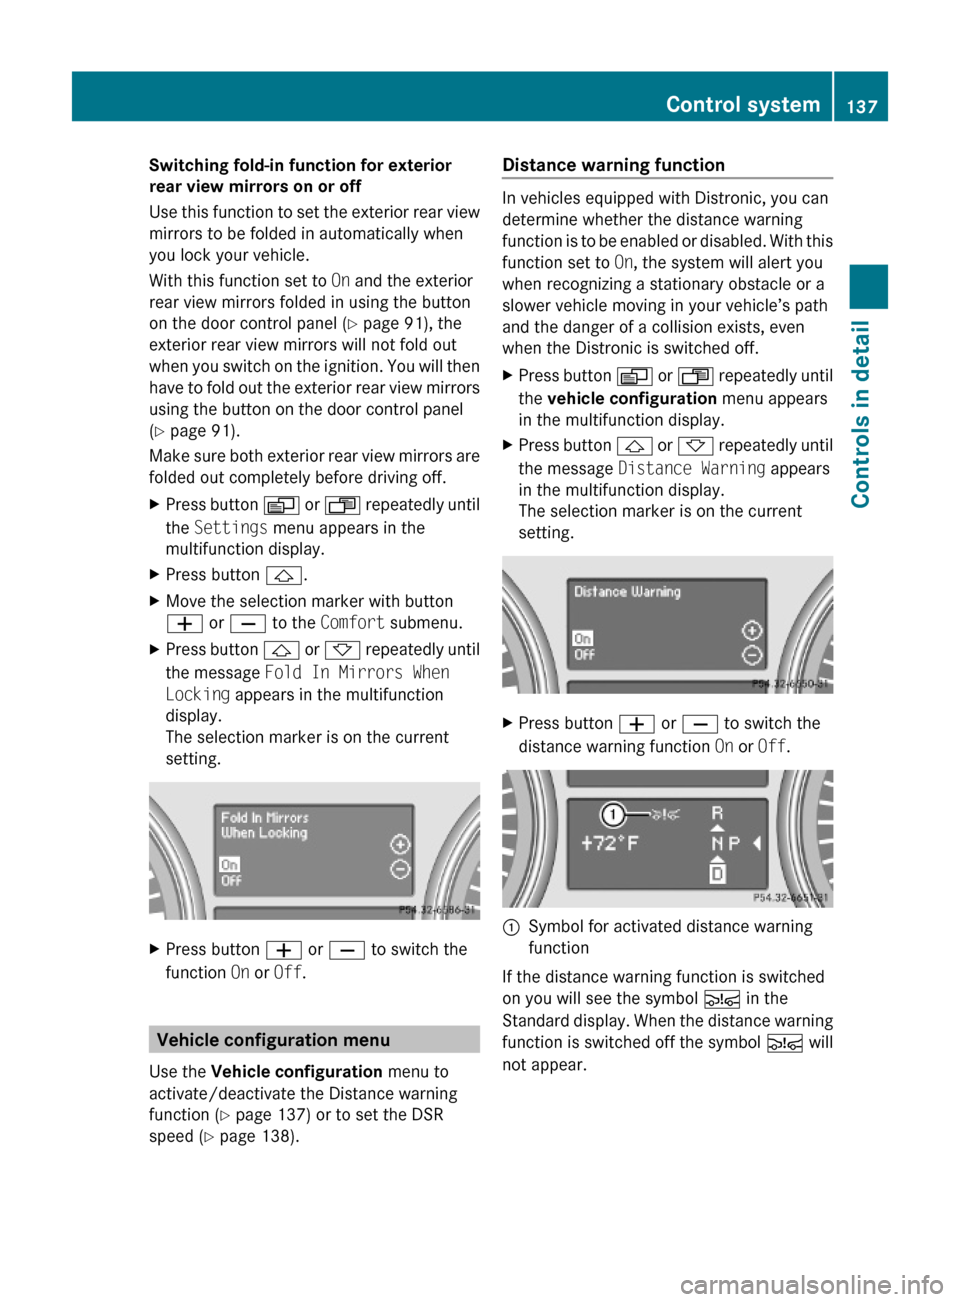
the message Fold In Mirrors When
Locking appears in the multifunction
display.
The selection marker is on the current
setting.
XPress button W or X to switch the
function On or Off.
Vehicle configuration menu
Use the Vehicle configuration menu to
activate/deactivate the Distance warning
function (Y page 137) or to set the DSR
speed (Y page 138).
Distance warning function
In vehicles equipped with Distronic, you can
determine whether the distance warning
function is to be enabled or disabled. With this
function set to On, the system will alert you
when recognizing a stationary obstacle or a
slower vehicle moving in your vehicle’s path
and the danger of a collision exists, even
when the Distronic is switched off.
XPress button V or U repeatedly until
the vehicle configuration menu appears
in the multifunction display.
XPress button & or * repeatedly until
the message Distance Warning appears
in the multifunction display.
The selection marker is on the current
setting.
XPress button W or X to switch the
distance warning function On or Off.
:Symbol for activated distance warning
function
If the distance warning function is switched
on you will see the symbol Ä in the
Standard display. When the distance warning
function is switched off the symbol Ä will
not appear.
Control system137Controls in detail164_AKB; 7; 31, en-USd2ureepe,Version: 2.11.8.12009-09-11T12:07:36+02:00 - Seite 137Z
Page 158 of 368

ML 63 AMG
The air suspension program is part of the ML
63 AMG standard equipment range.
Due to the vehicle’s sportier suspension
tuning, in comparison with standard vehicles,
the level positions in the ADS settings as well
as the speed thresholds for raising and
lowering the vehicle have been modified.
From the highway/high-speed level, the
vehicle is lowered to the ADS SPORT level
approximately 20 seconds after it is locked.
From the raised level, the vehicle is not
lowered after it is locked. When the engine is
started, the previously selected setting, e.g.
ADS COMF, is selected again.
! Be sure to observe this vehicle’s differing
values for ground clearance and vehicle
height in comparison to standard vehicles.
You could otherwise damage the vehicle.
Observe the values for
Ropening the tailgate
Rdriving off-road
Rthe vehicle’s main dimensions in the
“Technical data” section
Adaptive Damping System (ADS)
The Adaptive Damping System (ADS) is
controlled electronically and operates
continuously. It adjusts the damping
characteristics to the current operating and
driving conditions. The damping is adjusted
individually for each wheel. Driving safety and
tire comfort are increased.
The fine tuning of the damping is dependent
on:
Ryour driving style
Rroad surface conditions
Ryour personal settings
The following settings are available:
RAUTO (for normal driving situations)
Indicator lamps ; and = are off.
RSPORT (for sporty driving)
Indicator lamp ; comes on.
With the ADS SPORT setting, the vehicle is
lowered approximately 0.6 in (15 mm).
ML63 AMG:
With the ADS SPORT setting, the vehicle is
lowered approximately 0.3 in (8 mm).
RCOMF (for comfort driving)
Indicator lamp = comes on.
ML63 AMG:
The vehicle is raised approximately 0.28 in
(7 mm).
XStart the engine.XPress ADS switch : repeatedly until the
desired suspension tuning is reached.
The setting remains stored when you turn off
the engine.
Vehicle level control
Your vehicle automatically adjusts its ride
height to increase vehicle safety and to
reduce fuel consumption.
Changes to the vehicle level should be made
while the vehicle is moving. The vehicle will
then reach the set level as fast as possible.
When you park the vehicle and the ambient
temperature changes, the vehicle level may
change visibly. When the temperature drops,
156Driving systemsControls in detail
164_AKB; 7; 31, en-USd2ureepe,Version: 2.11.8.12009-09-11T12:07:36+02:00 - Seite 156
Page 159 of 368

the vehicle lowers. When the temperature
rises, the vehicle raises.
The vehicle automatically regulates its ride
height based on the set vehicle height and the
current speed:
RAs your driving speed increases, the vehicle
is lowered by increments until it reaches
highspeed level.
RVehicles with ADS: If you are driving with
the ADS setting COMF or AUTO, the
vehicle is raised back to highway level as
your driving speed decreases.
RVehicles with ADS: You can select the
highspeed level via the ADS setting
SPORT. In ADS SPORT, the vehicle is
lowered directly to highspeed level as your
driving speed increases.
The vehicle begins adjusting to the set vehicle
level as soon as the doors or tailgate are
unlocked or opened or closed with the vehicle
unlocked.
In order to operate the vehicle level control
switch (Y page 157), however, the engine
must be running.
GWarning!
Make sure no one is near the wheel housing
or under the vehicle when you lower the
vehicle while it is standing still. Limbs could
become wedged into or under the vehicle.
For safety reasons, the vehicle can only be
lowered with all doors and the tailgate closed.
Lowering is interrupted if a door or the tailgate
is opened and will continue after the door is
closed again.
GWarning!
Please be aware that by raising the vehicle
level, the center of gravity also rises.
Therefore, always ensure that the vehicle
level is as low as possible. With higher ride
height the ESP® may activate earlier in certain
situations.
Adapt your speed and driving to possible
changed driving behavior of the vehicle after
changing the vehicle level. The ESP® cannot
prevent accidents, including those resulting
from excessive speed. The ESP® cannot
prevent the natural laws of physics from
acting on the vehicle.
! Keep in mind that in rough or uneven
terrain, adjusting the vehicle to a lower
level may cause the vehicle underbody to
come in contact with the ground and result
in damage to the vehicle underbody.
Always make sure the vehicle has sufficient
ground clearance before adjusting it to a
lower level.
! Before jacking up the vehicle with
equipment that lifts one or more of the
wheels completely off of the ground,
remove the SmartKey from the starter
switch.
For information on off-road driving, see “Off-
road driving” (Y page 248).
Basic settings (except ML 63 AMG)
The following vehicle chassis ride heights can
be selected using vehicle level control
switch : in the center console:
Driving systems157Controls in detail164_AKB; 7; 31, en-USd2ureepe,Version: 2.11.8.12009-09-11T12:07:36+02:00 - Seite 157Z
Page 173 of 368

in small increments, preferably starting at
72‡ (22†).XIncreasing/decreasing: Turn
temperature control : and/or C
( Y page 167) slightly clockwise or
counterclockwise.
Adjusting air distribution
The air distribution can be adjusted manually.
The symbols on the buttons represent the
following functions:
SymbolFunction¯Directs air to the windshield and
side air ventsPDirects air through the center
and side air ventsODirects air to the footwells and
side air ventsXPress the desired air distribution button
¯ , P , or O .
The indicator lamp in button à goes out.
The automatic mode is switched off. Air
distribution is controlled according to the
desired button.
Adjusting air volume
XDecreasing/increasing: Press button
I or K .
The automatic mode is switched off. The
selected blower speed is shown in air
volume display G (Y page 167).
When using the Voice Control System, the
blower speed reduces automatically. When
the Voice Control System is not used
anymore, the blower speed increases to the
previously selected level.
Front defroster
You can use this setting to defrost the
windshield, for example if it is iced up.
You can also defog the windshield and the
side windows.
i Keep this setting selected only until the
windshield or the side windows are clear
again.
ActivatingXPress button ¦.
The indicator lamp in the button comes on.
The climate control switches to the
following functions automatically:
R most efficient blower speed and heating
power, depending on outside
temperature
R air flows onto the windshield and the
front door windows (side air vents must
be open)
R the air conditioning compressor
switches on at outside temperatures
above approximately 41‡ (5†) for air-
drying
Adjustments
You can adjust the air volume and the
temperature when the front defroster is
switched on. The air flow will remain on the
windshield and front door windows.
XPress button I to decrease or button
K to increase air volume to the desired
level.
The air volume decreases/increases to the
next lower/higher blower speed and
heating switches to the temperature that
was set before the front defroster was
switched on.Climate control171Controls in detail164_AKB; 7; 31, en-USd2ureepe,Version: 2.11.8.12009-09-11T12:07:36+02:00 - Seite 171Z
Page 182 of 368

increments, preferably starting at 72‡
(22†).
Front temperature with front climate
control panel
USA only
XIncreasing/decreasing: Turn
temperature control : and/or C
(Y page 173) slightly clockwise or
counterclockwise.
Canada only
XIncreasing/decreasing: Turn
temperature control : and/or E
(Y page 175) slightly clockwise or
counterclockwise.
Rear temperature with front climate
control panel
USA only
XPress button ±.XIncreasing/decreasing: Turn
temperature control C (Y page 173)
slightly clockwise or counterclockwise.
Canada only
XPress button X.
In display J (Y page 175) you will see the
Y symbol.
XIncreasing/decreasing: Turn
temperature control E (Y page 175)
slightly clockwise or counterclockwise.
Rear temperature with rear climate
control panel
XIncreasing/decreasing: Turn
temperature control ; (Y page 177)
slightly clockwise or counterclockwise.
Adjusting air distribution
USA only
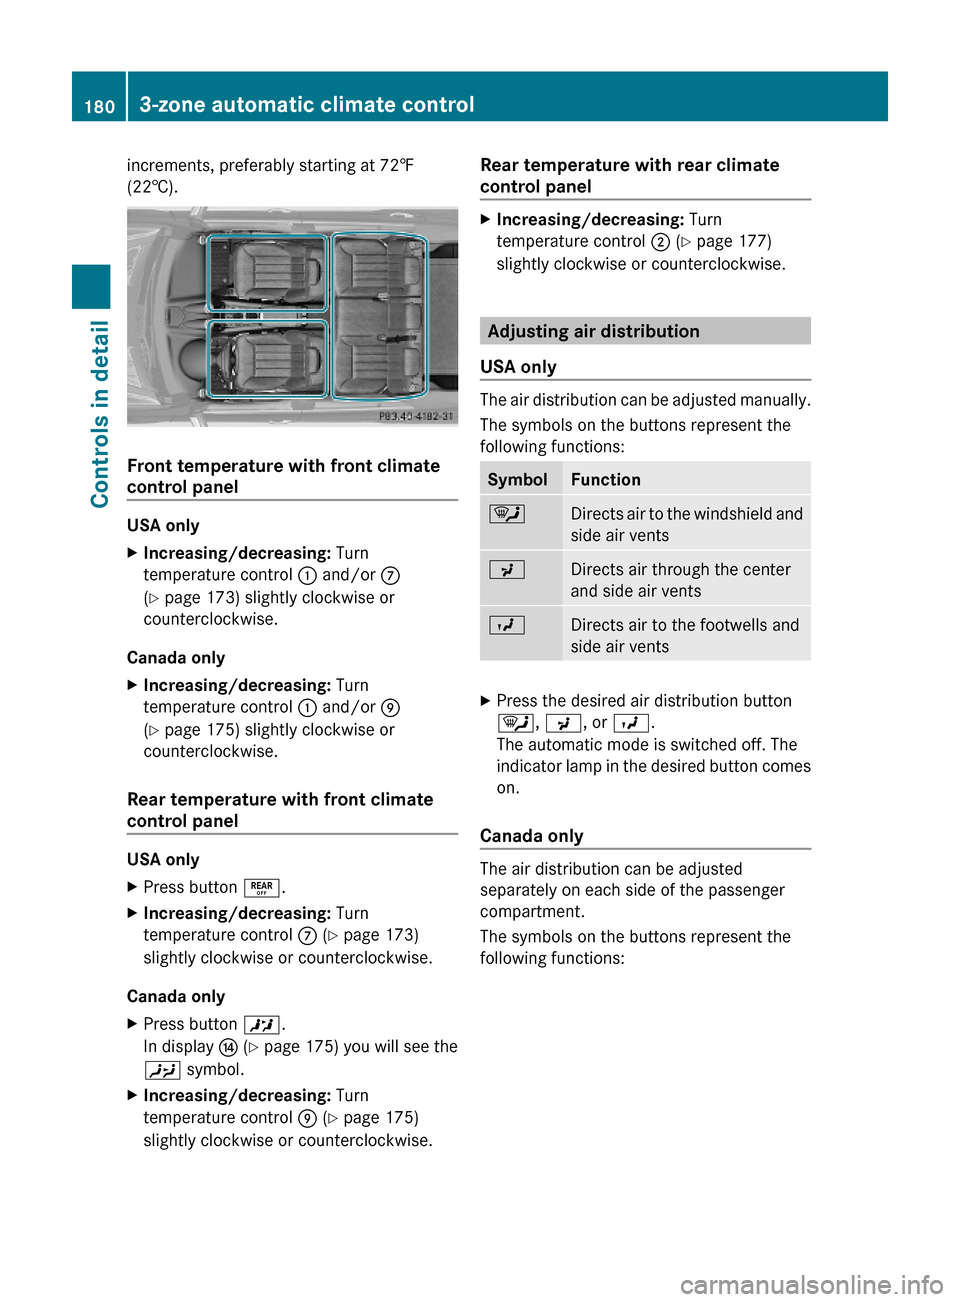
The air distribution can be adjusted manually.
The symbols on the buttons represent the
following functions:
SymbolFunction¯Directs air to the windshield and
side air vents
PDirects air through the center
and side air vents
ODirects air to the footwells and
side air vents
XPress the desired air distribution button
¯, P, or O.
The automatic mode is switched off. The
indicator lamp in the desired button comes
on.
Canada only
The air distribution can be adjusted
separately on each side of the passenger
compartment.
The symbols on the buttons represent the
following functions:
1803-zone automatic climate controlControls in detail
164_AKB; 7; 31, en-USd2ureepe,Version: 2.11.8.12009-09-11T12:07:36+02:00 - Seite 180
Page 186 of 368

XSwitch on the ignition.XSwitching on: Press button ª on the
respective climate control panel.
The indicator lamp in the button comes on.XSwitching off: Press button ª again.
The rear window defroster switches off when
the battery voltage is too low. The indicator
lamp in button ª flashes. Too many
electrical consumers may be operating
simultaneously.
XSwitch off consumers that are currently not
needed if required.
Power tilt/sliding sunroof
Opening and closing
GObserve Safety notes, see page 55.GWarning!
When opening or closing the tilt/sliding
sunroof, make sure there is no danger of
anyone being harmed by the opening/closing
procedure.
The tilt/sliding sunroof is equipped with the
express operation and automatic reversal
function. If the movement of the tilt/sliding
sunroof is blocked during the closing
procedure, the tilt/sliding sunroof will stop
and open slightly.
The tilt/sliding sunroof operates differently
when the sunroof switch is pressed and held.
See the “Closing when the tilt/sliding sunroof
is blocked” section for details.
The opening/closing procedure of the tilt/
sliding sunroof can be immediately halted by
releasing the sunroof switch or, if the sunroof
switch was moved past the resistance point
and released, by moving the sunroof switch in
any direction.
GWarning!
The tilt/sliding sunroof is made out of glass.
In the event of an accident, the glass may
shatter. This may result in an opening in the
roof.
In a vehicle rollover, occupants not wearing
their seat belts or not wearing them properly
may be thrown out of the opening. Such an
opening also presents a potential for injury for
occupants wearing their seat belts properly as
entire body parts or portions of them may
protrude from the passenger compartment.
! To avoid damaging the seals, do not
transport any objects with sharp edges
which can stick out of the tilt/sliding
sunroof.
Do not open the tilt/sliding sunroof if there
is snow or ice on the roof, as this could
result in malfunctions.
If you cannot open or close the tilt/sliding
sunroof due to a malfunction contact
Roadside Assistance or an authorized
Mercedes-Benz Center.
! Please keep in mind that weather
conditions can sometimes change rapidly.
Make sure to close the tilt/sliding sunroof
when leaving the vehicle. If water enters
the vehicle interior, vehicle electronics
could be damaged which is not covered by
the Mercedes-Benz Limited Warranty.
i You can also open or close the tilt/sliding
sunroof using the SmartKey or the
KEYLESS-GO function, see “Summer
opening feature” ( Y page 102) and
“Convenience closing feature”
( Y page 102).
i After switching off the ignition or
removing the SmartKey from the starter
switch, you can operate the tilt/sliding
sunroof until you open the driver’s or front
passenger door. If no door was opened you
can operate the tilt/sliding sunroof for up
to 5 minutes.184Power tilt/sliding sunroofControls in detail
164_AKB; 7; 31, en-USd2ureepe,Version: 2.11.8.12009-09-11T12:07:36+02:00 - Seite 184
Page 187 of 368

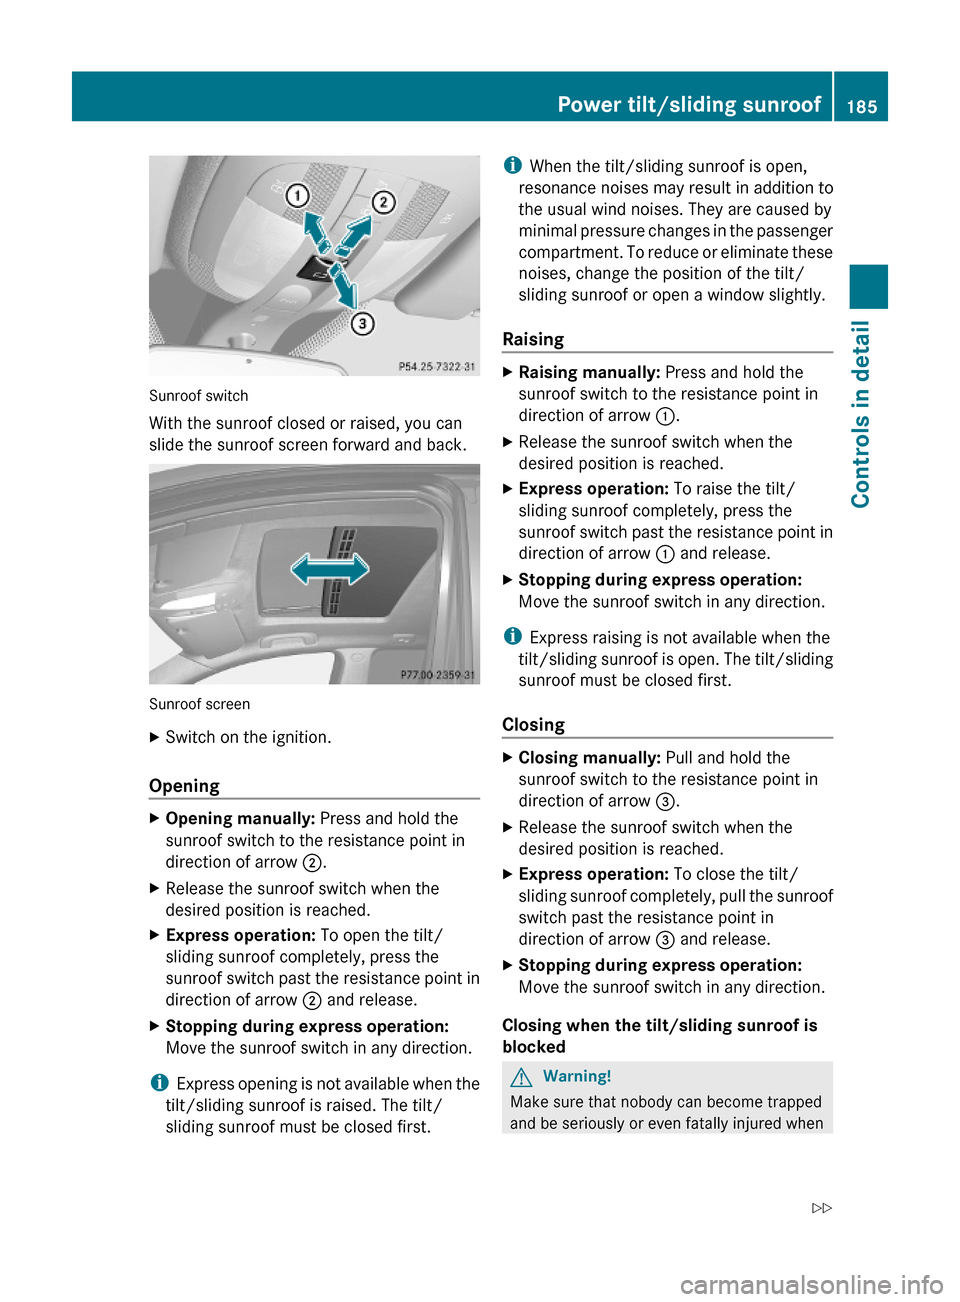
Sunroof switch
With the sunroof closed or raised, you can
slide the sunroof screen forward and back.
Sunroof screen
XSwitch on the ignition.
Opening
XOpening manually: Press and hold the
sunroof switch to the resistance point in
direction of arrow ;.
XRelease the sunroof switch when the
desired position is reached.
XExpress operation: To open the tilt/
sliding sunroof completely, press the
sunroof switch past the resistance point in
direction of arrow ; and release.
XStopping during express operation:
Move the sunroof switch in any direction.
iExpress opening is not available when the
tilt/sliding sunroof is raised. The tilt/
sliding sunroof must be closed first.
iWhen the tilt/sliding sunroof is open,
resonance noises may result in addition to
the usual wind noises. They are caused by
minimal pressure changes in the passenger
compartment. To reduce or eliminate these
noises, change the position of the tilt/
sliding sunroof or open a window slightly.
Raising
XRaising manually: Press and hold the
sunroof switch to the resistance point in
direction of arrow :.
XRelease the sunroof switch when the
desired position is reached.
XExpress operation: To raise the tilt/
sliding sunroof completely, press the
sunroof switch past the resistance point in
direction of arrow : and release.
XStopping during express operation:
Move the sunroof switch in any direction.
iExpress raising is not available when the
tilt/sliding sunroof is open. The tilt/sliding
sunroof must be closed first.
Closing
XClosing manually: Pull and hold the
sunroof switch to the resistance point in
direction of arrow =.
XRelease the sunroof switch when the
desired position is reached.
XExpress operation: To close the tilt/
sliding sunroof completely, pull the sunroof
switch past the resistance point in
direction of arrow = and release.
XStopping during express operation:
Move the sunroof switch in any direction.
Closing when the tilt/sliding sunroof is
blocked
GWarning!
Make sure that nobody can become trapped
and be seriously or even fatally injured when
Power tilt/sliding sunroof185Controls in detail164_AKB; 7; 31, en-USd2ureepe,Version: 2.11.8.12009-09-11T12:07:36+02:00 - Seite 185Z