2010 MERCEDES-BENZ GLK350 4MATIC spare tire location
[x] Cancel search: spare tire locationPage 17 of 344

Self-test
BabySmart™ .................................... 46
OCS (Occupant Classification
System) ........................................... 45
Tele Aid .......................................... 201
Service
see Maintenance
Service, parts .................................... 328
Service and warranty information ..... 19
Service intervals see Maintenance System, Service
indicator message
Service life (tires) .............................. 232
Service menu ..................................... 118
Settings
Factory setting (KEYLESS-GO) .........69
Factory setting (SmartKey) ..............67
Memory function .............................. 86
Menu ............................................. 119
Selective setting (KEYLESS-GO) .......69
Selective setting (SmartKey) ............67
Side impact air bags ........................... 40
Side marker lamps
Cleaning lenses ............................. 254
Messages in the multifunction
display ........................................... 284
Replacing bulbs ............................. 304
Sidewall (tires) .................................. 241
SmartKey see Key, SmartKey
SmartKey with KEYLESS-GO
see Key, SmartKey
Snow chains ...................................... 242
Snow tires see Winter tires
Spare wheel ....................................... 331
Mounting ....................................... 312
Storage location ............................ 262
Speedometer ....................................... 28
Speed settings
Cruise control ................................ 169
Resume function ............................ 170
Sport Utility Vehicle
see SUV SRS (Supplemental Restraint System)
Indicator lamp ......................... 36, 293
Messages in the multifunction
display ........................................... 275
Standing water, driving through ...... 246
Starter switch positions
KEYLESS-GO .................................... 76
SmartKey ......................................... 76
Starting difficulties (engine) .............. 99
Starting the engine ............................. 98
Steering column see Multifunction steering wheel,
Adjustment
Steering wheel
see Multifunction steering wheel
Stolen Vehicle Recovery Services ... 205
Storage compartments ..................... 192
Storing tires ....................................... 233
Stranded vehicle ............................... 324
Sun visors .................................. 195, 196
SUV (Sport Utility Vehicle) ................. 21
T
Tachometer .................................. 28, 109
Overspeed range ........................... 109
Tailgate
Closing ............................................. 71
Messages in the multifunction
display ........................................... 277
Opening ........................................... 71
Power tailgate .................................. 72
Unlocking manually .......................300
Tail lamps ........................................... 305
Cleaning lenses ............................. 254
Messages in the multifunction
display ........................................... 286
Replacing bulbs ............................. 305
Tar stains ........................................... 252
Technical data
Air conditioning refrigerant ....335, 336
Brake fluid ............................. 334, 336
Capacities fuels, coolants,
lubricants etc. ................................ 334
Coolant .................................. 334, 337
Engine oil additives ........................336
Engine oils ............................. 334, 335
Fuel requirements .......................... 337
Index15X204_AKB; 3; 23, en-USd2ureepe,Version: 2.11.8.12009-07-16T19:16:58+02:00 - Seite 15
Page 205 of 344

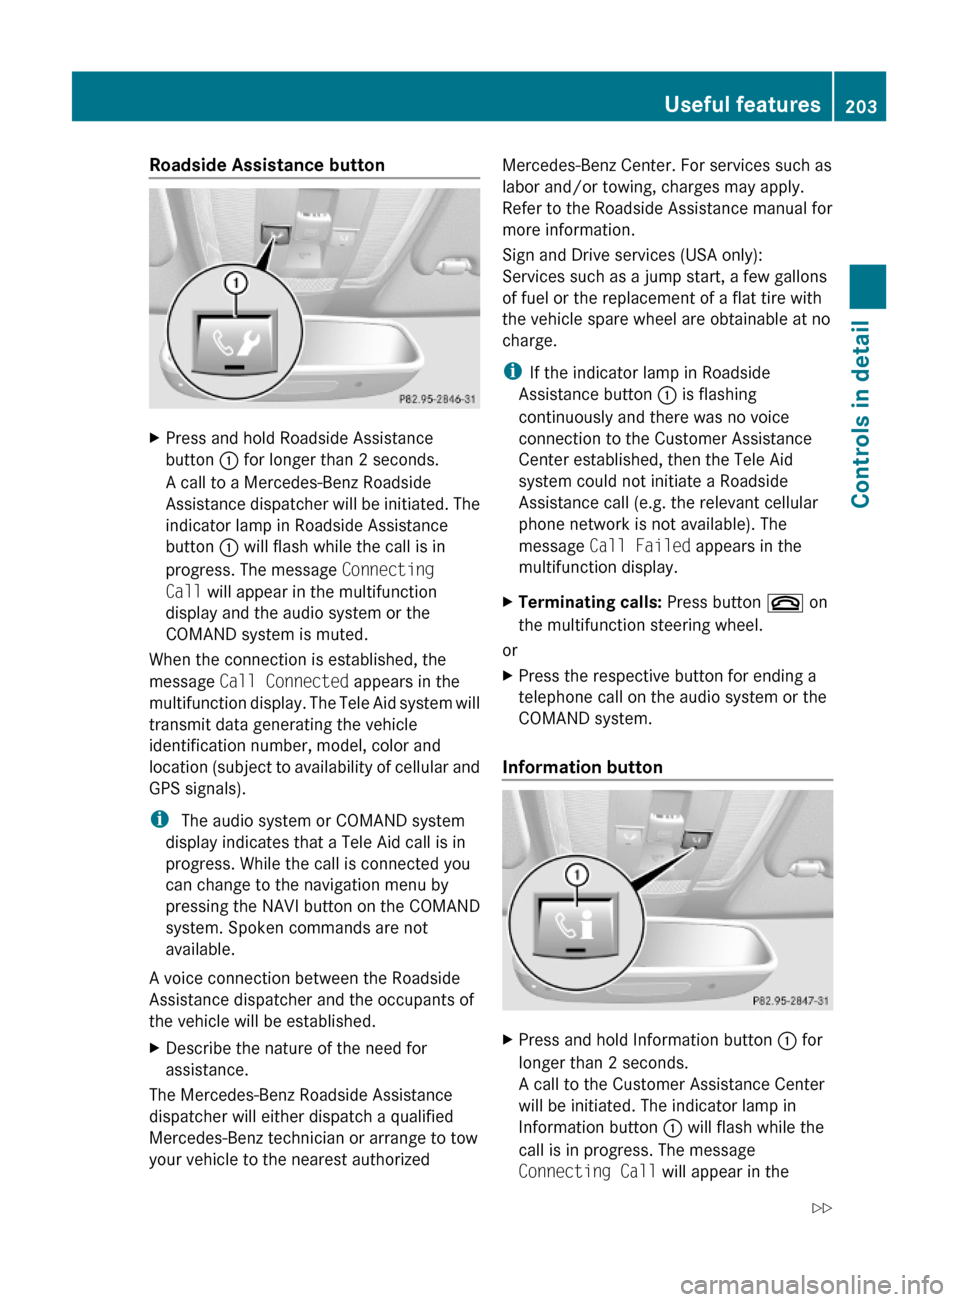
Roadside Assistance button XPress and hold Roadside Assistance
button : for longer than 2 seconds.
A call to a Mercedes-Benz Roadside
Assistance dispatcher will be initiated. The
indicator lamp in Roadside Assistance
button : will flash while the call is in
progress. The message Connecting
Call will appear in the multifunction
display and the audio system or the
COMAND system is muted.
When the connection is established, the
message Call Connected appears in the
multifunction display. The Tele Aid system will
transmit data generating the vehicle
identification number, model, color and
location (subject to availability of cellular and
GPS signals).
i The audio system or COMAND system
display indicates that a Tele Aid call is in
progress. While the call is connected you
can change to the navigation menu by
pressing the NAVI button on the COMAND
system. Spoken commands are not
available.
A voice connection between the Roadside
Assistance dispatcher and the occupants of
the vehicle will be established.
XDescribe the nature of the need for
assistance.
The Mercedes-Benz Roadside Assistance
dispatcher will either dispatch a qualified
Mercedes-Benz technician or arrange to tow
your vehicle to the nearest authorized
Mercedes-Benz Center. For services such as
labor and/or towing, charges may apply.
Refer to the Roadside Assistance manual for
more information.
Sign and Drive services (USA only):
Services such as a jump start, a few gallons
of fuel or the replacement of a flat tire with
the vehicle spare wheel are obtainable at no
charge.
iIf the indicator lamp in Roadside
Assistance button : is flashing
continuously and there was no voice
connection to the Customer Assistance
Center established, then the Tele Aid
system could not initiate a Roadside
Assistance call (e.g. the relevant cellular
phone network is not available). The
message Call Failed appears in the
multifunction display.
XTerminating calls: Press button ~ on
the multifunction steering wheel.
or
XPress the respective button for ending a
telephone call on the audio system or the
COMAND system.
Information button
XPress and hold Information button : for
longer than 2 seconds.
A call to the Customer Assistance Center
will be initiated. The indicator lamp in
Information button : will flash while the
call is in progress. The message
Connecting Call will appear in the
Useful features203Controls in detailX204_AKB; 3; 23, en-USd2ureepe,Version: 2.11.8.12009-07-16T19:16:58+02:00 - Seite 203Z
Page 227 of 344

replacing one or more tires or wheels on your
vehicle to ensure that the replacement or
alternate tires and wheels allow the TPMS to
continue to function properly.
iIf a condition causing the TPMS to
malfunction develops, it may take up to
10 minutes for the system to signal a
malfunction using the TPMS telltale
flashing and illumination sequence.
The telltale extinguishes after a few
minutes driving if the malfunction has been
corrected.
Tire pressure inquiries are made using the
multifunction display. The current tire
inflation pressure for each tire appears in the
multifunction display after a few minutes of
driving.
iPossible differences between the
readings of a tire pressure gauge of an air
hose, e.g. gas station equipment, and the
vehicle’s control system can occur. The tire
pressure displayed by the control system
apply to sea level. In high-altitude
locations, the reading on a tire pressure
gauge will be higher than the reading issued
by the vehicle’s control system. Do not
reduce the tire inflation pressure under
such circumstances.
XSwitch on the ignition.XPress button = or ; on the
multifunction steering wheel to select the
Service menu (Y page 118).
XPress button 9 or : to select Tire
Pressure.
XPress button a.
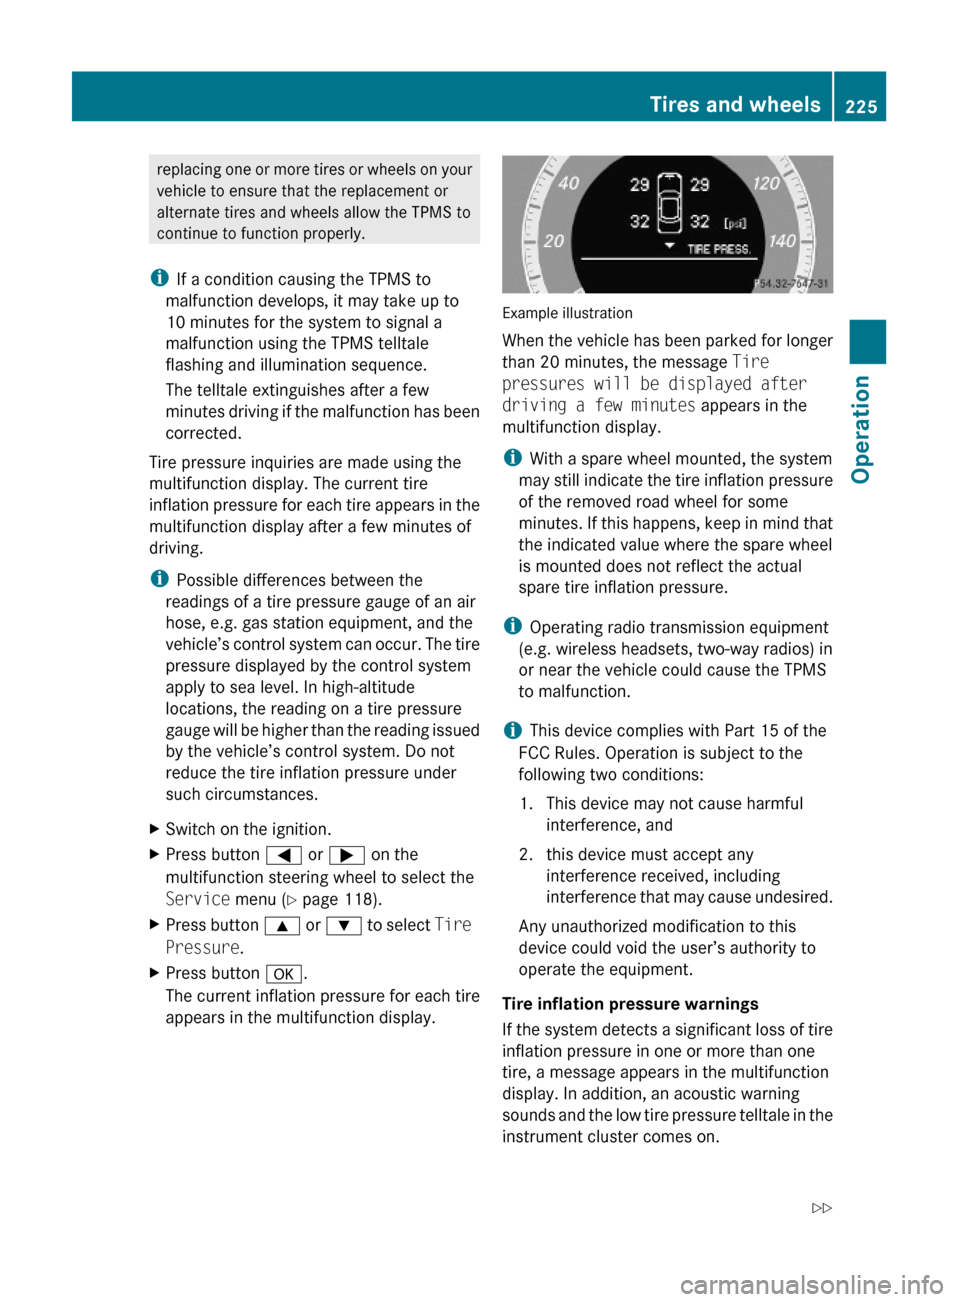
The current inflation pressure for each tire
appears in the multifunction display.
Example illustration
When the vehicle has been parked for longer
than 20 minutes, the message Tire
pressures will be displayed after
driving a few minutes appears in the
multifunction display.
iWith a spare wheel mounted, the system
may still indicate the tire inflation pressure
of the removed road wheel for some
minutes. If this happens, keep in mind that
the indicated value where the spare wheel
is mounted does not reflect the actual
spare tire inflation pressure.
iOperating radio transmission equipment
(e.g. wireless headsets, two-way radios) in
or near the vehicle could cause the TPMS
to malfunction.
iThis device complies with Part 15 of the
FCC Rules. Operation is subject to the
following two conditions:
1. This device may not cause harmful
interference, and
2. this device must accept any
interference received, including
interference that may cause undesired.
Any unauthorized modification to this
device could void the user’s authority to
operate the equipment.
Tire inflation pressure warnings
If the system detects a significant loss of tire
inflation pressure in one or more than one
tire, a message appears in the multifunction
display. In addition, an acoustic warning
sounds and the low tire pressure telltale in the
instrument cluster comes on.
Tires and wheels225OperationX204_AKB; 3; 23, en-USd2ureepe,Version: 2.11.8.12009-07-16T19:16:58+02:00 - Seite 225Z
Page 244 of 344

GWarning!
If you use your spare wheel when winter tires
are fitted on the other wheels, be aware that
the difference in tire characteristics may very
well impair turning stability and that overall
driving stability may be reduced. Adapt your
driving style accordingly.
Have the spare wheel replaced by a regular
road wheel with a winter tire at the nearest
authorized Mercedes-Benz Center.
Always use winter tires at temperatures
below 45‡ (7†) and whenever wintry road
conditions prevail. Not all M+S rated tires
provide special winter performance. Make
sure the tires you use show the mountain/
snowflake imarking on the tire sidewall.
These tires meet specific snow traction
performance requirements of the Rubber
Manufacturers Association (RMA) and the
Rubber Association of Canada (RAC) and
have been designed specifically for use in
snow conditions. Use of winter tires is the
only way to achieve the maximum
effectiveness of your vehicle’s driving safety
systems such as the ABS and the ESP ®
in
winter operation.
For safe handling, make sure all mounted
winter tires are of the same make and have
the same tread design.
For information on winter tires for your
vehicle model, see the “Technical data”
section ( Y page 331).
Always observe the speed rating of the winter
tires installed on your vehicle.
After installing winter tires:
XCheck the tire inflation pressure and adjust
it if necessary ( Y page 221).XRestart the tire pressure loss warning
system ( Y page 222) or the Advanced Tire
Pressure Monitoring System (Y page 224).Snow chains
! Some tire sizes do not leave adequate
clearance for snow chains. To help avoid
serious damage to your vehicle or tires,
make sure the use of snow chains is
permissible as specified in the “Technical
data” section of this Operator’s Manual.
Snow chains should only be driven on snow-
covered roads at speeds not to exceed
30 mph (50 km/h). Remove chains as soon
as possible when driving on roads without
snow.
Observe the following guidelines when using
snow chains:
R Use of snow chains is not permissible with
all wheel/tire combinations ( Y page 331).
R Use snow chains in pairs and on rear
wheels only. Follow the manufacturer’s
mounting instructions.
! If snow chains are mounted to the front
wheels, they may scrape against the body
or axle components. The tires or the vehicle
could be damaged as a result.
R Only use snow chains that are approved by
Mercedes-Benz. Any authorized Mercedes-
Benz Center will be glad to advise you on
this subject.
R Use of snow chains may be prohibited
depending on location. Always check local
and state laws before installing snow
chains.
R Do not use snow chains on the spare wheel.
i When driving with snow chains, you may
wish to switch off the ESP ®
(Y page 61)
before setting the vehicle in motion. This
will improve the vehicle’s traction.242Winter drivingOperation
X204_AKB; 3; 23, en-USd2ureepe,Version: 2.11.8.12009-07-16T19:16:58+02:00 - Seite 242