2010 MERCEDES-BENZ GL450 Pre safe
[x] Cancel search: Pre safePage 124 of 380
and rear axle differential to improve vehicle
traction.
The center differential compensates for
differences in wheel rotation between the
front and rear axle.
The rear axle differential compensates
differences between the rear wheels.
i At the front axles, the 4-ETS system
compensates for any traction problems.
For more information on off-road driving, see
“Off-road driving” ( Y page 262).
A few words about differentials and
differential locks
When a vehicle negotiates a turn, wheels on
the outside of the curve must travel farther
and rotate faster than the inside wheels. The
differential, the operation of a set of gears
that allows the powered wheels in a vehicle
to turn at different speeds, makes this
essential function possible.
The drawback is that the differential also
sends most of the engine’s power to the
wheel with the least load or strain on it. For
example, if one of a vehicle’s powered wheels
sits on a patch of snow and spins because
there is no traction, all of the engine’s power
will go to that wheel because the power will
take the path of least resistance. Meanwhile,
the opposite wheel, sitting on dry pavement
where it could get enough grip to start the
vehicle moving, sits idle because it receives
no power.
The 4-ETS addresses this problem and
provides for good control and steering ability
by automatically slowing the slipping wheel
and thus increasing the power to the other
non-slipping drive wheels to get the vehicle
moving. The ESP ®
and the 4-ETS in this
vehicle feature such intelligent limited-slip
differential technology, ideally suited for on-
road and light off-road driving. Transfer case
position LOW (Y page 120) also enhances off-
road driving capabilities.
More extreme off-road conditions may call for
another solution, engaging a differential lock
or preventing the differential from operating
altogether. This vehicle comes with two
differential locks: transfer case (center) and
rear. Each can be engaged simply by
operating the rotary switch located on the
center console ( Y page 123). When the
transfer case (center) differential is locked,
the combined (or average) speed of the front
wheels is identical to the combined rear
wheel speed. When the rear differential is
locked, both rear wheels turn at the same
speed, independent of the individual torque.
Please be aware that engaging the differential
locks will significantly reduce the steering
ability of the vehicle.
For your safety and the safety of others and
to prevent damage to the vehicle, the
differential locks must not be engaged when
driving on paved roads. It is important to
understand that during on-road/paved
driving, differentials are absolutely necessary
for providing the essential control and
steering ability of the vehicle. The differential
locks, therefore, must not be engaged when
driving on paved roads and should only be
used to the extent necessary to negotiate off-
road conditions which cannot be handled by
the systems (the 4-ETS, the ESP ®
, and the
transfer case in LOW RANGE mode) this
vehicle comes equipped with.
Switching differential locks
! If the differential locks are engaged,
accelerate gently when setting the vehicle
in motion.
Only operate the vehicle on a single axle
dynamometer if the axle not being driven is
jacked up or the associated propeller shaft
is disconnected.
Otherwise the transmission could be
damaged.
122Differential locksControls in detail
X164_AKB; 5; 31, en-USd2ureepe,Version: 2.11.8.12009-09-11T12:30:16+02:00 - Seite 122
Page 127 of 380

iThe instrument cluster illumination is
dimmed or brightened automatically to suit
ambient light conditions.
The instrument cluster illumination will also
be adjusted automatically when you switch
on the vehicle’s exterior lamps.
iWith the exterior lighting switched on, the
brightness of the switches in the center
console will also be adjusted when using
button : or =.
Resetting trip odometer
XMake sure you are viewing the standard
display (Y page 128) in the multifunction
display.
XPress and hold the reset button in the
instrument cluster (Y page 124) until the
trip odometer is reset.
Tachometer
The red marking on the tachometer
(Y page 29) denotes excessive engine speed.
! Avoid driving at excessive engine speeds,
as it may result in serious engine damage
that is not covered by the Mercedes-Benz
Limited Warranty.
To help protect the engine, the fuel supply is
interrupted if the engine is operated within
the red marking.
Control system
Introduction
The control system is activated as soon as the
starter switch is in position 1 (Y page 80).
The control system enables you to call up
information about your vehicle and to change
vehicle settings.
For example, you can use the control system
to find out when your vehicle is next due for
maintenance service, to set the language for
messages in the instrument cluster display,
and much more.
GWarning!
A driver’s attention to the road and traffic
conditions must always be his/her primary
focus when driving.
For your safety and the safety of others,
selecting features through the multifunction
steering wheel should only be done by the
driver when traffic and road conditions permit
it to be done safely.
Bear in mind that at a speed of just 30 mph
(approximately 50 km/h), your vehicle is
covering a distance of 44 feet (approximately
14 m) every second.
The control system relays information to the
multifunction display.
Multifunction steering wheel
The displays in the multifunction display and
the settings in the control system are
controlled by using the buttons on the
multifunction steering wheel.
Control system125Controls in detailX164_AKB; 5; 31, en-USd2ureepe,Version: 2.11.8.12009-09-11T12:30:16+02:00 - Seite 125Z
Page 130 of 380
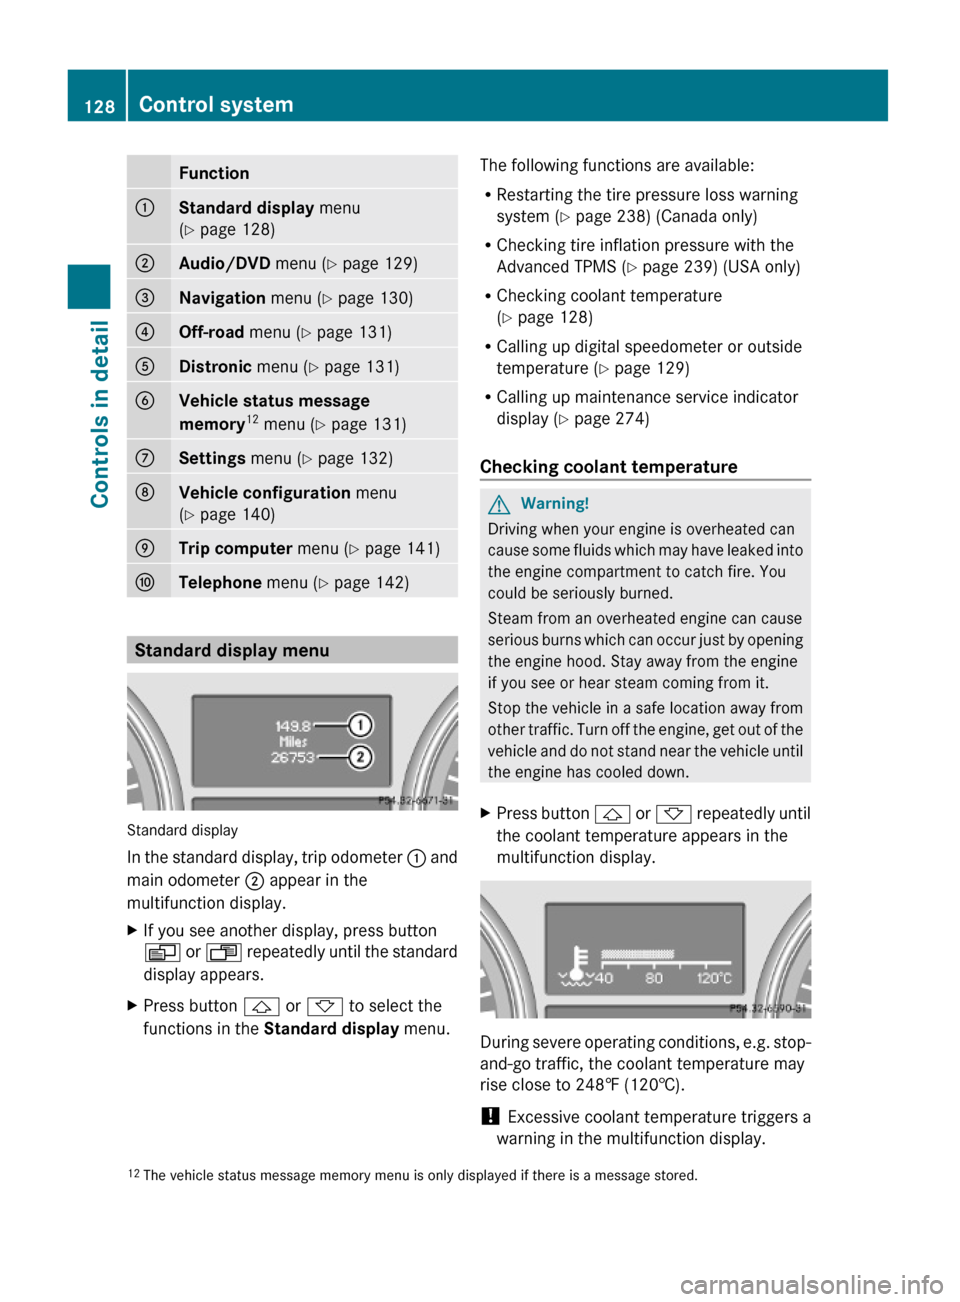
Function:Standard display menu
(Y page 128)
;Audio/DVD menu (Y page 129)=Navigation menu (Y page 130)?Off-road menu (Y page 131)ADistronic menu (Y page 131)BVehicle status message
memory12 menu (Y page 131)
CSettings menu (Y page 132)DVehicle configuration menu
(Y page 140)
ETrip computer menu (Y page 141)FTelephone menu (Y page 142)
Standard display menu
Standard display
In the standard display, trip odometer : and
main odometer ; appear in the
multifunction display.
XIf you see another display, press button
V or U repeatedly until the standard
display appears.
XPress button & or * to select the
functions in the Standard display menu.
The following functions are available:
RRestarting the tire pressure loss warning
system (Y page 238) (Canada only)
RChecking tire inflation pressure with the
Advanced TPMS (Y page 239) (USA only)
RChecking coolant temperature
(Y page 128)
RCalling up digital speedometer or outside
temperature (Y page 129)
RCalling up maintenance service indicator
display (Y page 274)
Checking coolant temperature
GWarning!
Driving when your engine is overheated can
cause some fluids which may have leaked into
the engine compartment to catch fire. You
could be seriously burned.
Steam from an overheated engine can cause
serious burns which can occur just by opening
the engine hood. Stay away from the engine
if you see or hear steam coming from it.
Stop the vehicle in a safe location away from
other traffic. Turn off the engine, get out of the
vehicle and do not stand near the vehicle until
the engine has cooled down.
XPress button & or * repeatedly until
the coolant temperature appears in the
multifunction display.
During severe operating conditions, e.g. stop-
and-go traffic, the coolant temperature may
rise close to 248‡ (120†).
! Excessive coolant temperature triggers a
warning in the multifunction display.
12The vehicle status message memory menu is only displayed if there is a message stored.128Control systemControls in detail
X164_AKB; 5; 31, en-USd2ureepe,Version: 2.11.8.12009-09-11T12:30:16+02:00 - Seite 128
Page 133 of 380
Please refer to separate COMAND system
operating instructions for instructions on how
to activate the route guidance system.
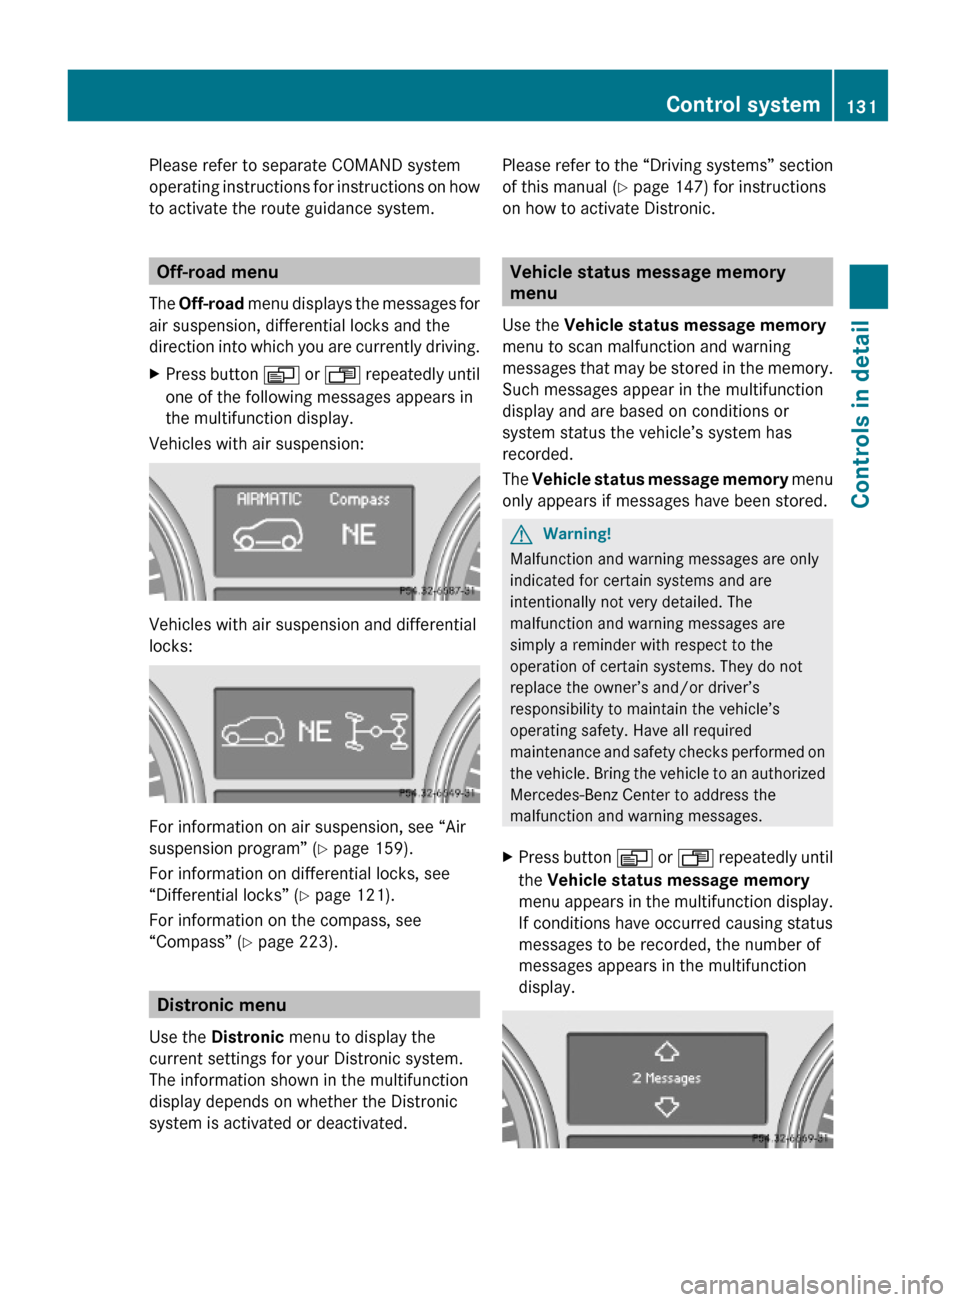
Off-road menu
The Off-road menu displays the messages for
air suspension, differential locks and the
direction into which you are currently driving.
XPress button V or U repeatedly until
one of the following messages appears in
the multifunction display.
Vehicles with air suspension:
Vehicles with air suspension and differential
locks:
For information on air suspension, see “Air
suspension program” (Y page 159).
For information on differential locks, see
“Differential locks” (Y page 121).
For information on the compass, see
“Compass” (Y page 223).
Distronic menu
Use the Distronic menu to display the
current settings for your Distronic system.
The information shown in the multifunction
display depends on whether the Distronic
system is activated or deactivated.
Please refer to the “Driving systems” section
of this manual (Y page 147) for instructions
on how to activate Distronic.
Vehicle status message memory
menu
Use the Vehicle status message memory
menu to scan malfunction and warning
messages that may be stored in the memory.
Such messages appear in the multifunction
display and are based on conditions or
system status the vehicle’s system has
recorded.
The Vehicle status message memory menu
only appears if messages have been stored.
GWarning!
Malfunction and warning messages are only
indicated for certain systems and are
intentionally not very detailed. The
malfunction and warning messages are
simply a reminder with respect to the
operation of certain systems. They do not
replace the owner’s and/or driver’s
responsibility to maintain the vehicle’s
operating safety. Have all required
maintenance and safety checks performed on
the vehicle. Bring the vehicle to an authorized
Mercedes-Benz Center to address the
malfunction and warning messages.
XPress button V or U repeatedly until
the Vehicle status message memory
menu appears in the multifunction display.
If conditions have occurred causing status
messages to be recorded, the number of
messages appears in the multifunction
display.
Control system131Controls in detailX164_AKB; 5; 31, en-USd2ureepe,Version: 2.11.8.12009-09-11T12:30:16+02:00 - Seite 131Z
Page 134 of 380

XPress button & or *.
The stored messages will now be displayed
in the order in which they have occurred.
For malfunction and warning messages,
see “Vehicle status messages in the
multifunction display” (Y page 287).
iAfter you have scrolled through all
recorded status messages, the first
recorded message appears again.
Should the vehicle’s system record any
conditions while driving, the number of
messages will reappear in the multifunction
display when the SmartKey in the starter
switch is turned to position 0 or removed
from the starter switch. With KEYLESS-GO,
the number of messages will reappear when
you turn off the engine by pressing the
KEYLESS-GO start/stop button and open the
driver’s door.
Except for high-priority messages, the vehicle
status message memory will be cleared when
you switch off the ignition.
Settings menu
Introduction
In the Settings menu there are two
functions: The function To reset, press
reset button for 3 seconds, with which
you can reset all the settings to the original
factory settings and a collection of submenus
with which you can make individual settings
for your vehicle.
The following settings and submenus are
available in the Settings menu:
RResetting to factory settings
(Y page 132)
RSubmenus in the Settings menu
(Y page 133)
RInstrument cluster submenu
(Y page 133)
RTime/Date submenu (Y page 135)
RLighting submenu (Y page 136)
RVehicle submenu (Y page 138)
RComfort submenu (Y page 139)
Resetting to factory settings
You can reset the settings of all submenus to
the factory settings.
For safety reasons, the function Lamp
Circuit Headlamp in the Lighting
submenu cannot be reset while driving.
The following message appears in the
multifunction display:
Settings
Cannot be
completely reset
to factory settings
when engine is running.
XPress button V or U repeatedly until
the Settings menu appears in the
multifunction display.
XPress the reset button in the instrument
cluster (Y page 124) for approximately
3 seconds.
The request to press the reset button once
more to confirm appears in the
multifunction display.
XPress the reset button once more.
The settings you have changed will not be
reset unless you confirm the action by
pressing the reset button a second time. After
132Control systemControls in detail
X164_AKB; 5; 31, en-USd2ureepe,Version: 2.11.8.12009-09-11T12:30:16+02:00 - Seite 132
Page 138 of 380
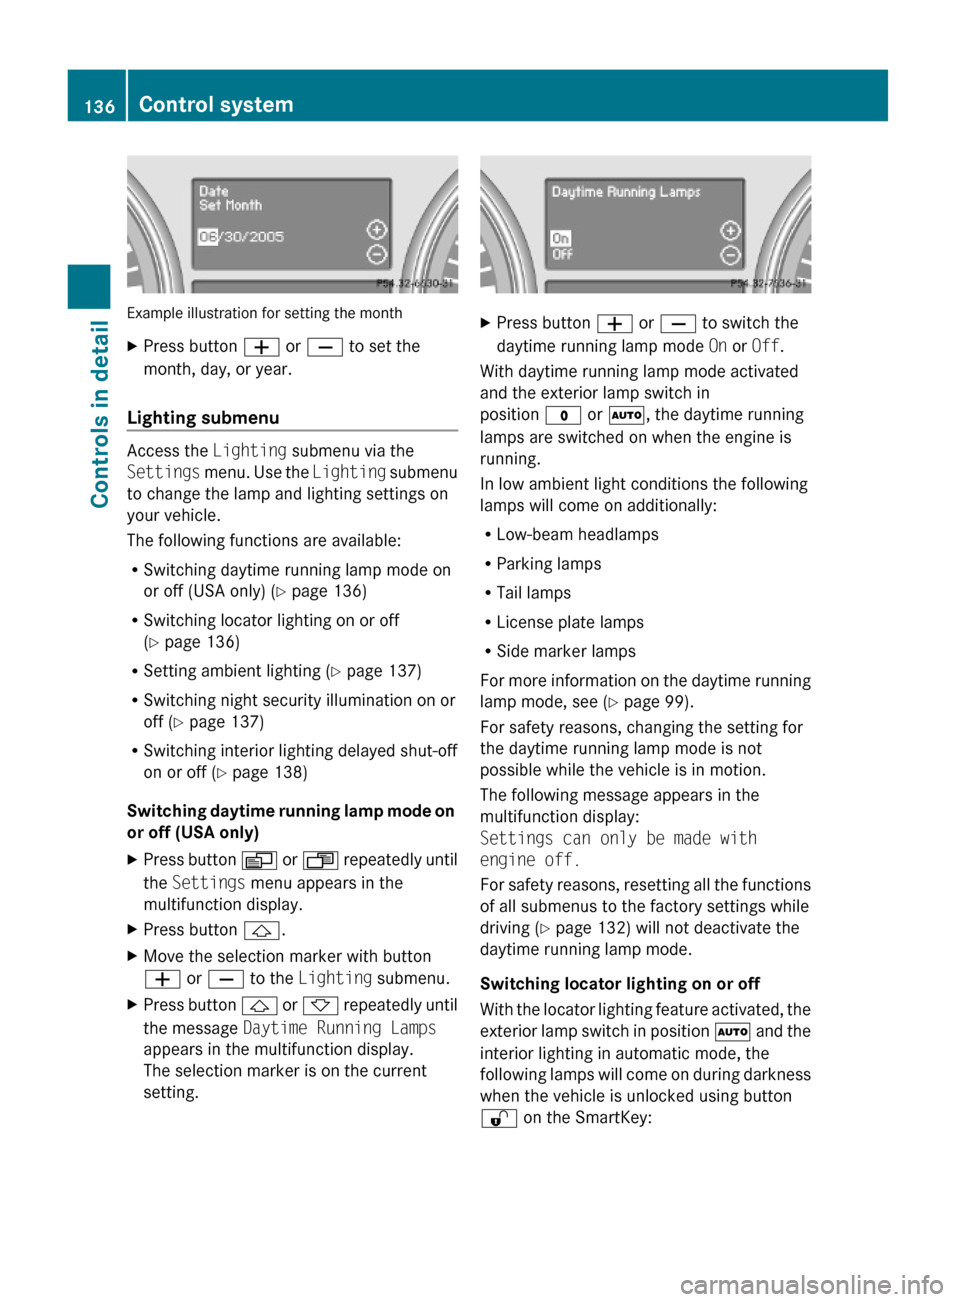
Example illustration for setting the month
XPress button W or X to set the
month, day, or year.
Lighting submenu
Access the Lighting submenu via the
Settings menu. Use the Lighting submenu
to change the lamp and lighting settings on
your vehicle.
The following functions are available:
RSwitching daytime running lamp mode on
or off (USA only) (Y page 136)
RSwitching locator lighting on or off
(Y page 136)
RSetting ambient lighting (Y page 137)
RSwitching night security illumination on or
off (Y page 137)
RSwitching interior lighting delayed shut-off
on or off (Y page 138)
Switching daytime running lamp mode on
or off (USA only)
XPress button V or U repeatedly until
the Settings menu appears in the
multifunction display.
XPress button &.XMove the selection marker with button
W or X to the Lighting submenu.
XPress button & or * repeatedly until
the message Daytime Running Lamps
appears in the multifunction display.
The selection marker is on the current
setting.
XPress button W or X to switch the
daytime running lamp mode On or Off.
With daytime running lamp mode activated
and the exterior lamp switch in
position $ or Ã, the daytime running
lamps are switched on when the engine is
running.
In low ambient light conditions the following
lamps will come on additionally:
RLow-beam headlamps
RParking lamps
RTail lamps
RLicense plate lamps
RSide marker lamps
For more information on the daytime running
lamp mode, see (Y page 99).
For safety reasons, changing the setting for
the daytime running lamp mode is not
possible while the vehicle is in motion.
The following message appears in the
multifunction display:
Settings can only be made with
engine off.
For safety reasons, resetting all the functions
of all submenus to the factory settings while
driving (Y page 132) will not deactivate the
daytime running lamp mode.
Switching locator lighting on or off
With the locator lighting feature activated, the
exterior lamp switch in position à and the
interior lighting in automatic mode, the
following lamps will come on during darkness
when the vehicle is unlocked using button
% on the SmartKey:
136Control systemControls in detail
X164_AKB; 5; 31, en-USd2ureepe,Version: 2.11.8.12009-09-11T12:30:16+02:00 - Seite 136
Page 145 of 380

your safety and the safety of others, we
recommend that you pull over to a safe
location and stop before placing or taking a
telephone call. If you choose to use the
telephone while driving, please use the hands-
free device and only use the telephone when
weather, road and traffic conditions permit.
Some jurisdictions prohibit the driver from
using a mobile phone while driving a vehicle.
Bear in mind that at a speed of just 30 mph
(approximately 50 km/h), your vehicle is
covering a distance of 44 feet (approximately
14 m) every second.
You can connect your telephone to the
COMAND system via Bluetooth®, see
separate COMAND system operating
instructions.
XSwitch on the COMAND system.
Refer to separate COMAND system
operating instructions.
XPress button U or V repeatedly until
the message TEL appears in the
multifunction display.
One of the following messages will appear
in the multifunction display:
RNo Service: No network is available.
RBluetooth Ready: The telephone has
not been connected to the COMAND
system via Bluetooth® yet.
XConnect the telephone to the
COMAND system via Bluetooth®.
RReady or name of the network provider
(if available): The telephone has found a
network and is ready for use. You can
operate it using the control system.
Answering a call
When your telephone is ready to receive calls,
you can answer a call at any time. In the
multifunction display you will then see the
following message, or if available, the caller
ID (number or name):
XPress button 6.
You have answered the call.
Ending a call or rejecting an incoming
call
XPress button ~.
Dialing a number from the phone book
When your telephone is ready to receive calls,
you may select and dial a number from the
phone book at any time.
XPress button U or V repeatedly until
the message TEL appears in the
multifunction display.
XPress button & or * repeatedly until
the desired name appears in the
multifunction display.
If you press and hold button & or
* for longer than 1 second, the system
scrolls rapidly through the list of names
until you release the button again.
The stored names are displayed in
alphabetical order.
:Selected name from the phone bookXPress button 6.
The control system dials the selected
phone number.
Control system143Controls in detailX164_AKB; 5; 31, en-USd2ureepe,Version: 2.11.8.12009-09-11T12:30:16+02:00 - Seite 143Z
Page 146 of 380
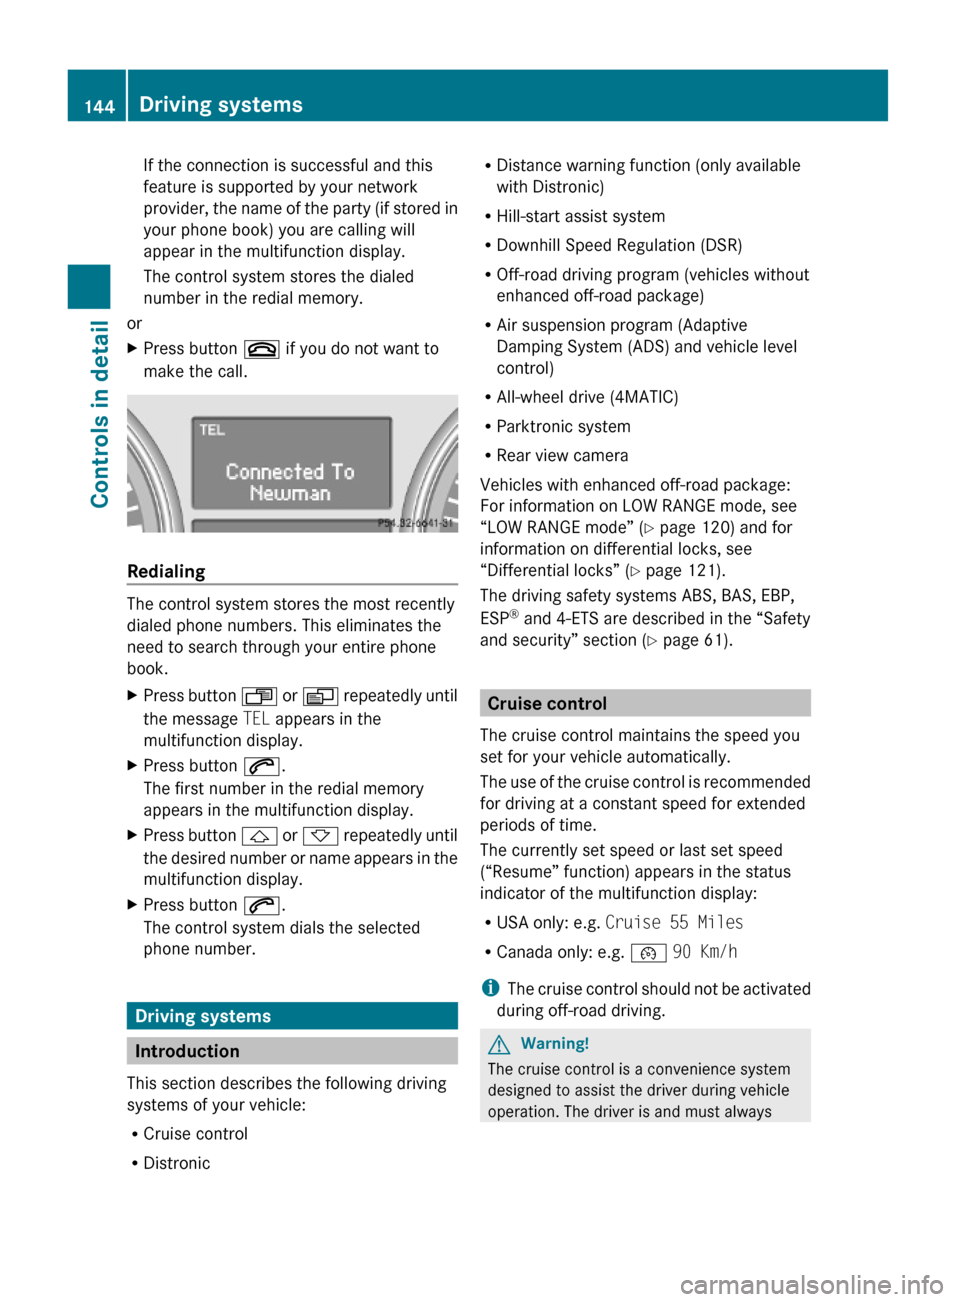
If the connection is successful and this
feature is supported by your network
provider, the name of the party (if stored in
your phone book) you are calling will
appear in the multifunction display.
The control system stores the dialed
number in the redial memory.
or
XPress button ~ if you do not want to
make the call.
Redialing
The control system stores the most recently
dialed phone numbers. This eliminates the
need to search through your entire phone
book.
XPress button U or V repeatedly until
the message TEL appears in the
multifunction display.
XPress button 6.
The first number in the redial memory
appears in the multifunction display.
XPress button & or * repeatedly until
the desired number or name appears in the
multifunction display.
XPress button 6.
The control system dials the selected
phone number.
Driving systems
Introduction
This section describes the following driving
systems of your vehicle:
RCruise control
RDistronic
RDistance warning function (only available
with Distronic)
RHill-start assist system
RDownhill Speed Regulation (DSR)
ROff-road driving program (vehicles without
enhanced off-road package)
RAir suspension program (Adaptive
Damping System (ADS) and vehicle level
control)
RAll-wheel drive (4MATIC)
RParktronic system
RRear view camera
Vehicles with enhanced off-road package:
For information on LOW RANGE mode, see
“LOW RANGE mode” (Y page 120) and for
information on differential locks, see
“Differential locks” (Y page 121).
The driving safety systems ABS, BAS, EBP,
ESP® and 4-ETS are described in the “Safety
and security” section (Y page 61).
Cruise control
The cruise control maintains the speed you
set for your vehicle automatically.
The use of the cruise control is recommended
for driving at a constant speed for extended
periods of time.
The currently set speed or last set speed
(“Resume” function) appears in the status
indicator of the multifunction display:
RUSA only: e.g. Cruise 55 Miles
RCanada only: e.g. ¯ 90 Km/h
iThe cruise control should not be activated
during off-road driving.
GWarning!
The cruise control is a convenience system
designed to assist the driver during vehicle
operation. The driver is and must always
144Driving systemsControls in detail
X164_AKB; 5; 31, en-USd2ureepe,Version: 2.11.8.12009-09-11T12:30:16+02:00 - Seite 144