2010 MERCEDES-BENZ GL450 off button
[x] Cancel search: off buttonPage 146 of 380
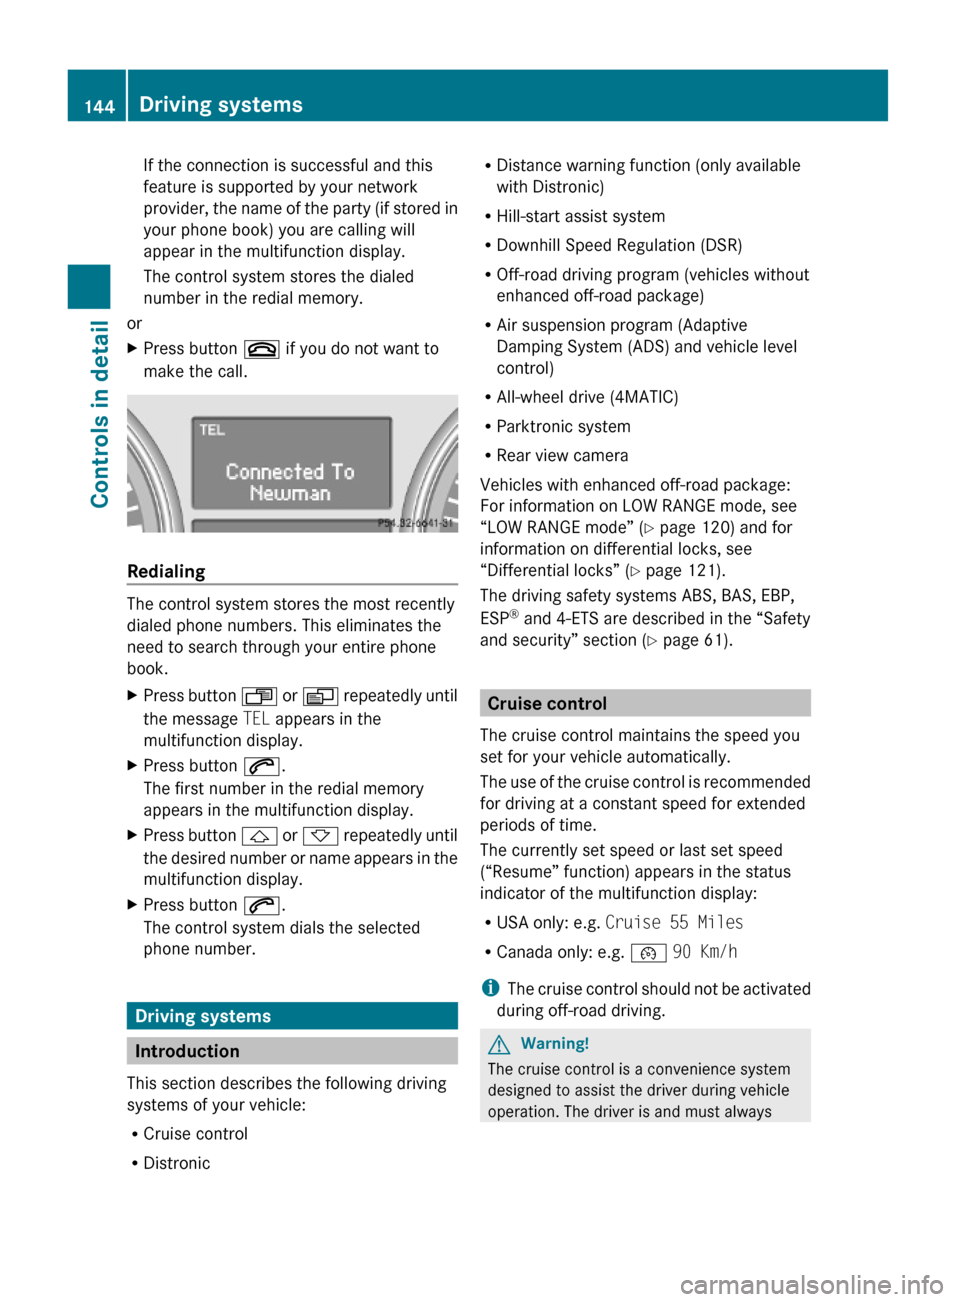
If the connection is successful and this
feature is supported by your network
provider, the name of the party (if stored in
your phone book) you are calling will
appear in the multifunction display.
The control system stores the dialed
number in the redial memory.
or
XPress button ~ if you do not want to
make the call.
Redialing
The control system stores the most recently
dialed phone numbers. This eliminates the
need to search through your entire phone
book.
XPress button U or V repeatedly until
the message TEL appears in the
multifunction display.
XPress button 6.
The first number in the redial memory
appears in the multifunction display.
XPress button & or * repeatedly until
the desired number or name appears in the
multifunction display.
XPress button 6.
The control system dials the selected
phone number.
Driving systems
Introduction
This section describes the following driving
systems of your vehicle:
RCruise control
RDistronic
RDistance warning function (only available
with Distronic)
RHill-start assist system
RDownhill Speed Regulation (DSR)
ROff-road driving program (vehicles without
enhanced off-road package)
RAir suspension program (Adaptive
Damping System (ADS) and vehicle level
control)
RAll-wheel drive (4MATIC)
RParktronic system
RRear view camera
Vehicles with enhanced off-road package:
For information on LOW RANGE mode, see
“LOW RANGE mode” (Y page 120) and for
information on differential locks, see
“Differential locks” (Y page 121).
The driving safety systems ABS, BAS, EBP,
ESP® and 4-ETS are described in the “Safety
and security” section (Y page 61).
Cruise control
The cruise control maintains the speed you
set for your vehicle automatically.
The use of the cruise control is recommended
for driving at a constant speed for extended
periods of time.
The currently set speed or last set speed
(“Resume” function) appears in the status
indicator of the multifunction display:
RUSA only: e.g. Cruise 55 Miles
RCanada only: e.g. ¯ 90 Km/h
iThe cruise control should not be activated
during off-road driving.
GWarning!
The cruise control is a convenience system
designed to assist the driver during vehicle
operation. The driver is and must always
144Driving systemsControls in detail
X164_AKB; 5; 31, en-USd2ureepe,Version: 2.11.8.12009-09-11T12:30:16+02:00 - Seite 144
Page 163 of 380

Basic settings
The following vehicle chassis ride heights can
be selected using vehicle level control
switch : in the center console:
LevelDriving situationRaised levelFor off-road driving or
driving in rough terrain.
Indicator lamp ; is on.
Highway
level
For driving on paved roads
in fair or better condition.
Indicator lamp ; is off.
iThe third available level is the highspeed
level that is set automatically.
The following is the approximate change in
ride height for each of the level settings:
LevelRide heightRaised level+2.3 in (60 mm)Highway
level13+/-0 in (0 mm)Highspeed
level
-0.6 in (-15 mm)
iVehicles with ADS:
Depending on the ADS setting
(Y page 159), the vehicle will be lowered to
the highspeed level when traveling at
higher speeds. At speeds below 40 mph
(64 km/h) at the latest, it will be returned
to the highway level.
iThe highspeed level is not available when
towing a trailer. For more information on
towing a trailer, see “Trailer towing”
(Y page 269).
Raised level
Only select the raised level if appropriate for
the driving situation encountered. Otherwise
the fuel consumption may increase and/or
the handling characteristics of the vehicle
may be unfavorable.
iYou can select the raised level at speeds
up to 40 mph (64 km/h). At higher speeds,
the message Á Level Selection
Not Permitted appears in the
multifunction display.
XStart the engine.
When indicator lamp ; is off:
XPress vehicle level control switch :.
Indicator lamp ; flashes. The vehicle
adjusts to the raised level.
The following message appears in the
multifunction display while the level is
being set:
iThe message can be cleared by pressing
the V, U, & or * button on
the multifunction steering wheel.
When the raised level is reached, indicator
lamp ; comes on continuously and the
following message appears in the
multifunction display for 5 seconds:
Highway level
! Keep in mind that on rough or uneven
roads, adjusting the vehicle to a lower level
may cause the vehicle underbody to come
in contact with the road and result in
13Ground clearance: 8.5 in (217 mm)Driving systems161Controls in detailX164_AKB; 5; 31, en-USd2ureepe,Version: 2.11.8.12009-09-11T12:30:16+02:00 - Seite 161Z
Page 164 of 380
damage to the vehicle underbody. Always
make sure the vehicle has sufficient ground
clearance before adjusting it to a lower
level.
XStart the engine.
When indicator lamp ; is on:
XPress vehicle level control switch :.
Indicator lamp ; flashes. The vehicle
adjusts to the highway level.
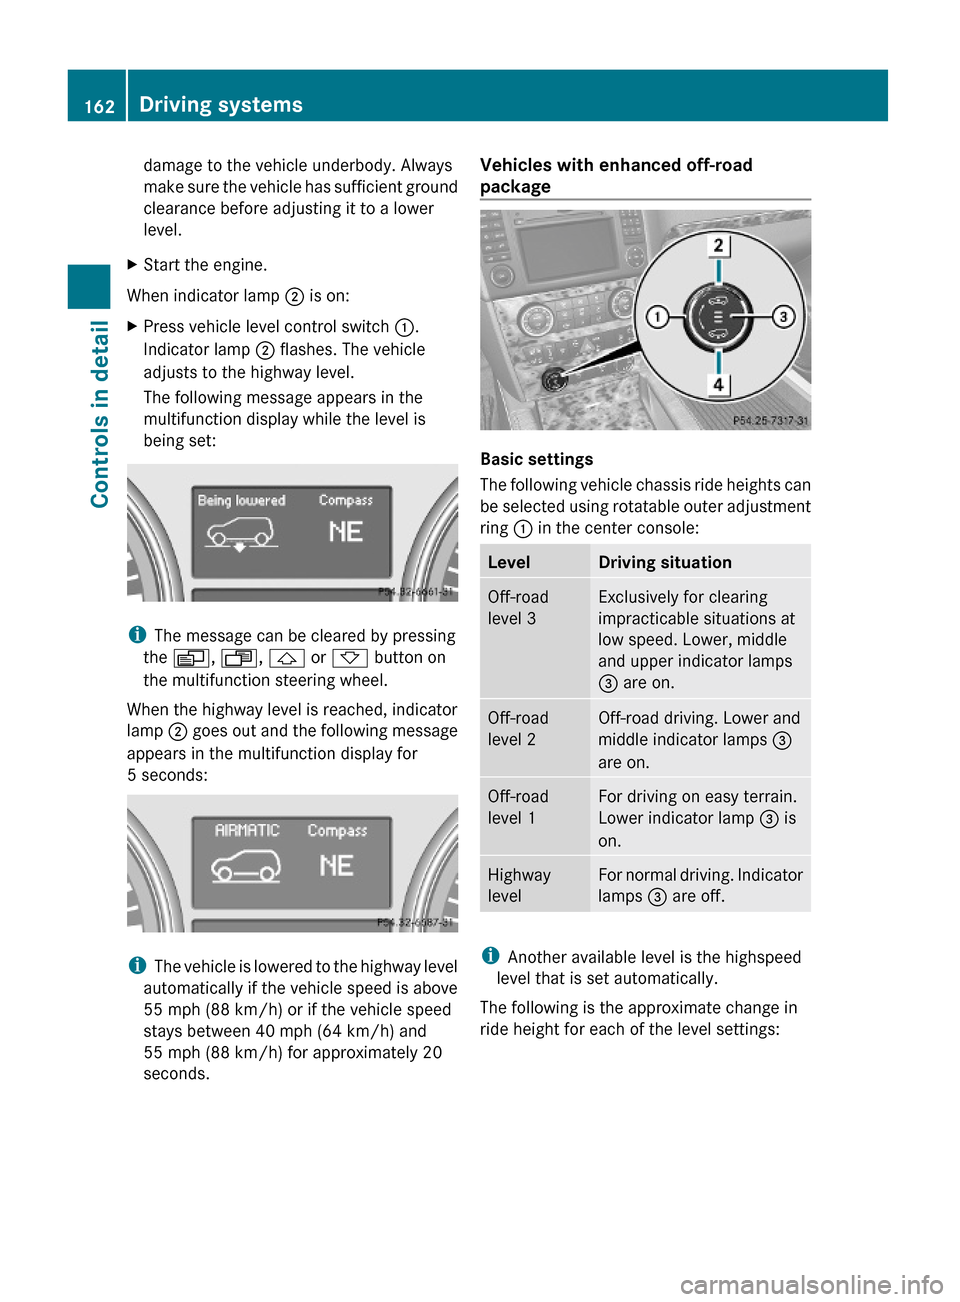
The following message appears in the
multifunction display while the level is
being set:
iThe message can be cleared by pressing
the V, U, & or * button on
the multifunction steering wheel.
When the highway level is reached, indicator
lamp ; goes out and the following message
appears in the multifunction display for
5 seconds:
iThe vehicle is lowered to the highway level
automatically if the vehicle speed is above
55 mph (88 km/h) or if the vehicle speed
stays between 40 mph (64 km/h) and
55 mph (88 km/h) for approximately 20
seconds.
Vehicles with enhanced off-road
package
Basic settings
The following vehicle chassis ride heights can
be selected using rotatable outer adjustment
ring : in the center console:
LevelDriving situationOff-road
level 3
Exclusively for clearing
impracticable situations at
low speed. Lower, middle
and upper indicator lamps
= are on.
Off-road
level 2
Off-road driving. Lower and
middle indicator lamps =
are on.
Off-road
level 1
For driving on easy terrain.
Lower indicator lamp = is
on.
Highway
level
For normal driving. Indicator
lamps = are off.
iAnother available level is the highspeed
level that is set automatically.
The following is the approximate change in
ride height for each of the level settings:
162Driving systemsControls in detail
X164_AKB; 5; 31, en-USd2ureepe,Version: 2.11.8.12009-09-11T12:30:16+02:00 - Seite 162
Page 166 of 380
ROff-road level 1, lower indicator lamp
flashes
ROff-road level 2, lower and middle
indicator lamps flashes
ROff-road level 3, lower, middle and upper
indicator lamps flashes
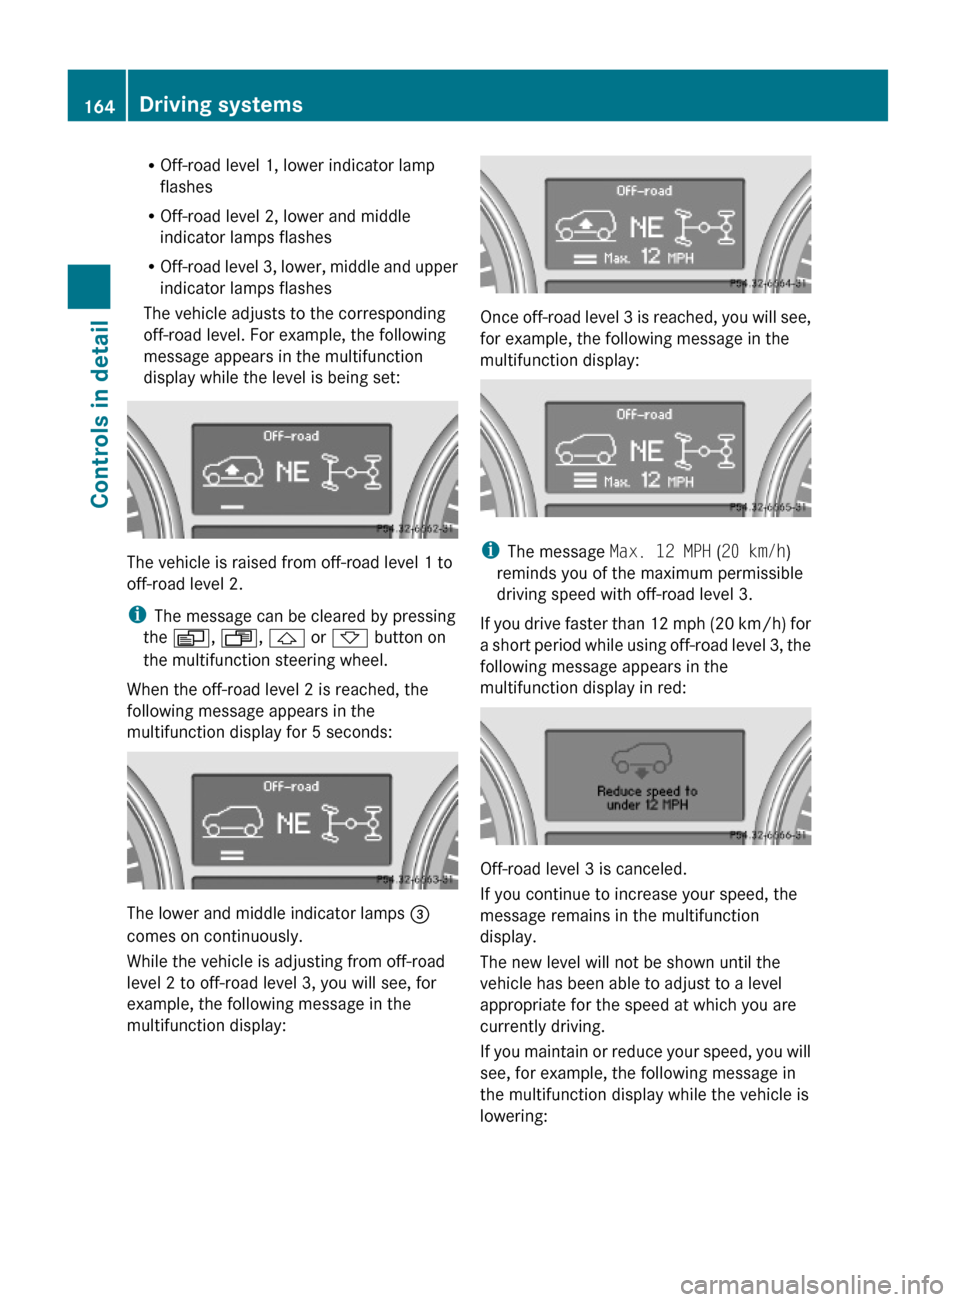
The vehicle adjusts to the corresponding
off-road level. For example, the following
message appears in the multifunction
display while the level is being set:
The vehicle is raised from off-road level 1 to
off-road level 2.
iThe message can be cleared by pressing
the V, U, & or * button on
the multifunction steering wheel.
When the off-road level 2 is reached, the
following message appears in the
multifunction display for 5 seconds:
The lower and middle indicator lamps =
comes on continuously.
While the vehicle is adjusting from off-road
level 2 to off-road level 3, you will see, for
example, the following message in the
multifunction display:
Once off-road level 3 is reached, you will see,
for example, the following message in the
multifunction display:
iThe message Max. 12 MPH (20 km/h)
reminds you of the maximum permissible
driving speed with off-road level 3.
If you drive faster than 12 mph (20 km/h) for
a short period while using off-road level 3, the
following message appears in the
multifunction display in red:
Off-road level 3 is canceled.
If you continue to increase your speed, the
message remains in the multifunction
display.
The new level will not be shown until the
vehicle has been able to adjust to a level
appropriate for the speed at which you are
currently driving.
If you maintain or reduce your speed, you will
see, for example, the following message in
the multifunction display while the vehicle is
lowering:
164Driving systemsControls in detail
X164_AKB; 5; 31, en-USd2ureepe,Version: 2.11.8.12009-09-11T12:30:16+02:00 - Seite 164
Page 168 of 380
iThe message can be cleared by pressing
the V, U, & or * button on
the multifunction steering wheel.
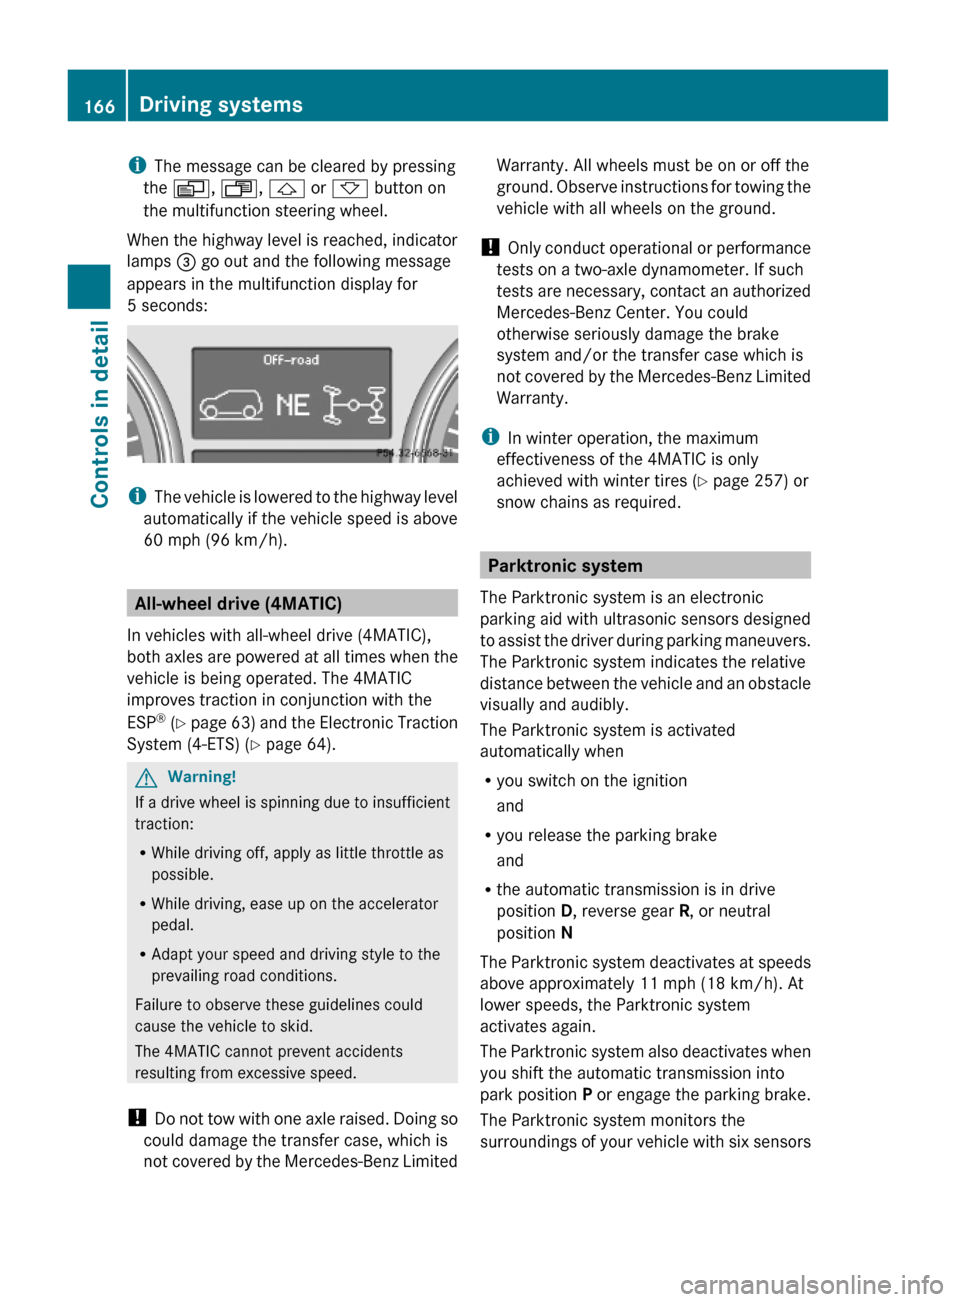
When the highway level is reached, indicator
lamps = go out and the following message
appears in the multifunction display for
5 seconds:
iThe vehicle is lowered to the highway level
automatically if the vehicle speed is above
60 mph (96 km/h).
All-wheel drive (4MATIC)
In vehicles with all-wheel drive (4MATIC),
both axles are powered at all times when the
vehicle is being operated. The 4MATIC
improves traction in conjunction with the
ESP® (Y page 63) and the Electronic Traction
System (4-ETS) (Y page 64).
GWarning!
If a drive wheel is spinning due to insufficient
traction:
RWhile driving off, apply as little throttle as
possible.
RWhile driving, ease up on the accelerator
pedal.
RAdapt your speed and driving style to the
prevailing road conditions.
Failure to observe these guidelines could
cause the vehicle to skid.
The 4MATIC cannot prevent accidents
resulting from excessive speed.
! Do not tow with one axle raised. Doing so
could damage the transfer case, which is
not covered by the Mercedes-Benz Limited
Warranty. All wheels must be on or off the
ground. Observe instructions for towing the
vehicle with all wheels on the ground.
! Only conduct operational or performance
tests on a two-axle dynamometer. If such
tests are necessary, contact an authorized
Mercedes-Benz Center. You could
otherwise seriously damage the brake
system and/or the transfer case which is
not covered by the Mercedes-Benz Limited
Warranty.
iIn winter operation, the maximum
effectiveness of the 4MATIC is only
achieved with winter tires (Y page 257) or
snow chains as required.
Parktronic system
The Parktronic system is an electronic
parking aid with ultrasonic sensors designed
to assist the driver during parking maneuvers.
The Parktronic system indicates the relative
distance between the vehicle and an obstacle
visually and audibly.
The Parktronic system is activated
automatically when
Ryou switch on the ignition
and
Ryou release the parking brake
and
Rthe automatic transmission is in drive
position D, reverse gear R, or neutral
position N
The Parktronic system deactivates at speeds
above approximately 11 mph (18 km/h). At
lower speeds, the Parktronic system
activates again.
The Parktronic system also deactivates when
you shift the automatic transmission into
park position P or engage the parking brake.
The Parktronic system monitors the
surroundings of your vehicle with six sensors
166Driving systemsControls in detail
X164_AKB; 5; 31, en-USd2ureepe,Version: 2.11.8.12009-09-11T12:30:16+02:00 - Seite 166
Page 177 of 380
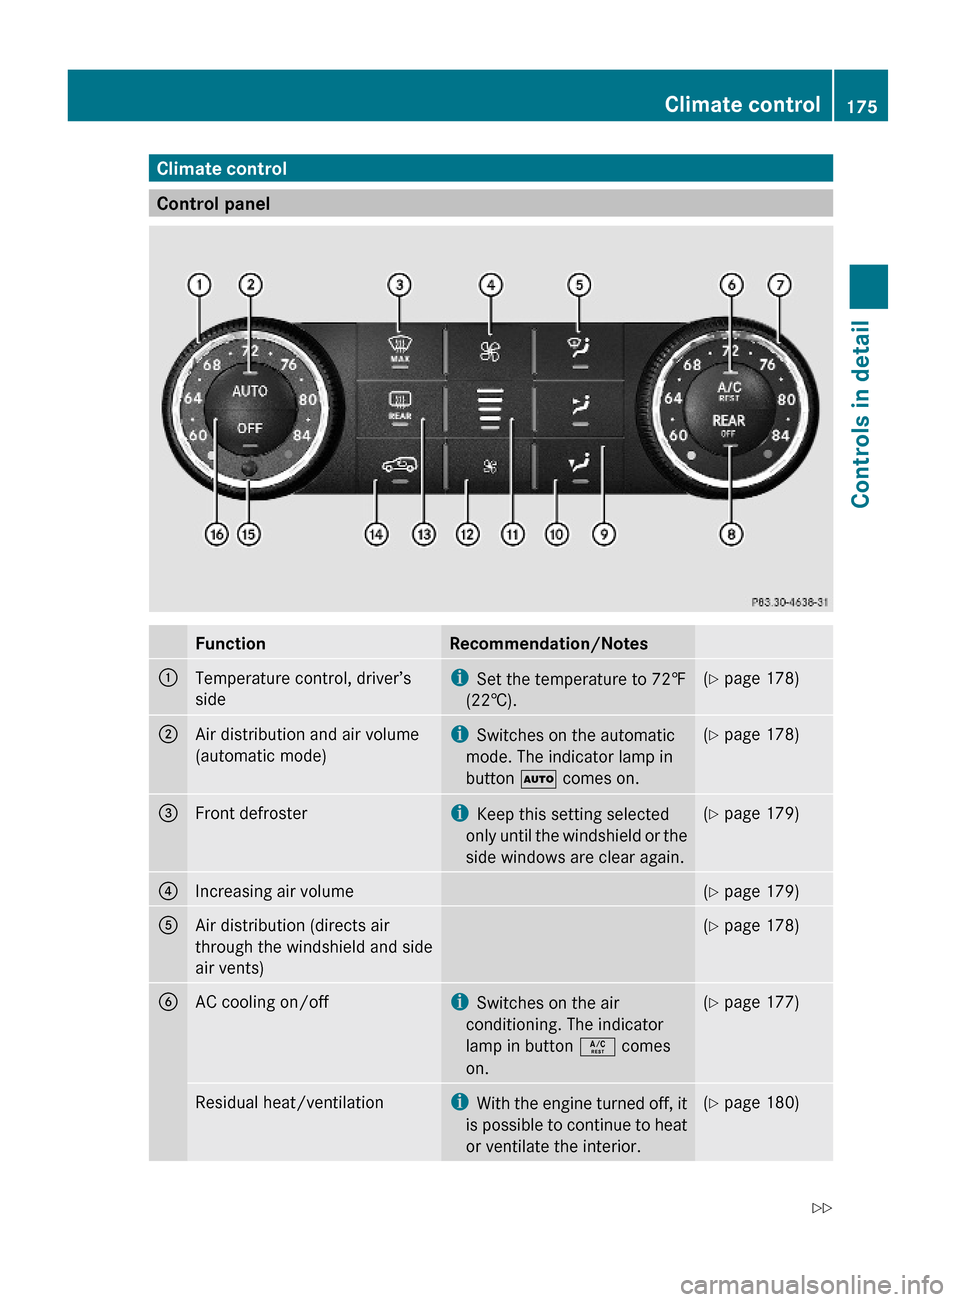
Climate control
Control panel
FunctionRecommendation/Notes:Temperature control, driver’s
side
iSet the temperature to 72‡
(22†).
(Y page 178);Air distribution and air volume
(automatic mode)
iSwitches on the automatic
mode. The indicator lamp in
button à comes on.
(Y page 178)=Front defrosteriKeep this setting selected
only until the windshield or the
side windows are clear again.
(Y page 179)?Increasing air volume(Y page 179)AAir distribution (directs air
through the windshield and side
air vents)
(Y page 178)BAC cooling on/offiSwitches on the air
conditioning. The indicator
lamp in button Á comes
on.
(Y page 177)Residual heat/ventilationiWith the engine turned off, it
is possible to continue to heat
or ventilate the interior.
(Y page 180)Climate control175Controls in detailX164_AKB; 5; 31, en-USd2ureepe,Version: 2.11.8.12009-09-11T12:30:16+02:00 - Seite 175Z
Page 178 of 380
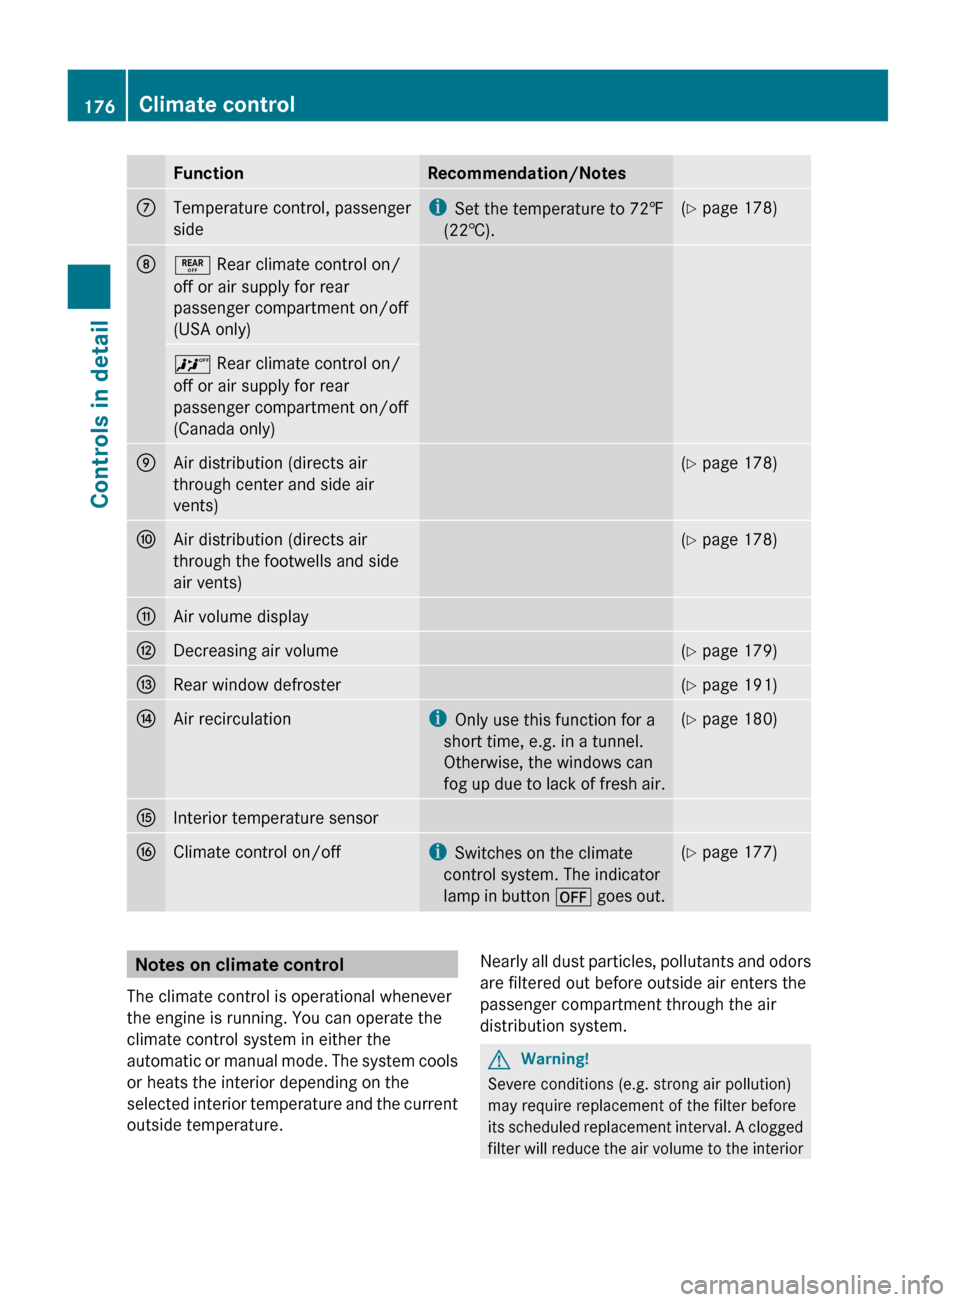
FunctionRecommendation/NotesCTemperature control, passenger
sidei Set the temperature to 72‡
(22†).( Y page 178)D± Rear climate control on/
off or air supply for rear
passenger compartment on/off
(USA only)^ Rear climate control on/
off or air supply for rear
passenger compartment on/off
(Canada only)EAir distribution (directs air
through center and side air
vents)( Y page 178)FAir distribution (directs air
through the footwells and side
air vents)( Y page 178)GAir volume displayHDecreasing air volume(Y page 179)IRear window defroster(Y page 191)JAir recirculationi
Only use this function for a
short time, e.g. in a tunnel.
Otherwise, the windows can
fog up due to lack of fresh air.( Y page 180)KInterior temperature sensorLClimate control on/offi
Switches on the climate
control system. The indicator
lamp in button ^ goes out.(Y page 177)Notes on climate control
The climate control is operational whenever
the engine is running. You can operate the
climate control system in either the
automatic or manual mode. The system cools
or heats the interior depending on the
selected interior temperature and the current
outside temperature.Nearly all dust particles, pollutants and odors
are filtered out before outside air enters the
passenger compartment through the air
distribution system.GWarning!
Severe conditions (e.g. strong air pollution)
may require replacement of the filter before
its scheduled replacement interval. A clogged
filter will reduce the air volume to the interior
176Climate controlControls in detail
X164_AKB; 5; 31, en-USd2ureepe,Version: 2.11.8.12009-09-11T12:30:16+02:00 - Seite 176
Page 179 of 380

and the windows could fog up, impairing
visibility and endangering you and others.
Have a clogged filter replaced as soon as
possible at an authorized Mercedes-Benz
Center.
The air conditioning will not engage (no
cooling) if the A/C mode is deactivated
( Y page 177).GWarning!
Follow the recommended settings for heating
and cooling given on the following pages.
Otherwise the windows could fog up,
impairing visibility and endangering you and
others.
Keep the air intake grille in front of the
windshield free of snow and debris.
i If the vehicle interior is hot, ventilate the
interior before driving off, see “Summer
opening feature” (Y page 107). The climate
control will then adjust the interior
temperature to the set value much faster.
Deactivating the climate control
system
GWarning!
When the climate control system is switched
off, the outside air supply and circulation are
also switched off. Only choose this setting for
a short time. Otherwise the windows could fog
up, impairing visibility and endangering you
and others.
XDeactivating: Press button ^.
The indicator lamp in the button comes on.XReactivating: Press button Ã.
i
You can also press button ^ on the
climate control panel.
If you press button ¦ to reactivate the
climate control system, the defrosting
mode is activated.
Deactivating the rear climate control
from the frontXDeactivating: Press button ±.
The indicator lamp in the button comes on.XReactivating: Press button ±.
The indicator lamp in the button goes out.
Air conditioning
The air conditioning is operational while the
engine is running and cools the interior air to
the temperature set by the operator. In
addition, the air conditioning dehumidifies
the interior air and helps prevent window
fogging.
GWarning!
If you switch off the air conditioning, the
vehicle will not be cooled when weather
conditions are warm. The windows can fog up
more quickly. Window fogging may impair
visibility and endanger you and others.
i Condensation may drip out from
underneath the vehicle. This is normal and
not an indication of a malfunction.
Deactivating
It is possible to deactivate the air
conditioning. The interior air will then no
longer be cooled or dehumidified.
XPress button Á.
The indicator lamp in the button goes out.
The cooling function switches off after a
short delay.
Activating
Moist air can fog up the windows. You can
dehumidify the interior air with the air
conditioning.
XPress button Á again.
The indicator lamp in the button comes on.Climate control177Controls in detailX164_AKB; 5; 31, en-USd2ureepe,Version: 2.11.8.12009-09-11T12:30:16+02:00 - Seite 177Z