2010 MERCEDES-BENZ E350 parking position
[x] Cancel search: parking positionPage 258 of 372

! Vehicles with 4MATIC:
Only conduct operational or performance
tests on a two-axle dynamometer. If such
tests are necessary, contact an authorized
Mercedes-Benz Center. You could
otherwise seriously damage the brake
system or the transfer case which is not
covered by the Mercedes-Benz Limited
Warranty.
! Vehicles with 4MATIC:
Because the ESC operates automatically,
the engine and ignition must be shut off
(SmartKey in starter switch position 0 or
1 or KEYLESS-GO start/stop button in
position 0 or 1) when the electronic parking
brake is being tested on a brake test
dynamometer.
Active braking action through the ESC may
otherwise seriously damage the brake
system which is not covered by the
Mercedes-Benz Limited Warranty.
! Vehicles without 4MATIC:
Because the ESC operates automatically,
the engine and ignition must be shut off
(SmartKey in starter switch position 0 or
1 or KEYLESS-GO start/stop button in
position 0 or 1) when the electronic parking
brake is being tested on a brake test
dynamometer or when the vehicle is being
towed with one axle raised.
Active braking action through the ESC may
otherwise seriously damage the brake
system which is not covered by the
Mercedes-Benz Limited Warranty.
If your brake system is only subjected to
moderate loads, you should occasionally test
the effectiveness of the brakes by applying
above-normal braking pressure at higher
speeds. This will also enhance the grip of the
brake pads.GWarning!
Make sure not to endanger any other road
users when carrying out these braking
maneuvers.
Refer to the description of the Brake Assist
System (BAS) ( Y page 63) or BAS PLUS
( Y page 63).
High-performance brake system and
ceramic brake system
The high-performance brake system and
ceramic brake system is only available on
E 63 AMG.
GWarning!
New vehicle brake pads and disks, and
replacement brake pads and disks may take
several hundred miles of driving until they
provide optimum braking efficiency. Until that
time, you may need to use increased brake
pedal pressure while braking. Please be aware
of this and adjust your driving and braking
accordingly during this break-in period.
Excessive high-demand braking will cause
correspondingly high brake wear. Please be
attentive to the brake warning lamp in the
instrument cluster and brake condition
messages in the multifunction display.
Especially for high performance driving, it is
important to maintain and have the brake
system checked regularly.
The high-performance brake system is
designed to operate under the extremely high
operating demands required to
accommodate the performance capabilities
of the vehicle.
The brakes may produce a squeaking-type
noise depending on the
R vehicle speed
R brake force applied
R ambient conditions, e.g. temperature and
humidity
As with any brake system, the wear of
individual brake system components such as
brake pads or disks strongly depends on your
driving style and the conditions under which
you operate the vehicle. Thus, a driving style
calling for high-demand braking will cause
your vehicle’s brakes to wear more quickly.
256Driving instructionsOperation
212_AKB; 2; 41, en-USd2ureepe,Version: 2.11.8.12009-07-17T09:14:21+02:00 - Seite 256
Page 284 of 372
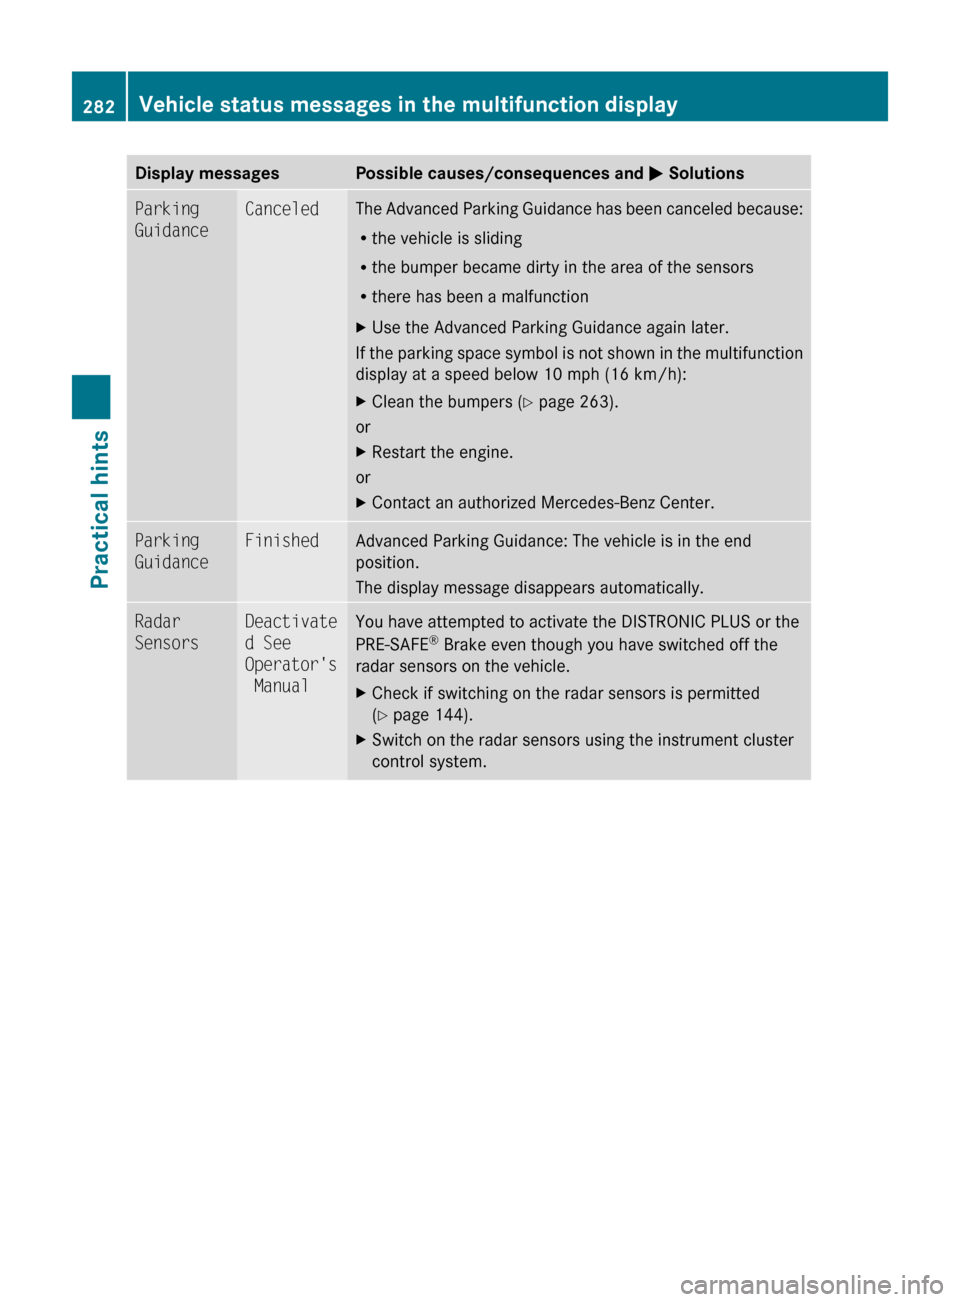
Display messagesPossible causes/consequences and M SolutionsParking
GuidanceCanceledThe Advanced Parking Guidance has been canceled because:
R the vehicle is sliding
R the bumper became dirty in the area of the sensors
R there has been a malfunctionXUse the Advanced Parking Guidance again later.
If the parking space symbol is not shown in the multifunction
display at a speed below 10 mph (16 km/h):
XClean the bumpers ( Y page 263).
or
XRestart the engine.
or
XContact an authorized Mercedes-Benz Center.Parking
GuidanceFinishedAdvanced Parking Guidance: The vehicle is in the end
position.
The display message disappears automatically.Radar
SensorsDeactivate
d See
Operator's
ManualYou have attempted to activate the DISTRONIC PLUS or the
PRE-SAFE ®
Brake even though you have switched off the
radar sensors on the vehicle.XCheck if switching on the radar sensors is permitted
( Y page 144).XSwitch on the radar sensors using the instrument cluster
control system.282Vehicle status messages in the multifunction displayPractical hints
212_AKB; 2; 41, en-USd2ureepe,Version: 2.11.8.12009-07-17T09:14:21+02:00 - Seite 282
Page 285 of 372
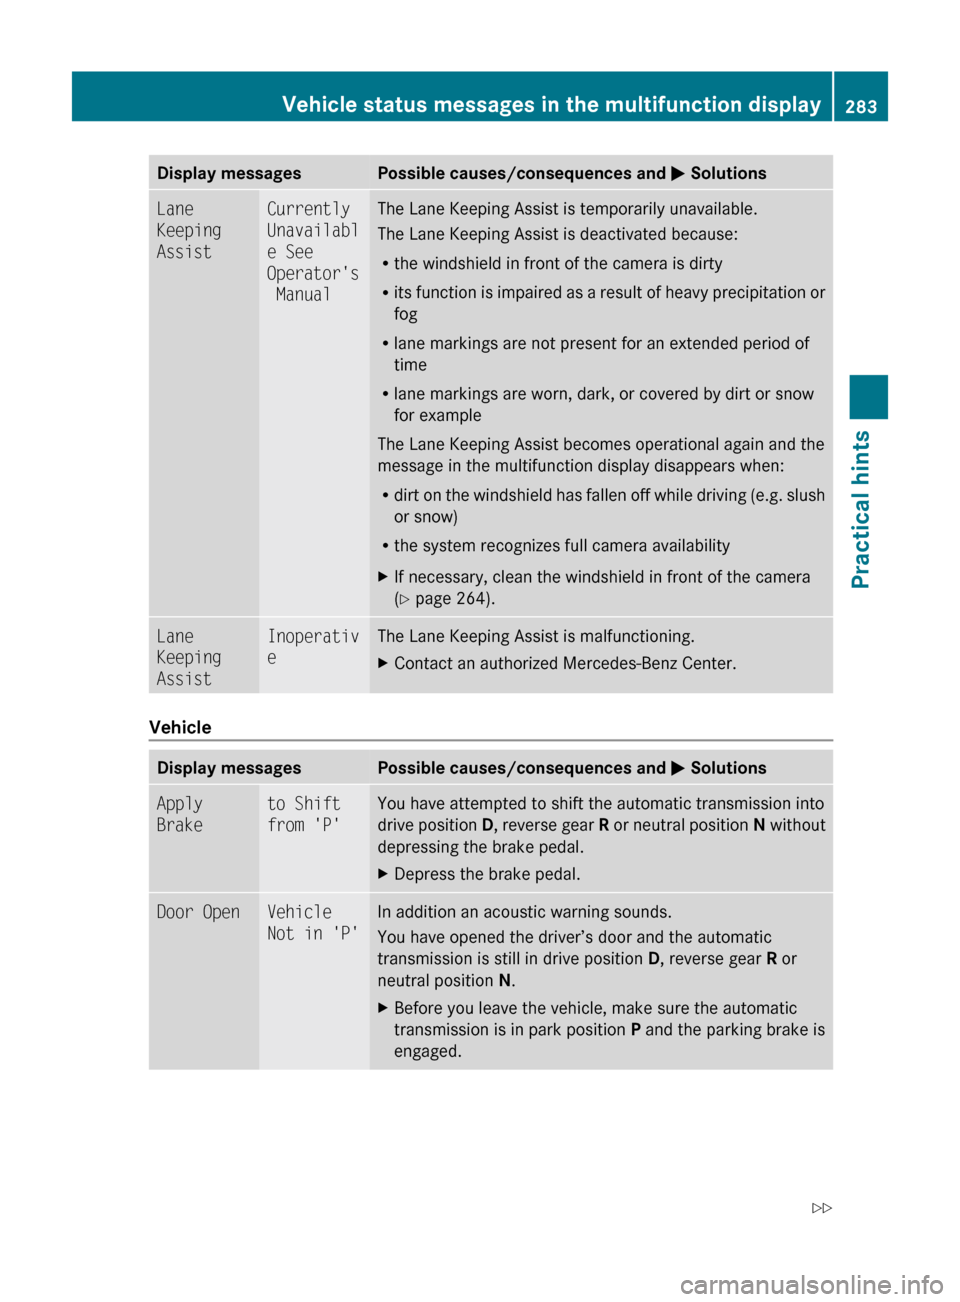
Display messagesPossible causes/consequences and M SolutionsLane
Keeping
AssistCurrently
Unavailabl
e See
Operator's
ManualThe Lane Keeping Assist is temporarily unavailable.
The Lane Keeping Assist is deactivated because:
R the windshield in front of the camera is dirty
R its function is impaired as a result of heavy precipitation or
fog
R lane markings are not present for an extended period of
time
R lane markings are worn, dark, or covered by dirt or snow
for example
The Lane Keeping Assist becomes operational again and the
message in the multifunction display disappears when:
R dirt on the windshield has fallen off while driving (e.g. slush
or snow)
R the system recognizes full camera availabilityXIf necessary, clean the windshield in front of the camera
( Y page 264).Lane
Keeping
AssistInoperativ
eThe Lane Keeping Assist is malfunctioning.XContact an authorized Mercedes-Benz Center.
Vehicle
Display messagesPossible causes/consequences and M SolutionsApply
Braketo Shift
from 'P'You have attempted to shift the automatic transmission into
drive position D, reverse gear R or neutral position N without
depressing the brake pedal.XDepress the brake pedal.Door OpenVehicle
Not in 'P'In addition an acoustic warning sounds.
You have opened the driver’s door and the automatic
transmission is still in drive position D, reverse gear R or
neutral position N.XBefore you leave the vehicle, make sure the automatic
transmission is in park position P and the parking brake is
engaged.Vehicle status messages in the multifunction display283Practical hints212_AKB; 2; 41, en-USd2ureepe,Version: 2.11.8.12009-07-17T09:14:21+02:00 - Seite 283Z
Page 296 of 372
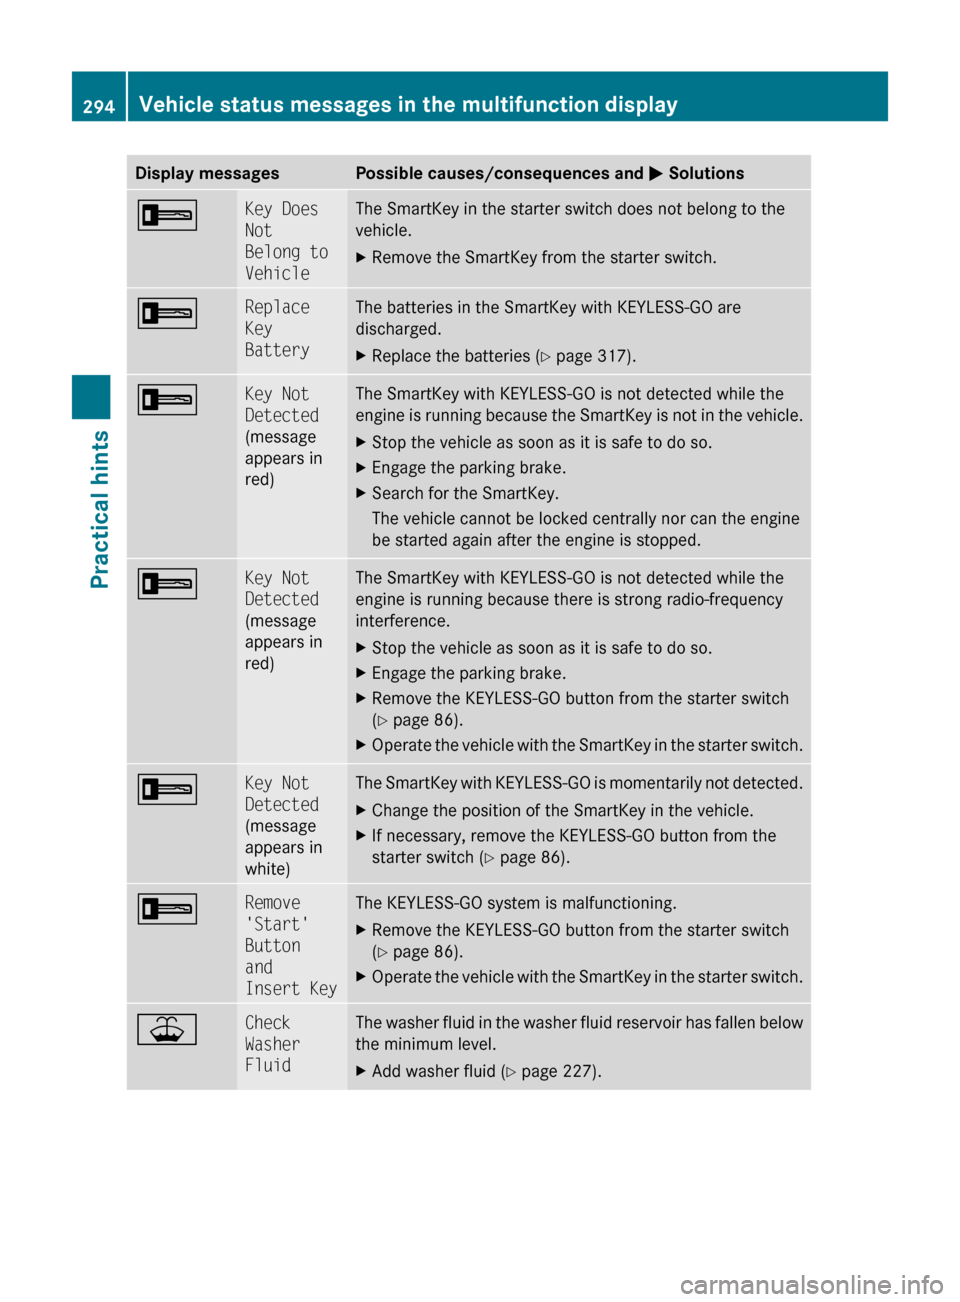
Display messagesPossible causes/consequences and M Solutions+Key Does
Not
Belong to
VehicleThe SmartKey in the starter switch does not belong to the
vehicle.XRemove the SmartKey from the starter switch.+Replace
Key
BatteryThe batteries in the SmartKey with KEYLESS-GO are
discharged.XReplace the batteries ( Y page 317).+Key Not
Detected
(message
appears in
red)The SmartKey with KEYLESS-GO is not detected while the
engine is running because the SmartKey is not in the vehicle.XStop the vehicle as soon as it is safe to do so.XEngage the parking brake.XSearch for the SmartKey.
The vehicle cannot be locked centrally nor can the engine
be started again after the engine is stopped.+Key Not
Detected
(message
appears in
red)The SmartKey with KEYLESS-GO is not detected while the
engine is running because there is strong radio-frequency
interference.XStop the vehicle as soon as it is safe to do so.XEngage the parking brake.XRemove the KEYLESS-GO button from the starter switch
( Y page 86).XOperate the vehicle with the SmartKey in the starter switch.+Key Not
Detected
(message
appears in
white)The SmartKey with KEYLESS-GO is momentarily not detected.XChange the position of the SmartKey in the vehicle.XIf necessary, remove the KEYLESS-GO button from the
starter switch ( Y page 86).+Remove
'Start'
Button
and
Insert KeyThe KEYLESS-GO system is malfunctioning.XRemove the KEYLESS-GO button from the starter switch
( Y page 86).XOperate the vehicle with the SmartKey in the starter switch.¥Check
Washer
FluidThe washer fluid in the washer fluid reservoir has fallen below
the minimum level.XAdd washer fluid ( Y page 227).294Vehicle status messages in the multifunction displayPractical hints
212_AKB; 2; 41, en-USd2ureepe,Version: 2.11.8.12009-07-17T09:14:21+02:00 - Seite 294
Page 325 of 372
Flat tire
Safety notes
Your vehicle may be equipped with:
R a Minispare wheel
R a spare wheel with collapsible tire
R an MOExtended system (your vehicle does
not have a spare wheel or a TIREFIT kit)
R a TIREFIT kit 19
(your vehicle does not have
a spare wheel)
GWarning!
The dimensions of the spare wheel are
different from those of the road wheels. As a
result, the vehicle handling characteristics
change when driving with a spare wheel
mounted. Adapt your driving style
accordingly.
The spare wheel is for temporary use only.
When driving with a spare wheel mounted,
ensure proper tire inflation pressure and do
not exceed a vehicle speed of 50 mph
(80 km/h).
Contact the nearest authorized Mercedes-
Benz Center as soon as possible to have the
spare wheel replaced with a regular road
wheel.
Never operate the vehicle with more than one
spare wheel mounted.
Do not switch off the ESC when a spare wheel
is mounted.
Preparing the vehicle
XVehicles with AIRMATIC:
Make sure the vehicle level is set to normal
level ( Y page 163).XWhenever possible, park the vehicle in a
safe distance from moving traffic on a hard,
flat surface.XTurn on the hazard warning flasher.XTurn the steering wheel so that the front
wheels are in a straight-ahead position.XEngage the parking brake.XShift the automatic transmission into park
position P.XTurn off the engine.XRemove the SmartKey from the starter
switch.
or
XVehicles with KEYLESS-GO: Open the
driver’s door (this puts the starter switch in
position 0, same as with the SmartKey
removed from the starter switch). The
driver’s door can then be closed again.
Open doors only when conditions are safe
to do so.XVehicles with KEYLESS-GO: Remove the
KEYLESS-GO start/stop button from the
starter switch.XHave any passenger exit the vehicle at a
safe distance from the roadway. Open
doors only when conditions are safe to do
so.
Mounting the spare wheel
Introduction
XPrepare the vehicle as described
( Y page 323).XTake the following out of the vehicle:
R spare wheel
R jack
R vehicle tool kit
R collapsible wheel chock
R electric air pump (required for vehicles
with spare wheel with collapsible tire
only)
For information on where to find the
respective items, see “Where will I find ...?”
( Y page 268) and ( Y page 271).
19
Canada only.Flat tire323Practical hints212_AKB; 2; 41, en-USd2ureepe,Version: 2.11.8.12009-07-17T09:14:21+02:00 - Seite 323Z
Page 341 of 372
power by an external battery or starter
pack.
RJump starting should only be performed
when the engine and catalytic converter22
are cold.
RDo not jump start the engine or charge the
battery if the battery is frozen. Let the
battery thaw out first.
ROnly jump start from batteries with the
same voltage rating (12 V). Jump starting
with a more powerful battery could damage
the vehicle’s electrical system. Such
damage will not be covered by the
Mercedes-Benz Limited Warranty.
ROnly use jumper cables with sufficient
cross-section and insulated terminal
clamps.
RAlways make sure the jumper cables are
not on or near pulleys, fans or other parts
that move when an engine is started or
running.
RShould the battery be drained completely,
let the donating power source charge the
vehicle for several minutes before
reattempting the starting process.
The jump-start contacts are located in the
engine compartment on the passenger side.
XMake sure the two vehicles do not touch.XSwitch off all electrical consumers.XEngage the parking brake.XMake sure the automatic transmission is in
park position P.
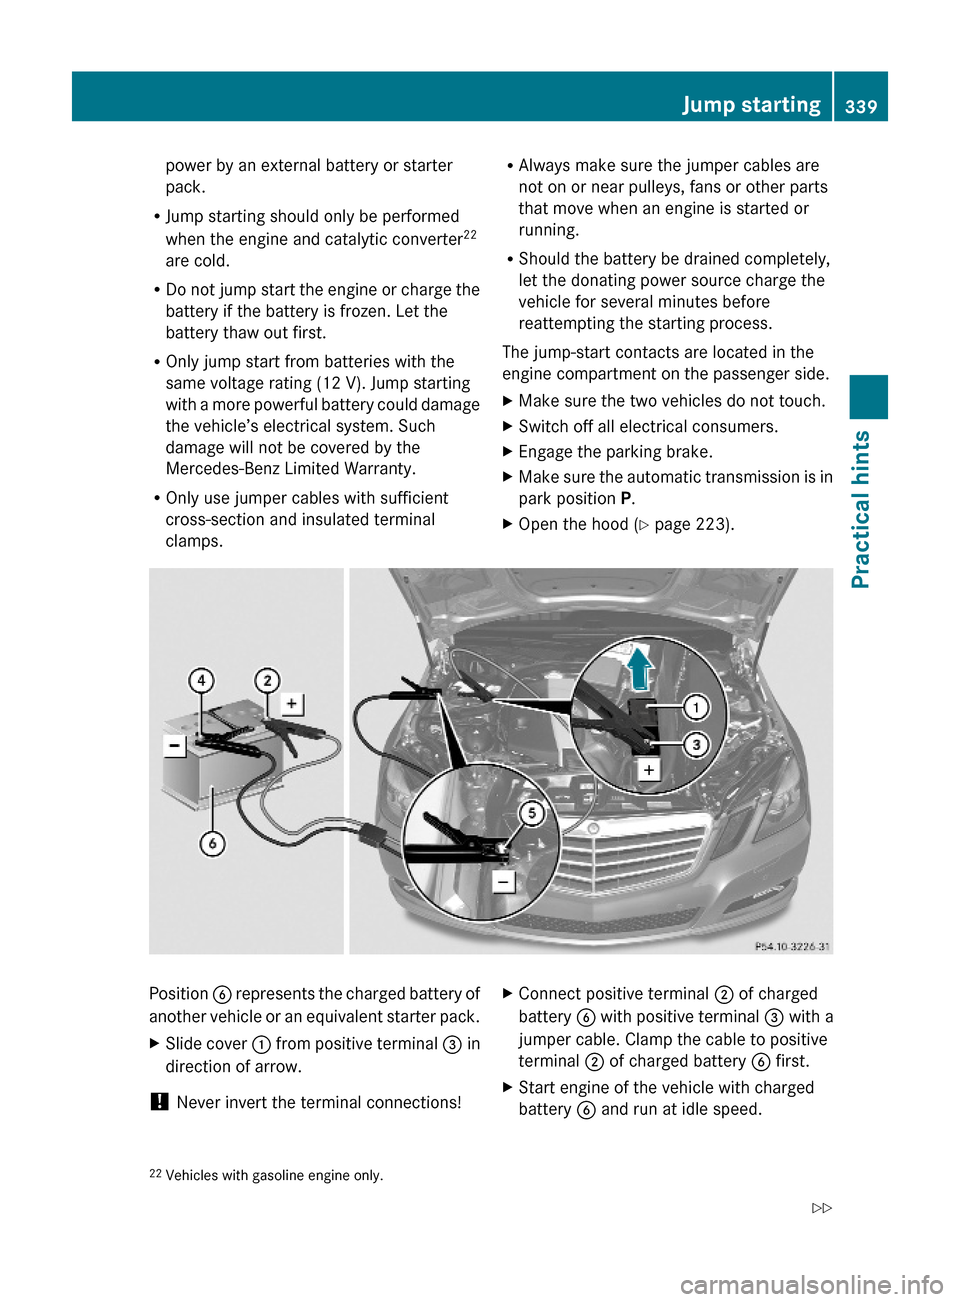
XOpen the hood (Y page 223).Position B represents the charged battery of
another vehicle or an equivalent starter pack.
XSlide cover : from positive terminal = in
direction of arrow.
! Never invert the terminal connections!
XConnect positive terminal ; of charged
battery B with positive terminal = with a
jumper cable. Clamp the cable to positive
terminal ; of charged battery B first.
XStart engine of the vehicle with charged
battery B and run at idle speed.22Vehicles with gasoline engine only.Jump starting339Practical hints212_AKB; 2; 41, en-USd2ureepe,Version: 2.11.8.12009-07-17T09:14:21+02:00 - Seite 339Z
Page 344 of 372
Removing towing eye boltXLoosen towing eye bolt ; by turning it
counterclockwise.XUnscrew towing eye bolt ;.XReinstalling cover: Fit cover :
( Y page 341) and snap it into place.XStore the towing eye bolt ; and wheel
wrench back into the vehicle tool kit.
Towing with one axle raised
! The vehicle may be towed only for
distances up to 30 miles (50 km) and at a
speed not to exceed 30 mph (50 km/h).
! Vehicles with 4MATIC: Do not tow with
one axle raised. Doing so could damage the
transfer case, which is not covered by the
Mercedes-Benz Limited Warranty.
All wheels must be on or off the ground.
Observe instructions for towing the vehicle
with all wheels on the ground.
XMake sure the ignition is switched on.XWith the vehicle at a standstill, depress the
brake pedal and keep it pressed.XRelease the brake pedal.XIf engaged, release the parking brake.XSwitch off the automatic central locking
( Y page 144).XSwitch off the ignition and leave the
SmartKey in the starter switch.XSwitch on the hazard warning flasher
( Y page 101).
!
Because the ESC operates automatically,
the engine and ignition must be shut off
(SmartKey in starter switch position 0 or
1 or KEYLESS-GO start/stop button in
position 0 or 1) when the vehicle is being
towed with one axle raised.
Active braking action through the ESC may
otherwise seriously damage the brake
system which is not covered by the
Mercedes-Benz Limited Warranty.
Towing with all wheels on the groundGWarning!
If circumstances require towing the vehicle
with all wheels on the ground, always tow with
a tow bar if:
R the engine will not run
R there is a malfunction in the brake system
R there is a malfunction in the power supply
or in the vehicle’s electrical system
This is necessary to adequately control the
towed vehicle.
Prior to towing the vehicle with all wheels on
the ground, make sure the SmartKey is in
starter switch position 2.
If the SmartKey is left in the starter switch
position 0 for an extended period of time, it
can no longer be turned in the switch. In this
case, the steering is locked. To unlock,
remove SmartKey from starter switch and
reinsert.
GWarning!
With the engine not running, there is no power
assistance for the brake and steering
systems. In this case, it is important to keep
in mind that a considerably higher degree of
effort is necessary to brake and steer the
vehicle. Adapt your driving accordingly.
XMake sure the ignition is switched on.XWith the vehicle at a standstill, depress the
brake pedal and keep it pressed.XShift the automatic transmission into
neutral position N.XRelease the brake pedal.XIf engaged, release the parking brake.XSwitch on the hazard warning flasher
( Y page 101).
!
The vehicle may be towed only for
distances up to 30 miles (50 km) and at a
speed not to exceed 30 mph (50 km/h).
342Towing the vehiclePractical hints
212_AKB; 2; 41, en-USd2ureepe,Version: 2.11.8.12009-07-17T09:14:21+02:00 - Seite 342
Page 345 of 372

iWhile being towed with the hazard
warning flasher in use, use the combination
switch in the usual manner to signal turns.
Only the selected turn signal will operate.
Upon canceling the turn signal, the hazard
warning flasher will operate again.
Fuses
Introduction
The electrical fuses in your vehicle serve to
switch off malfunctioning power circuits.
If a fuse is blown, the components and
systems secured by that fuse will stop
operating.
GWarning!
Only use fuses approved by Mercedes-Benz
with the specified amperage for the system in
question and do not attempt to repair or
bridge a blown fuse. Using other than
approved fuses or using repaired or bridged
fuses may cause an overload leading to a fire,
and/or cause damage to electrical
components and/or systems. Have the cause
determined and remedied by an authorized
Mercedes-Benz Center.
A blown fuse must be replaced by an
appropriate spare fuse (recognizable by its
color or the fuse rating given on the fuse) of
the amperage recommended in the fuse
chart. Any Mercedes-Benz Center will be glad
to advise you on this subject.
iIn case of a blown fuse contact Roadside
Assistance or an authorized Mercedes-
Benz Center.
If a newly inserted fuse blows again, have the
cause determined and rectified by an
authorized Mercedes-Benz Center.
The fuse chart is located in the trunk with the
vehicle tool kit (Y page 268). The fuse chart
explains the fuse allocation and fuse
amperages.
Before replacing fusesXEngage the parking brake.XMake sure the automatic transmission is in
park position P.
The transmission position indicator in the
multifunction display should be on P.
XSwitch off all electrical consumers.XTurn off the engine.XRemove the SmartKey from the starter
switch.
XVehicles with KEYLESS-GO: Open the
driver’s door (this puts the starter switch in
position 0, same as with the SmartKey
removed from the starter switch). The
driver’s door then can be closed again.
Fuse box in trunk
XOpen the trunk.XOpening: Insert flat, blunt object as a lever
into the upper edge of cover : and pull
cover : downward in direction of arrow.
XClosing: Install cover :.
Fuse box in engine compartment
XOpen the hood.Fuses343Practical hints212_AKB; 2; 41, en-USd2ureepe,Version: 2.11.8.12009-07-17T09:14:21+02:00 - Seite 343Z