2010 MERCEDES-BENZ CLS63AMG ECU
[x] Cancel search: ECUPage 72 of 308
i
If the batteries are checked within signal
range of the vehicle, pressing button
& or % will lock or unlock the vehicle
accordingly. Loss of the SmartKey
If you lose your SmartKey or mechanical key,
you should do the following:
X Have the SmartKey deactivated by an
authorized Mercedes-Benz Center.
X Report the loss of the SmartKey or the
mechanical key to your car insurance
company immediately.
X Have the mechanical lock replaced if
necessary.
Any authorized Mercedes-Benz Center will be
glad to supply you with a replacement. For
information on replacing the SmartKey, see
“Replacing the SmartKey” ( Y page 70).Replacing the SmartKey
Only you, or someone authorized by you can
order a replacement key from any Mercedes-
Benz Center. In order to do so, the Mercedes-
Benz Center will require proof of identity and
vehicle ownership with original documents,
including the following:
If you are the current owner of the vehicle:
R the vehicle’s current state registration
R a current identity card, passport, or drivers
license
If you are an authorized person:
R the vehicle’s current state registration
R a current identity card, passport, or drivers
license for the authorized individual
R signed and dated authorization from the
owner of the vehicle for which the key is
being requested
i Duplicated or photocopied
documentation will not be accepted. Activating the key Once you, or an authorized person, has
provided the appropriate documents, the
Mercedes-Benz Center will need to
synchronize the key to your vehicle before it
can be used. In order to do so, the Mercedes-
Benz Center need access to your vehicle.
Opening the doors from the inside
You can open a door from the inside even
when it is locked unless it is secured with the
child safety lock ( Y page 56).
Open door only when conditions are safe to
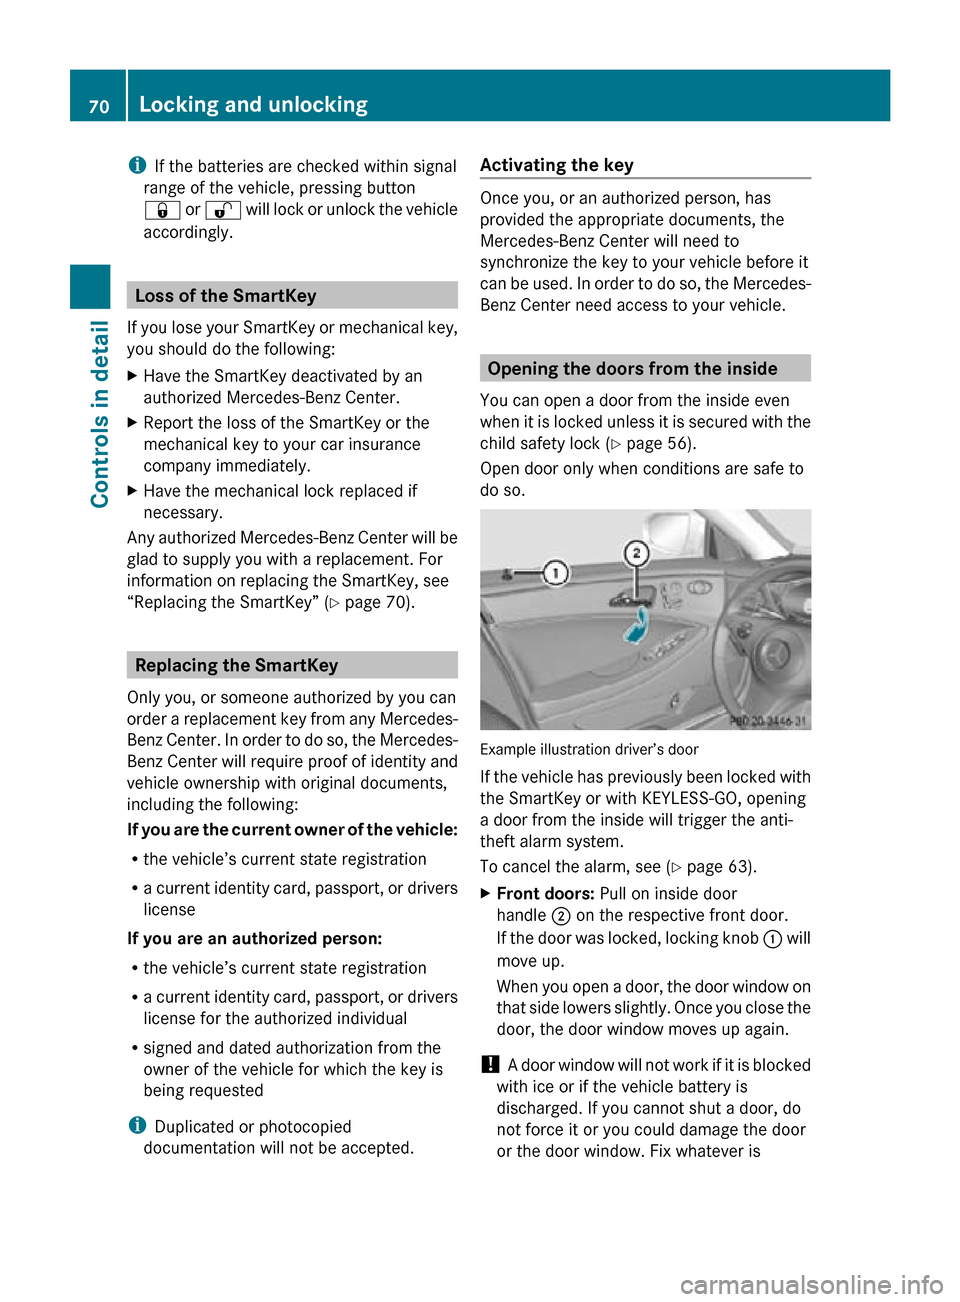
do so. Example illustration driver’s door
If the vehicle has previously been locked with
the SmartKey or with KEYLESS-GO, opening
a door from the inside will trigger the anti-
theft alarm system.
To cancel the alarm, see (
Y page 63).
X Front doors: Pull on inside door
handle ; on the respective front door.
If the door was locked, locking knob : will
move up.
When you open a door, the door window on
that side lowers slightly. Once you close the
door, the door window moves up again.
! A door window will not work if it is blocked
with ice or if the vehicle battery is
discharged. If you cannot shut a door, do
not force it or you could damage the door
or the door window. Fix whatever is 70
Locking and unlockingControls in detail
219_AKB; 4; 54, en-US
d2ureepe,
Version: 2.11.8.1 2009-05-11T16:21:02+02:00 - Seite 70
Page 80 of 308
Observe the following points:
R
Adjust the seat backrest until your arms are
slightly angled when holding the steering
wheel.
R Adjust the seat to a comfortable seating
position that still allows you to reach the
accelerator/brake pedal safely. The
position should be as far back as possible
with the driver still able to operate the
controls properly.
R Adjust the head restraint so that it is as
close to the head as possible. The center of
the head restraint must support the back of
the head at eye level.
R Never place hands under the seat or near
any moving parts while a seat is being
adjusted.
Failure to do so could result in an accident
and/or serious personal injury. G
Warning!
The power seats can be operated at any time.
Therefore, do not leave children unattended
in the vehicle, or with access to an unlocked
vehicle. A child’s unsupervised access to a
vehicle could result in an accident and/or
serious personal injury. G
Warning!
According to accident statistics, children are
safer when properly restrained in the rear
seating positions than in the front seating
position. Thus, we strongly recommend that
children be placed in the rear seats whenever
possible. Regardless of seating position,
children 12 years old and under must be
seated and properly secured in an
appropriately sized infant restraint, toddler
restraint, or booster seat recommended for
the size and weight of the child. For additional
information, see “Children in the vehicle”.
A child’s risk of serious or fatal injuries is
significantly increased if the child restraints
are not properly secured in the vehicle and/ or the child is not properly secured in the child
restraint.
G
Warning!
For your protection, drive only with properly
positioned head restraints.
Adjust the head restraint so that it is as close
to the head as possible and the center of the
head restraint supports the back of the head
at eye level. This will reduce the potential for
injury to the head and neck in the event of an
accident or similar situation.
Do not drive the vehicle without the seat head
restraints. Head restraints are intended to
help reduce injuries during an accident. Seat adjustment
! When moving the seats, make sure there
are no items in the footwell or behind the
seats. Otherwise, you could damage the
seats and/or the items.
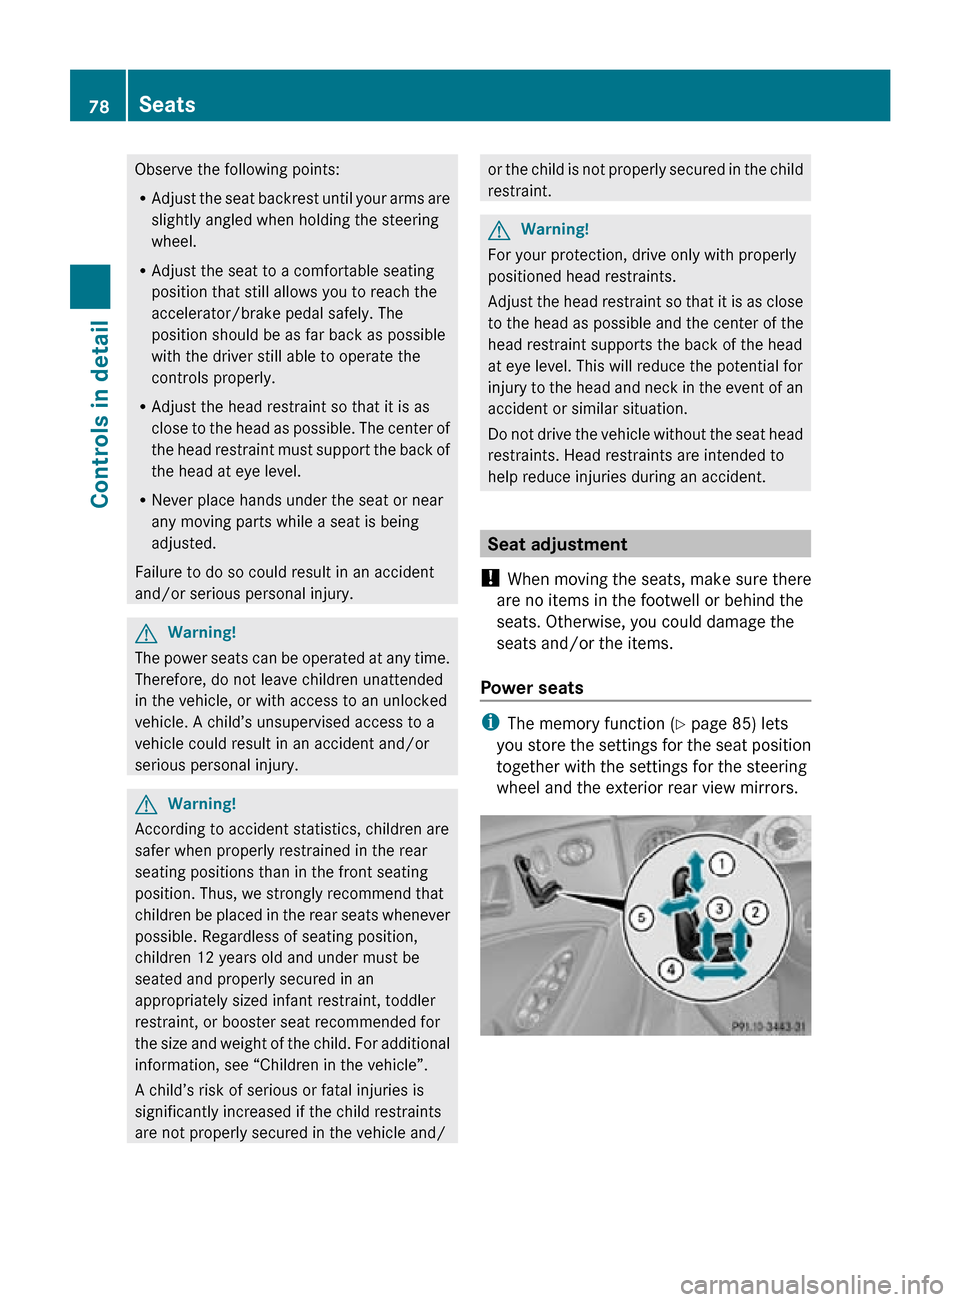
Power seats i
The memory function (Y page 85) lets
you store the settings for the seat position
together with the settings for the steering
wheel and the exterior rear view mirrors. 78
SeatsControls in detail
219_AKB; 4; 54, en-US
d2ureepe,
Version: 2.11.8.1 2009-05-11T16:21:02+02:00 - Seite 78
Page 91 of 308
USA only
You can only switch on the high-beam
headlamps in low ambient lighting conditions.
The high-beam flasher is available at all times.
X
For nighttime driving turn the exterior lamp
switch to position L or à to permit
activation of the high-beam headlamps.
When the engine is running, and you turn the
exterior lamp switch to position T or
L, the manual headlamp mode has
priority over the daytime running lamp mode.
The corresponding exterior lamps come on
(Y page 87).
Fog lamps Fog lamps cannot be switched on with the
exterior lamp switch in position Ã.
G
Warning!
In low ambient lighting or foggy conditions,
only switch from position à to L with
the vehicle at a standstill in a safe location.
Switching from à to L will briefly
switch off the headlamps. Doing so while
driving in low ambient lighting conditions may
result in an accident.
Fog lamps will operate with the parking lamps
and/or the low-beam headlamps on. Fog
lamps should only be used in conjunction with
low-beam headlamps. Consult your State or
Province Motor Vehicle Regulations
regarding permissible lamp operation.
X Switch on the ignition.
X Turn the exterior lamp switch to position
T or L (Y page 87).
X Switching on front fog lamps: Pull out the
exterior lamp switch to first stop.
The green indicator lamp N in the
exterior lamp switch comes on. X
Switching on rear fog lamp: Pull out the
exterior lamp switch to second stop.
The rear fog lamp, the front fog lamps, the
green N and the yellow indicator lamp
R in the exterior lamp switch come on.
X Switching off front fog lamps/rear fog
lamp: Push in the exterior lamp switch to
its stop.
Locator lighting and night security
illumination Locator lighting and night security
illumination are described in the “Control
system” section, see “Switching locator
lighting on or off” (Y page 121) and
“Switching night security illumination
(Headlamps delayed shut-off feature) on or
off” (Y page 122). Combination switch
Turn signals
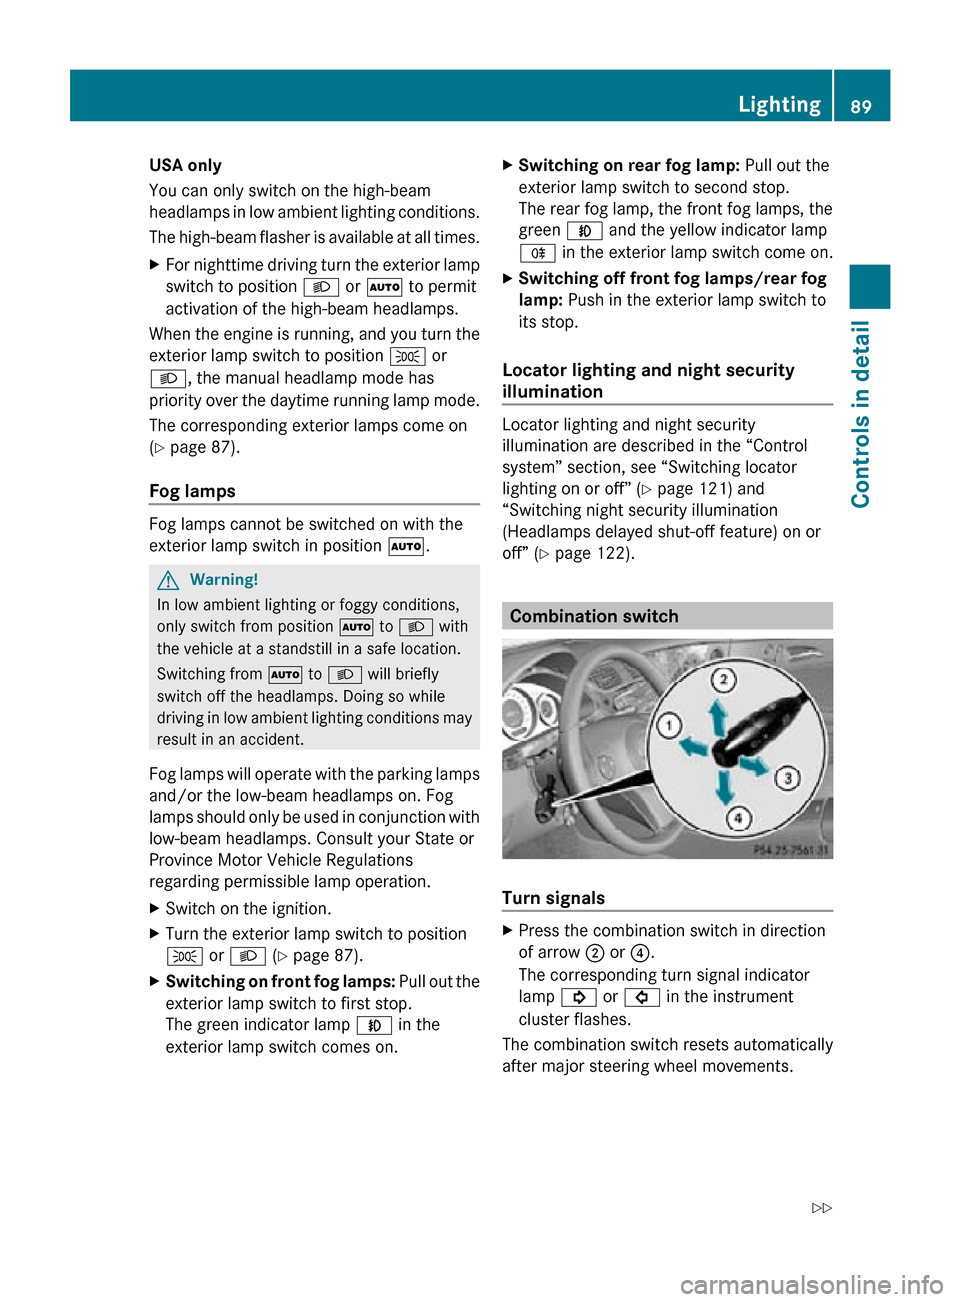
X
Press the combination switch in direction
of arrow ; or ?.
The corresponding turn signal indicator
lamp ! or # in the instrument
cluster flashes.
The combination switch resets automatically
after major steering wheel movements. Lighting
89Controls in detail
219_AKB; 4; 54, en-US
d2ureepe, Version: 2.11.8.1 2009-05-11T16:21:02+02:00 - Seite 89 Z
Page 105 of 308
M (CLS 63 AMG only) (
Y page 107)
R the position of the accelerator pedal
R the vehicle speed
With drive position D selected, you can
influence transmission shifting by
R limiting the gear range
R extending the gear range
R changing the gears manually (CLS 63 AMG
only)
CLS 63 AMG:
Double-clutching is active when downshifting
in all program modes. Double-clutching
reduces load-alteration effects and supports
sporty driving. The degree to which you
perceive double-clutching acoustically varies
depending on the selected program mode. Transmission positions
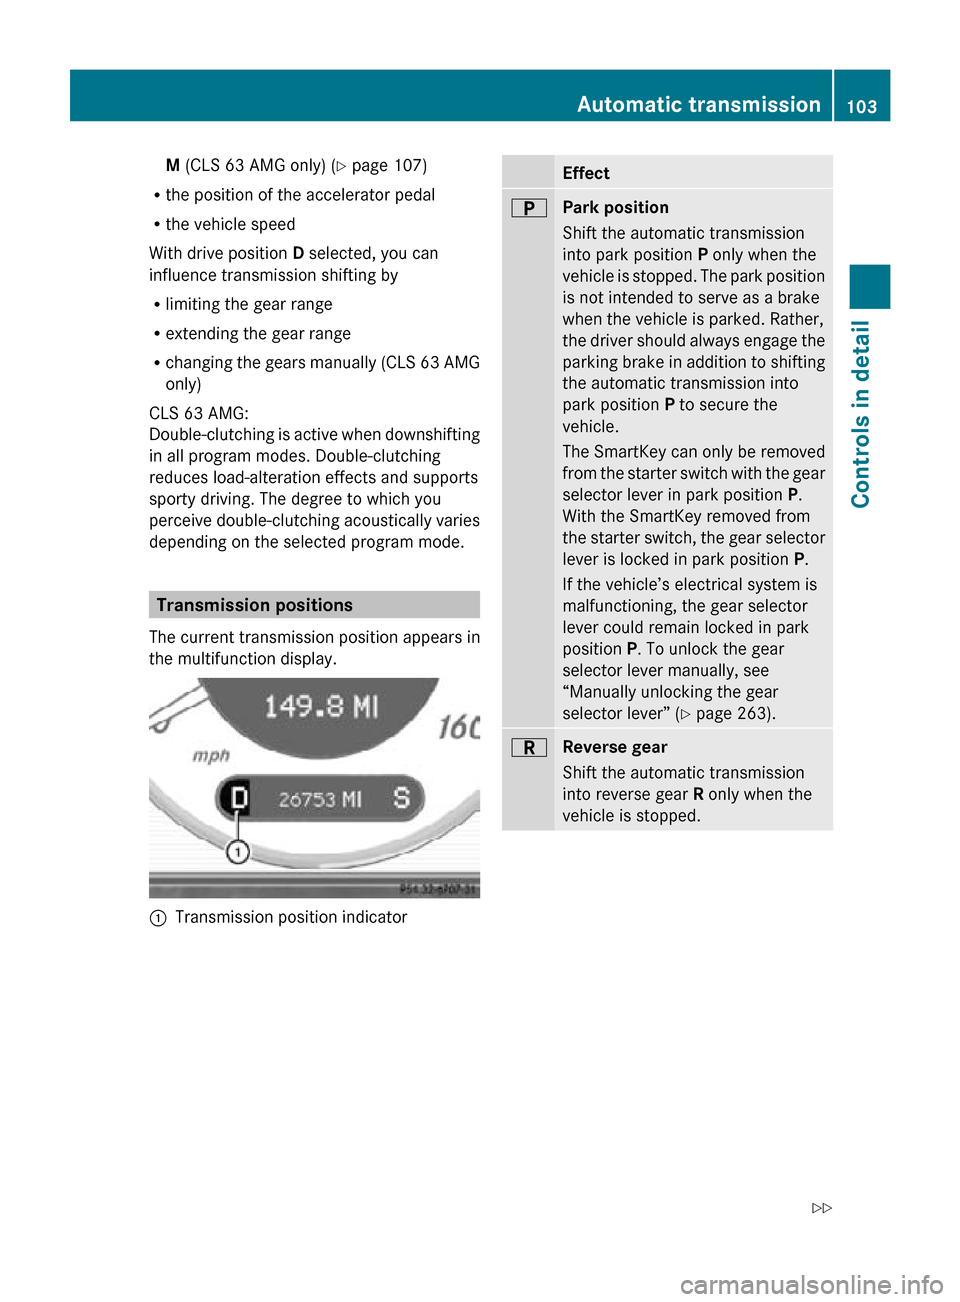
The current transmission position appears in
the multifunction display. :
Transmission position indicator Effect
B
Park position
Shift the automatic transmission
into park position P only when the
vehicle is stopped. The park position
is not intended to serve as a brake
when the vehicle is parked. Rather,
the driver should always engage the
parking brake in addition to shifting
the automatic transmission into
park position P to secure the
vehicle.
The SmartKey can only be removed
from the starter switch with the gear
selector lever in park position P.
With the SmartKey removed from
the starter switch, the gear selector
lever is locked in park position
P.
If the vehicle’s electrical system is
malfunctioning, the gear selector
lever could remain locked in park
position P. To unlock the gear
selector lever manually, see
“Manually unlocking the gear
selector lever” ( Y page 263). C
Reverse gear
Shift the automatic transmission
into reverse gear R only when the
vehicle is stopped. Automatic transmission
103Controls in detail
219_AKB; 4; 54, en-US
d2ureepe, Version: 2.11.8.1 2009-05-11T16:21:02+02:00 - Seite 103 Z
Page 121 of 308
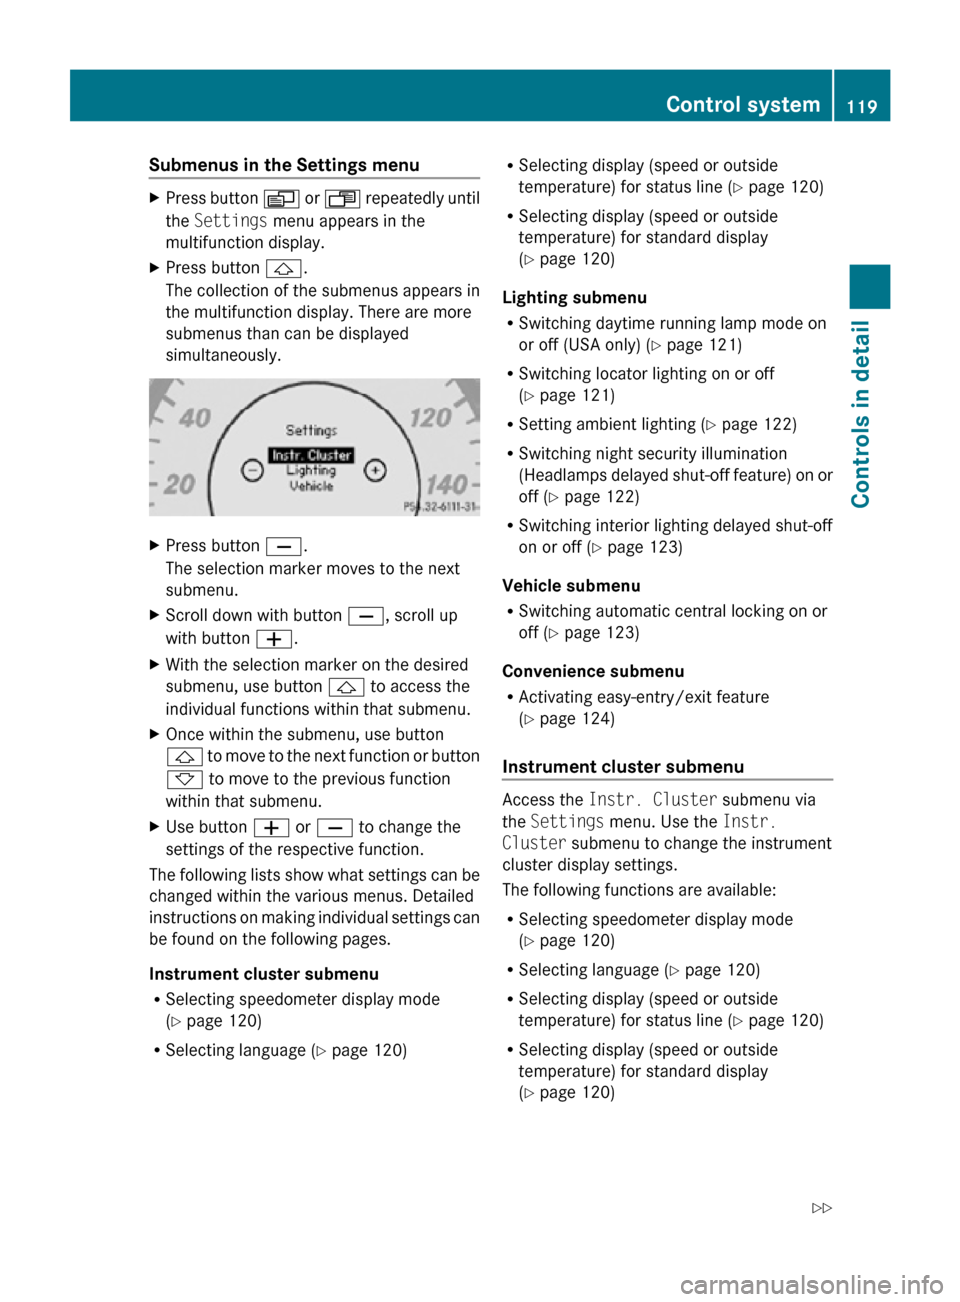
Submenus in the Settings menu
X
Press button V or U repeatedly until
the Settings menu appears in the
multifunction display.
X Press button &.
The collection of the submenus appears in
the multifunction display. There are more
submenus than can be displayed
simultaneously. X
Press button X.
The selection marker moves to the next
submenu.
X Scroll down with button X, scroll up
with button W.
X With the selection marker on the desired
submenu, use button & to access the
individual functions within that submenu.
X Once within the submenu, use button
& to move to the next function or button
* to move to the previous function
within that submenu.
X Use button W or X to change the
settings of the respective function.
The following lists show what settings can be
changed within the various menus. Detailed
instructions on making individual settings can
be found on the following pages.
Instrument cluster submenu
R Selecting speedometer display mode
(Y page 120)
R Selecting language ( Y page 120) R
Selecting display (speed or outside
temperature) for status line ( Y page 120)
R Selecting display (speed or outside
temperature) for standard display
(Y page 120)
Lighting submenu
R Switching daytime running lamp mode on
or off (USA only) (Y page 121)
R Switching locator lighting on or off
(Y page 121)
R Setting ambient lighting ( Y page 122)
R Switching night security illumination
(Headlamps delayed shut-off feature) on or
off (Y page 122)
R Switching interior lighting delayed shut-off
on or off ( Y page 123)
Vehicle submenu
R Switching automatic central locking on or
off (Y page 123)
Convenience submenu
R Activating easy-entry/exit feature
(Y page 124)
Instrument cluster submenu Access the
Instr. Cluster submenu via
the Settings menu. Use the Instr.
Cluster submenu to change the instrument
cluster display settings.
The following functions are available:
R Selecting speedometer display mode
(Y page 120)
R Selecting language ( Y page 120)
R Selecting display (speed or outside
temperature) for status line ( Y page 120)
R Selecting display (speed or outside
temperature) for standard display
(Y page 120) Control system
119Controls in detail
219_AKB; 4; 54, en-US
d2ureepe, Version: 2.11.8.1 2009-05-11T16:21:02+02:00 - Seite 119 Z
Page 123 of 308
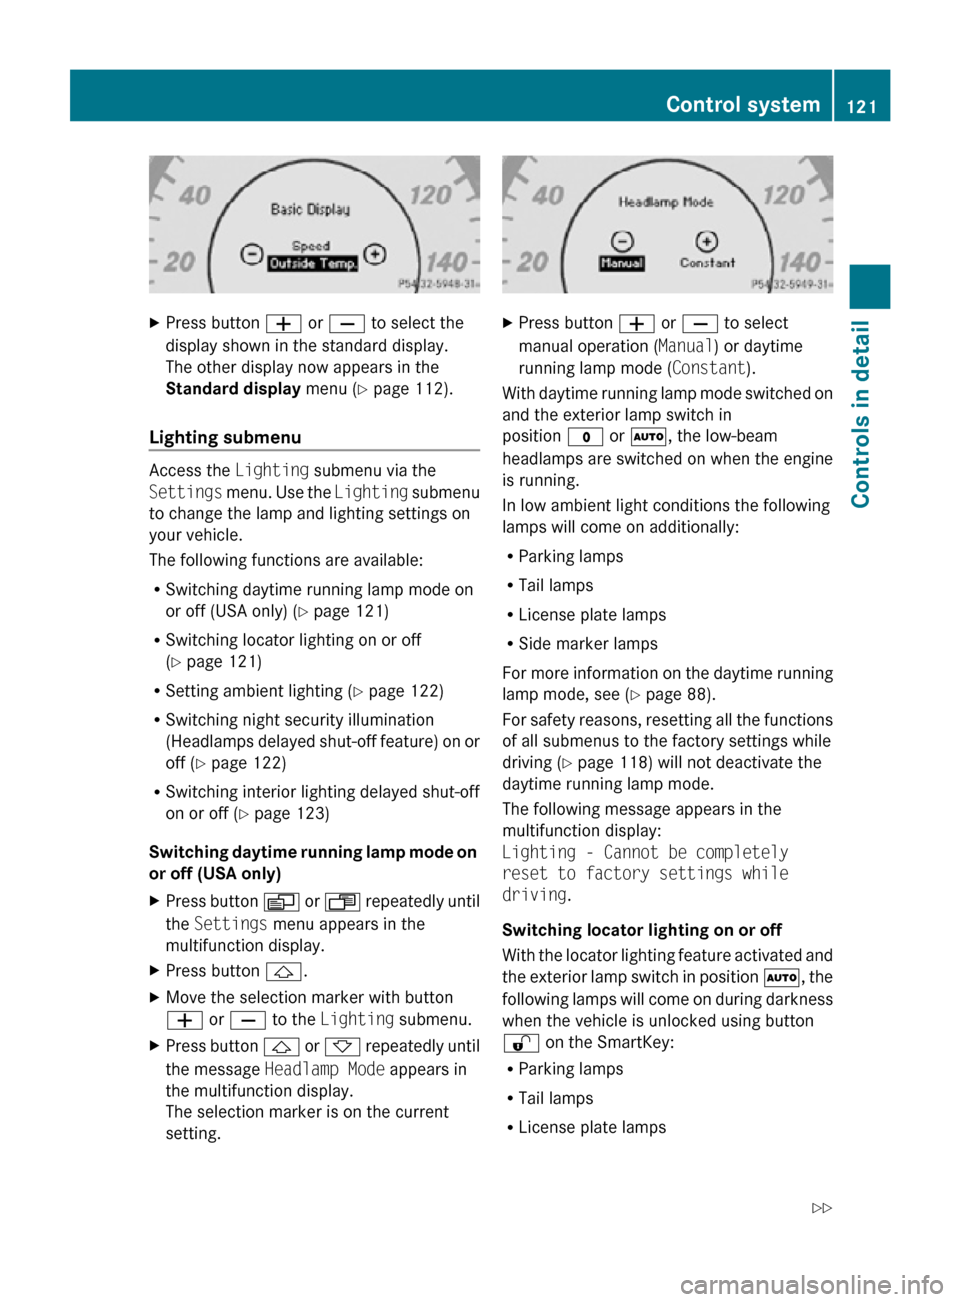
X
Press button W or X to select the
display shown in the standard display.
The other display now appears in the
Standard display menu (Y page 112).
Lighting submenu Access the
Lighting submenu via the
Settings menu. Use the Lighting submenu
to change the lamp and lighting settings on
your vehicle.
The following functions are available:
R Switching daytime running lamp mode on
or off (USA only) (Y page 121)
R Switching locator lighting on or off
(Y page 121)
R Setting ambient lighting ( Y page 122)
R Switching night security illumination
(Headlamps delayed shut-off feature) on or
off (Y page 122)
R Switching interior lighting delayed shut-off
on or off ( Y page 123)
Switching daytime running lamp mode on
or off (USA only)
X Press button V or U repeatedly until
the Settings menu appears in the
multifunction display.
X Press button &.
X Move the selection marker with button
W or X to the Lighting submenu.
X Press button & or * repeatedly until
the message Headlamp Mode appears in
the multifunction display.
The selection marker is on the current
setting. X
Press button W or X to select
manual operation ( Manual) or daytime
running lamp mode ( Constant).
With daytime running lamp mode switched on
and the exterior lamp switch in
position $ or Ã, the low-beam
headlamps are switched on when the engine
is running.
In low ambient light conditions the following
lamps will come on additionally:
R Parking lamps
R Tail lamps
R License plate lamps
R Side marker lamps
For more information on the daytime running
lamp mode, see ( Y page 88).
For safety reasons, resetting all the functions
of all submenus to the factory settings while
driving ( Y page 118) will not deactivate the
daytime running lamp mode.
The following message appears in the
multifunction display:
Lighting - Cannot be completely
reset to factory settings while
driving.
Switching locator lighting on or off
With the locator lighting feature activated and
the exterior lamp switch in position Ã, the
following lamps will come on during darkness
when the vehicle is unlocked using button
% on the SmartKey:
R Parking lamps
R Tail lamps
R License plate lamps Control system
121Controls in detail
219_AKB; 4; 54, en-US
d2ureepe, Version: 2.11.8.1 2009-05-11T16:21:02+02:00 - Seite 121 Z
Page 124 of 308
R
Side marker lamps
R Front fog lamps
The locator lighting goes out when the driver’s
door is opened.
If you do not open the driver’s door after
unlocking the vehicle with the SmartKey, the
lamps will go out automatically after
approximately 40 seconds.
X Press button V or U repeatedly until
the Settings menu appears in the
multifunction display.
X Press button &.
X Move the selection marker with button
W or X to the Lighting submenu.
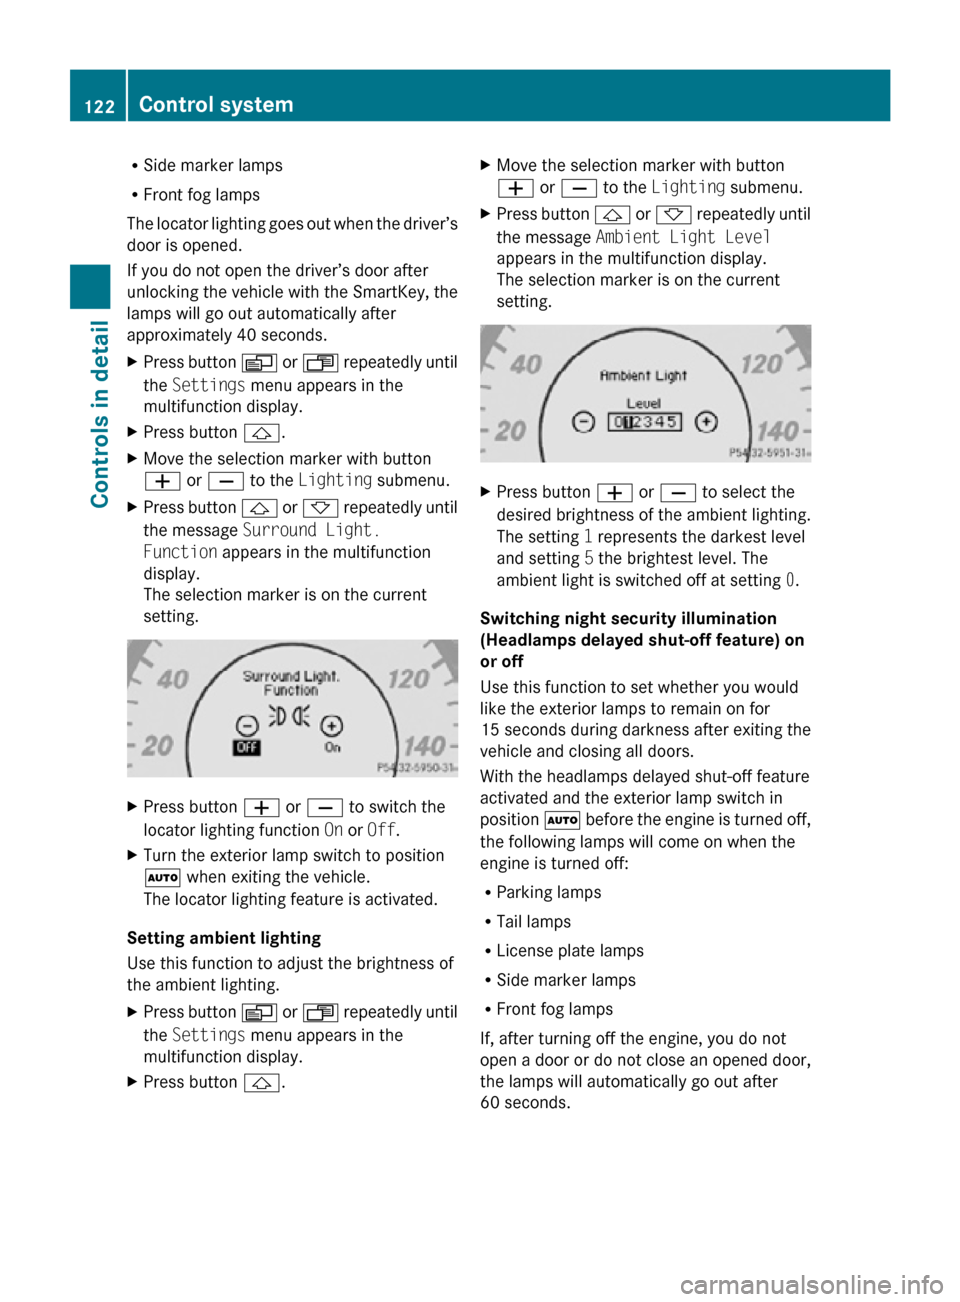
X Press button & or * repeatedly until
the message Surround Light.
Function appears in the multifunction
display.
The selection marker is on the current
setting. X
Press button W or X to switch the
locator lighting function On or Off.
X Turn the exterior lamp switch to position
à when exiting the vehicle.
The locator lighting feature is activated.
Setting ambient lighting
Use this function to adjust the brightness of
the ambient lighting.
X Press button V or U repeatedly until
the Settings menu appears in the
multifunction display.
X Press button &. X
Move the selection marker with button
W or X to the Lighting submenu.
X Press button & or * repeatedly until
the message Ambient Light Level
appears in the multifunction display.
The selection marker is on the current
setting. X
Press button W or X to select the
desired brightness of the ambient lighting.
The setting 1 represents the darkest level
and setting 5 the brightest level. The
ambient light is switched off at setting 0.
Switching night security illumination
(Headlamps delayed shut-off feature) on
or off
Use this function to set whether you would
like the exterior lamps to remain on for
15 seconds during darkness after exiting the
vehicle and closing all doors.
With the headlamps delayed shut-off feature
activated and the exterior lamp switch in
position à before the engine is turned off,
the following lamps will come on when the
engine is turned off:
R Parking lamps
R Tail lamps
R License plate lamps
R Side marker lamps
R Front fog lamps
If, after turning off the engine, you do not
open a door or do not close an opened door,
the lamps will automatically go out after
60 seconds. 122
Control systemControls in detail
219_AKB; 4; 54, en-US
d2ureepe,
Version: 2.11.8.1 2009-05-11T16:21:02+02:00 - Seite 122
Page 129 of 308
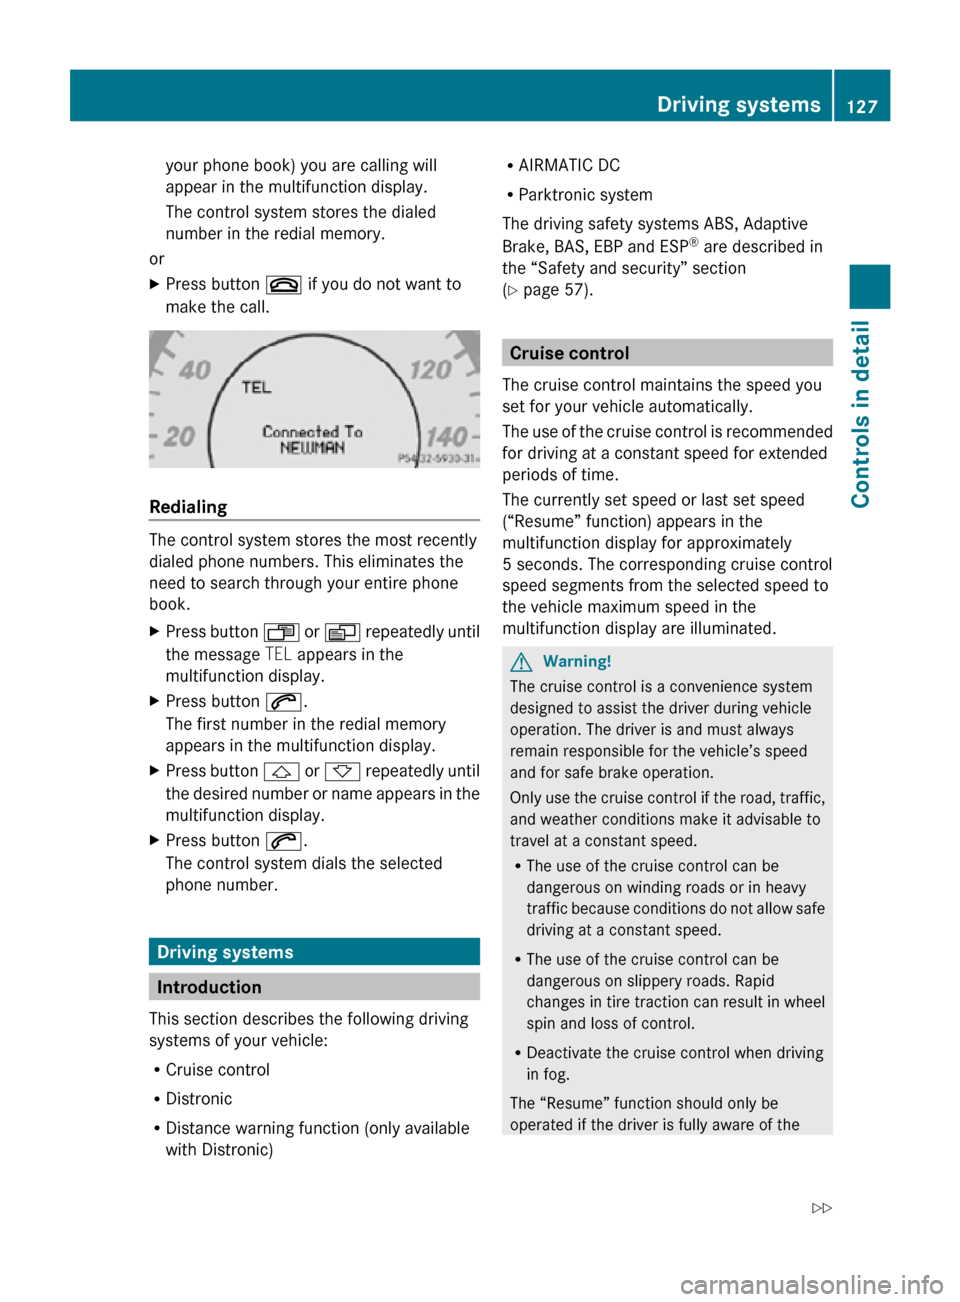
your phone book) you are calling will
appear in the multifunction display.
The control system stores the dialed
number in the redial memory.
or
X Press button ~ if you do not want to
make the call. Redialing
The control system stores the most recently
dialed phone numbers. This eliminates the
need to search through your entire phone
book.
X
Press button U or V repeatedly until
the message TEL appears in the
multifunction display.
X Press button 6.
The first number in the redial memory
appears in the multifunction display.
X Press button & or * repeatedly until
the desired number or name appears in the
multifunction display.
X Press button 6.
The control system dials the selected
phone number. Driving systems
Introduction
This section describes the following driving
systems of your vehicle:
R Cruise control
R Distronic
R Distance warning function (only available
with Distronic) R
AIRMATIC DC
R Parktronic system
The driving safety systems ABS, Adaptive
Brake, BAS, EBP and ESP ®
are described in
the “Safety and security” section
(Y page 57). Cruise control
The cruise control maintains the speed you
set for your vehicle automatically.
The use of the cruise control is recommended
for driving at a constant speed for extended
periods of time.
The currently set speed or last set speed
(“Resume” function) appears in the
multifunction display for approximately
5 seconds. The corresponding cruise control
speed segments from the selected speed to
the vehicle maximum speed in the
multifunction display are illuminated. G
Warning!
The cruise control is a convenience system
designed to assist the driver during vehicle
operation. The driver is and must always
remain responsible for the vehicle’s speed
and for safe brake operation.
Only use the cruise control if the road, traffic,
and weather conditions make it advisable to
travel at a constant speed.
R The use of the cruise control can be
dangerous on winding roads or in heavy
traffic because conditions do not allow safe
driving at a constant speed.
R The use of the cruise control can be
dangerous on slippery roads. Rapid
changes in tire traction can result in wheel
spin and loss of control.
R Deactivate the cruise control when driving
in fog.
The “Resume” function should only be
operated if the driver is fully aware of the Driving systems
127Controls in detail
219_AKB; 4; 54, en-US
d2ureepe, Version: 2.11.8.1 2009-05-11T16:21:02+02:00 - Seite 127 Z