2010 MERCEDES-BENZ CLS COUPE audio
[x] Cancel search: audioPage 203 of 337
direction
=.This decreases in size as you
approach the announced change of direction.
Change of direction announced with a
lane recommendation
Lane recommendations are only displayed if
the relevant data is available on the digital
map. :
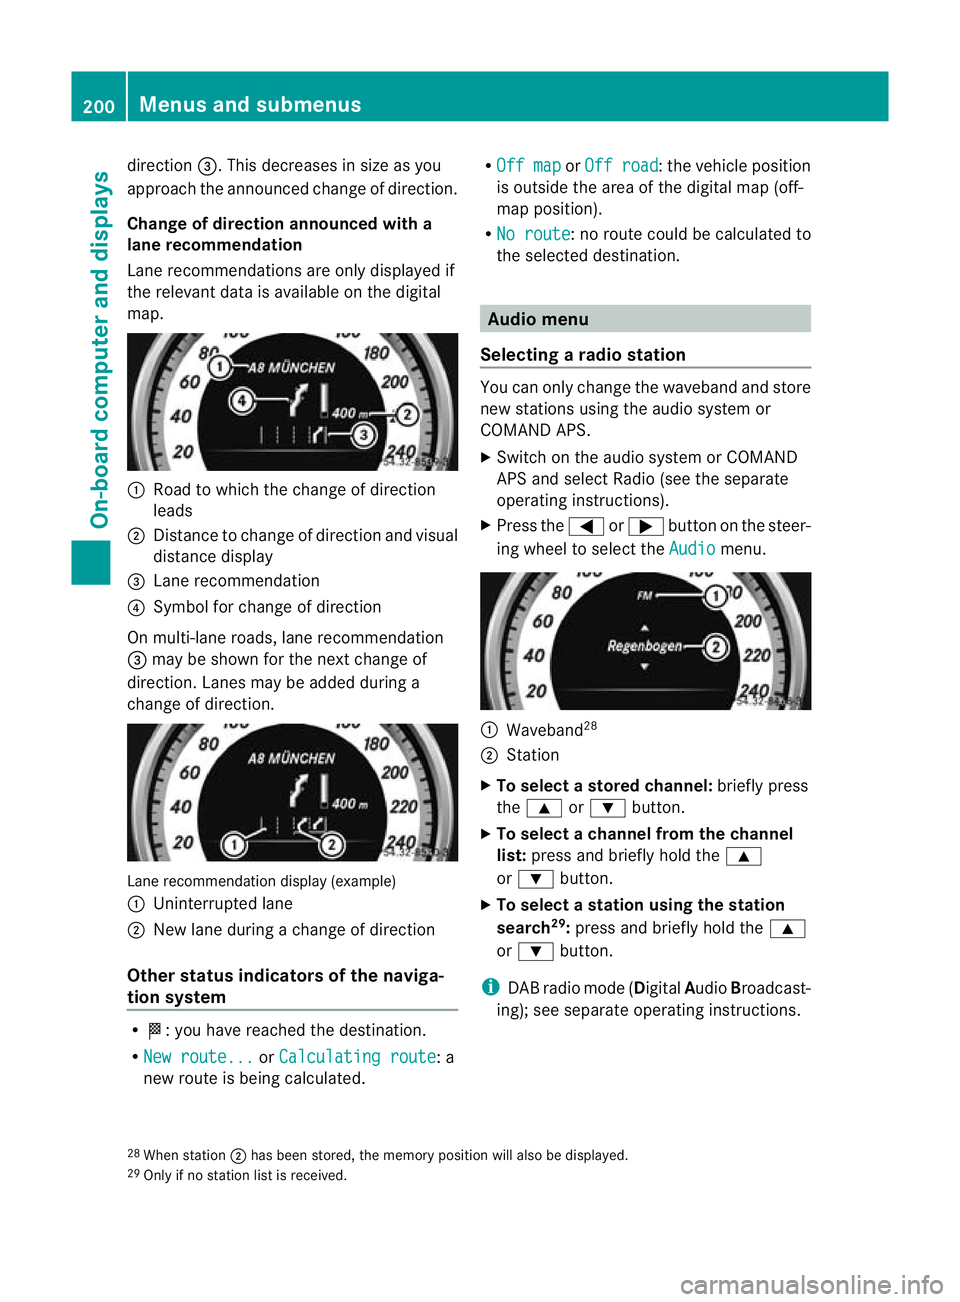
Road to which the change of direction
leads
; Distance to change of direction and visual
distance display
= Lane recommendation
? Symbol for change of direction
On multi-lane roads, lane recommendation
= may be shown for the next change of
direction. Lanes may be added during a
change of direction. Lane recommendation display (example)
:
Uninterrupted lane
; New lane during a change of direction
Other status indicators of the naviga-
tion system R
O:y ou have reached the destination.
R New route... or
Calculating route : a
new route is being calculated. R
Off map or
Off road :t
he vehicle position
is outside the area of the digital map (off-
map position).
R No route :n
o route could be calculated to
the selected destination. Audio menu
Selecting aradio station You can only change the waveband and store
new stations using the audio system or
COMAND APS.
X
Switch on the audio system or COMAND
APS and select Radio (see the separate
operating instructions).
X Press the =or; button on the steer-
ing wheel to select the Audio menu.
:
Waveband 28
; Station
X To selectas toredchannel: briefly press
the 9 or: button.
X To selectac hannel from the channel
list: press and briefly hold the 9
or : button.
X To selectas tation using the station
search 29
:press and briefly hold the 9
or : button.
i DAB radio mode ( DigitalAudioBroadcast-
ing); see separate operating instructions.
28 Whe nstation ;has been stored, the memory position will also be displayed.
29 Only if no statio nlist is received. 200
Menus and submenusOn-board computer and displays
Page 204 of 337
Operating audio devices or media
Audio data from various audio devices or
media can be played, depending on the equip-
ment fitted in the vehicle.
X Switch on the audio system or COMAND
APS and select the audio device or medium
(see the separate operating instructions).
X Press the =or; button on the steer-
ing wheel to select the Audio menu.
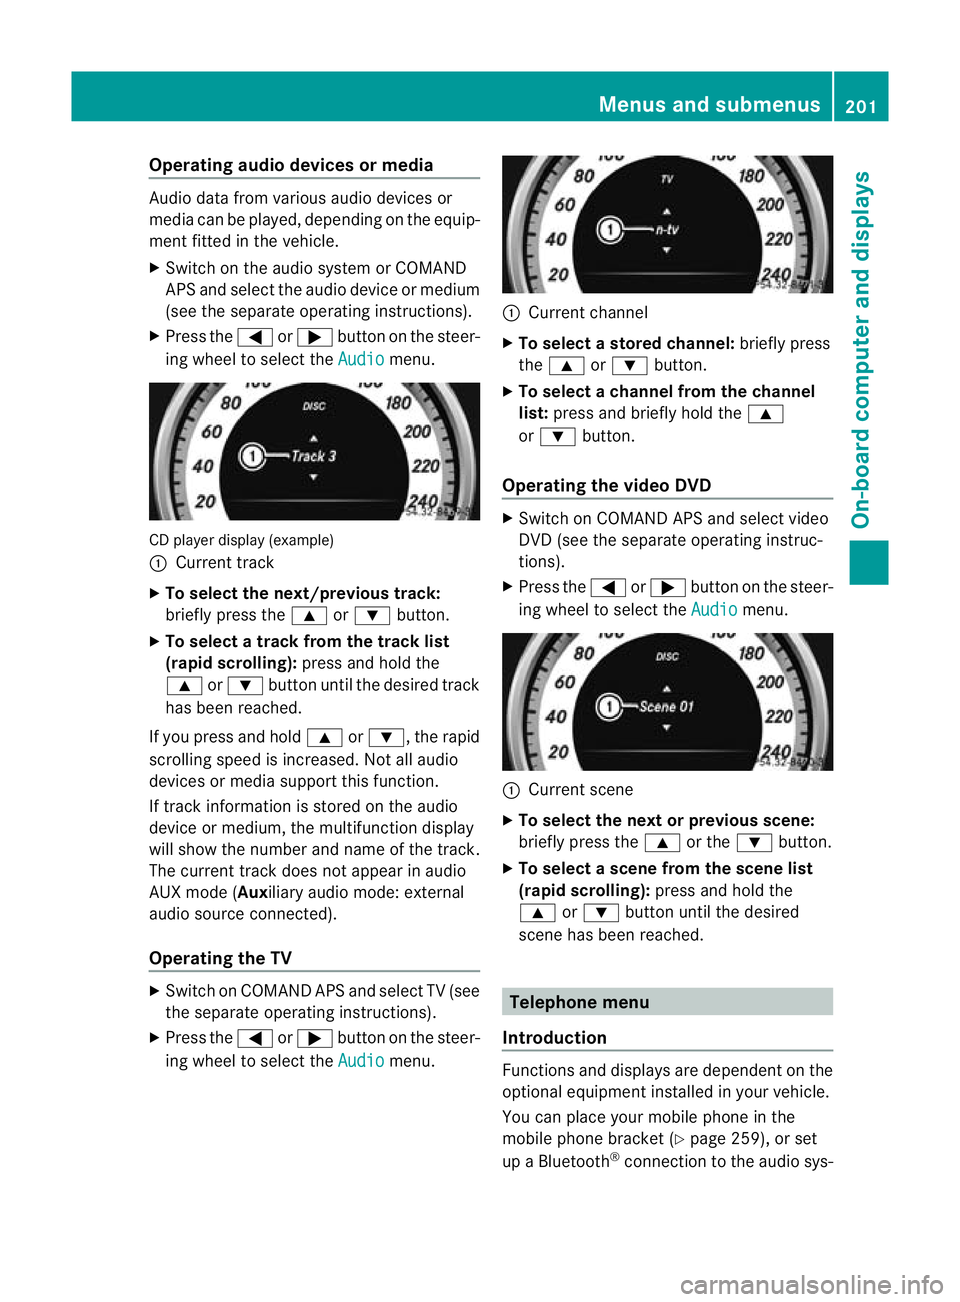
CD player display (example)
:
Current track
X To select the next/previous track:
briefly press the 9or: button.
X To select a track from the track list
(rapid scrolling): press and hold the
9 or: button until the desired track
has been reached.
If you press and hold 9or:, the rapid
scrolling speed is increased. Not all audio
devices or media support this function.
If track information is stored on the audio
device or medium, the multifunction display
will show the number and name of the track.
The curren ttrack does not appear in audio
AUX mode (Auxiliary audio mode: external
audio source connected).
Operating the TV X
Switch on COMAND APS and select TV (see
the separate operating instructions).
X Press the =or; button on the steer-
ing wheel to select the Audio menu. :
Current channel
X To selectas toredchannel: briefly press
the 9 or: button.
X To selectac hannel from the channel
list: press and briefly hold the 9
or : button.
Operating the video DVD X
Switch on COMAND APS and select video
DVD (see the separate operating instruc-
tions).
X Press the =or; button on the steer-
ing wheel to select the Audio menu.
:
Current scene
X To selectt he next or previous scene:
briefly press the 9or the :button.
X To selectas cene from the scene list
(rapid scrolling): press and hold the
9 or: buttonuntil the desired
scene has been reached. Telephone menu
Introduction Functions and displays ar
edependen tonthe
optional equipment installed in your vehicle.
You can place your mobile phone in the
mobile phone bracket (Y page 259), or set
up a Bluetooth ®
connection to the audio sys- Menus and submenus
201On-board computer and displays Z
Page 205 of 337
tem or COMAND APS (see the separate oper-
ating instructions).
G
Ris
kofa ccident
Observe the legal requirement softhe country
in which you are currently driving regarding
the use of mobile phones in the vehicle.
If it is permitted to use mobile phones while
the vehicle is in motion, you should only use
them when the road and traffic conditions
allow.O therwise, you may be distracted from
the traffic conditions, cause an accident and
injure yourself and others.
X Switch on the mobile phone and audio sys-
tem or COMAND APS (see the separate
operating instructions).
X Press the =or; button on the steer-
ing wheel to select the Tel menu.
You will see one of the following display mes-
sages in the multifunctio ndisplay:
R Please enter PIN :t
he mobile phone has
been placed in the mobile phone bracket
and the PIN has not been entered.
X Enter the PIN using the mobile phone, LIN-
GUATRONIC, the audio system or
COMAND APS.
The mobile phone will search for a network.
In the meantime, the Telephone NoService message appears in the multi-
function display.
R Telephone ready or the name of the net-
work provider: the mobile phone has found
a network and is ready to receive.
R Phone No Service :n
o network is availa-
ble.
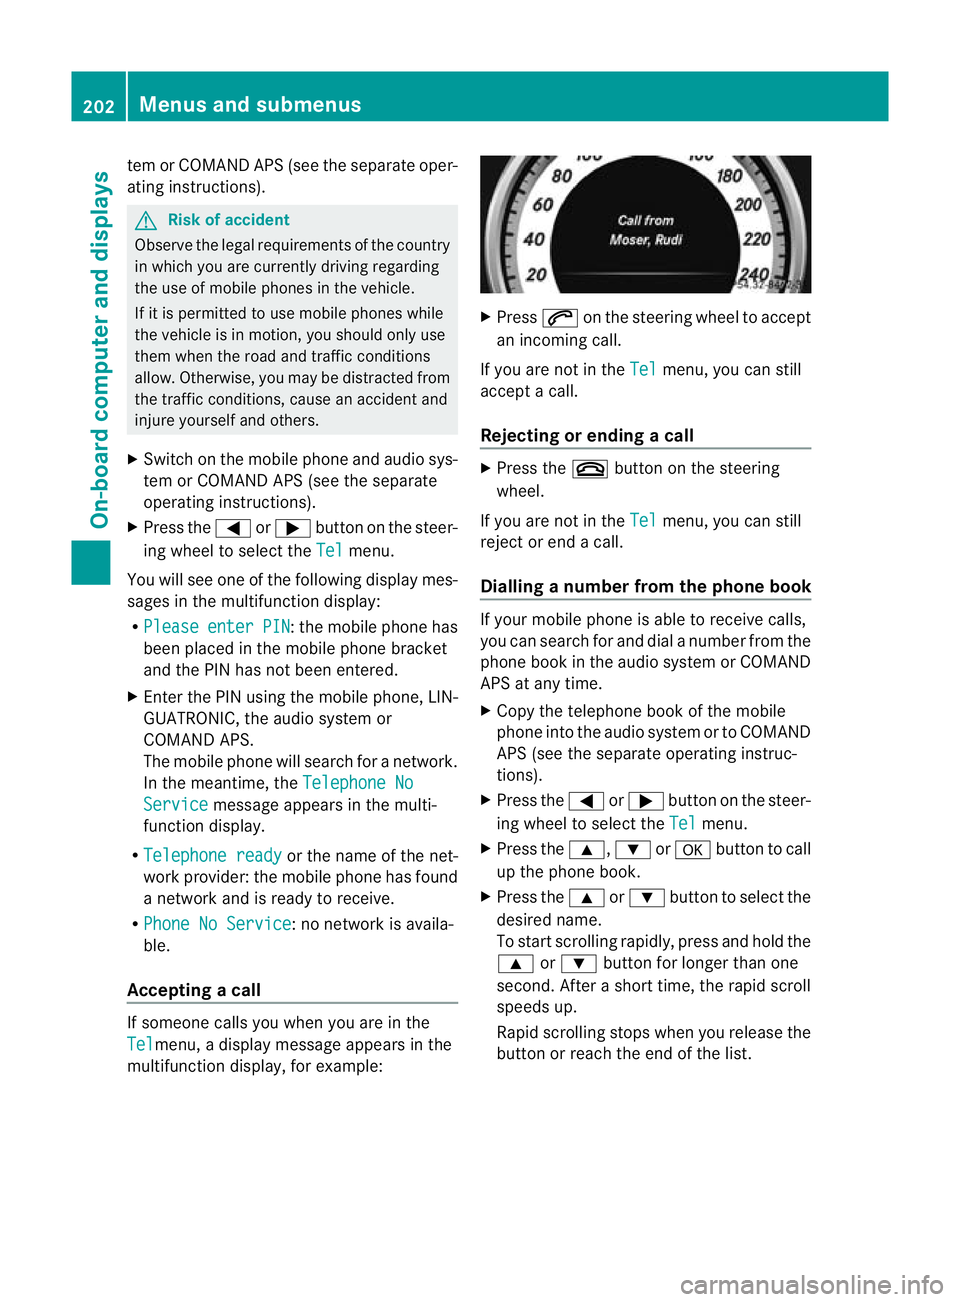
Accepting acall If someone calls you whe
nyou are in the
Tel menu, a display message appears in the
multifunction display, for example: X
Press 6on the steering wheel to accept
an incoming call.
If you are not in the Tel menu, you can still
accept a call.
Rejecting or ending acall X
Press the ~button on the steering
wheel.
If you are not in the Tel menu, you can still
reject or end a call.
Dialling anumber from the phone book If you
rmobile phone is able to receive calls,
you can search for and dial a number from the
phone book in the audio system or COMAND
APS at any time.
X Copy the telephone book of the mobile
phone into the audio system or to COMAND
APS (see the separate operating instruc-
tions).
X Press the =or; button on the steer-
ing wheel to select the Tel menu.
X Press the 9,:ora button to call
up the phone book.
X Press the 9or: button to select the
desired name.
To start scrolling rapidly ,press and hold the
9 or: button for longer than one
second. After a short time, the rapid scroll
speeds up.
Rapid scrolling stops when you release the
button or reach the end of the list. 202
Menus and submenusOn-board computer and displays
Page 208 of 337
X
Press a.
The curren tselection is displayed.
X To activate/deactivate: pressa
again.
Activating/deactivating Lane Keeping
Assist You can use the
Lane Keep. Asst. function
to activate/deactivate Lane Keeping Assist
(Y page 185) or Active Lane Keeping Assist
(Y page 189).
X Press =or; on the steering wheel
to select the Assist. menu.
X Press 9or: to select Lane Keep.
Asst. .
X Press a.
If the function is activated, the road mark-
ings are shown in red in the multifunction
display.
X To activate/deactivate: pressa
again.
When Lane Keeping Assist or Active Lane
keeping Assist is activated, the multifunction
display shows the Ãsymbol when the igni-
tion is switched on. Service menu
In the
Service menu you can:
R call up display messages ( Ypage 215)
R reset the tyre pressure loss warning system
(Y page 306) or check the tyre pressure
electronically (Y page 307)
R call up the service due date (Y page 270) Setup menu
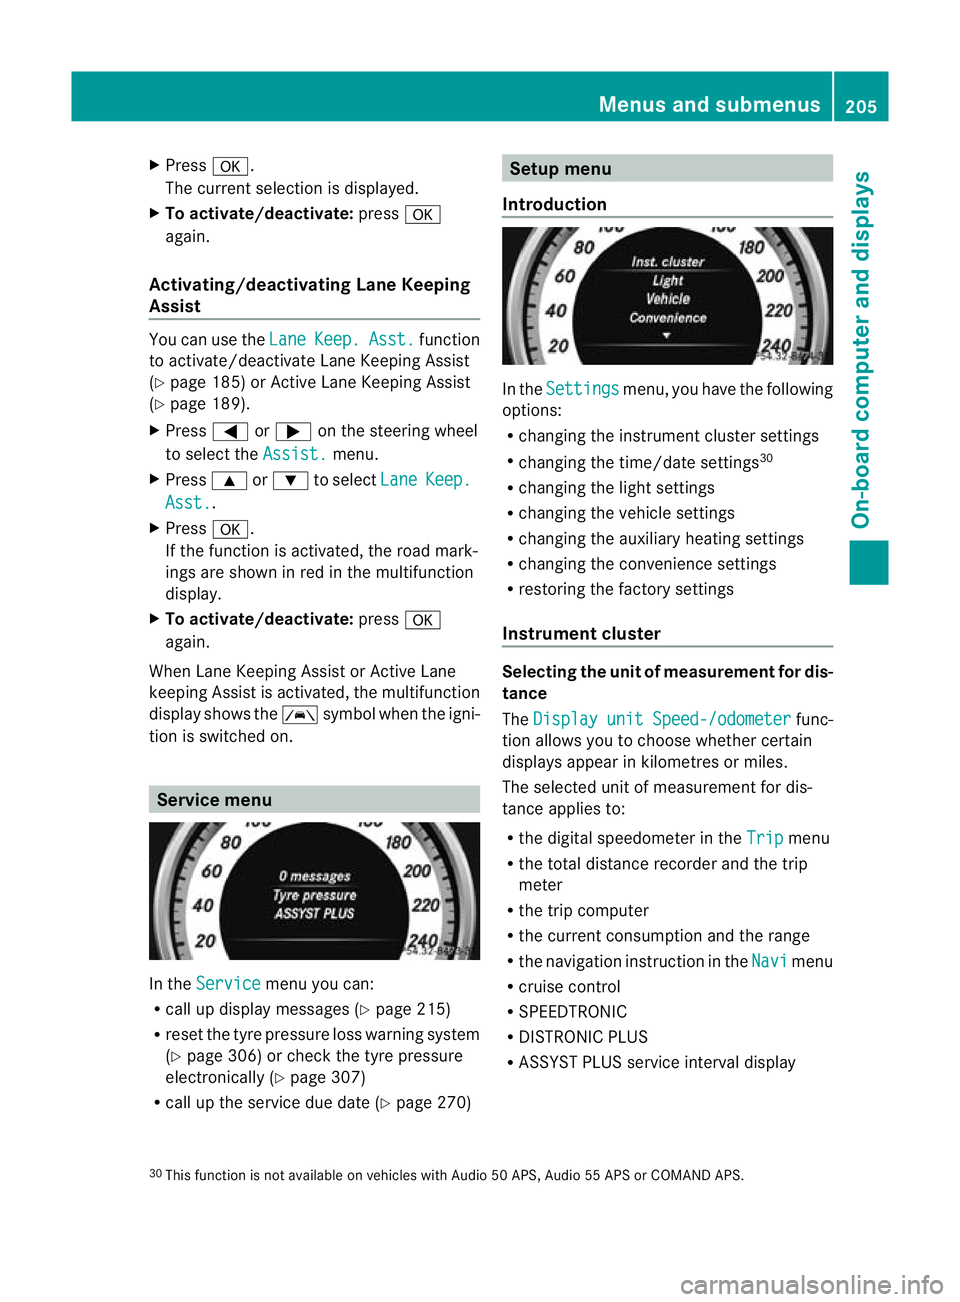
Introduction In the
Settings menu, you have the following
options:
R changing the instrument cluster settings
R changing the time/date settings 30
R changing the light settings
R changing the vehicle settings
R changing the auxiliary heating settings
R changing the convenience settings
R restoring the factory settings
Instrument cluster Selecting the unit of measurement for dis-
tance
The
Display unit Speed-/odometer func-
tion allows you to choose whether certain
displays appear in kilometres or miles.
The selected unit of measuremen tfor dis-
tance applies to:
R the digital speedometer in the Trip menu
R the total distance recorder and the trip
meter
R the trip computer
R the current consumption and the range
R the navigation instruction in the Navi menu
R cruise control
R SPEEDTRONIC
R DISTRONIC PLUS
R ASSYST PLUS service interval display
30 This function is not available on vehicles with Audio 50 APS, Audio 55 APS or COMAND APS. Menus and submenus
205On-board computer and displays Z
Page 209 of 337

X
Press the =or; button on the steer-
ing wheel to select the Settings menu.
X Press the :or9 button to select the
Inst. cluster submenu.
X Press the abutton to confirm.
X Press the :or9 button to select the
Display unit Speed-/odometer func-
tion.
You will see the selected setting: km or
miles .
X Press the abutton to save the setting.
Selecting the permanent display function
i Vehicles for the United Kingdom: this
function is not available.
The Permanent display function allows you
to choose whether the status area in the mul-
tifunction display always shows the outside
temperature or the speed in mph.
X Press the =or; button on the steer-
ing wheel to select the Sett. menu.
X Press the :or9 button to select the
Inst. cluster submenu.
X Press the abutton to confirm.
X Press :or9 to select the Perma‐ nent display function.
You will see the selected setting Outsidetemperature or
Dig. speedom [mph] .
X Press the abutton to save the setting.
Time/date This submenu is only available on vehicles
with Audio 20.
In the
Time/date submenu, you can set the
time and date.
The set time is also used for the analogue
clock in the centre console.
Your vehicle could have the following audio
equipment:
A: Audio 20
B: Audio 50 APS
C: COMAND APS X
Refer to the separate operating instruc-
tions to find out which audio system is fit-
ted in your vehicle.
Depending on the audio system, the time and
date are received from GPS satellites and
cannot be set using the on-board computer
(see the following table). A B C
Setting using the on-board com-
puter X
Automatic GPS satellite recep-
tion X X
Setting the time zone once; see
the separate operating instruc-
tions X X
X
Press the =or; button on the steer-
ing wheel to select the Settings menu.
X Press the :or9 button to select the
Time/Date submenu.
X Press the abutton to confirm.
X Press the :or9 button to select
Time: or
Date: .
The curren ttime or date set is displayed.
X Press ato change the setting.
X Press the =or; button to selec tthe
display you want to change: hour, minute,
day, month, year.
X Press the :or9 button to set the
selected display.
X Press the abutton to store the entry.
Lights Setting brightness for display/switches
X
Press the =or; button on the steer-
ing wheel to select the Settings menu.
X Press the :or9 button to select the
Light submenu.
X Press the abutton to confirm. 206
Menus and submenusOn-board computer and displays
Page 252 of 337
X
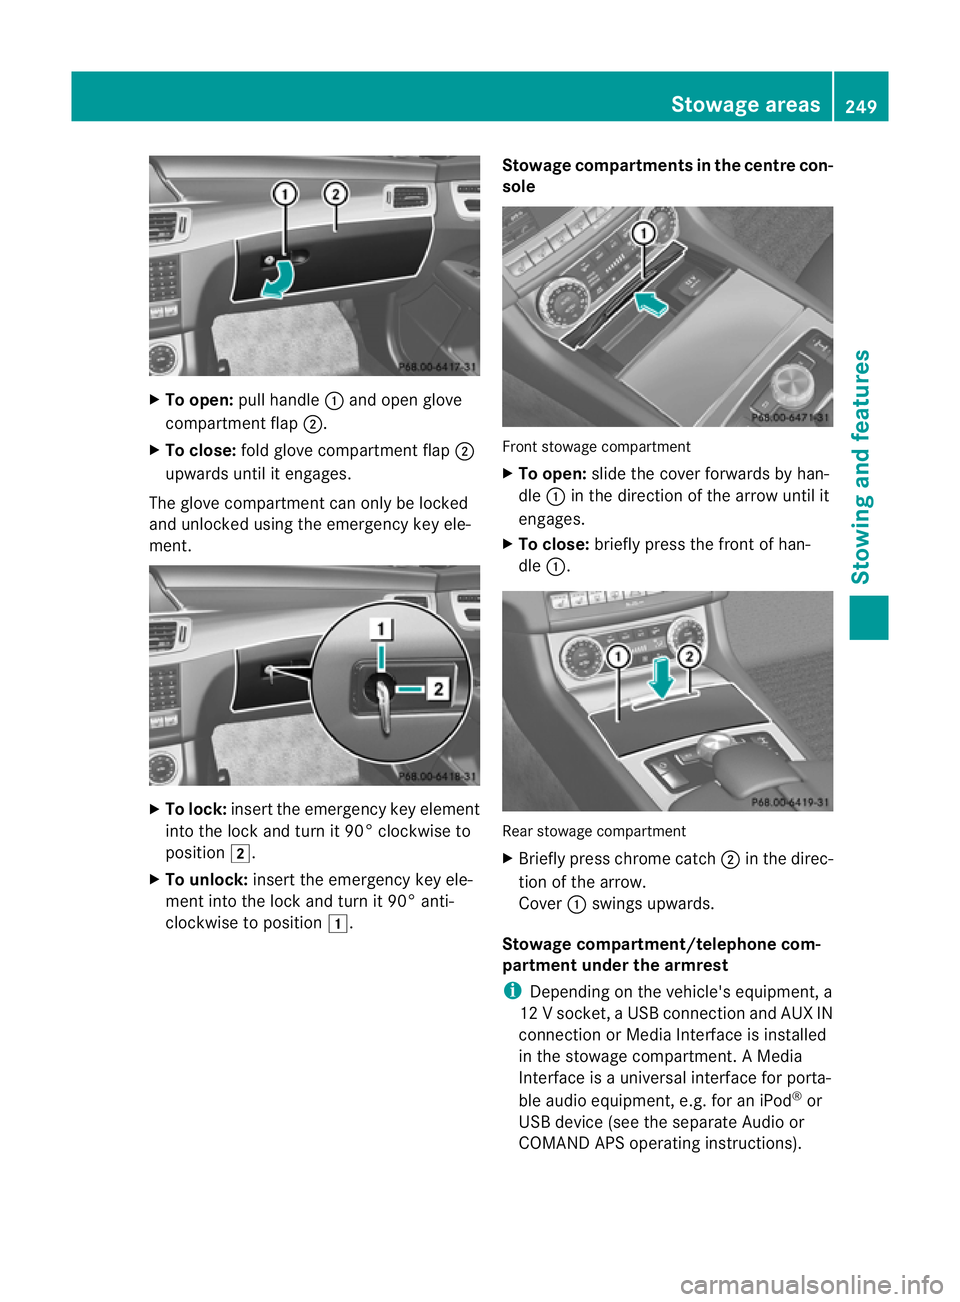
To open: pull handle :and open glove
compartment flap ;.
X To close: fold glove compartment flap ;
upwards until it engages.
The glove compartment can only be locked
and unlocked using the emergency key ele-
ment. X
To lock: insert the emergency key element
into the lock and turn it 90° clockwise to
position 2.
X To unlock: insert the emergency key ele-
ment into the lock and turn it 90° anti-
clockwise to position 1. Stowage compartments in the centre con-
sole Front stowage compartment
X
To open: slide the cove rforwards by han-
dle :in the direction of the arrow until it
engages.
X To close: briefly press the front of han-
dle :. Rear stowage compartment
X
Briefly press chrome catch ;in the direc-
tion of the arrow.
Cover :swings upwards.
Stowage compartment/telephone com-
partment under the armrest
i Depending on the vehicle's equipment, a
12 V socket ,aUSB connection and AUX IN
connection or Media Interface is installed
in the stowage compartment. AMedia
Interface is a universal interface for porta-
ble audio equipment, e.g. for an iPod ®
or
USB device (see the separate Audio or
COMAND APS operating instructions). Stowage areas
249Stowing and features Z