2010 MERCEDES-BENZ C300LUX 4MATIC key
[x] Cancel search: keyPage 146 of 364
the frequency range. Frequencies within
the current frequency range, but outside
the current frequency step width are
rounded to the next lower allowed
frequency.
XEnter 1045 with the keypad on the audio
control unit.
The audio system tunes in to the frequency
entered.
Operation
In the following description, an operation step
is described as in the example below.
X$ Q Radio Q Enter Frequency
is the short for
XPress button $ on audio control unit
repeatedly until desired wave band has
been selected.
XSlide VÆ.XSlide XV or rotate cVd the audio
controller to select Radio.
XPress the audio controller W.
The Radio menu is selected and a list of
submenus appears.
XSlide ZV or rotate cVd the audio
controller to select Enter Frequency.
XPress the audio controller W.
The Enter Frequency submenu appears
in the audio display.
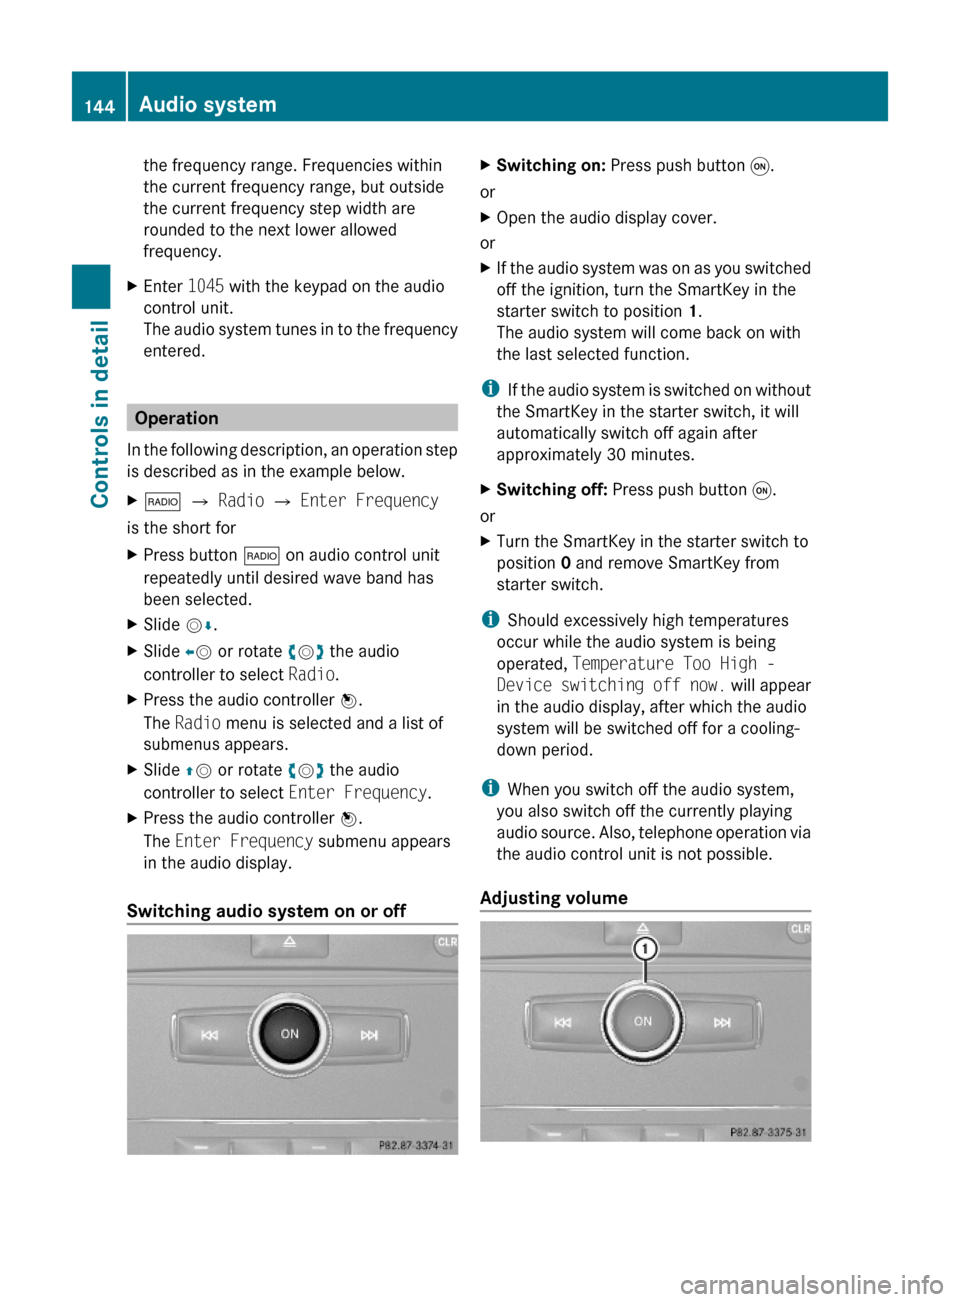
Switching audio system on or off
XSwitching on: Press push button q.
or
XOpen the audio display cover.
or
XIf the audio system was on as you switched
off the ignition, turn the SmartKey in the
starter switch to position 1.
The audio system will come back on with
the last selected function.
iIf the audio system is switched on without
the SmartKey in the starter switch, it will
automatically switch off again after
approximately 30 minutes.
XSwitching off: Press push button q.
or
XTurn the SmartKey in the starter switch to
position 0 and remove SmartKey from
starter switch.
iShould excessively high temperatures
occur while the audio system is being
operated, Temperature Too High -
Device switching off now. will appear
in the audio display, after which the audio
system will be switched off for a cooling-
down period.
iWhen you switch off the audio system,
you also switch off the currently playing
audio source. Also, telephone operation via
the audio control unit is not possible.
Adjusting volume
144Audio systemControls in detail
204_AKB; 5; 23, en-USd2ureepe,Version: 2.11.8.12009-07-16T17:54:06+02:00 - Seite 144
Page 152 of 364
Selecting a station/channel
The following functions are available:
RStation search function
RChannel list (Weather Band/satellite radio)
RStation memory (except Weather Band)
RManual frequency entry (except Weather
Band/satellite radio)
For using satellite radio see (Y page 152).
The station search proceeds in the following
frequency increments:
R200 kHz in FM range
R10 kHz in AM range
Tuning to a station/channel via station/
channel search function
iThe search function searches for the next
receivable station in the FM or AM wave
band. In Weather Band (WB) the search
function switches to the next channel in the
channel list. For tuning to a station/
channel you can also use the buttons on
the multifunction steering wheel, see
Audio menu (Y page 126).
XPress button $ on audio control unit
repeatedly until the FM/AM/WB wave
band is selected.
XSlide XVY or rotate cVd when the main
area in the basic menu is active.
Depending on the direction in which the
controller is being slid or rotated, the
system searches upward or downward and
stops at the next station/channel.
or
XPress button E or F on audio control
unit.
Depending on the pressed button, the
system searches downward or upward and
stops at the next station/channel.
Selecting a station using station memory
iThis function is not available for Weather
Band.
XPress button $ on audio control unit
repeatedly until desired wave band has
been selected.
XSelect Presets.
or
XPress W when the main area is selected.
The memory menu appears. The dot # in
front of a memory position indicates that
the currently selected station is saved
there.
XSelect a station in the memory menu by
rotating cVd or sliding ZVÆ and press
W.
or
XPress desired station button k to
x, with the keypad in audio control unit
briefly.
Tuning to a station by entering the
frequency manually
iThis function is not available for Weather
Band/satellite radio.
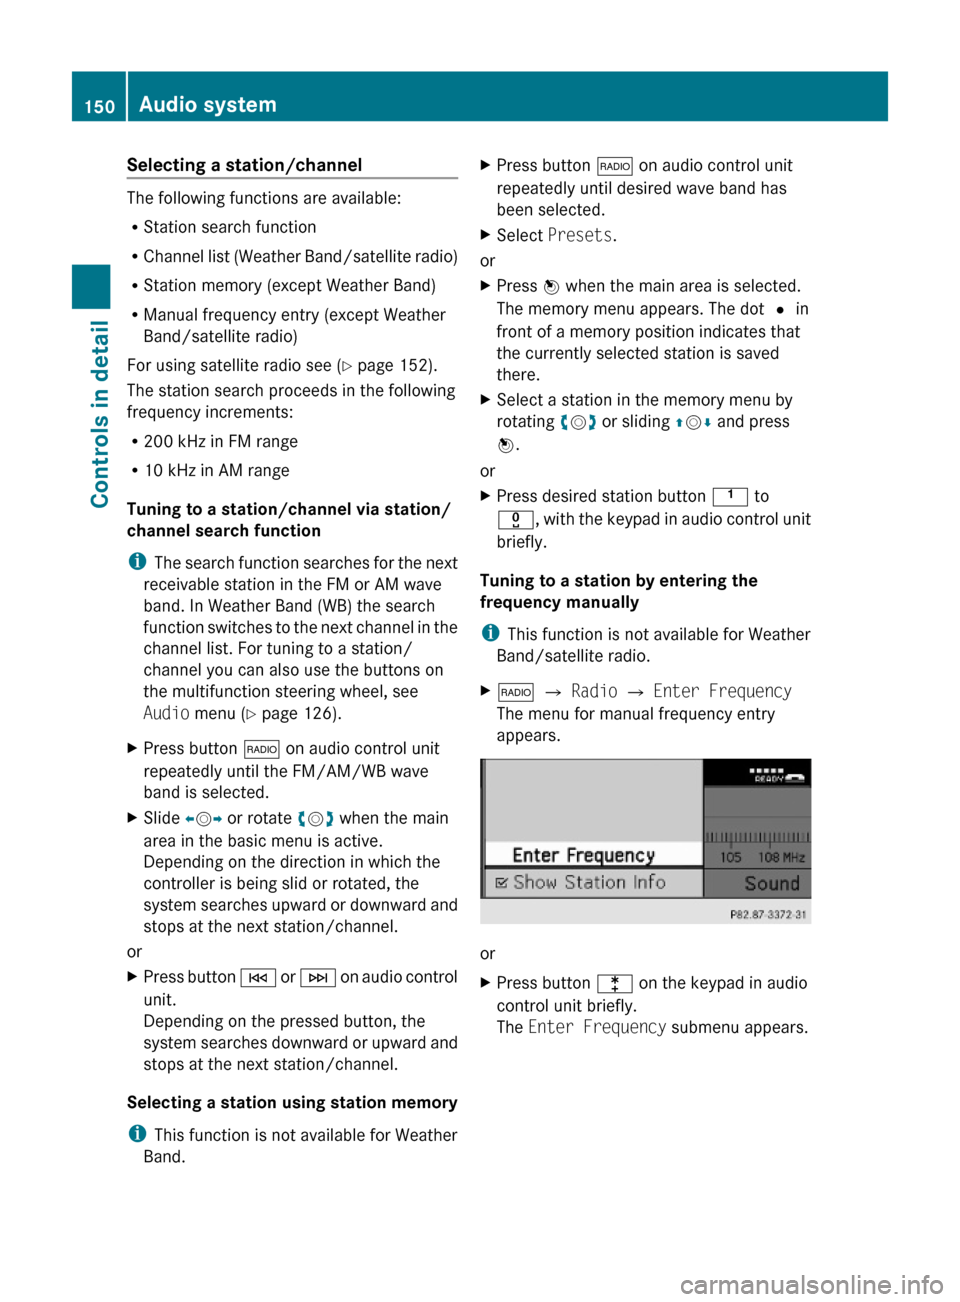
X$ Q Radio Q Enter Frequency
The menu for manual frequency entry
appears.
or
XPress button l on the keypad in audio
control unit briefly.
The Enter Frequency submenu appears.
150Audio systemControls in detail
204_AKB; 5; 23, en-USd2ureepe,Version: 2.11.8.12009-07-16T17:54:06+02:00 - Seite 150
Page 153 of 364
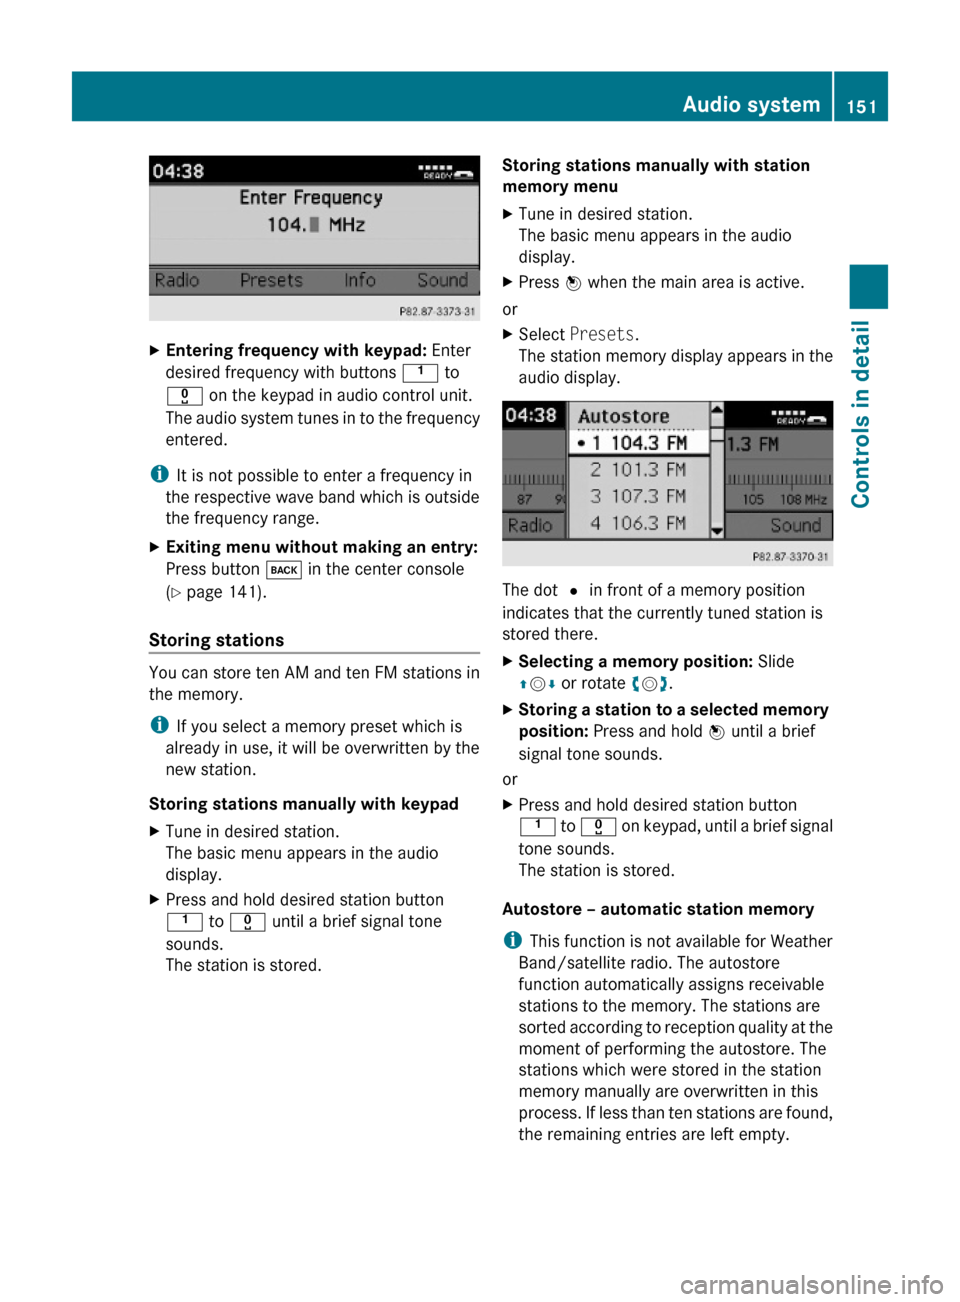
XEntering frequency with keypad: Enter
desired frequency with buttons k to
x on the keypad in audio control unit.
The audio system tunes in to the frequency
entered.
iIt is not possible to enter a frequency in
the respective wave band which is outside
the frequency range.
XExiting menu without making an entry:
Press button k in the center console
(Y page 141).
Storing stations
You can store ten AM and ten FM stations in
the memory.
iIf you select a memory preset which is
already in use, it will be overwritten by the
new station.
Storing stations manually with keypad
XTune in desired station.
The basic menu appears in the audio
display.
XPress and hold desired station button
k to x until a brief signal tone
sounds.
The station is stored.
Storing stations manually with station
memory menu
XTune in desired station.
The basic menu appears in the audio
display.
XPress W when the main area is active.
or
XSelect Presets.
The station memory display appears in the
audio display.
The dot # in front of a memory position
indicates that the currently tuned station is
stored there.
XSelecting a memory position: Slide
ZVÆ or rotate cVd.
XStoring a station to a selected memory
position: Press and hold W until a brief
signal tone sounds.
or
XPress and hold desired station button
k to x on keypad, until a brief signal
tone sounds.
The station is stored.
Autostore – automatic station memory
iThis function is not available for Weather
Band/satellite radio. The autostore
function automatically assigns receivable
stations to the memory. The stations are
sorted according to reception quality at the
moment of performing the autostore. The
stations which were stored in the station
memory manually are overwritten in this
process. If less than ten stations are found,
the remaining entries are left empty.
Audio system151Controls in detail204_AKB; 5; 23, en-USd2ureepe,Version: 2.11.8.12009-07-16T17:54:06+02:00 - Seite 151Z
Page 157 of 364
XCalling up category list: $
(repeatedly, if necessary) Q Cat .
or
XIn Sat mode, slide XV Y or rotate cV d until
Cat. is highlighted and press W.
The category list appears.XSelecting a category: Slide ZV Æ or rotate
c V d.XSetting the selected category: Press W.
The selected program category
(alphabetical order) will appear in the audio
display. The last tuned channel in the new
category will begin to play.
When searching, tuning in, or selecting
from the channel list, the All Channels
option accesses all of your subscribed
channels.
i When you select the category All
Channels , you have access to all the
channels you subscribed to, regardless of
category.
Tuning in channels
You have the following selection options:
R the channel search function
R the manual channel number entry
R the channel list
R the channel presets
Tuning in channels using channel search
function
XSlide XV Y or rotate cV d when the main
area in the basic menu is active.
Depending on the direction in which the
controller is being slid or rotated, the
system searches upward or downward and
stops at the next subscribed channel.
or
XPress button E or F on audio control
unit.
Depending on the pressed button, the
system searches upward or downward and
stops at the next subscribed channel.i Which channels are available depends on
which channels you have subscribed to and
the program category you have selected
( Y page 154). For tuning in channels you
can also use the buttons on the
multifunction steering wheel, see “Audio
menu” ( Y page 126).
Tuning in channels using manual channel
number entryX$ (repeatedly, if necessary) Q Sat
Q Enter Channel .
The menu for manual channel number entry
appears.
or
XIn Sat mode, press button l on the
keypad in audio control unit briefly.XChannel number entry with keypad:
Enter desired channel number with buttons
k to x with the keypad in audio
control unit briefly.
Further operation depends on whether the
selected channel number is valid or if the
channel is included in your subscription.
XExiting menu without making an entry:
Press button k in the center console
( Y page 141).
Channel number is valid and channel is
included in subscription: The audio system
tunes in the channel entered.
Channel number is invalid: The message
Invalid Channel appears in the audio
display.
XThe message disappears automatically or
press W to close the message.
Channel number is valid, but channel is
not included in subscription: The message
Call SIRIUS to activate: appears
( Y page 153).
XPress W to close the message in the audio
display.Audio system155Controls in detail204_AKB; 5; 23, en-USd2ureepe,Version: 2.11.8.12009-07-16T17:54:06+02:00 - Seite 155Z
Page 158 of 364
Tuning in channels using the satellite
radio channel list
X$ (repeatedly, if necessary) Q Sat
Q Channel List.
The channel list appears. The dot # in
front of a list entry indicates the currently
selected channel.
XSelect channel by rotating cVd or sliding
ZVÆ.
XPress W to confirm.
iThe contents of the channel list depends
on which channels are included in your
subscription and which program category
you have selected (Y page 154). The
channel list contains only the preview
channel if the satellite radio service has not
been subscribed to.
Tuning in channels using satellite radio
channel presets
X$ (repeatedly, if necessary) Q
Presets.
or
XPress W when the main area is selected in
Sat mode.
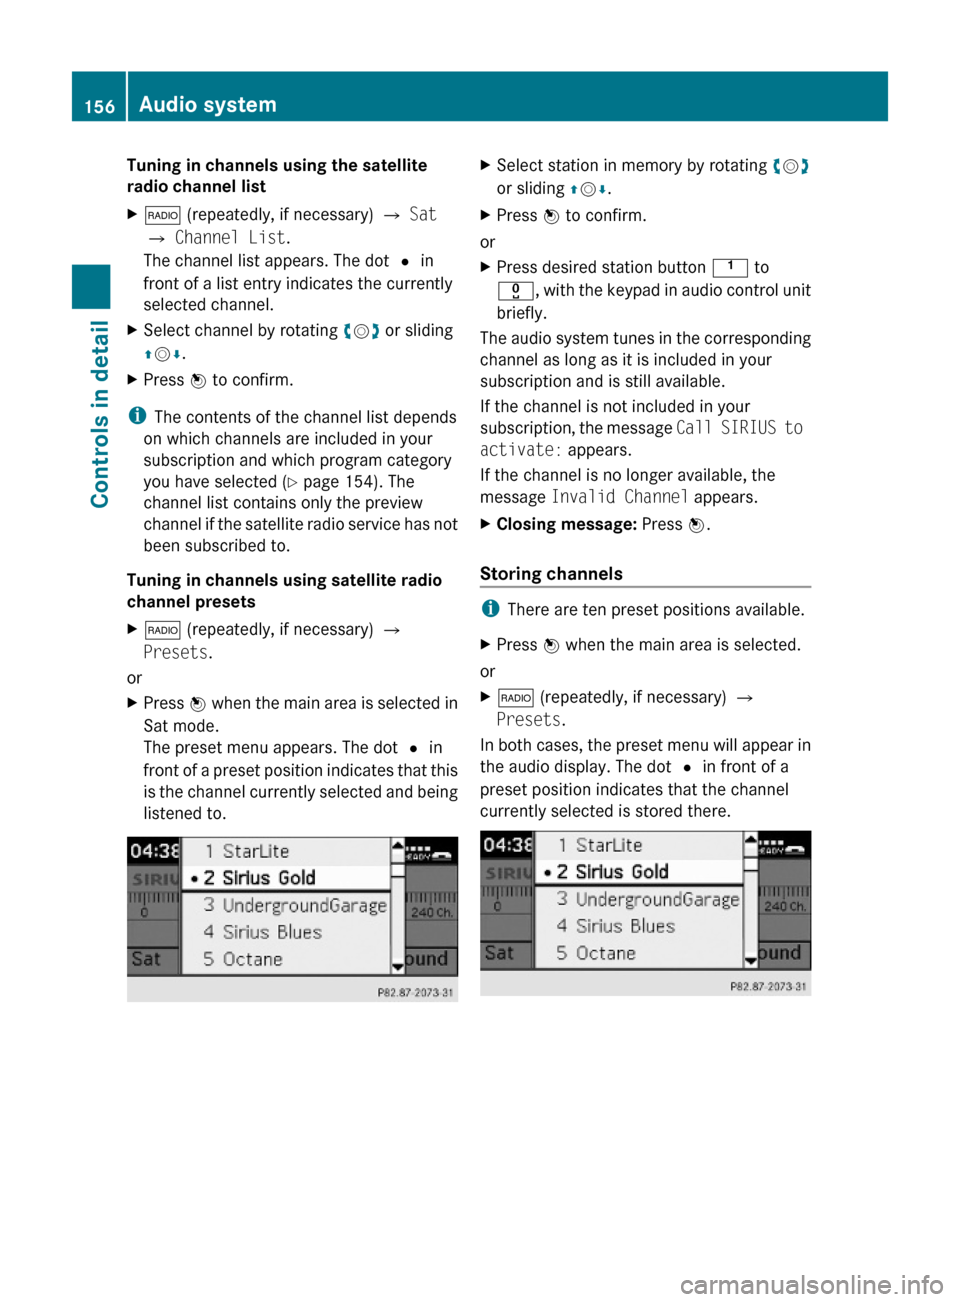
The preset menu appears. The dot # in
front of a preset position indicates that this
is the channel currently selected and being
listened to.
XSelect station in memory by rotating cVd
or sliding ZVÆ.
XPress W to confirm.
or
XPress desired station button k to
x, with the keypad in audio control unit
briefly.
The audio system tunes in the corresponding
channel as long as it is included in your
subscription and is still available.
If the channel is not included in your
subscription, the message Call SIRIUS to
activate: appears.
If the channel is no longer available, the
message Invalid Channel appears.
XClosing message: Press W.
Storing channels
iThere are ten preset positions available.
XPress W when the main area is selected.
or
X$ (repeatedly, if necessary) Q
Presets.
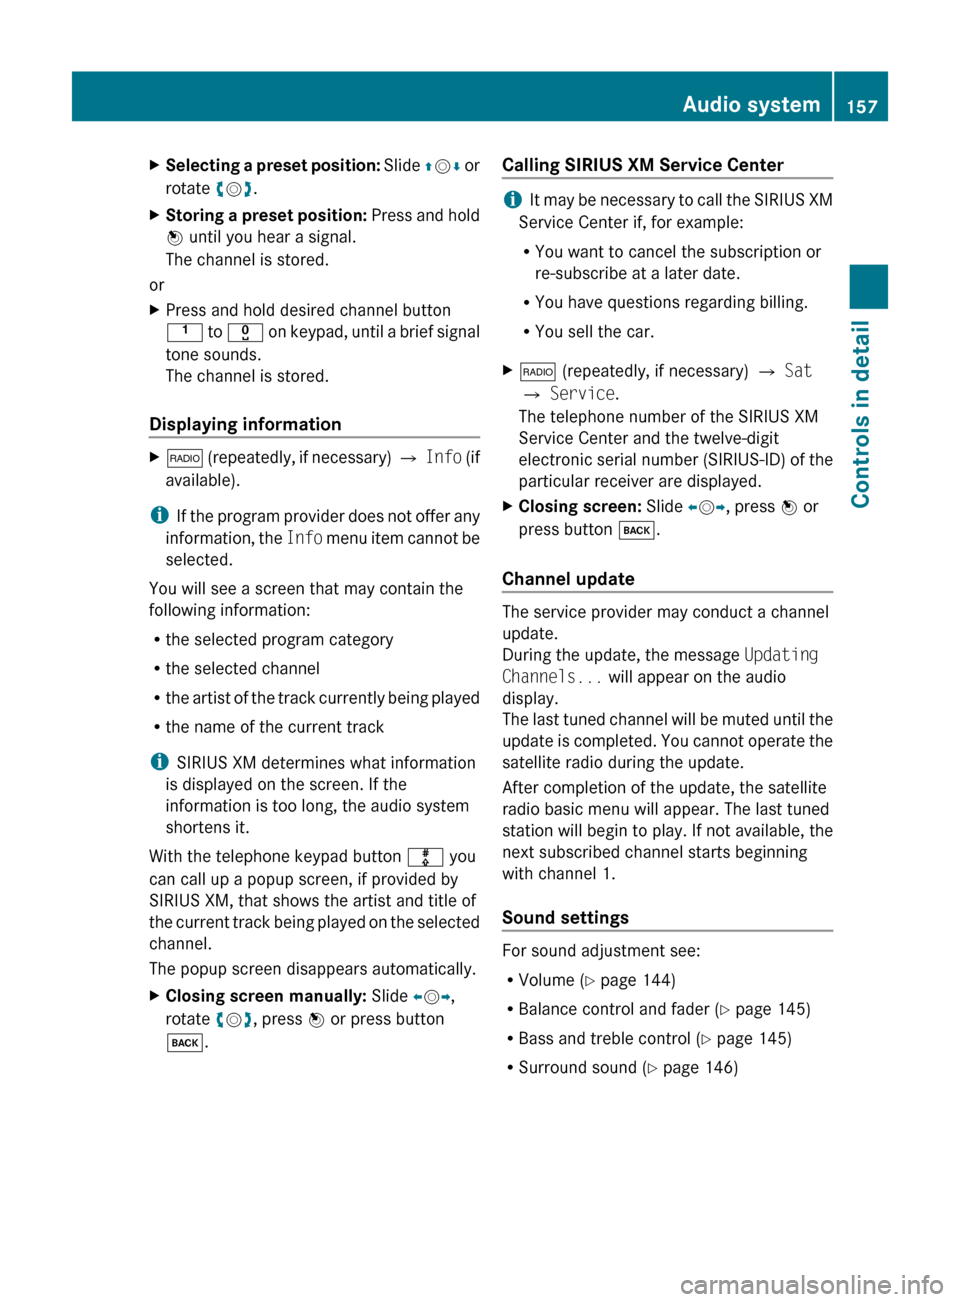
In both cases, the preset menu will appear in
the audio display. The dot # in front of a
preset position indicates that the channel
currently selected is stored there.
156Audio systemControls in detail
204_AKB; 5; 23, en-USd2ureepe,Version: 2.11.8.12009-07-16T17:54:06+02:00 - Seite 156
Page 159 of 364
XSelecting a preset position: Slide ZV Æ or
rotate cV d.XStoring a preset position: Press and hold
W until you hear a signal.
The channel is stored.
or
XPress and hold desired channel button
k to x on keypad, until a brief signal
tone sounds.
The channel is stored.
Displaying information
X$ (repeatedly, if necessary) Q Info (if
available).
i If the program provider does not offer any
information, the Info menu item cannot be
selected.
You will see a screen that may contain the
following information:
R the selected program category
R the selected channel
R the artist of the track currently being played
R the name of the current track
i SIRIUS XM determines what information
is displayed on the screen. If the
information is too long, the audio system
shortens it.
With the telephone keypad button m you
can call up a popup screen, if provided by
SIRIUS XM, that shows the artist and title of
the current track being played on the selected
channel.
The popup screen disappears automatically.
XClosing screen manually: Slide XV Y,
rotate cV d, press W or press button
k .Calling SIRIUS XM Service Center
iIt may be necessary to call the SIRIUS XM
Service Center if, for example:
R You want to cancel the subscription or
re-subscribe at a later date.
R You have questions regarding billing.
R You sell the car.
X$ (repeatedly, if necessary) Q Sat
Q Service .
The telephone number of the SIRIUS XM
Service Center and the twelve-digit
electronic serial number (SIRIUS-ID) of the
particular receiver are displayed.XClosing screen: Slide XV Y, press W or
press button k.
Channel update
The service provider may conduct a channel
update.
During the update, the message Updating
Channels... will appear on the audio
display.
The last tuned channel will be muted until the
update is completed. You cannot operate the
satellite radio during the update.
After completion of the update, the satellite
radio basic menu will appear. The last tuned
station will begin to play. If not available, the
next subscribed channel starts beginning
with channel 1.
Sound settings
For sound adjustment see:
R Volume ( Y page 144)
R Balance control and fader ( Y page 145)
R Bass and treble control ( Y page 145)
R Surround sound ( Y page 146)
Audio system157Controls in detail204_AKB; 5; 23, en-USd2ureepe,Version: 2.11.8.12009-07-16T17:54:06+02:00 - Seite 157Z
Page 164 of 364
iIf the audio CD is printed on one side, this
side must face upwards when loaded. If
neither side is printed, the side to be played
must face downwards.
If a CD has been inserted incorrectly or
cannot be read, Disc Unreadable
appears in the display.
XLoading a CD: Insert CD into CD slot :.
The system automatically pulls the CD into
the CD slot : and starts to play the audio
CD if it has been inserted correctly and is
permissible.
CD changer
The CD changer can hold up to a total of six
audio CDs.
XSwitching to CD mode: Press button
h on the audio control unit.
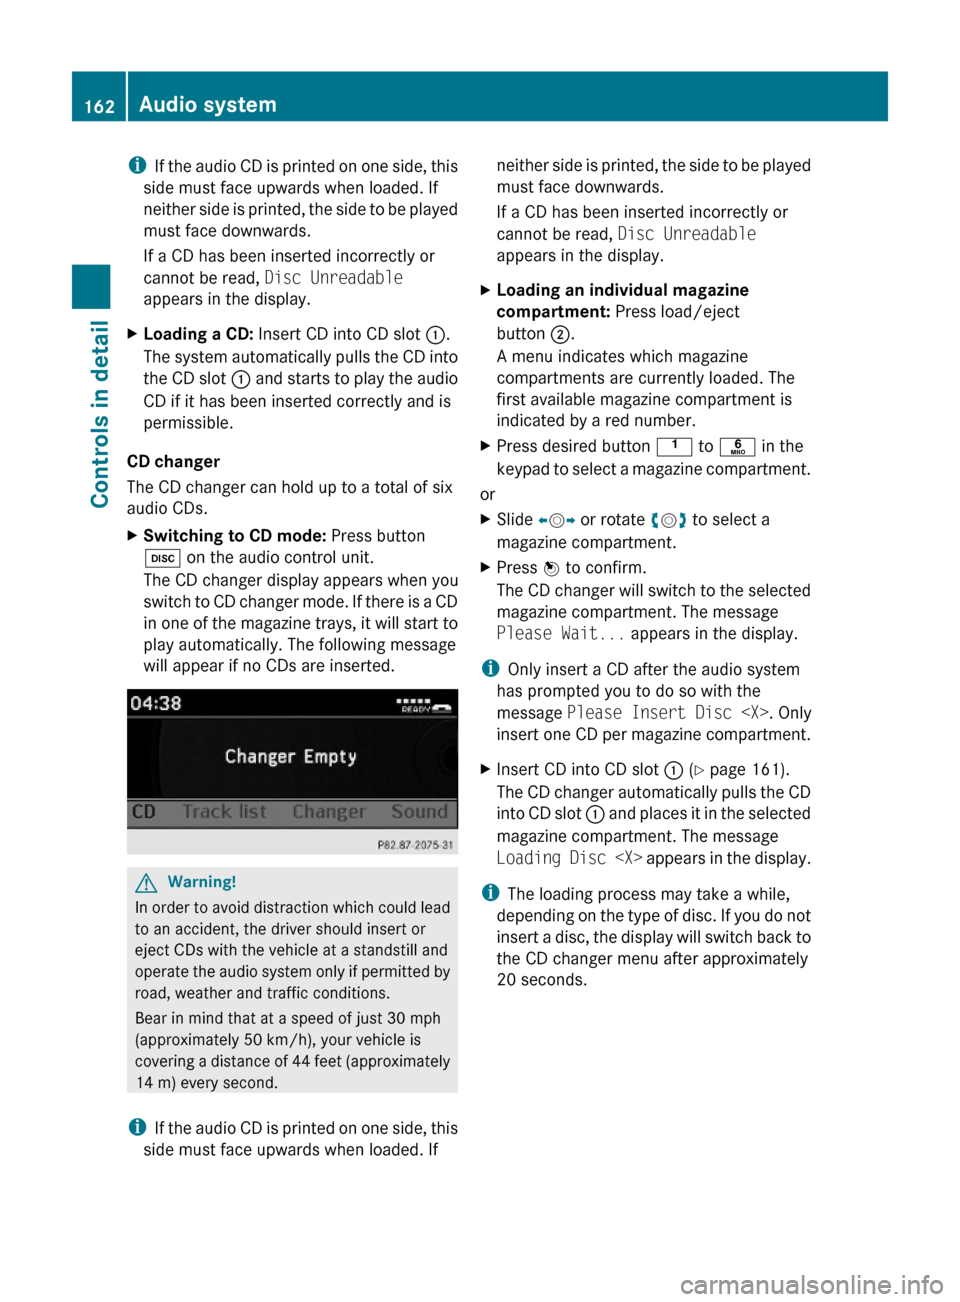
The CD changer display appears when you
switch to CD changer mode. If there is a CD
in one of the magazine trays, it will start to
play automatically. The following message
will appear if no CDs are inserted.
GWarning!
In order to avoid distraction which could lead
to an accident, the driver should insert or
eject CDs with the vehicle at a standstill and
operate the audio system only if permitted by
road, weather and traffic conditions.
Bear in mind that at a speed of just 30 mph
(approximately 50 km/h), your vehicle is
covering a distance of 44 feet (approximately
14 m) every second.
iIf the audio CD is printed on one side, this
side must face upwards when loaded. If
neither side is printed, the side to be played
must face downwards.
If a CD has been inserted incorrectly or
cannot be read, Disc Unreadable
appears in the display.
XLoading an individual magazine
compartment: Press load/eject
button ;.
A menu indicates which magazine
compartments are currently loaded. The
first available magazine compartment is
indicated by a red number.
XPress desired button k to p in the
keypad to select a magazine compartment.
or
XSlide XVY or rotate cVd to select a
magazine compartment.
XPress W to confirm.
The CD changer will switch to the selected
magazine compartment. The message
Please Wait... appears in the display.
iOnly insert a CD after the audio system
has prompted you to do so with the
message Please Insert Disc
insert one CD per magazine compartment.
XInsert CD into CD slot : (Y page 161).
The CD changer automatically pulls the CD
into CD slot : and places it in the selected
magazine compartment. The message
Loading Disc
iThe loading process may take a while,
depending on the type of disc. If you do not
insert a disc, the display will switch back to
the CD changer menu after approximately
20 seconds.
162Audio systemControls in detail
204_AKB; 5; 23, en-USd2ureepe,Version: 2.11.8.12009-07-16T17:54:06+02:00 - Seite 162
Page 166 of 364
XPress desired button k to p in the
keypad to select a magazine compartment.
or
XSlide XVY or rotate cVd the audio
controller to select the desired CD.
XPress W to confirm.
The CD is ejected.
XRemove the CD from CD slot :.
If you do not remove the CD from the CD
slot, the CD changer will automatically pull
the CD back in after a short while.
iIf audio source is changed during eject
procedure (e.g. pressing button $) the
eject procedure will be aborted and any
CDs being ejected will be drawn back into
the unit.
XEjecting all CDs: Press load/eject
button ;.
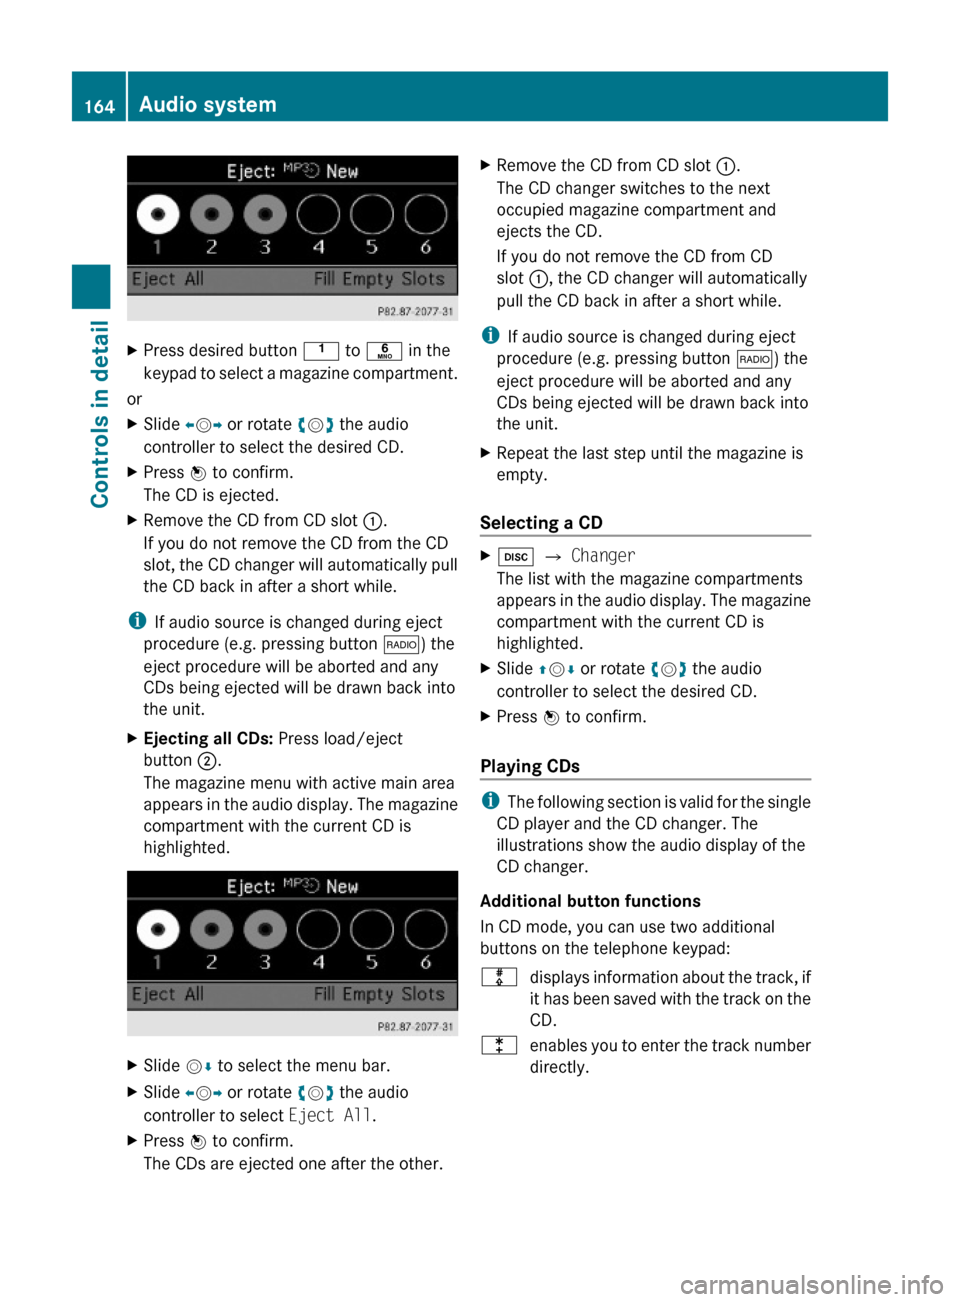
The magazine menu with active main area
appears in the audio display. The magazine
compartment with the current CD is
highlighted.
XSlide VÆ to select the menu bar.XSlide XVY or rotate cVd the audio
controller to select Eject All.
XPress W to confirm.
The CDs are ejected one after the other.
XRemove the CD from CD slot :.
The CD changer switches to the next
occupied magazine compartment and
ejects the CD.
If you do not remove the CD from CD
slot :, the CD changer will automatically
pull the CD back in after a short while.
iIf audio source is changed during eject
procedure (e.g. pressing button $) the
eject procedure will be aborted and any
CDs being ejected will be drawn back into
the unit.
XRepeat the last step until the magazine is
empty.
Selecting a CD
Xh Q Changer
The list with the magazine compartments
appears in the audio display. The magazine
compartment with the current CD is
highlighted.
XSlide ZVÆ or rotate cVd the audio
controller to select the desired CD.
XPress W to confirm.
Playing CDs
iThe following section is valid for the single
CD player and the CD changer. The
illustrations show the audio display of the
CD changer.
Additional button functions
In CD mode, you can use two additional
buttons on the telephone keypad:
mdisplays information about the track, if
it has been saved with the track on the
CD.
lenables you to enter the track number
directly.
164Audio systemControls in detail
204_AKB; 5; 23, en-USd2ureepe,Version: 2.11.8.12009-07-16T17:54:06+02:00 - Seite 164