2010 LINCOLN TOWN CAR instrument panel
[x] Cancel search: instrument panelPage 39 of 285
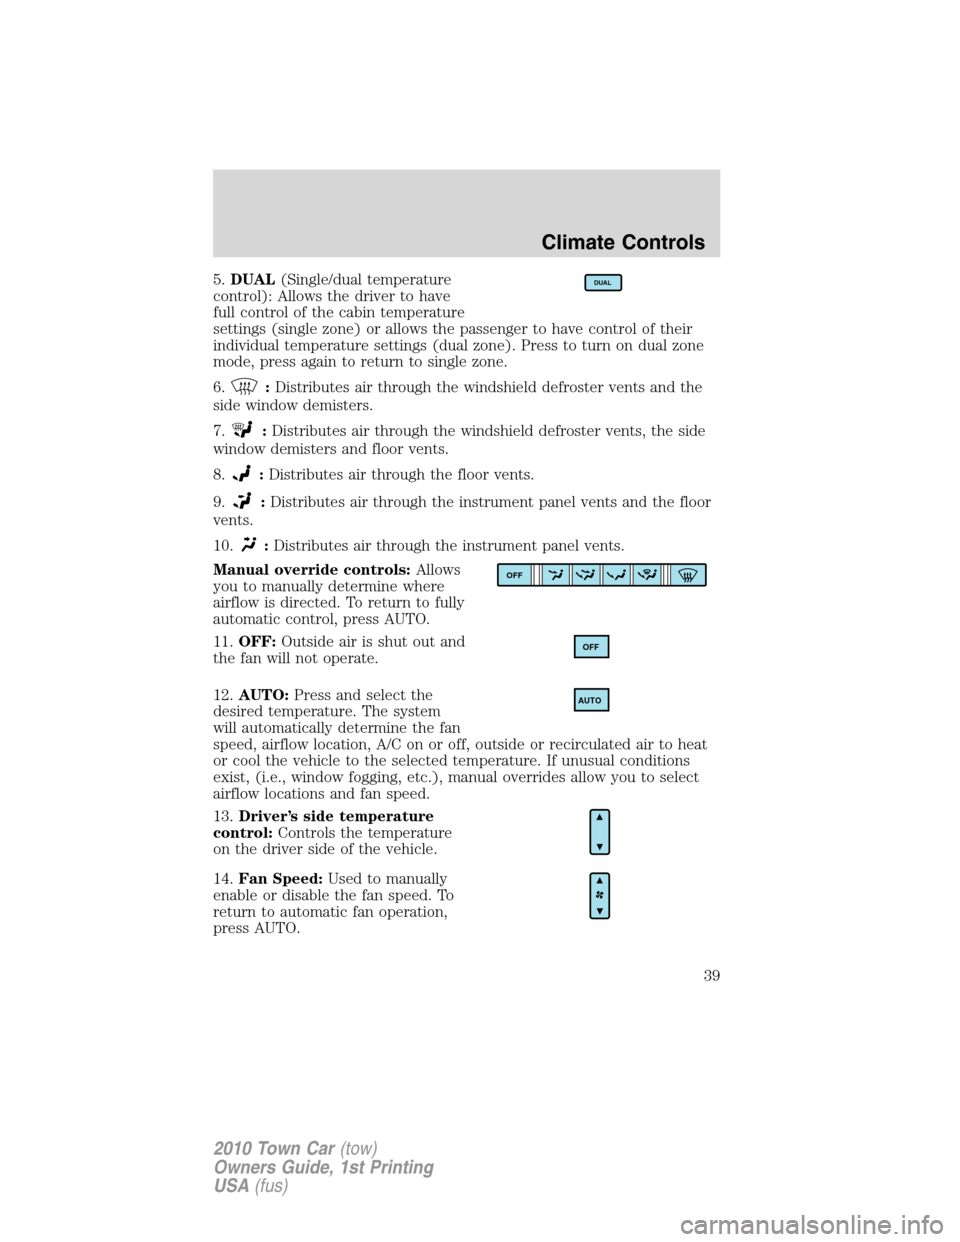
5.DUAL(Single/dual temperature
control): Allows the driver to have
full control of the cabin temperature
settings (single zone) or allows the passenger to have control of their
individual temperature settings (dual zone). Press to turn on dual zone
mode, press again to return to single zone.
6.
:Distributes air through the windshield defroster vents and the
side window demisters.
7.
:Distributes air through the windshield defroster vents, the side
window demisters and floor vents.
8.
:Distributes air through the floor vents.
9.
:Distributes air through the instrument panel vents and the floor
vents.
10.
:Distributes air through the instrument panel vents.
Manual override controls:Allows
you to manually determine where
airflow is directed. To return to fully
automatic control, press AUTO.
11.OFF:Outside air is shut out and
the fan will not operate.
12.AUTO:Press and select the
desired temperature. The system
will automatically determine the fan
speed, airflow location, A/C on or off, outside or recirculated air to heat
or cool the vehicle to the selected temperature. If unusual conditions
exist, (i.e., window fogging, etc.), manual overrides allow you to select
airflow locations and fan speed.
13.Driver’s side temperature
control:Controls the temperature
on the driver side of the vehicle.
14.Fan Speed:Used to manually
enable or disable the fan speed. To
return to automatic fan operation,
press AUTO.
DUAL
OFF
OFF
AUTO
Climate Controls
39
2010 Town Car(tow)
Owners Guide, 1st Printing
USA(fus)
Page 40 of 285
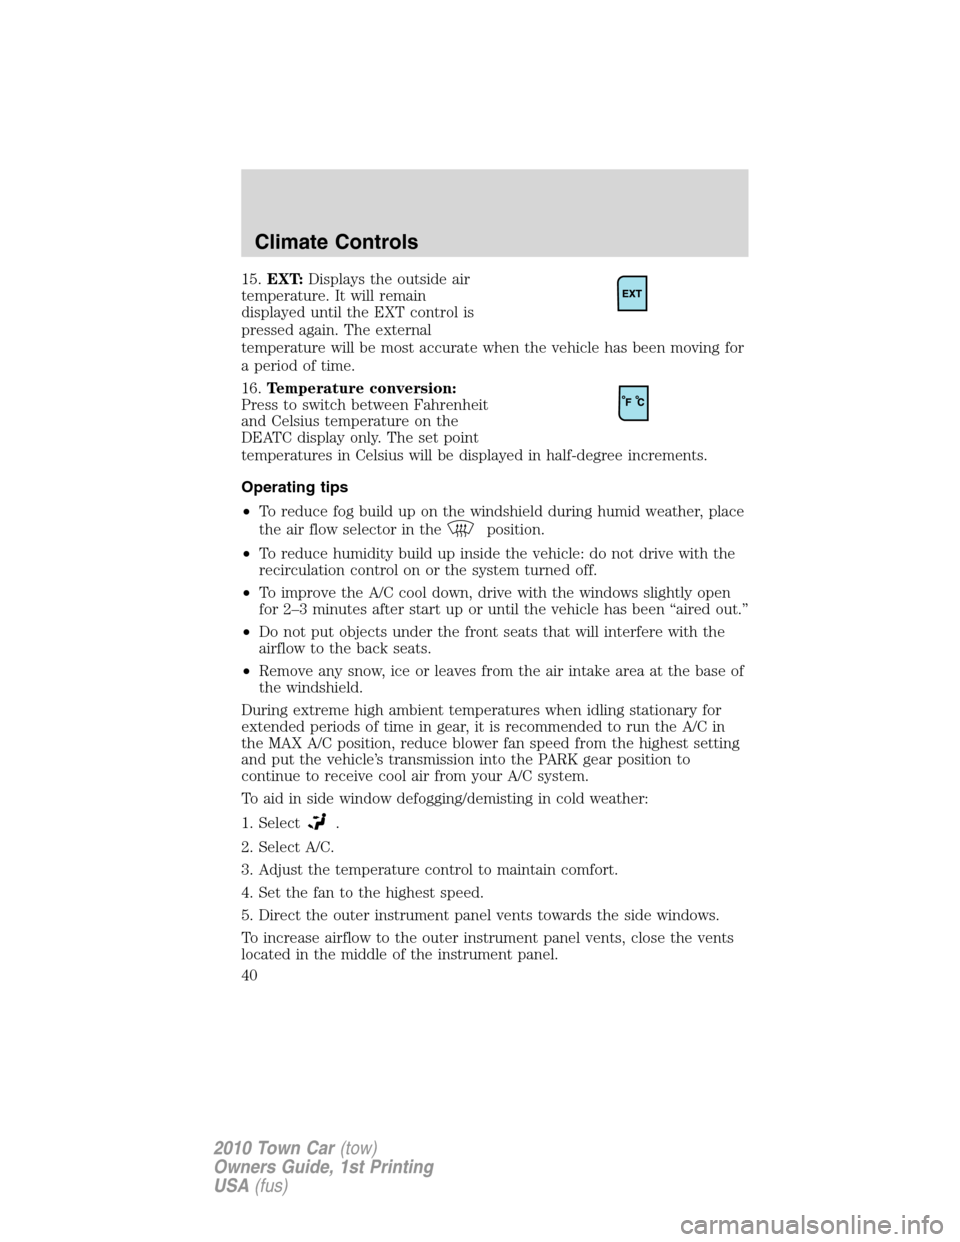
15.EXT:Displays the outside air
temperature. It will remain
displayed until the EXT control is
pressed again. The external
temperature will be most accurate when the vehicle has been moving for
a period of time.
16.Temperature conversion:
Press to switch between Fahrenheit
and Celsius temperature on the
DEATC display only. The set point
temperatures in Celsius will be displayed in half-degree increments.
Operating tips
•To reduce fog build up on the windshield during humid weather, place
the air flow selector in the
position.
•To reduce humidity build up inside the vehicle: do not drive with the
recirculation control on or the system turned off.
•To improve the A/C cool down, drive with the windows slightly open
for 2–3 minutes after start up or until the vehicle has been “aired out.”
•Do not put objects under the front seats that will interfere with the
airflow to the back seats.
•Remove any snow, ice or leaves from the air intake area at the base of
the windshield.
During extreme high ambient temperatures when idling stationary for
extended periods of time in gear, it is recommended to run the A/C in
the MAX A/C position, reduce blower fan speed from the highest setting
and put the vehicle’s transmission into the PARK gear position to
continue to receive cool air from your A/C system.
To aid in side window defogging/demisting in cold weather:
1. Select
.
2. Select A/C.
3. Adjust the temperature control to maintain comfort.
4. Set the fan to the highest speed.
5. Direct the outer instrument panel vents towards the side windows.
To increase airflow to the outer instrument panel vents, close the vents
located in the middle of the instrument panel.
Climate Controls
40
2010 Town Car(tow)
Owners Guide, 1st Printing
USA(fus)
Page 41 of 285
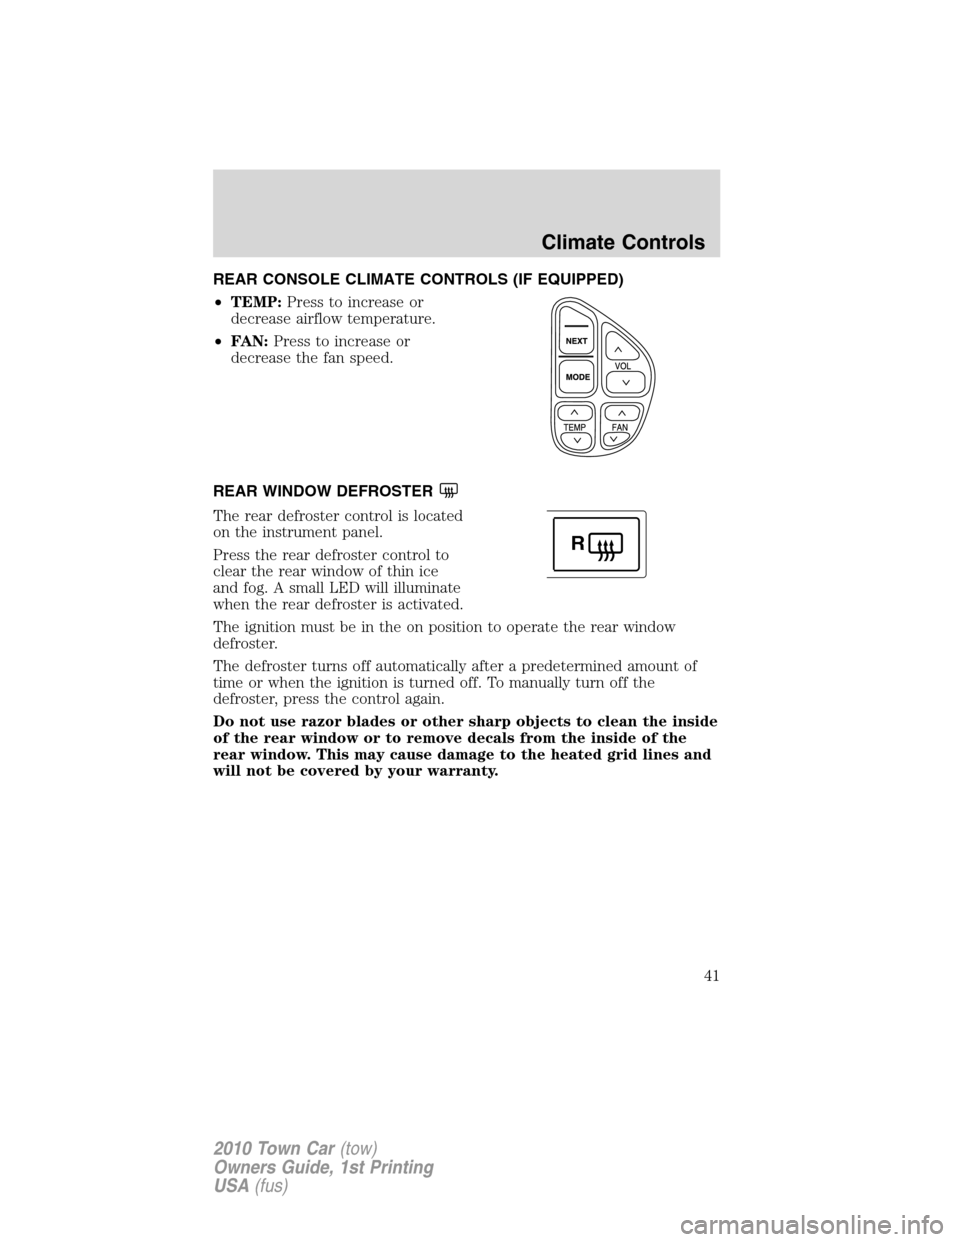
REAR CONSOLE CLIMATE CONTROLS (IF EQUIPPED)
•TEMP:Press to increase or
decrease airflow temperature.
•FAN:Press to increase or
decrease the fan speed.
REAR WINDOW DEFROSTER
The rear defroster control is located
on the instrument panel.
Press the rear defroster control to
clear the rear window of thin ice
and fog. A small LED will illuminate
when the rear defroster is activated.
The ignition must be in the on position to operate the rear window
defroster.
The defroster turns off automatically after a predetermined amount of
time or when the ignition is turned off. To manually turn off the
defroster, press the control again.
Do not use razor blades or other sharp objects to clean the inside
of the rear window or to remove decals from the inside of the
rear window. This may cause damage to the heated grid lines and
will not be covered by your warranty.
R
Climate Controls
41
2010 Town Car(tow)
Owners Guide, 1st Printing
USA(fus)
Page 42 of 285
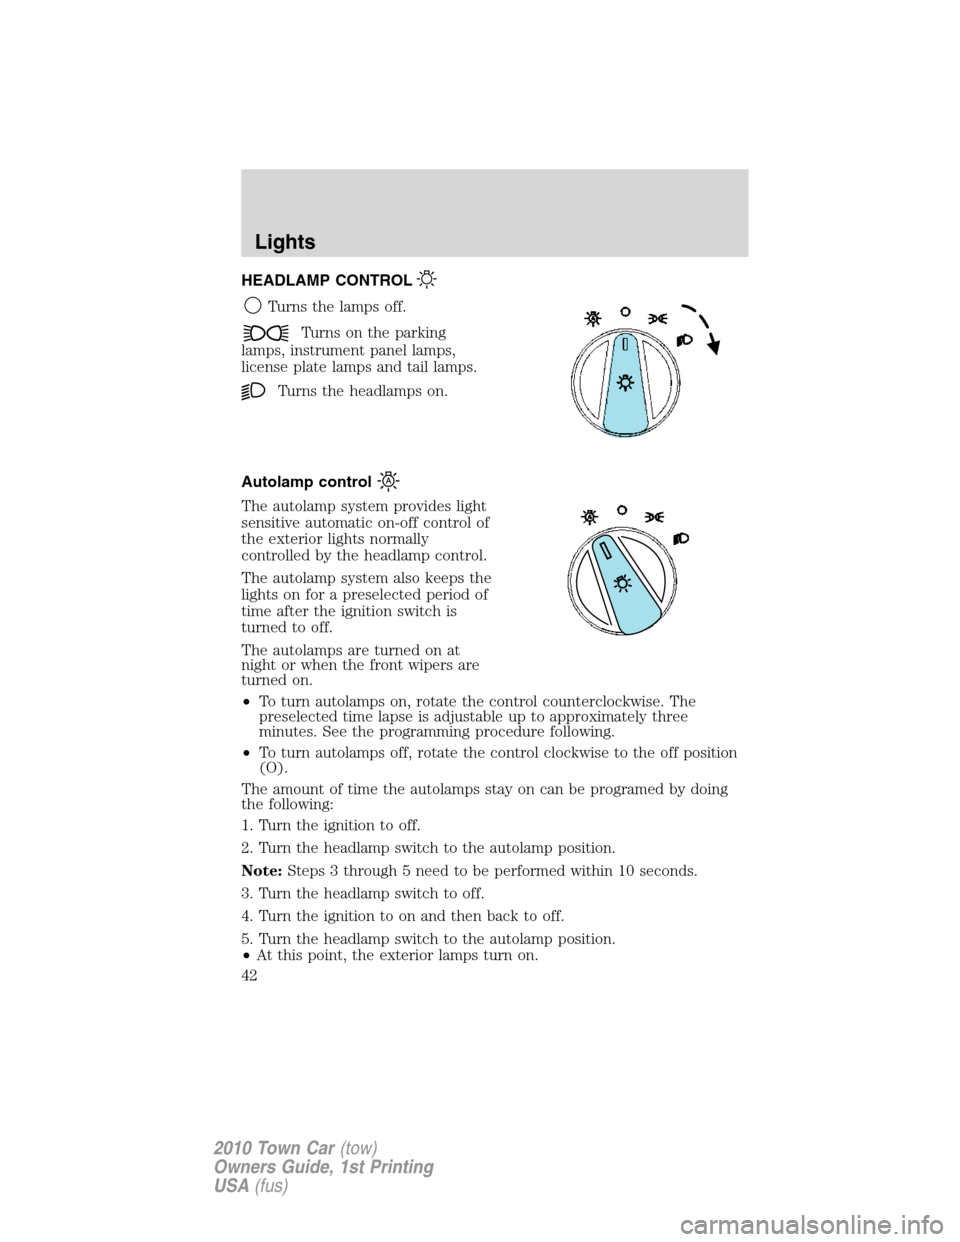
HEADLAMP CONTROL
Turns the lamps off.
Turns on the parking
lamps, instrument panel lamps,
license plate lamps and tail lamps.
Turns the headlamps on.
Autolamp control
The autolamp system provides light
sensitive automatic on-off control of
the exterior lights normally
controlled by the headlamp control.
The autolamp system also keeps the
lights on for a preselected period of
time after the ignition switch is
turned to off.
The autolamps are turned on at
night or when the front wipers are
turned on.
•To turn autolamps on, rotate the control counterclockwise. The
preselected time lapse is adjustable up to approximately three
minutes. See the programming procedure following.
•To turn autolamps off, rotate the control clockwise to the off position
(O).
The amount of time the autolamps stay on can be programed by doing
the following:
1. Turn the ignition to off.
2. Turn the headlamp switch to the autolamp position.
Note:Steps 3 through 5 need to be performed within 10 seconds.
3. Turn the headlamp switch to off.
4. Turn the ignition to on and then back to off.
5. Turn the headlamp switch to the autolamp position.
•At this point, the exterior lamps turn on.
Lights
42
2010 Town Car(tow)
Owners Guide, 1st Printing
USA(fus)
Page 43 of 285
6. Wait the desired amount of time for delay, then turn the headlamp
switch to off.
•At this point, the exterior lamps turn off and the time delay is set.
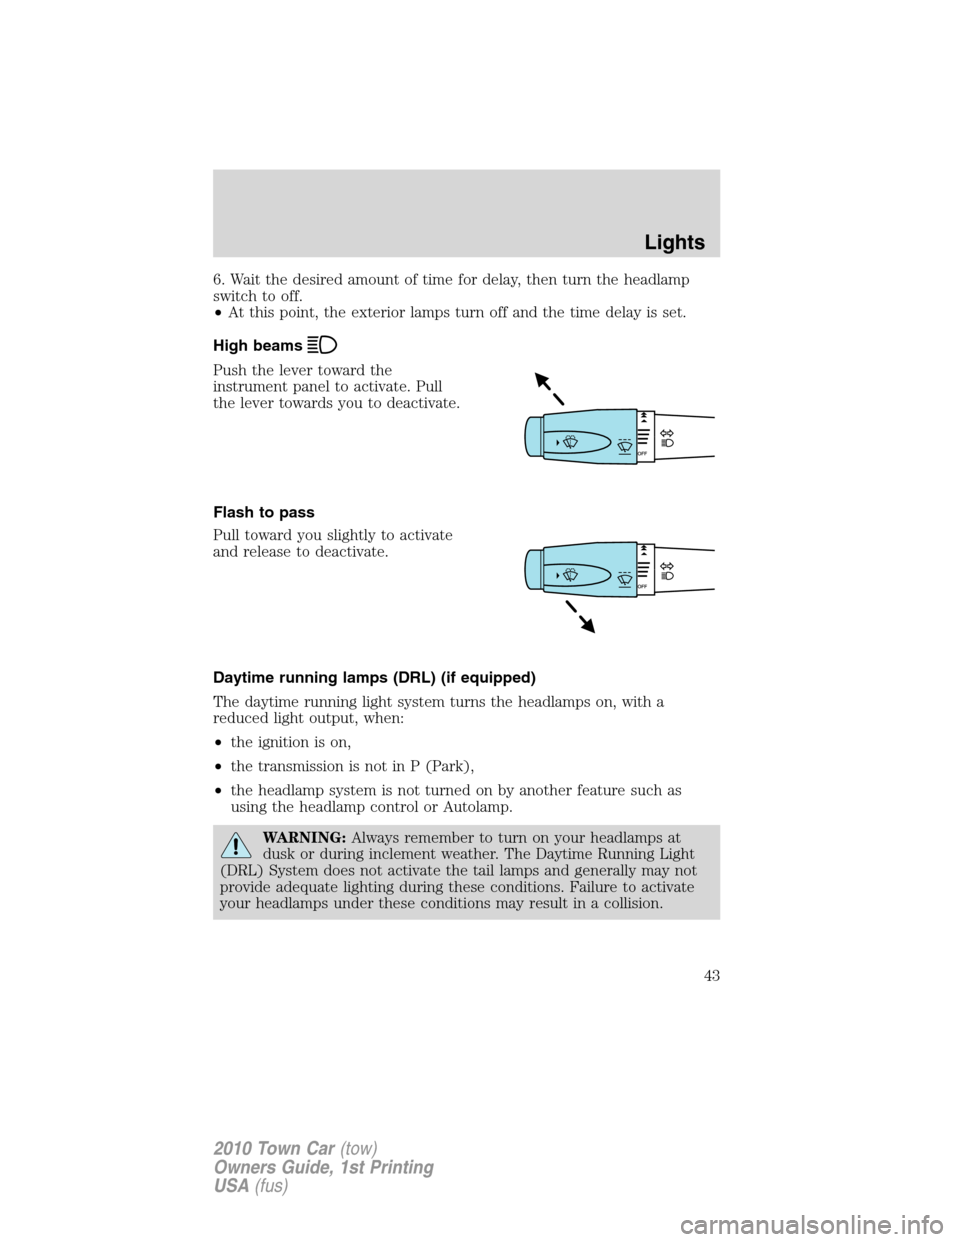
High beams
Push the lever toward the
instrument panel to activate. Pull
the lever towards you to deactivate.
Flash to pass
Pull toward you slightly to activate
and release to deactivate.
Daytime running lamps (DRL) (if equipped)
The daytime running light system turns the headlamps on, with a
reduced light output, when:
•the ignition is on,
•the transmission is not in P (Park),
•the headlamp system is not turned on by another feature such as
using the headlamp control or Autolamp.
WARNING:Always remember to turn on your headlamps at
dusk or during inclement weather. The Daytime Running Light
(DRL) System does not activate the tail lamps and generally may not
provide adequate lighting during these conditions. Failure to activate
your headlamps under these conditions may result in a collision.
Lights
43
2010 Town Car(tow)
Owners Guide, 1st Printing
USA(fus)
Page 44 of 285
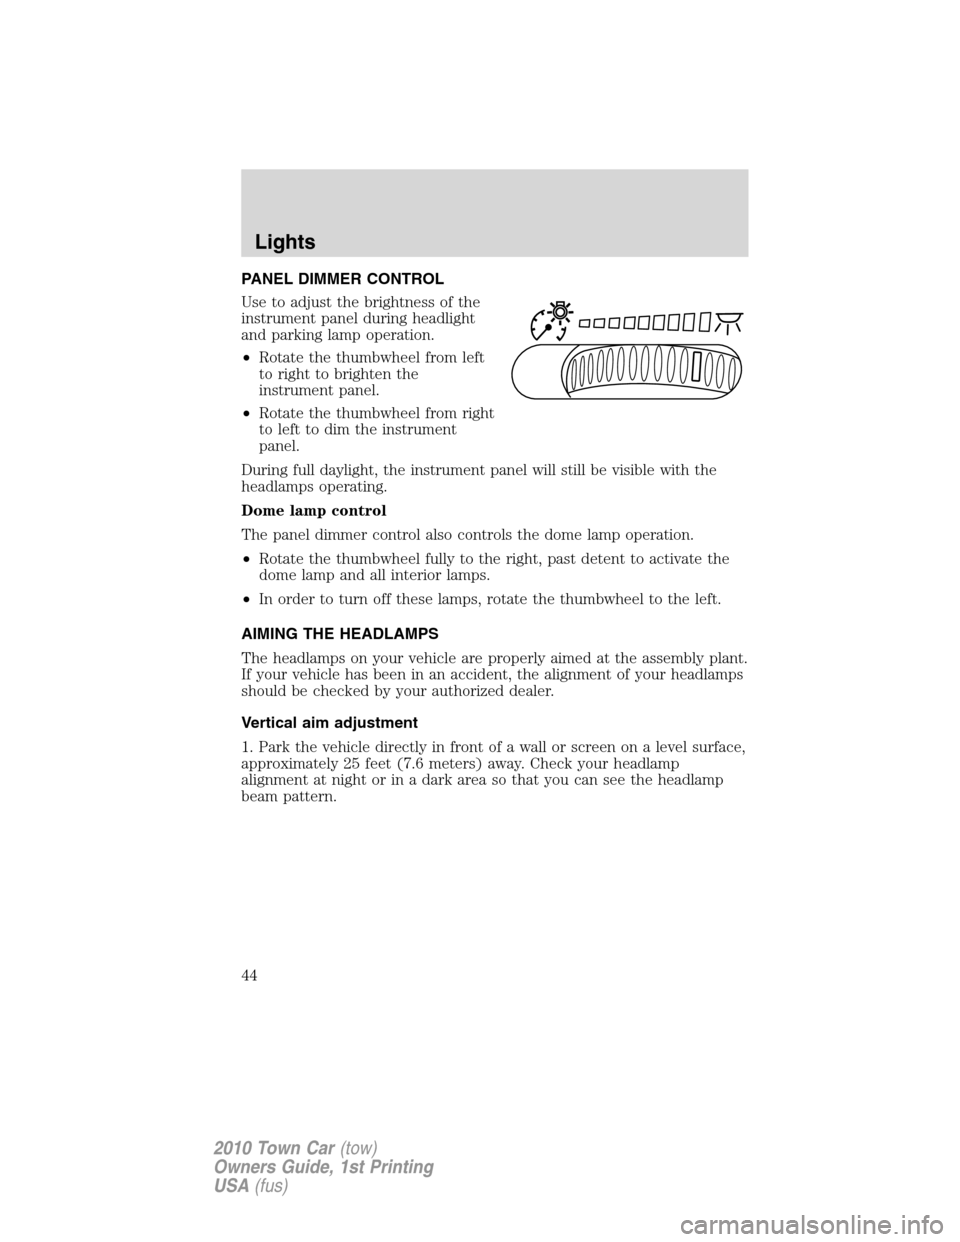
PANEL DIMMER CONTROL
Use to adjust the brightness of the
instrument panel during headlight
and parking lamp operation.
•Rotate the thumbwheel from left
to right to brighten the
instrument panel.
•Rotate the thumbwheel from right
to left to dim the instrument
panel.
During full daylight, the instrument panel will still be visible with the
headlamps operating.
Dome lamp control
The panel dimmer control also controls the dome lamp operation.
•Rotate the thumbwheel fully to the right, past detent to activate the
dome lamp and all interior lamps.
•In order to turn off these lamps, rotate the thumbwheel to the left.
AIMING THE HEADLAMPS
The headlamps on your vehicle are properly aimed at the assembly plant.
If your vehicle has been in an accident, the alignment of your headlamps
should be checked by your authorized dealer.
Vertical aim adjustment
1. Park the vehicle directly in front of a wall or screen on a level surface,
approximately 25 feet (7.6 meters) away. Check your headlamp
alignment at night or in a dark area so that you can see the headlamp
beam pattern.
Lights
44
2010 Town Car(tow)
Owners Guide, 1st Printing
USA(fus)
Page 48 of 285
Function Trade Number
Rear grab handle reading lamps 578
Door courtesy lamp 904
Glove compartment 194
All replacement bulbs are clear in color except where noted.
To replace all instrument panel lights - see your authorized dealer.
* For vehicles with HID lamps, see your authorized dealer for service.
** When replacing the center high mount stop lamp assembly, see your
authorized dealer for service.
Replacing interior bulbs
Check the operation of all bulbs frequently.
Rear courtesy/reading lamps
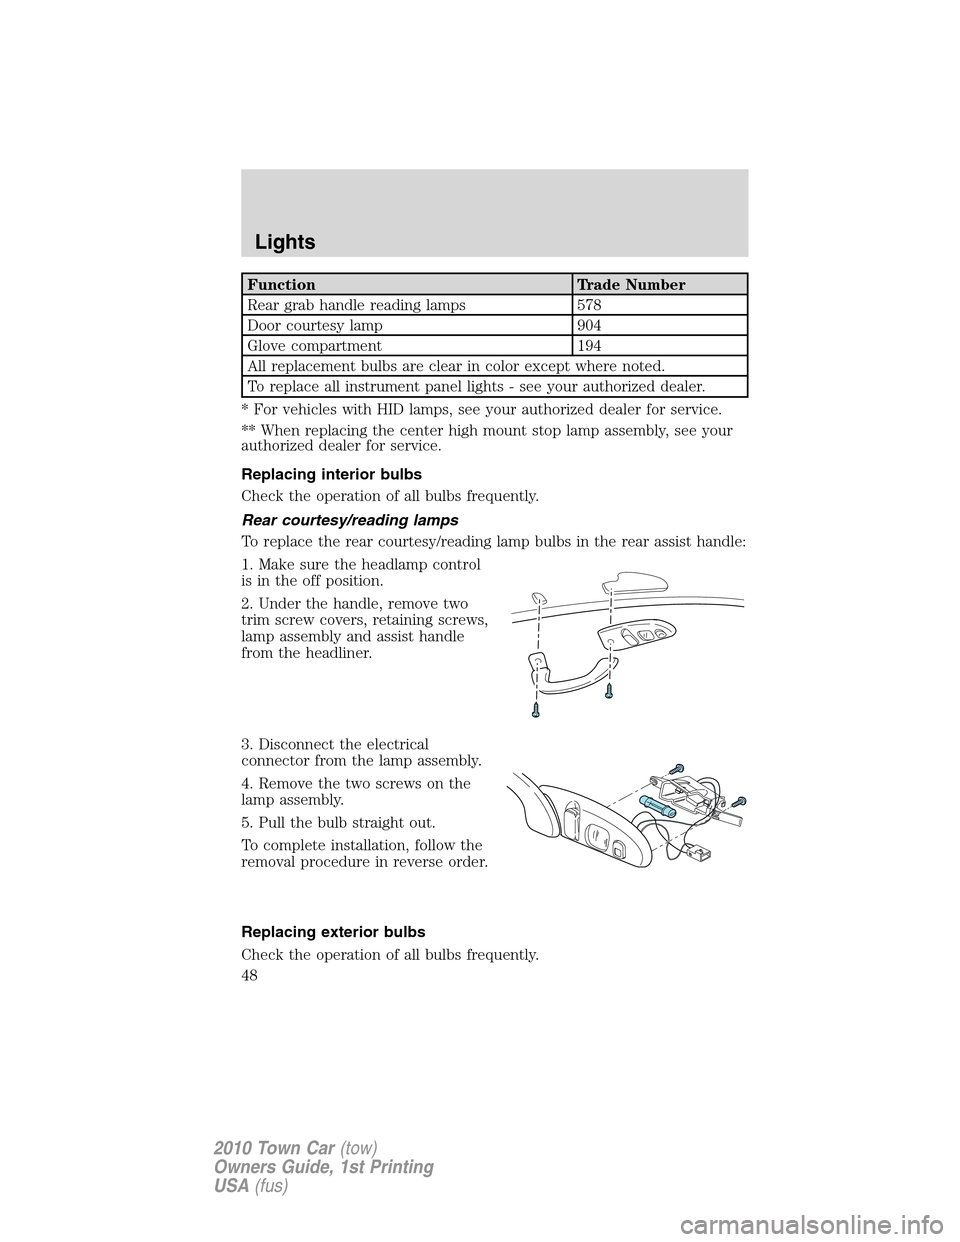
To replace the rear courtesy/reading lamp bulbs in the rear assist handle:
1. Make sure the headlamp control
is in the off position.
2. Under the handle, remove two
trim screw covers, retaining screws,
lamp assembly and assist handle
from the headliner.
3. Disconnect the electrical
connector from the lamp assembly.
4. Remove the two screws on the
lamp assembly.
5. Pull the bulb straight out.
To complete installation, follow the
removal procedure in reverse order.
Replacing exterior bulbs
Check the operation of all bulbs frequently.
Lights
48
2010 Town Car(tow)
Owners Guide, 1st Printing
USA(fus)
Page 55 of 285
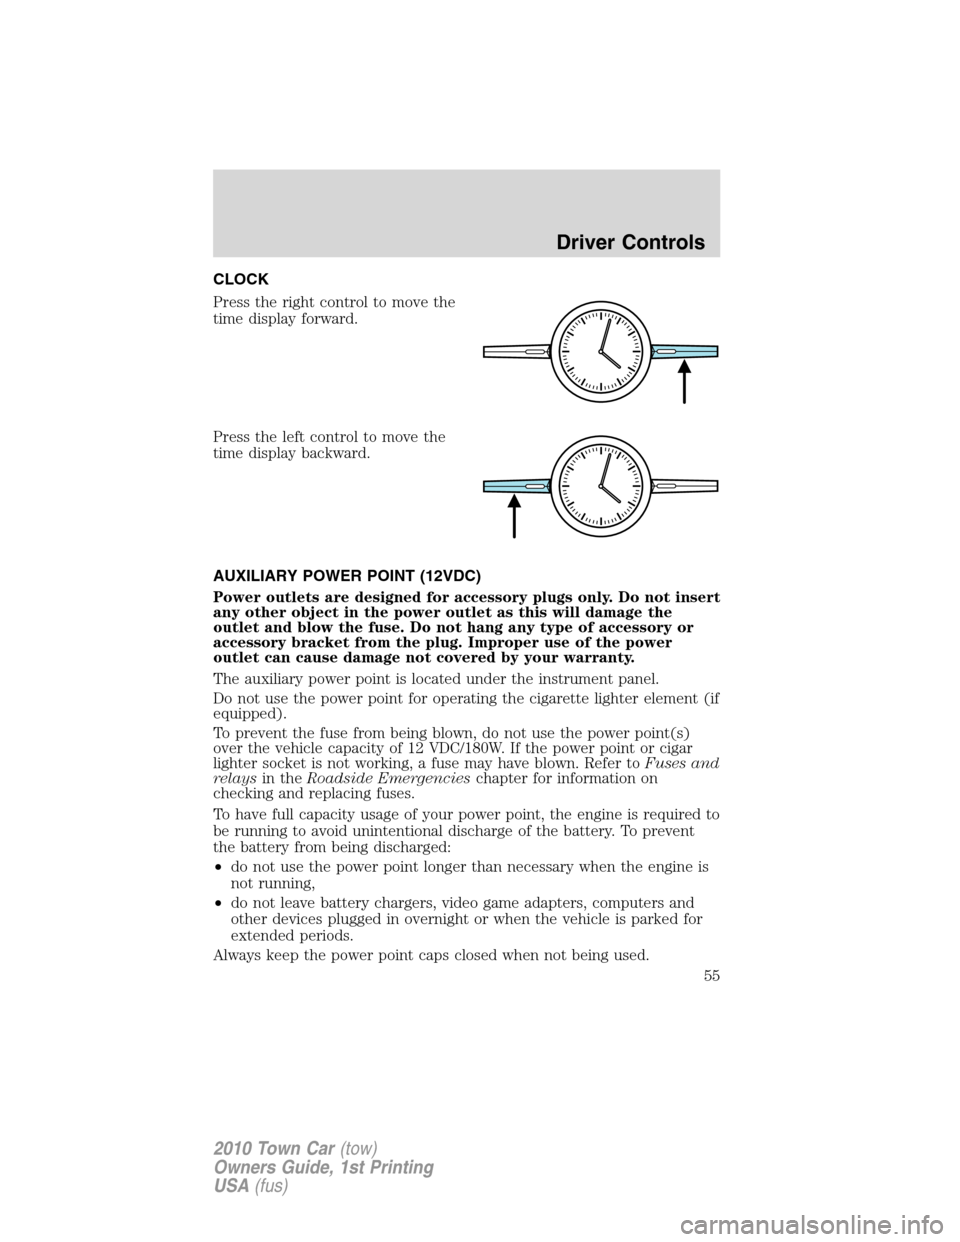
CLOCK
Press the right control to move the
time display forward.
Press the left control to move the
time display backward.
AUXILIARY POWER POINT (12VDC)
Power outlets are designed for accessory plugs only. Do not insert
any other object in the power outlet as this will damage the
outlet and blow the fuse. Do not hang any type of accessory or
accessory bracket from the plug. Improper use of the power
outlet can cause damage not covered by your warranty.
The auxiliary power point is located under the instrument panel.
Do not use the power point for operating the cigarette lighter element (if
equipped).
To prevent the fuse from being blown, do not use the power point(s)
over the vehicle capacity of 12 VDC/180W. If the power point or cigar
lighter socket is not working, a fuse may have blown. Refer toFuses and
relaysin theRoadside Emergencieschapter for information on
checking and replacing fuses.
To have full capacity usage of your power point, the engine is required to
be running to avoid unintentional discharge of the battery. To prevent
the battery from being discharged:
•do not use the power point longer than necessary when the engine is
not running,
•do not leave battery chargers, video game adapters, computers and
other devices plugged in overnight or when the vehicle is parked for
extended periods.
Always keep the power point caps closed when not being used.
Driver Controls
55
2010 Town Car(tow)
Owners Guide, 1st Printing
USA(fus)