Page 102 of 314
Features of your vehicle30
4
D140201APBRemote controlManual type (if equipped)
To adjust an outside mirror, move the
control lever.
D140201AHM-EEElectric type (if equipped)
The electric remote control mirror switch
allows you to adjust the position of the
left and right outside rearview mirrors. To
adjust the position of either mirror the
ignition switch should be in the ACC posi-
tion. Push the switch (1) to R or L to
select the right side mirror or the left side
mirror, then press a corresponding point
on the mirror adjustment control to posi-
tion the selected mirror up, down, left or
right.
After the adjustment, put the switch into
the neutral (center) position to prevent
inadvertent adjustment.
WARNING
Do not adjust or fold the outside
rearview mirrors while the vehicle
is moving. This could result in loss
of control, and an accident which
could cause death, serious injury
or property damage.
OAM049027
B510A01E
Page 118 of 314
Features of your vehicle46
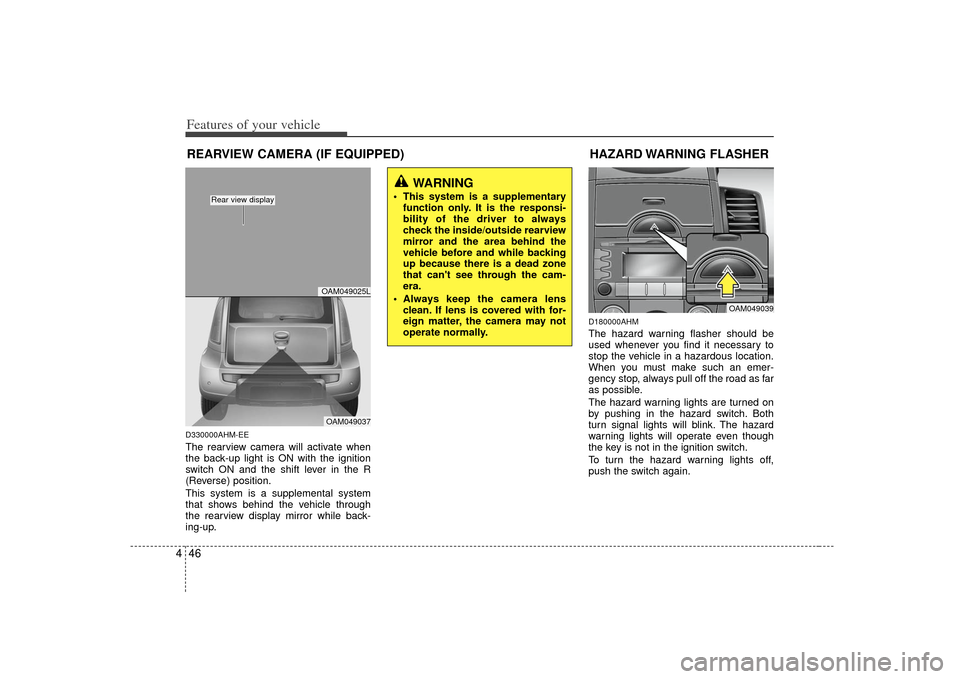
4D330000AHM-EEThe rearview camera will activate when
the back-up light is ON with the ignition
switch ON and the shift lever in the R
(Reverse) position.
This system is a supplemental system
that shows behind the vehicle through
the rearview display mirror while back-
ing-up.
D180000AHMThe hazard warning flasher should be
used whenever you find it necessary to
stop the vehicle in a hazardous location.
When you must make such an emer-
gency stop, always pull off the road as far
as possible.
The hazard warning lights are turned on
by pushing in the hazard switch. Both
turn signal lights will blink. The hazard
warning lights will operate even though
the key is not in the ignition switch.
To turn the hazard warning lights off,
push the switch again.
WARNING
This system is a supplementary
function only. It is the responsi-
bility of the driver to always
check the inside/outside rearview
mirror and the area behind the
vehicle before and while backing
up because there is a dead zone
that can't see through the cam-
era.
Always keep the camera lens clean. If lens is covered with for-
eign matter, the camera may not
operate normally.
REARVIEW CAMERA (IF EQUIPPED)
OAM049025LOAM049037
Rear view display
HAZARD WARNING FLASHER
OAM049039
Page 122 of 314
Features of your vehicle50
4D190900AUN-EUDaytime running light Daytime Running Lights (DRL) can make
it easier for others to see the front of your
vehicle during the day. DRL can be help-
ful in many different driving conditions,
and it is especially helpful after dawn and
before sunset.
The DRL system will make the head-
lights turn OFF when:
1. The headlight switch is ON.
2. The parking brake is applied.
3. Engine stops.
Page 138 of 314
Features of your vehicle66
4D250000AHM-U1
For maximum defrosting, set the tem-
perature control to the extreme
right/hot position and the fan speed
control to the highest speed.
If warm air to the floor is desired while defrosting or defogging, set the mode
to the floor-defrost position.
Before driving, clear all snow and ice from the windshield, rear window, out-
side rear view mirrors, and all side win-
dows.
Clear all snow and ice from the hood and air inlet in the cowl grill to improve
heater and defroster efficiency and to
reduce the probability of fogging up the
inside of the windshield.
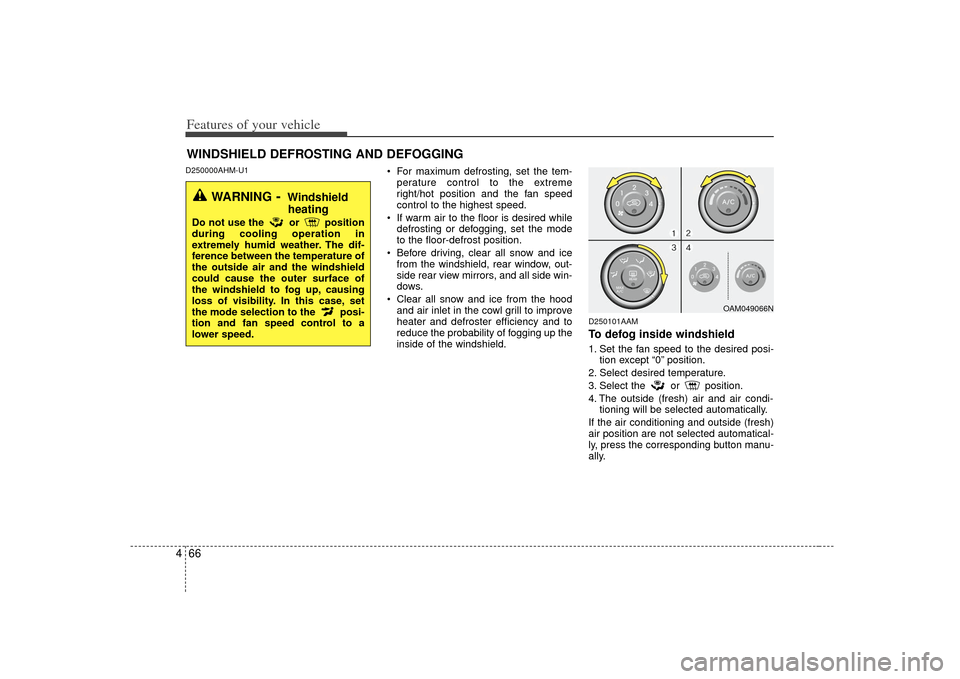
D250101AAMTo defog inside windshield 1. Set the fan speed to the desired posi- tion except “0” position.
2. Select desired temperature.
3. Select the or position.
4. The outside (fresh) air and air condi- tioning will be selected automatically.
If the air conditioning and outside (fresh)
air position are not selected automatical-
ly, press the corresponding button manu-
ally.
WINDSHIELD DEFROSTING AND DEFOGGING
WARNING
- Windshield heating
Do not use the or position
during cooling operation in
extremely humid weather. The dif-
ference between the temperature of
the outside air and the windshield
could cause the outer surface of
the windshield to fog up, causing
loss of visibility. In this case, set
the mode selection to the posi-
tion and fan speed control to a
lower speed.
OAM049066N
Page 146 of 314
Features of your vehicle74
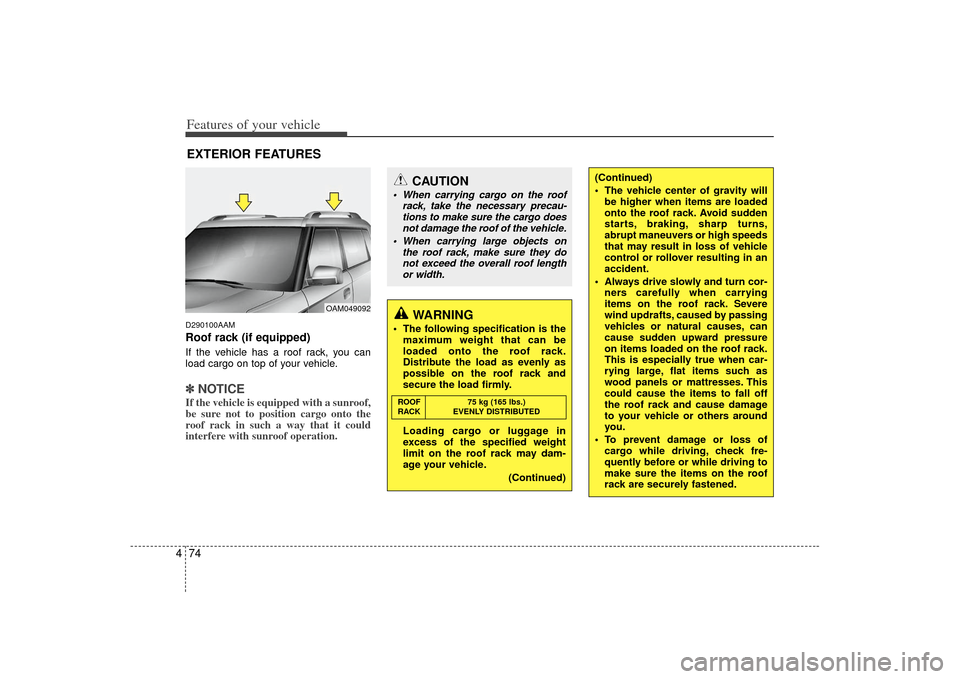
4D290100AAMRoof rack (if equipped)If the vehicle has a roof rack, you can
load cargo on top of your vehicle.✽ ✽
NOTICEIf the vehicle is equipped with a sunroof,
be sure not to position cargo onto the
roof rack in such a way that it could
interfere with sunroof operation.EXTERIOR FEATURES
CAUTION
When carrying cargo on the roof
rack, take the necessary precau-tions to make sure the cargo doesnot damage the roof of the vehicle.
When carrying large objects on the roof rack, make sure they donot exceed the overall roof length or width.
WARNING
The following specification is the maximum weight that can be
loaded onto the roof rack.
Distribute the load as evenly as
possible on the roof rack and
secure the load firmly.
Loading cargo or luggage in
excess of the specified weight
limit on the roof rack may dam-
age your vehicle.
(Continued)ROOF75 kg (165 lbs.)
RACK EVENLY DISTRIBUTED
OAM049092
(Continued)
The vehicle center of gravity will be higher when items are loaded
onto the roof rack. Avoid sudden
starts, braking, sharp turns,
abrupt maneuvers or high speeds
that may result in loss of vehicle
control or rollover resulting in an
accident.
Always drive slowly and turn cor- ners carefully when carrying
items on the roof rack. Severe
wind updrafts, caused by passing
vehicles or natural causes, can
cause sudden upward pressure
on items loaded on the roof rack.
This is especially true when car-
rying large, flat items such as
wood panels or mattresses. This
could cause the items to fall off
the roof rack and cause damage
to your vehicle or others around
you.
To prevent damage or loss of cargo while driving, check fre-
quently before or while driving to
make sure the items on the roof
rack are securely fastened.
Page 154 of 314
Features of your vehicle82
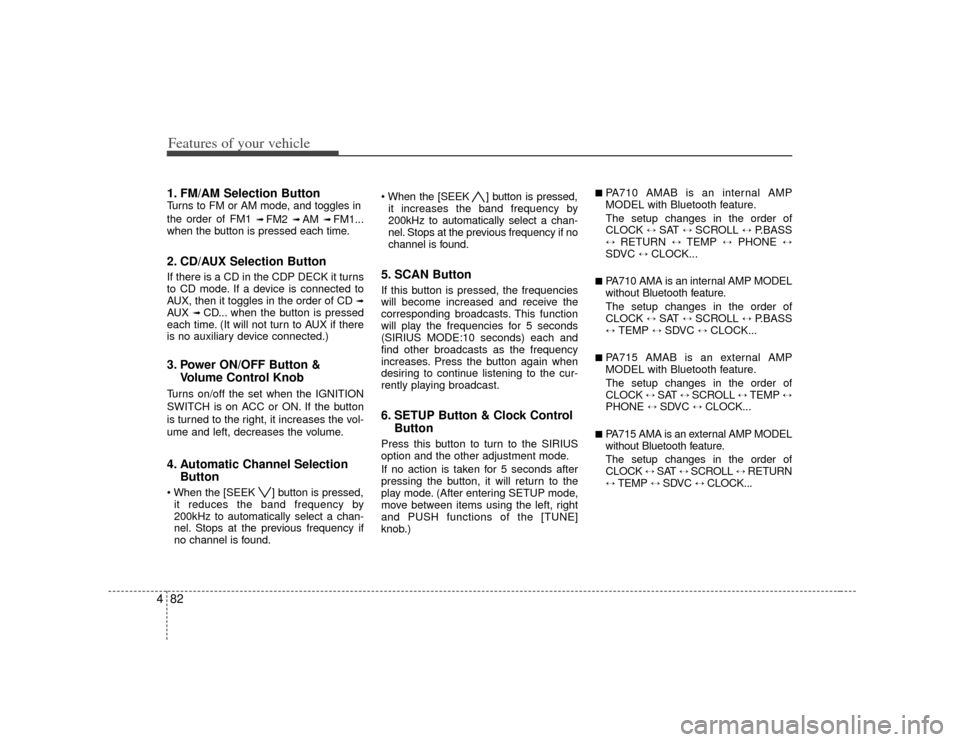
41. FM/AM Selection ButtonTurns to FM or AM mode, and toggles in
the order of FM1
➟ FM2
➟ AM
➟ FM1...
when the button is pressed each time.
2. CD/AUX Selection ButtonIf there is a CD in the CDP DECK it turns
to CD mode. If a device is connected to
AUX, then it toggles in the order of CD
➟
AUX
➟CD... when the button is pressed
each time. (It will not turn to AUX if there
is no auxiliary device connected.)
3. Power ON/OFF Button & Volume Control KnobTurns on/off the set when the IGNITION
SWITCH is on ACC or ON. If the button
is turned to the right, it increases the vol-
ume and left, decreases the volume.4. Automatic Channel SelectionButton ] button is pressed,
it reduces the band frequency by
200kHz to automatically select a chan-
nel. Stops at the previous frequency if
no channel is found. ] button is pressed,
it increases the band frequency by
200kHz to automatically select a chan-
nel. Stops at the previous frequency if no
channel is found.
5. SCAN ButtonIf this button is pressed, the frequencies
will become increased and receive the
corresponding broadcasts. This function
will play the frequencies for 5 seconds
(SIRIUS MODE:10 seconds) each and
find other broadcasts as the frequency
increases. Press the button again when
desiring to continue listening to the cur-
rently playing broadcast.6. SETUP Button & Clock Control ButtonPress this button to turn to the SIRIUS
option and the other adjustment mode.
If no action is taken for 5 seconds after
pressing the button, it will return to the
play mode. (After entering SETUP mode,
move between items using the left, right
and PUSH functions of the [TUNE]
knob.)
■ PA710 AMAB is an internal AMP
MODEL with Bluetooth feature.
The setup changes in the order of
CLOCK
↔
SAT
↔
SCROLL
↔
P.BASS
↔
RETURN
↔
TEMP
↔
PHONE
↔
SDVC
↔
CLOCK...
■ PA710 AMA is an internal AMP MODEL
without Bluetooth feature.
The setup changes in the order of
CLOCK
↔
SAT
↔
SCROLL
↔
P.BASS
↔
TEMP
↔
SDVC
↔
CLOCK...
■ PA715 AMAB is an external AMP
MODEL with Bluetooth feature.
The setup changes in the order of
CLOCK
↔ SAT
↔ SCROLL
↔ TEMP
↔
PHONE
↔
SDVC
↔
CLOCK...
■ PA715 AMA is an external AMP MODEL
without Bluetooth feature.
The setup changes in the order of
CLOCK
↔ SAT
↔ SCROLL
↔ RETURN
↔
TEMP
↔
SDVC
↔
CLOCK...
Page 156 of 314
Features of your vehicle84
4
Rotate the knob clockwise to emphasize
right speaker sound(left speaker sound
will be attenuated). When the control
knob is turned counter clockwise, left
speaker sound will be emphasized(right
speaker sound will be attenuated).8. Preset ButtonPush [1]~[6] buttons less than 0.8 second
to play the channel saved in each button.
Push Preset button for 0.8 second or
longer to save current channel to the
respective button with a beep.
Page 170 of 314
Features of your vehicle98
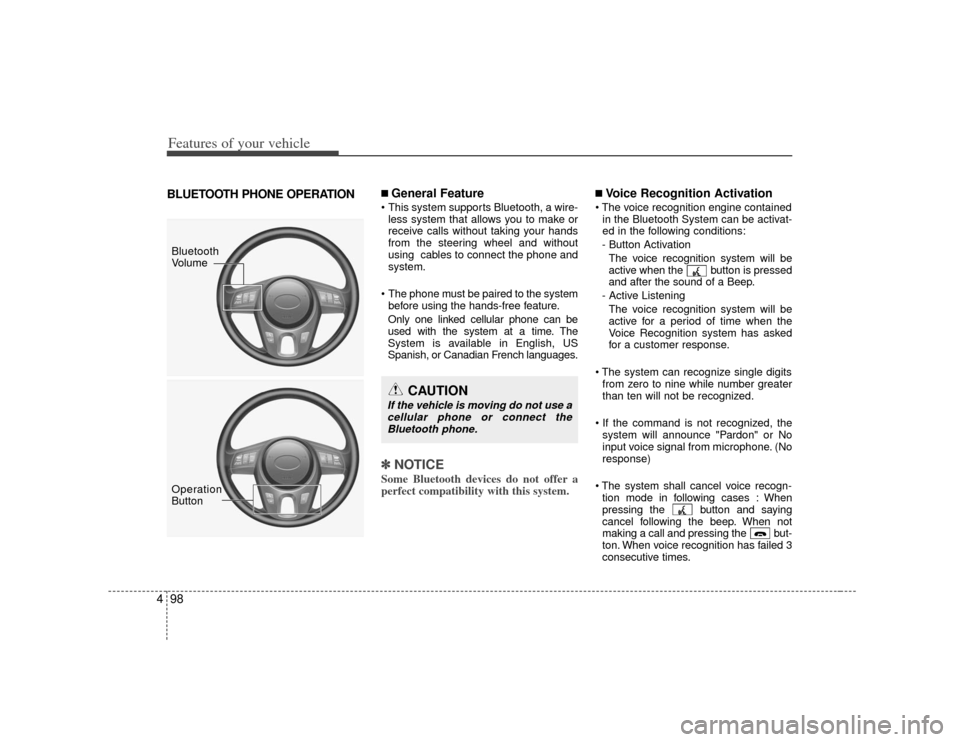
4BLUETOOTH PHONE OPERATION
■ General Feature This system supports Bluetooth, a wire-
less system that allows you to make or
receive calls without taking your hands
from the steering wheel and without
using cables to connect the phone and
system.
The phone must be paired to the system before using the hands-free feature.
Only one linked cellular phone can be
used with the system at a time. The
System is available in English, US
Spanish, or Canadian French languages.✽ ✽ NOTICESome Bluetooth devices do not offer a
perfect compatibility with this system.
■Voice Recognition Activation
in the Bluetooth System can be activat-
ed in the following conditions:
- Button Activation The voice recognition system will be
active when the button is pressed
and after the sound of a Beep.
- Active Listening The voice recognition system will be
active for a period of time when the
Voice Recognition system has asked
for a customer response.
from zero to nine while number greater
than ten will not be recognized.
system will announce "Pardon" or No
input voice signal from microphone. (No
response)
tion mode in following cases : When
pressing the button and saying
cancel following the beep. When not
making a call and pressing the but-
ton. When voice recognition has failed 3
consecutive times.
Bluetooth
Volume
Operation
Button
CAUTION
If the vehicle is moving do not use acellular phone or connect the Bluetooth phone.