2010 KIA SORENTO child lock
[x] Cancel search: child lockPage 192 of 399

4117
Features of your vehicle
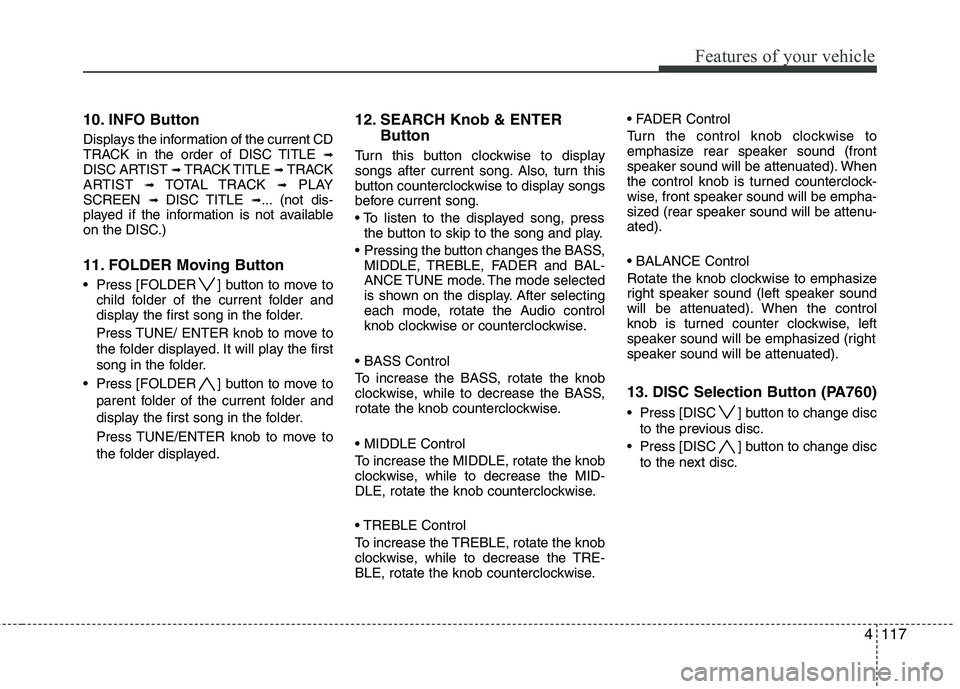
10. INFO Button
Displays the information of the current CD
TRACK in the order of DISC TITLE ➟
DISC ARTIST ➟ TRACK TITLE ➟ TRACK
ARTIST ➟ TOTAL TRACK ➟PLAY
SCREEN ➟ DISC TITLE ➟... (not dis-
played if the information is not available
on the DISC.)
11. FOLDER Moving Button
Press [FOLDER ] button to move to child folder of the current folder and
display the first song in the folder.
Press TUNE/ ENTER knob to move to
the folder displayed. It will play the first
song in the folder.
Press [FOLDER ] button to move to parent folder of the current folder and
display the first song in the folder.
Press TUNE/ENTER knob to move to
the folder displayed. 12. SEARCH Knob & ENTER
Button
Turn this button clockwise to display
songs after current song. Also, turn this
button counterclockwise to display songs
before current song.
the button to skip to the song and play.
MIDDLE, TREBLE, FADER and BAL-
ANCE TUNE mode. The mode selected
is shown on the display. After selecting
each mode, rotate the Audio control
knob clockwise or counterclockwise.
To increase the BASS, rotate the knob
clockwise, while to decrease the BASS,
rotate the knob counterclockwise.
To increase the MIDDLE, rotate the knob
clockwise, while to decrease the MID-
DLE, rotate the knob counterclockwise.
Control
To increase the TREBLE, rotate the knob
clockwise, while to decrease the TRE-
BLE, rotate the knob counterclockwise.
Turn the control knob clockwise to
emphasize rear speaker sound (front
speaker sound will be attenuated). When
the control knob is turned counterclock-
wise, front speaker sound will be empha-
sized (rear speaker sound will be attenu-ated).
Rotate the knob clockwise to emphasize
right speaker sound (left speaker sound
will be attenuated). When the control
knob is turned counter clockwise, left
speaker sound will be emphasized (right
speaker sound will be attenuated).
13. DISC Selection Button (PA760)
Press [DISC ] button to change disc
to the previous disc.
Press [DISC ] button to change disc to the next disc.
Page 196 of 399

4121
Features of your vehicle
1. AUX/USB Selection Button
If USB is connected, it switches to USB
mode. If a CD is loaded or AUX (or USB,
iPod) is connected, then it switches in theorder of CD ➟ USB ➟ AUX ➟ CD ...
each time the button is pressed.
If there is no CD and auxiliary device is
not connected, LCD displays “No Media”
for 3 seconds and returns to previous
mode.
2. TRACK Moving Button
Press the [TRACK ] button for less
than 0.8 second to play from the begin-
ning of the current track.
Press the button for less than 0.8 sec- ond and press it again within 1 second
to move to and play the previous track.
Press the button for 0.8 second or
longer to play the track in reverse
direction in fast speed.
Press the [TRACK ] button for less
than 0.8 second to move to the next
track. Press the button for 0.8 second
or longer to play the track in forward
direction in fast speed. 3. RANDOM Playback Button
Press the button for less than 0.8 second
to start or stop the random playback of
the songs in the current folder.
Press the button for more than 0.8 sec-
ond to randomly play the entire songs in
the USB device.
Press the button again to cancel the mode.
4. REPEAT Button
Press the button for less than 0.8 second to repeat the current song.
Press the button for more than 0.8 sec- ond to repeat all songs in the currently
played folder sequentially (FOLDER
REPEAT)
5. SCAN Selection Button
Scans each song in the USB device for 10 seconds each.
Press the button once again to cancel scanning.
6. INFO Button
Displays the information of the file current-
ly played in the order of FILE NAME
➟
TITLE ➟ ARTIST ➟ ALBUM ➟ FOLDER ➟
TOTAL FILE ➟NORMAL DISPLAY ➟
FILE NAME ➟… (Displays no information
if the file has no song information.) 7. SEARCH Knob & ENTER
Button
Turn this button clockwise to display thesongs ahead of the current song.
Turn the button counterclockwise to dis-
play the songs before the current song.
selected song.
MIDDLE, TREBLE, FADER and BAL-
ANCE TUNE mode. The mode selected
is shown on the display. After selecting
each mode, rotate the Audio control
knob clockwise or counterclockwise.
8. FOLDER Moving Button
Press [FOLDER ] button to move to child folder of the current folder and
display the first song in the folder.
Press TUNE/ ENTER knob to move to
the folder displayed. It will play the first
song in the folder.
Press [FOLDER ] button to move to parent folder display the first song in
the folder.
Press TUNE/ENTER knob to move to
the folder displayed.
Page 205 of 399

Features of your vehicle
130
4
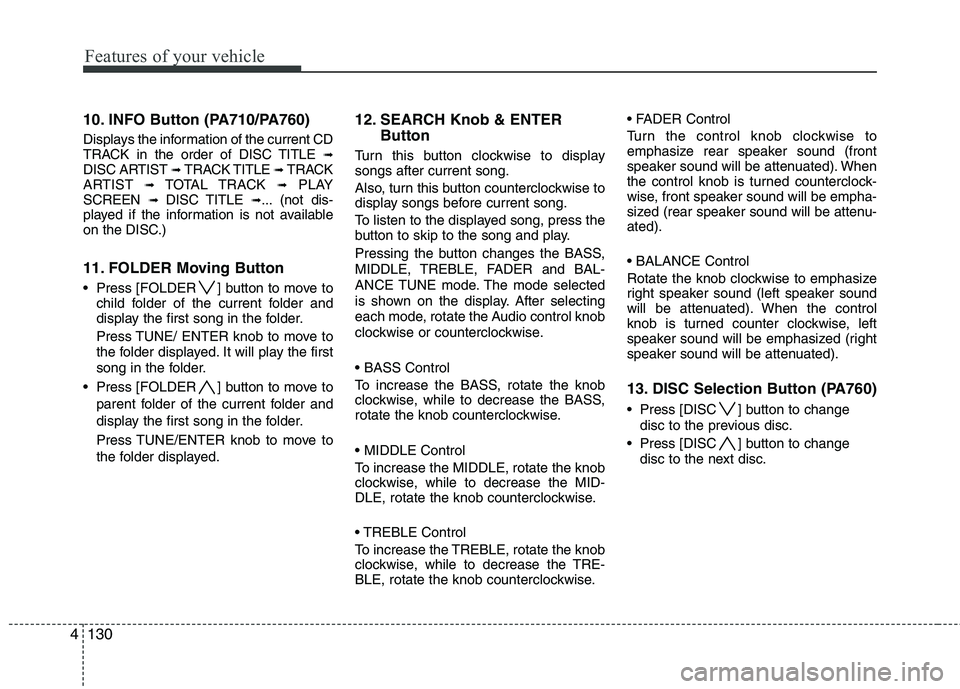
10. INFO Button (PA710/PA760)
Displays the information of the current CD
TRACK in the order of DISC TITLE ➟
DISC ARTIST ➟ TRACK TITLE ➟ TRACK
ARTIST ➟ TOTAL TRACK ➟PLAY
SCREEN ➟ DISC TITLE ➟... (not dis-
played if the information is not available
on the DISC.)
11. FOLDER Moving Button
Press [FOLDER ] button to move to child folder of the current folder and
display the first song in the folder.
Press TUNE/ ENTER knob to move to
the folder displayed. It will play the first
song in the folder.
Press [FOLDER ] button to move to parent folder of the current folder and
display the first song in the folder.
Press TUNE/ENTER knob to move to
the folder displayed. 12. SEARCH Knob & ENTER
Button
Turn this button clockwise to display songs after current song.
Also, turn this button counterclockwise to
display songs before current song.
To listen to the displayed song, press the
button to skip to the song and play.
Pressing the button changes the BASS,
MIDDLE, TREBLE, FADER and BAL-
ANCE TUNE mode. The mode selected
is shown on the display. After selecting
each mode, rotate the Audio control knob
clockwise or counterclockwise.
To increase the BASS, rotate the knob
clockwise, while to decrease the BASS,
rotate the knob counterclockwise.
To increase the MIDDLE, rotate the knob
clockwise, while to decrease the MID-
DLE, rotate the knob counterclockwise.
Control
To increase the TREBLE, rotate the knob
clockwise, while to decrease the TRE-
BLE, rotate the knob counterclockwise.
Turn the control knob clockwise to
emphasize rear speaker sound (front
speaker sound will be attenuated). When
the control knob is turned counterclock-
wise, front speaker sound will be empha-
sized (rear speaker sound will be attenu-ated).
Rotate the knob clockwise to emphasize
right speaker sound (left speaker sound
will be attenuated). When the control
knob is turned counter clockwise, left
speaker sound will be emphasized (right
speaker sound will be attenuated).
13. DISC Selection Button (PA760)
Press [DISC ] button to change
disc to the previous disc.
Press [DISC ] button to change disc to the next disc.
Page 209 of 399

Features of your vehicle
134
4
1. AUX/USB Selection Button
If the auxiliary device is connected, it
switches to AUX or USB mode to play the
sound from the auxiliary player.
If there is no auxiliary device, then the message "No Media" will become dis-
played on the LCD for 3 seconds and
returns to previous mode.
2. TRACK Moving Button
Press the [TRACK ] button for less
than 0.8 second to play from the begin-
ning of the current track.
Press the button for less than 0.8 sec- ond and press it again within 1 second
to move to and play the previous track.
Press the button for 0.8 second or
longer to play the track in reverse
direction in fast speed.
Press the [TRACK ] button for less
than 0.8 second to move to the next
track. Press the button for 0.8 second
or longer to play the track in forward
direction in fast speed. 3. RANDOM Playback Button
Press the button for less than 0.8 second
to start or stop the random playback of
the songs in the current folder.
Press the button for more than 0.8 sec-
ond to randomly play the entire songs in
the USB device.
Press the button again to cancel the mode.
4. REPEAT Button
Press the button for less than 0.8 second to repeat the current song.
Press the button for more than 0.8 sec- ond to repeat all songs in the currently
played folder sequentially (FOLDER
REPEAT)
5. SCAN Selection Button
Scans each song in the USB device for 10 seconds each.
Press the button once again to cancel scanning.
6. INFO Button
Displays the information of the file cur-
rently played in the order of FILE NAME➟
TITLE ➟ ARTIST ➟ ALBUM ➟ FOLDER
➟ TOTAL FILE ➟NORMAL DISPLAY ➟
FILE NAME ➟… (Displays no informa-
tion if the file has no song information.) 7. SEARCH Knob & ENTER
Button
Turn this button clockwise to display thesongs ahead of the current song.
Turn the button counterclockwise to dis-
play the songs before the current song.
selected song.
MIDDLE, TREBLE, FADER and BAL-
ANCE TUNE mode. The mode selected
is shown on the display. After selecting
each mode, rotate the Audio control
knob clockwise or counterclockwise.
8. FOLDER Moving Button
Press [FOLDER ] button to move to child folder of the current folder and
display the first song in the folder.
Press TUNE/ ENTER knob to move to
the folder displayed. It will play the first
song in the folder.
Press [FOLDER ] button to move to parent folder display the first song in
the folder.
Press TUNE/ENTER knob to move to
the folder displayed.
Page 215 of 399

53
Driving your vehicle
Before entering vehicle
• Be sure that all windows, outside mir-ror(s), and outside lights are clean.
Check the condition of the tires.
Check under the vehicle for any sign of leaks.
Be sure there are no obstacles behind you if you intend to back up.
Necessary inspections
Fluid levels, such as engine oil, engine
coolant, brake fluid, and washer fluid
should be checked on a regular basis,
with the exact interval depending on the
fluid. Further details are provided in sec-
tion 7, “Maintenance”. Before starting
Close and lock all doors.
Position the seat so that all controls are
easily reached.
Adjust the inside and outside rearview mirrors.
Be sure that all lights work.
Check all gauges.
Check the operation of warning lights when the ignition switch is turned to the ON position.
Release the parking brake and make sure the brake warning light goes out.
For safe operation, be sure you are famil-
iar with your vehicle and its equipment.
BEFORE DRIVING
WARNING
All passengers must be properly
belted whenever the vehicle is mov-
ing. Refer to “Seat belts” in section
3 for more information on their
proper use.
WARNING
Always check the surrounding
areas near your vehicle for people,
especially children, before putting a
vehicle into D (Drive) or R (Reverse).
WARNING - Driving under
the influence of alcohol or drugs
Drinking and driving is dangerous.
Drunk driving is the number one
contributor to the highway death
toll each year. Even a small amount
of alcohol will affect your reflexes,
perceptions and judgment. Drivingwhile under the influence of drugs
is as dangerous or more dangerousthan driving drunk.
You are much more likely to have a
serious accident if you drink or
take drugs and drive.
If you are drinking or taking drugs,
don’t drive. Do not ride with a driv-er who has been drinking or taking
drugs. Choose a designated driveror call a cab.
WARNING
When you intend to park or stop the
vehicle with the engine on, be care-ful not to depress the accelerator
pedal for a long period of time. It
may overheat the engine or exhaust
system and cause fire.
Page 230 of 399

Driving your vehicle
18
5
For smooth operation, depress the brake
pedal when shifting from N (Neutral) to aforward or reverse gear.Transaxle ranges
The indicator in the instrument cluster
displays the shift lever position when the
ignition switch is in the ON position.
P (Park)
Always come to a complete stop before
shifting into P (Park). This position locks
the transaxle and prevents the frontwheels from rotating.
WARNING - Automatic
transaxle
Always check the surrounding areas near your vehicle for peo-
ple, especially children, beforeshifting a car into D (Drive) or R
(Reverse).
Before leaving the driver’s seat, always make sure the shift lever
is in the P (Park) position; then
set the parking brake fully and
shut the engine off. Unexpected
and sudden vehicle movementcan occur if these precautions
are not followed in the order iden-tified.
CAUTION
To avoid damage to your
transaxle, do not accelerate the
engine in R (Reverse) or any for-ward gear position with thebrakes on.
When stopped on an incline, do not hold the vehicle stationarywith engine power. Use the serv-ice brake or the parking brake.
Do not shift from N (Neutral) or P (Park) into D (Drive), or R
(Reverse) when the engine isabove idle speed.
WARNING
Shifting into P (Park) while the vehicle is in motion will cause the
drive wheels to lock which will
cause you to lose control of the
vehicle.
Do not use the P (Park) position in place of the parking brake.
Always make sure the shift lever
is latched in the P (Park) position
and set the parking brake fully.
Never leave a child unattended in a vehicle.
Page 283 of 399

What to do in an emergency
8
6
Removing and storing the spare tire
Your spare tire is stored underneath
your vehicle, directly below the cargoarea.
To remove the spare tire:
1. Open the tailgate.
2. Find the plastic hex bolt cover and
remove the cover. 3. Use the wheel lug nut wrench to
loosen the bolt enough to lower
the spare tire.
Turn the wrench counterclockwise until the spare tire reaches the
ground.
(Continued)
The vehicle can easily roll offthe jack causing serious
injury or death. No person
should place any portion of
their body under a vehicle that
is supported only by a jack;
use vehicle support stands.
Do not start or run the engine while the vehicle is on the
jack.
Do not allow anyone remain in the vehicle while it is on the
jack.
Make sure any children pres- ent are in a secure place away
from the road and from the
vehicle to be raised with the
jack.
OXM069002OXM069003
Page 397 of 399

Index
2
I
Air bag - supplemental restraint system ························3-41
Air cleaner ·····································································7-32
Appearance care·····························································7-72
Audio system ·······························································4-107
Automatic climate control system ·································4-86
Automatic transaxle ·······················································5-17
Battery············································································7-39
Before driving ··································································5-3
Brake fluid ·····································································7-28
Brake system··································································5-30
Bulb wattage ····································································8-2
Child restraint system ····················································3-31
Climate control air filter ················································7-34
Cruise control system ····················································5-41
Defroster ········································································4-76
Dimensions ······································································8-2
Door locks······································································4-14 Economical operation ····················································5-45
Emergency commodity ··················································6-31
Emergency starting ··························································6-4
Emission control system ················································7-78
Engine compartment ·················································2-4/7-2
Engine coolant ·······························································7-25
Engine number ·································································8-8
Engine oil ·······································································7-24
ENGINE START/STOP button ·······································5-8
Explanation of scheduled maintenance items ···············7-21
Exterior feature ····························································4-105
Four wheel drive (4WD)················································5-23
Fuel filler lid ··································································4-26
Fuel filter········································································7-31
Fuel requirements ····························································1-3
Fuses ··············································································7-51
Hazard warning flasher ··················································4-62
Hood···············································································4-24
How to use this manual ···················································1-2
A
B
C
D
E
F
H