2010 JEEP LIBERTY tow
[x] Cancel search: towPage 2 of 80

IMPORTANT: This User Guide is intended to familiarize you with the important features of your
vehicle. The DVD enclosed contains your Owner’s Manual, Navigation/Media Center Manuals,
Warranty Booklets, Tire Warranty and 24-Hour Towing Assistance (new vehicles purchased in the
U.S.) or Roadside Assistance (new vehicles purchased in Canada) in electronic format. We hope
you find it useful. If you are the first registered owner of your vehicle, you may obtain a printed
copy of the Owner’s Manual, Navigation/Media Center Manuals or Warranty Booklet by calling
1-877-426-5337 (U.S.) or 1-800-387-1143 (Canada) or by contacting your dealer. Replacement
DVD kits may be purchased by visiting www.techauthority.com.
Jeep
® is a registered trademark of Chrysler Group LLC. Copyright © 2010 Chrysler Group LLC.
independence
rugged
Page 3 of 80

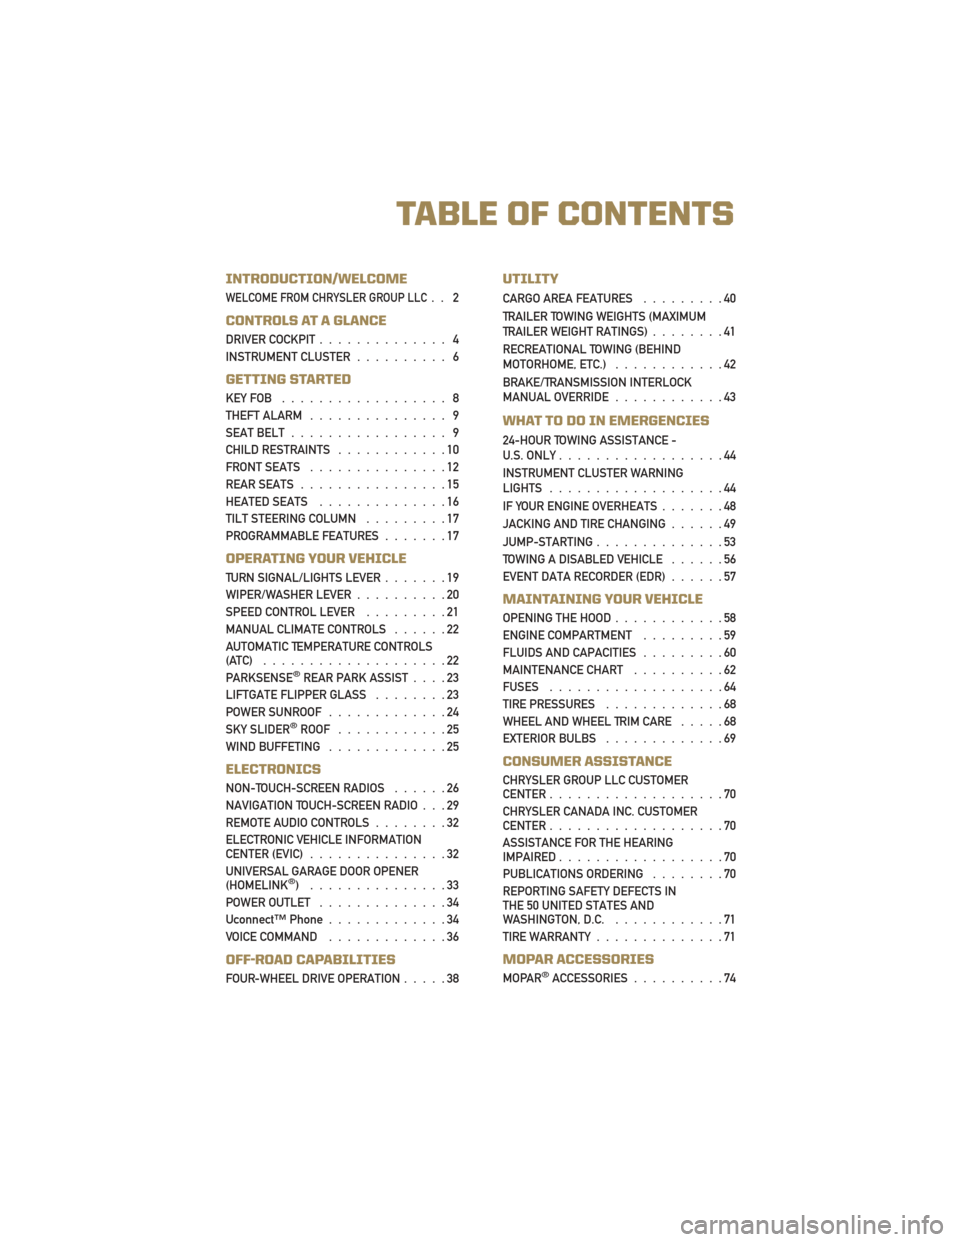
INTRODUCTION/WELCOME
WELCOME FROM CHRYSLER GROUP LLC.. 2
CONTROLS AT A GLANCE
DRIVER COCKPIT.............. 4
INSTRUMENT CLUSTER .......... 6
GETTING STARTED
KEYFOB .................. 8
THEFT ALARM............... 9
SEAT BELT ................. 9
CHILD RESTRAINTS ............10
FRONT SEATS ...............12
REAR SEATS ................15
HEATED SEATS ..............16
TILT STEERING COLUMN .........17
PROGRAMMABLE FEATURES .......17
OPERATING YOUR VEHICLE
TURN SIGNAL/LIGHTS LEVER .......19
WIPER/WASHER LEVER ..........20
SPEED CONTROL LEVER .........21
MANUAL CLIMATE CONTROLS ......22
AUTOMATIC TEMPERATURE CONTROLS
(ATC) ....................22
PARKSENSE
®REAR PARK ASSIST ....23
LIFTGATE FLIPPER GLASS ........23
POWER SUNROOF .............24
SKY SLIDER
®ROOF ............25
WINDBUFFETING .............25
ELECTRONICS
NON-TOUCH-SCREEN RADIOS ......26
NAVIGATION TOUCH-SCREEN RADIO . . . 29
REMOTE AUDIO CONTROLS ........32
ELECTRONIC VEHICLE INFORMATION
CENTER (EVIC) ...............32
UNIVERSAL GARAGE DOOR OPENER
(HOMELINK
®) ...............33
POWER OUTLET ..............34
Uconnect™ Phone .............34
VOICE COMMAND .............36
OFF-ROAD CAPABILITIES
FOUR-WHEEL DRIVE OPERATION .....38
UTILITY
CARGO AREA FEATURES.........40
TRAILER TOWING WEIGHTS (MAXIMUM
TRAILER WEIGHT RATINGS) ........41
RECREATIONAL TOWING (BEHIND
MOTORHOME, ETC.) ............42
BRAKE/TRANSMISSION INTERLOCK
MANUAL OVERRIDE ............43
WHAT TO DO IN EMERGENCIES
24-HOUR TOWING ASSISTANCE -
U.S. ONLY..................44
INSTRUMENT CLUSTER WARNING
LIGHTS ...................44
IF YOUR ENGINE OVERHEATS .......48
JACKING AND TIRE CHANGING ......49
JUMP-STARTING ..............53
TOWING A DISABLED VEHICLE ......56
EVENT DATA RECORDER (EDR) ......57
MAINTAINING YOUR VEHICLE
OPENING THE HOOD............58
ENGINE COMPARTMENT .........59
FLUIDS AND CAPACITIES .........60
MAINTENANCE CHART ..........62
FUSES ...................64
TIRE PRESSURES .............68
WHEEL AND WHEEL TRIM CARE .....68
EXTERIOR BULBS .............69
CONSUMER ASSISTANCE
CHRYSLER GROUP LLC CUSTOMER
CENTER...................70
CHRYSLER CANADA INC. CUSTOMER
CENTER ...................70
ASSISTANCE FOR THE HEARING
IMPAIRED ..................70
PUBLICATIONS ORDERING ........70
REPORTING SAFETY DEFECTS IN
THE 50 UNITED STATES AND
WASHINGTON, D.C. ............71
TIREWARRANTY..............71
MOPAR ACCESSORIES
MOPAR®ACCESSORIES ..........74
TABLE OF CONTENTS
Page 9 of 80

Indicators
- Turn Signal Indicators
- High Beam Indicator
- Front Fog Light Indicator
- Vehicle Security Indicator*
- TOW/HAUL Indicator
- 4WD LOW Indicator Light
- Electronic StabilityProgram (ESP)/Traction
Control System (TCS)
Indicator
- Cruise Indicator
- 4WD Indicator
- 4WD LOW Indicator
- Hill Descent ControlIndicator
Odometer Messages
ECO - Fuel Saver Indicator Off LoW tirE - Low Tire Pressure
ECO-ON - Fuel Saver Indicator On noFUSE* - Fuse Fault
door - Door Ajar CHAngE OIL* - Change Engine Oil
gASCAP - Fuel Cap Fault gLASS - Flipper Glass Ajar
gATE* - Liftgate Ajar
* If equipped
** Bulb Check with Key On
7
CONTROLS AT A GLANCE
Page 17 of 80

REAR SEATS
60/40 Split Folding Rear Seat With Fold-Flat Feature
• Each rear seatback can be folded flat or reclined.
To Lower Rear Seatback
• With the front seats fully upright and positioned forward, pull the release strap towardthe front of the vehicle and fold the rear seatback completely forward.
• Push down on the seatback to lock it in the folded position.
To Raise Rear Seatback
• Pull the release strap toward the front of the vehicle.
• Raise the seatback and lock it into place.
WARNING!
Be certain that the seatback is securely locked into position. If the seatback is not
securely locked into position, the seat will not provide the proper stability for child
seats and/or passengers. An improperly latched seat could cause serious injury.
Recliner Adjustment
• Pull the release strap while sitting in the rear seat to recline the seatback.
15
GETTING STARTED
Page 21 of 80

TURN SIGNAL/LIGHTS LEVER
Headlights/Parking Lights
• Rotate the end of the lever to the first detent for parking lights, the second detent
for headlights
and the third detent for AUTO.
• When set to AUTO, the system automatically turns the headlights on or off based on ambient light levels.
Instrument Panel Dimmer
• Rotate the center portion of the lever to the extreme bottom position to fully dim theinstrument panel lights and prevent the interior lights from illuminating when a door is
opened.
• Rotate the center portion of the lever up to increase the brightness of the instrument panel lights when the parking lights or headlights are on.
• Rotate the center portion of the lever upward to the next detent position to brighten the odometer and radio controls when the parking lights or headlights are on.
• Rotate the center portion of the lever upward to the last detent to turn on the interior lighting.
Flash To Pass
• Pull the lever toward you to activate the high beams. The high beams will remain on untilthe lever is released.
High Beam Operation
• Push the lever forward to activate the high beams.
NOTE: For safe driving, turn off high beams when oncoming traffic is present to prevent
headlight glare and as a courtesy to other motorists.
Fog Lights
• Turn on the parking lights or low beam headlights and pull out the end of the lever.
19
OPERATING YOUR VEHICLE
Page 22 of 80

Turn Signals/Lane Change Assist
• Tap the lever up or down once and the turn signal (right or left) will flash three times andautomatically turn off.
WIPER/WASHER LEVER
Front Wipers
Intermittent, Low And High Operation
• Rotate the end of the lever to the first detent position for one of five intermittent settings,the second detent for low wiper operation and the third detent for high wiper operation.
Washer Operation
• Pull the lever toward you and hold for as long as spray is desired.
Mist
• Pull down on the lever and release when a single wipe is desired.
Rain Sensing Wipers
• This feature senses moisture on the vehicle's windshield and automatically activates thewipers for the driver when the switch is in the intermittent position.
Rear Wiper
Wiper Operation
• Rotate the center portion of the lever forward to the first detent for rear wiper operation.
Washer Operation
• Rotate the center portion of the lever past the first detent to activate the rear washer.
OPERATING YOUR VEHICLE
20
Page 23 of 80

SPEED CONTROL LEVER
Cruise ON/OFF
• Push the ON/OFF button to activate the SpeedControl.
• CRUISE will appear on the instrument cluster to indicate the Speed Control is on.
• Push the ON/OFF button a second time to turn the system off.
WARNING!
Leaving the Electronic Speed Control system on when not in use is dangerous. You
could accidentally set the system or cause it to go faster than you want. You could
lose control and have an accident. Always leave the Electronic Speed Control system
off when you are not using it.
Set
• With Speed Control on, push down and release the lever to set a desired speed.
WARNING!
Electronic Speed Control can be dangerous where the system cannot maintain a
constant speed. Your vehicle could go too fast for the conditions, and you could lose
control. An accident could be the result. Do not use Electronic Speed Control in
heavy traffic or on roads that are winding, icy, snow-covered or slippery.
Accel/Decel
• Push and hold the lever up to accelerate or down to decelerate the vehicle; release the
lever to save the new set speed.
• Once a speed is set, tapping the lever up or down will increase or decrease the set speed approximately 1 mph (2 km/h).
Resume
• To resume a previously selected speed in memory, push the lever up and release.
Cancel
• Pull the lever toward you or apply the brakes to cancel the set speed and maintain the setspeed in memory.
• Push the ON/OFF button to turn the system off and erase the set speed memory.
21
OPERATING YOUR VEHICLE
Page 40 of 80

FOUR-WHEEL DRIVE
OPERATION
WARNING!
• You or others could be injured ifyou leave the vehicle unattended
with the transfer case in the
NEUTRAL position without first
fully engaging the parking brake.
The transfer case NEUTRAL
position disengages both the front
driveshaft and rear driveshaft from
the powertrain, and it will allow
the vehicle to move even if the
transmission is in PARK. The
parking brake should always be
applied when the driver is not in
the vehicle.
MP1522 Command-Trac II®
Transfer Case
• The Command-TracII®transfer case
provides four positions:
• Two-wheel drive (2WD) high range
• Four-wheel drive (4WD LOCK) high range
• Four-wheel drive (4WD LOW) low range
• NEUTRAL (N)
2WD To 4WD LOCK
• Move transfer case lever to the desired position.
• Shifts between 2WD and 4WD LOCK can be done with the vehicle stopped or
in motion. With the vehicle in motion,
the transfer case will engage/
disengage faster if you momentarily
release the accelerator pedal after
moving the transfer case lever. • If the vehicle is stopped, the key must
be in the ON/RUN position.
• Shifts can not be completed if the key is in the ACC position.
4WD LOCK To 4WD LOW
• With the engine running, slow thevehicle speed to 2 to 3 mph (3 to
5 km/h) and shift the transmission into
NEUTRAL.
• While still rolling, move the transfer case lever to the 4WD LOW position.
• After the indicator light is ON (not flashing) shift the transmission into
gear.
• If the indicator light in the instrument cluster is flashing, the shift did not
occur and the current transfer case
position will be maintained.
• This transfer case is intended to be driven in the two-wheel drive position
(2WD) for normal street and highway
conditions such as dry, hard-surfaced
roads.
• When additional traction is required, select the transfer case 4WD LOCK
position or 4WD LOW position. This
position locks the front driveshaft and
rear driveshaft together and forces the
front and rear wheels to rotate at the
same speed.
• When operating in 4WD LOW, the engine speed is approximately three
times that of the 4WD LOCK position at
a given road speed. Take care not to
over-speed the engine and do not
exceed 25 mph (40 km/h).
• Use the transfer case NEUTRAL position for recreational towing only.
OFF-ROAD CAPABILITIES
38