Page 17 of 84

Second Row Heated Seats
• Second row heated seat switches are locatedon the rear of the center console.
• Press the switch once to select High-level heating. Press the switch a second time to
select Low-level heating. Press the switch a
third time to shut the heating elements Off.
WARNING!
• Persons who are unable to feel pain to the skin because of advanced age, chronic illness, diabetes, spinal cord injury, medication, alcohol use, exhaustion or other
physical conditions must exercise care when using the seat heater. It may cause
burns even at low temperatures, especially if used for long periods of time.
• Do not place anything on the seat that insulates against heat, such as a blanket or cushion. This may cause the seat heater to overheat. Sitting in a seat that has
been overheated could cause serious burns due to the increased surface
temperature of the seat.
CAUTION!
Repeated overheating of the seat could damage the heating element and/or degrade
the material of the seat.
TILT / TELESCOPING STEERING COLUMN
• The tilt/telescoping control lever is locatedbelow the steering wheel at the end of the
steering column.
• Push down on the lever to unlock the steering column.
• To tilt the steering column, move the steering wheel upward or downward as desired. To
lengthen or shorten the steering column, pull
the steering wheel outward or push it inward
as desired.
15
GETTING STARTED
Page 35 of 84

ELECTRONIC VEHICLE INFORMATION CENTER (EVIC)
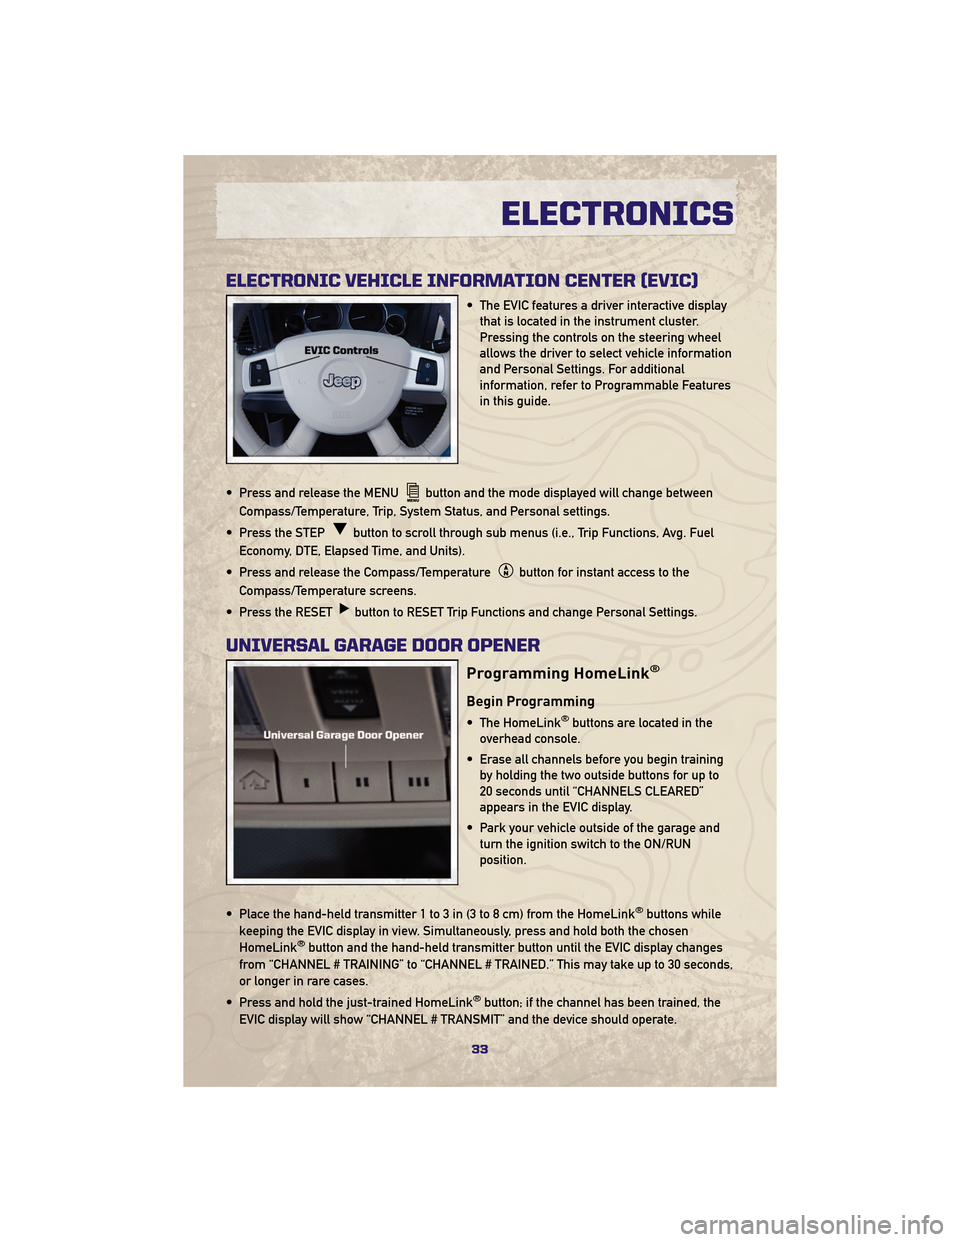
• The EVIC features a driver interactive displaythat is located in the instrument cluster.
Pressing the controls on the steering wheel
allows the driver to select vehicle information
and Personal Settings. For additional
information, refer to Programmable Features
in this guide.
• Press and release the MENU
button and the mode displayed will change between
Compass/Temperature, Trip, System Status, and Personal settings.
• Press the STEP
button to scroll through sub menus (i.e., Trip Functions, Avg. Fuel
Economy, DTE, Elapsed Time, and Units).
• Press and release the Compass/Temperature
button for instant access to the
Compass/Temperature screens.
• Press the RESET
button to RESET Trip Functions and change Personal Settings.
UNIVERSAL GARAGE DOOR OPENER
Programming HomeLink®
Begin Programming
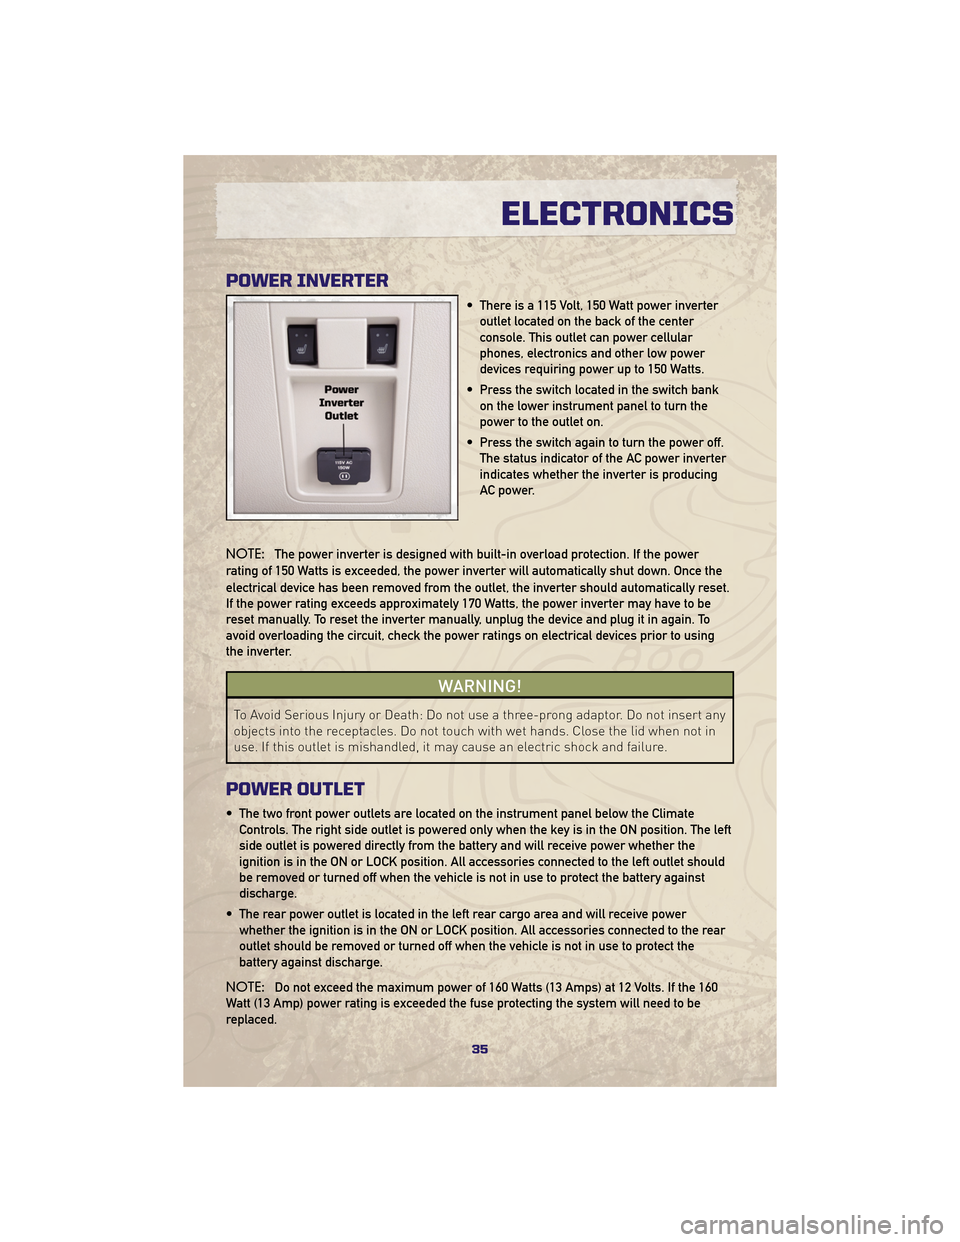
• The HomeLink®buttons are located in the
overhead console.
• Erase all channels before you begin training by holding the two outside buttons for up to
20 seconds until “CHANNELS CLEARED”
appears in the EVIC display.
• Park your vehicle outside of the garage and turn the ignition switch to the ON/RUN
position.
• Place the hand-held transmitter 1 to 3 in (3 to 8 cm) from the HomeLink
®buttons while
keeping the EVIC display in view. Simultaneously, press and hold both the chosen
HomeLink
®button and the hand-held transmitter button until the EVIC display changes
from “CHANNEL # TRAINING” to “CHANNEL # TRAINED.” This may take up to 30 seconds,
or longer in rare cases.
• Press and hold the just-trained HomeLink
®button; if the channel has been trained, the
EVIC display will show “CHANNEL # TRANSMIT” and the device should operate.
33
ELECTRONICS
Page 37 of 84

POWER INVERTER
• There is a 115 Volt, 150 Watt power inverteroutlet located on the back of the center
console. This outlet can power cellular
phones, electronics and other low power
devices requiring power up to 150 Watts.
• Press the switch located in the switch bank on the lower instrument panel to turn the
power to the outlet on.
• Press the switch again to turn the power off. The status indicator of the AC power inverter
indicates whether the inverter is producing
AC power.
NOTE: The power inverter is designed with built-in overload protection. If the power
rating of 150 Watts is exceeded, the power inverter will automatically shut down. Once the
electrical device has been removed from the outlet, the inverter should automatically reset.
If the power rating exceeds approximately 170 Watts, the power inverter may have to be
reset manually. To reset the inverter manually, unplug the device and plug it in again. To
avoid overloading the circuit, check the power ratings on electrical devices prior to using
the inverter.
WARNING!
To Avoid Serious Injury or Death: Do not use a three-prong adaptor. Do not insert any
objects into the receptacles. Do not touch with wet hands. Close the lid when not in
use. If this outlet is mishandled, it may cause an electric shock and failure.
POWER OUTLET
• The two front power outlets are located on the instrument panel below the Climate Controls. The right side outlet is powered only when the key is in the ON position. The left
side outlet is powered directly from the battery and will receive power whether the
ignition is in the ON or LOCK position. All accessories connected to the left outlet should
be removed or turned off when the vehicle is not in use to protect the battery against
discharge.
• The rear power outlet is located in the left rear cargo area and will receive power whether the ignition is in the ON or LOCK position. All accessories connected to the rear
outlet should be removed or turned off when the vehicle is not in use to protect the
battery against discharge.
NOTE: Do not exceed the maximum power of 160 Watts (13 Amps) at 12 Volts. If the 160
Watt (13 Amp) power rating is exceeded the fuse protecting the system will need to be
replaced.
35
ELECTRONICS