2010 JEEP GRAND CHEROKEE center console
[x] Cancel search: center consolePage 92 of 466

CAUTION!
Repeated overheating of the seat could damage the
heating element and/or degrade the material of the
seat.
Rear Heated Seats — If Equipped
On vehicles equipped with rear heated seats, the seats
closest to the doors are heated. The controls for these
seats are located on the rear of the center console.After turning the ignition ON, you can choose from High,
Low or Off heat settings. Amber indicator lights in each
switch indicate the level of heat in use. Two indicator
lights will illuminate for High, one for Low and none for
Off.
Rear Heated Seat Switches
3
UNDERSTANDING THE FEATURES OF YOUR VEHICLE 91
Page 109 of 466

Lane Change Assist
Tap the lever up or down once, without moving beyond
the detent, and the turn signal (right or left) will flash
three times then automatically turn off.
High/Low Beam Switch
Push the multifunction lever away from you to switch
the headlights to high beam. Pull the multifunction lever
toward you to switch the headlights back to low beam.
Flash-to-Pass
You can signal another vehicle by lightly pulling the
multifunction lever toward the steering wheel. This will
turn on the high beam headlights until the lever is
released.
Headlight Time Delay
This feature delays turning off the headlights for 30, 60 or
90 seconds after the ignition switch is turned OFF. To
activate the headlight delay, the multifunction lever must
be rotated to the “Off” position after the ignition switchis turned to LOCK/ACC. Only the headlights will illu-
minate during this time. Refer to “Electronic Vehicle
Information Center (EVIC)/Customer-Programmable
Features” in “Understanding Your Instrument Panel” for
further information.
Interior Lights
The interior lighting consists of courtesy lights (below the
instrument panel), an overhead console light (which
contains both driver and passenger reading lights), read-
ing lights (located above the rear doors), and a rear cargo
light. Opening a door, pressing the UNLOCK button on
the Remote Keyless Entry (RKE) transmitter or turning
the center of the multifunction lever to the extreme up
position, will activate all interior courtesy lights.
Front Map/Reading Lights
These lights are mounted in the overhead console. Each
light can be turned on by pressing the recessed area of the
lens. To turn these lights off, press the recessed area of the
108 UNDERSTANDING THE FEATURES OF YOUR VEHICLE
Page 141 of 466

CAUTION!
•Many accessories that can be plugged in draw
power from the vehicle’s battery, even when not in
use (i.e., cellular phones, etc.). Eventually, if
plugged in long enough, the vehicle’s battery will
discharge sufficiently to degrade battery life
and/or prevent the engine from starting.
•Accessories that draw higher power (i.e., coolers,
vacuum cleaners, lights, etc.) will degrade the
battery even more quickly. Only use these inter-
mittently and with greater caution.
•After the use of high power draw accessories, or
long periods of the vehicle not being started (with
accessories still plugged in), the vehicle must be
driven a sufficient length of time to allow the
generator to recharge the vehicle’s battery.
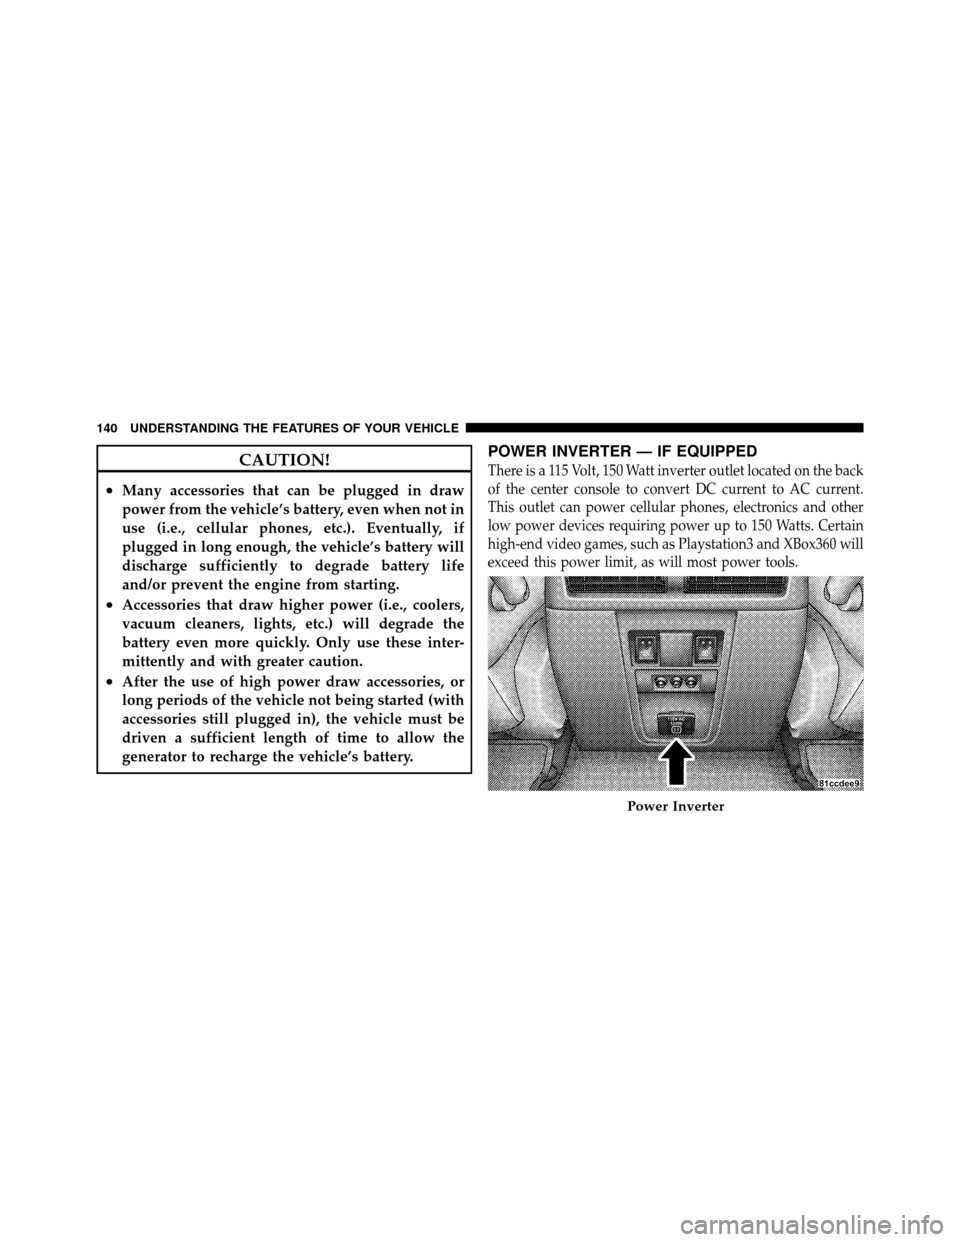
POWER INVERTER — IF EQUIPPED
There is a 115 Volt, 150 Watt inverter outlet located on the back
of the center console to convert DC current to AC current.
This outlet can power cellular phones, electronics and other
low power devices requiring power up to 150 Watts. Certain
high-end video games, such as Playstation3 and XBox360 will
exceed this power limit, as will most power tools.
Power Inverter
140 UNDERSTANDING THE FEATURES OF YOUR VEHICLE
Page 143 of 466

WARNING!
To avoid serious injury or death:
•Do not use a three-prong adaptor.
•Do not insert any objects into the receptacles.
•Do not touch with wet hands.
•Close the lid when not in use.
•If this outlet is mishandled it may cause an electric
shock and failure.
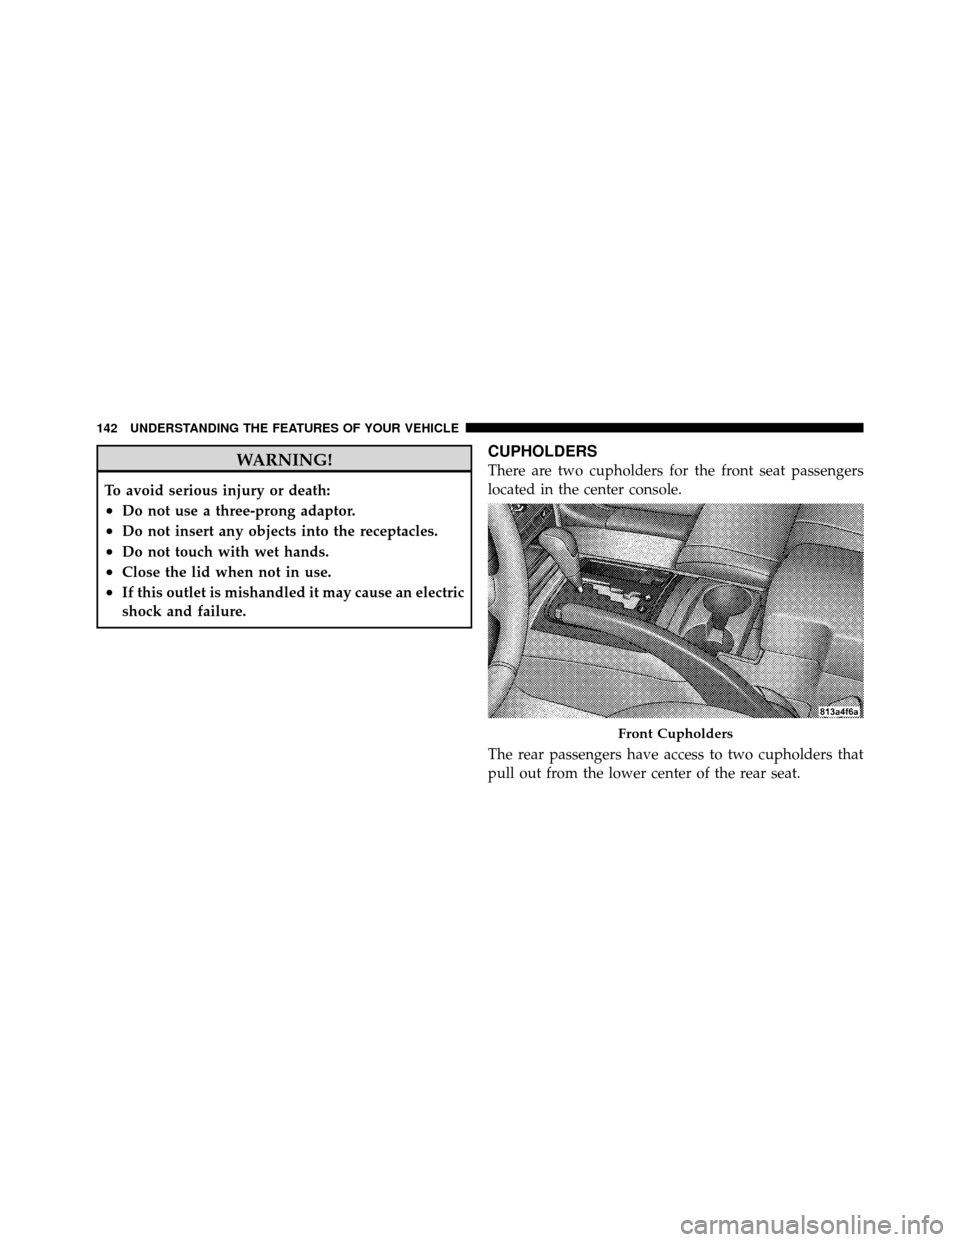
CUPHOLDERS
There are two cupholders for the front seat passengers
located in the center console.
The rear passengers have access to two cupholders that
pull out from the lower center of the rear seat.
Front Cupholders
142 UNDERSTANDING THE FEATURES OF YOUR VEHICLE
Page 224 of 466

DefrostAir is directed to the windshield through the
outlets at the base of the windshield. Air is also
directed to the front door windows through the side
window demister grilles. Some airflow is delivered to the
floor while in defrost so that comfort can be maintained.
Defrost/Floor Air flows through the front and rear floor outlets
and the outlets at the base of the windshield. Air is
also directed to the front door windows through the
side window demister grilles. Some airflow is delivered
to the floor while in defrost so that comfort can be
maintained.
Floor Air flows through the floor outlets located under
the instrument panel and into the rear seating area through vents under the front seats. Some airflow is
delivered to defrost while in the floor mode so that
comfort can be maintained.
Bi-Level
Air flows both through the outlets located in the
instrument panel and those located on the floor. Air
flows through the registers in the back of the center
console, and under the front seats to the rear seat
passengers. These registers can be closed to partially
block airflow. The center console outlets deliver condi-
tioned air while the floor outlets deliver heated air.
Panel Air flows through the outlets located in the instru-
ment panel. Air flows through the registers in the
back of the center console to the rear seat passengers.
These registers can be closed to block airflow.
4
UNDERSTANDING YOUR INSTRUMENT PANEL 223
Page 231 of 466

Bi-LevelAir flows both through the outlets located in the
instrument panel and those located on the floor. Air
flows through the registers in the back of the center
console, and under the front seats to the rear seat
passengers. These registers can be closed to block airflow.
The center console outlets deliver conditioned air while
the floor outlets deliver heated air.
Panel Air flows through the outlets located in the instru-
ment panel. Air flows through the registers in the
back of the center console to the rear seat passengers.
These registers can be closed to block airflow.
Air Conditioning
Press this button to turn the air conditioning on and
off during manual operation only. Conditioned out-
side air is then directed through the outlets selected
on the mode control dial. The button includes an LED that
illuminates when manual operation is selected.
NOTE: To manually control the air conditioning, the
mode selector must be moved out of the AUTO position.
Recirculation This button can be used to block out smoke,
odors, dust, high humidity, or if rapid cooling
is desired. The Recirculation mode should only
be used temporarily. The button includes an
LED that illuminates, which indicates that the Recircula-
tion mode is active. You may use this feature separately.
NOTE: Extended use of recirculation may cause the
windows to fog. If the interior of the windows begins to
fog, press the Recirculation button to return to outside
air. Some temperature/humidity conditions will cause
captured interior air to condense on windows and ham-
per visibility. For this reason, the system will not allow
Recirculation mode to be selected while in the defrost or
230 UNDERSTANDING YOUR INSTRUMENT PANEL
Page 267 of 466

The parking brake lever is located in the center console.
To apply the parking brake, pull the lever up as firmly as
possible. To release the parking brake, pull the lever up
slightly, press the center button, then lower the lever
completely.When the parking brake is applied with the ignition
switch in the ON position, the “Brake Warning Light” in
the instrument cluster will illuminate.
NOTE:
•When the parking brake is applied vehicle speed is
detected, the light will flash and a chime will sound to
alert the driver. Fully release the parking brake before
attempting to move the vehicle.
•This light only shows that the parking brake is ap-
plied. It does not show the degree of brake application.
When parking on a hill, it is important to turn the front
wheels toward the curb on a downhill grade and away
from the curb on an uphill grade. For vehicles equipped
with an automatic transmission, apply the parking brake
before placing the shift lever in PARK, otherwise the load
on the transmission locking mechanism may make it
difficult to move the shift lever out of PARK. The parking
brake should always be applied whenever the driver is
not in the vehicle.
Parking Brake
266 STARTING AND OPERATING
Page 449 of 466

Light............................... 143
Luggage Carrier ....................... 150
Cargo Light ............................ 143
Cargo Load Floor ........................ 147
Cargo Tie-Downs ........................ 145
Cargo (Vehicle Loading) ................... 322
Cellular Phone ........................ 84,221
Center High Mounted Stop Light ............ 412
Certification Label ....................... 322
Chains, Tire ............................ 302
Changing A Flat Tire ..................... 348
Chart, Tire Sizing ........................ 286
Check Engine Light
(Malfunction Indicator Light) ............... 366
Checking Your Vehicle For Safety ............. 72
Checks, Safety ........................... 72
Child Restraint ...................... 61,66,68
Child Restraint Tether Anchors .............65,66
Child Safety Locks ........................ 29 Climate Control
......................... 221
Clock ........................ 184,185,189,198
Cold Weather Operation ................... 241
Compact Disc (CD) Maintenance ............. 220
Compact Spare Tire ...................... 298
Compass .............................. 176
Compass Calibration ..................... 177
Compass Variance ....................... 177
Computer, Trip/Travel .................... 173
Connector UCI ................................ 209
Universal Consumer Interface (UCI) ......... 209
Conserving Fuel ........................ 174
Console, Overhead ....................... 127
Contract, Service ........................ 439
Cooling System ......................... 380
Adding Coolant (Antifreeze) .............. 382
Coolant Capacity ...................... 413
Coolant Level ......................... 384
448 INDEX