2010 HYUNDAI VERACRUZ lock
[x] Cancel search: lockPage 175 of 425
493
Features of your vehicle
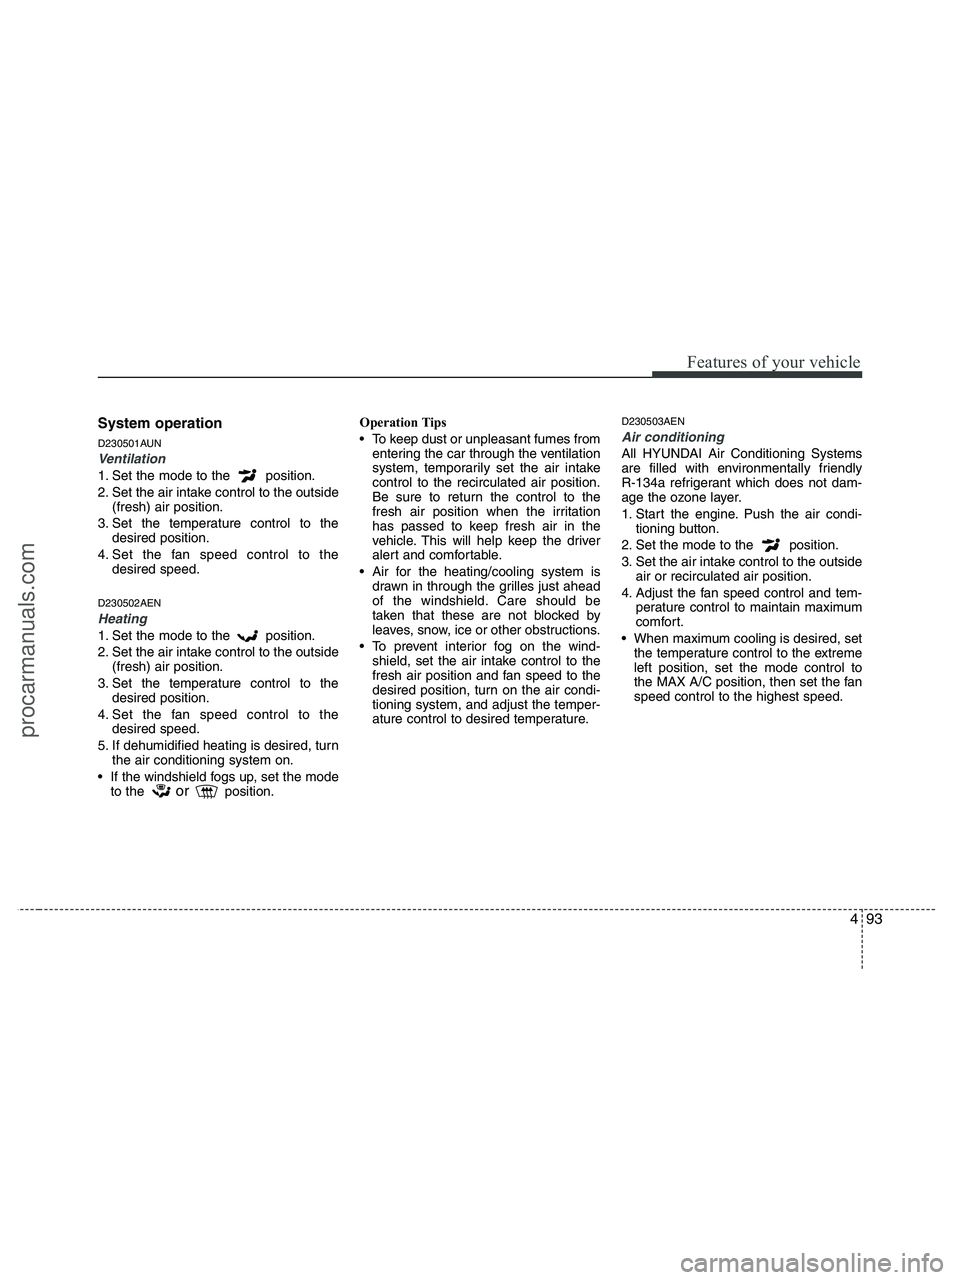
System operation
D230501AUN
Ventilation
1. Set the mode to the position.
2. Set the air intake control to the outside
(fresh) air position.
3. Set the temperature control to the
desired position.
4. Set the fan speed control to the
desired speed.
D230502AEN
Heating
1. Set the mode to the position.
2. Set the air intake control to the outside
(fresh) air position.
3. Set the temperature control to the
desired position.
4. Set the fan speed control to the
desired speed.
5. If dehumidified heating is desired, turn
the air conditioning system on.
If the windshield fogs up, set the mode
to the
orposition.Operation Tips
To keep dust or unpleasant fumes from
entering the car through the ventilation
system, temporarily set the air intake
control to the recirculated air position.
Be sure to return the control to the
fresh air position when the irritation
has passed to keep fresh air in the
vehicle. This will help keep the driver
alert and comfortable.
Air for the heating/cooling system is
drawn in through the grilles just ahead
of the windshield. Care should be
taken that these are not blocked by
leaves, snow, ice or other obstructions.
To prevent interior fog on the wind-
shield, set the air intake control to the
fresh air position and fan speed to the
desired position, turn on the air condi-
tioning system, and adjust the temper-
ature control to desired temperature.
D230503AEN
Air conditioning
All HYUNDAI Air Conditioning Systems
are filled with environmentally friendly
R-134a refrigerant which does not dam-
age the ozone layer.
1. Start the engine. Push the air condi-
tioning button.
2. Set the mode to the position.
3. Set the air intake control to the outside
air or recirculated air position.
4. Adjust the fan speed control and tem-
perature control to maintain maximum
comfort.
When maximum cooling is desired, set
the temperature control to the extreme
left position, set the mode control to
the MAX A/C position, then set the fan
speed control to the highest speed.
procarmanuals.com
Page 191 of 425
4109
Features of your vehicle
D270000AUN
These compartments can be used to
store small items required by the driver
or passengers.
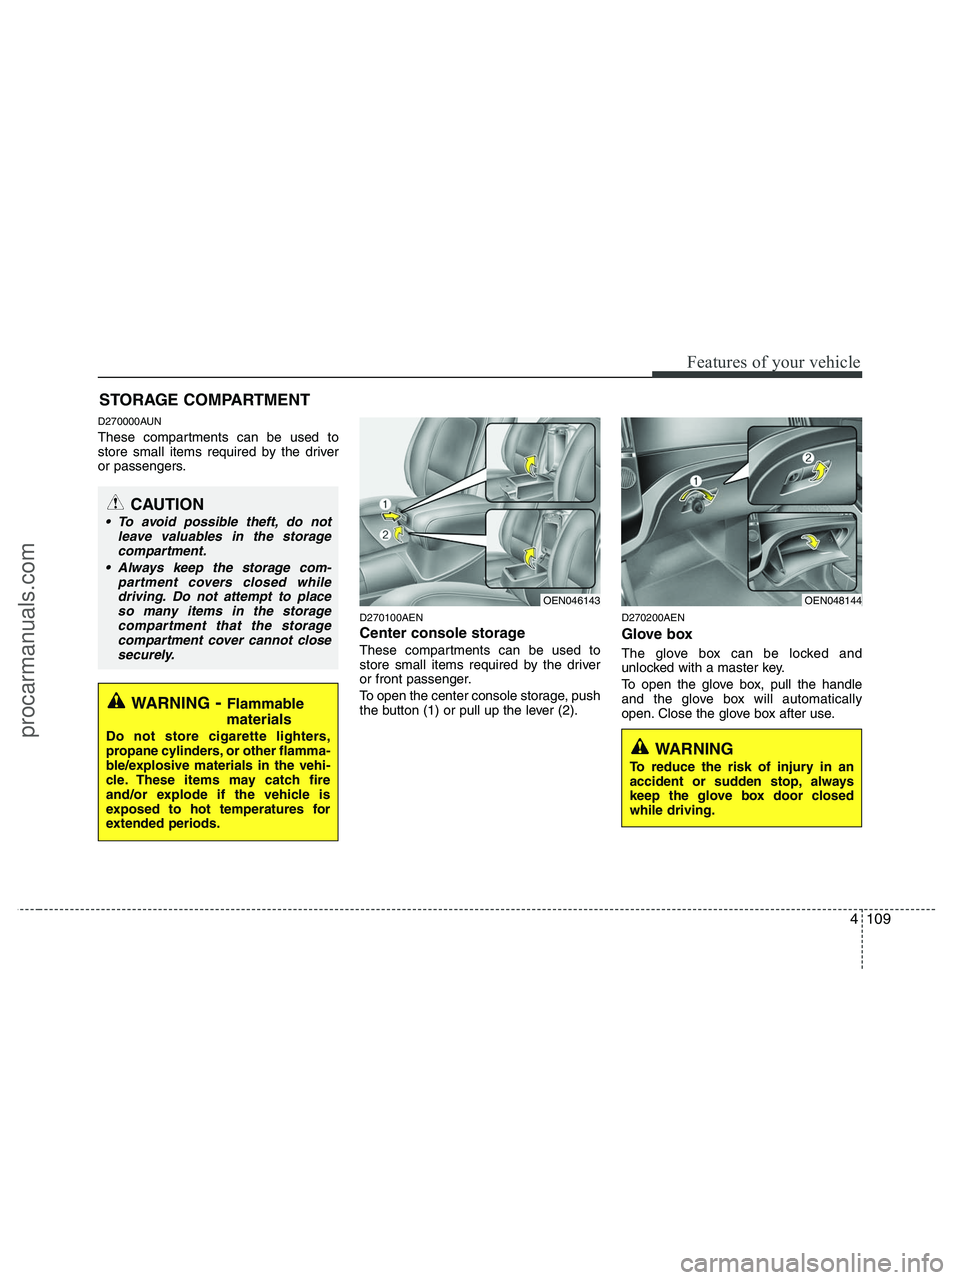
D270100AEN
Center console storage
These compartments can be used to
store small items required by the driver
or front passenger.
To open the center console storage, push
the button (1) or pull up the lever (2).
D270200AEN
Glove box
The glove box can be locked and
unlocked with a master key.
To open the glove box, pull the handle
and the glove box will automatically
open. Close the glove box after use.
STORAGE COMPARTMENT
WARNING- Flammable
materials
Do not store cigarette lighters,
propane cylinders, or other flamma-
ble/explosive materials in the vehi-
cle. These items may catch fire
and/or explode if the vehicle is
exposed to hot temperatures for
extended periods.
CAUTION
To avoid possible theft, do not
leave valuables in the storage
compartment.
Always keep the storage com-
partment covers closed while
driving. Do not attempt to place
so many items in the storage
compartment that the storage
compartment cover cannot close
securely.
OEN048144OEN046143
WARNING
To reduce the risk of injury in an
accident or sudden stop, always
keep the glove box door closed
while driving.
procarmanuals.com
Page 192 of 425
Features of your vehicle
110 4
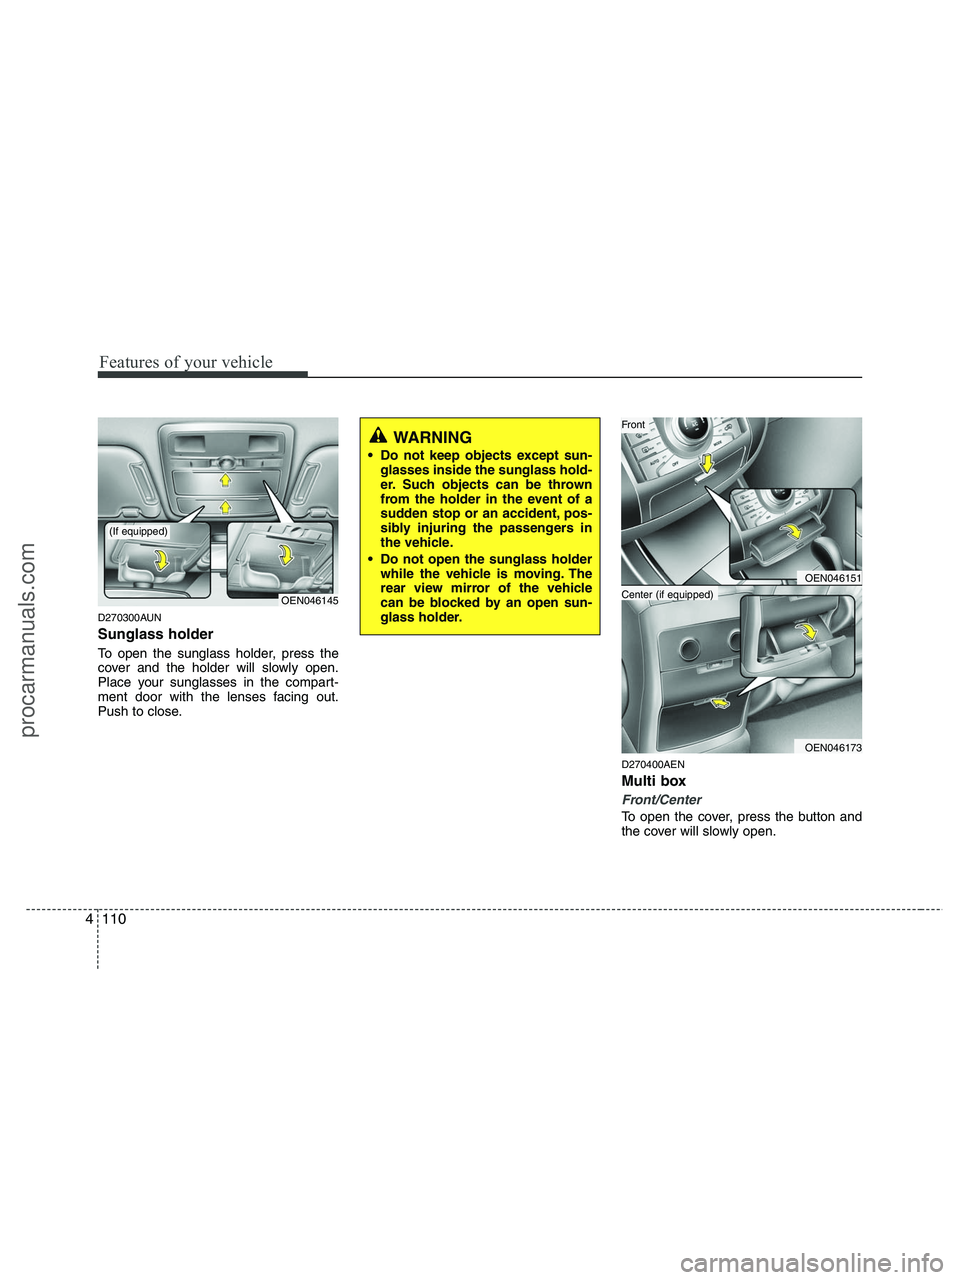
D270300AUN
Sunglass holder
To open the sunglass holder, press the
cover and the holder will slowly open.
Place your sunglasses in the compart-
ment door with the lenses facing out.
Push to close.
D270400AEN
Multi box
Front/Center
To open the cover, press the button and
the cover will slowly open.
OEN046145
WARNING
Do not keep objects except sun-
glasses inside the sunglass hold-
er. Such objects can be thrown
from the holder in the event of a
sudden stop or an accident, pos-
sibly injuring the passengers in
the vehicle.
Do not open the sunglass holder
while the vehicle is moving. The
rear view mirror of the vehicle
can be blocked by an open sun-
glass holder.
(If equipped)
OEN046151
OEN046173
Center (if equipped)
Front
procarmanuals.com
Page 198 of 425
Features of your vehicle
116 4
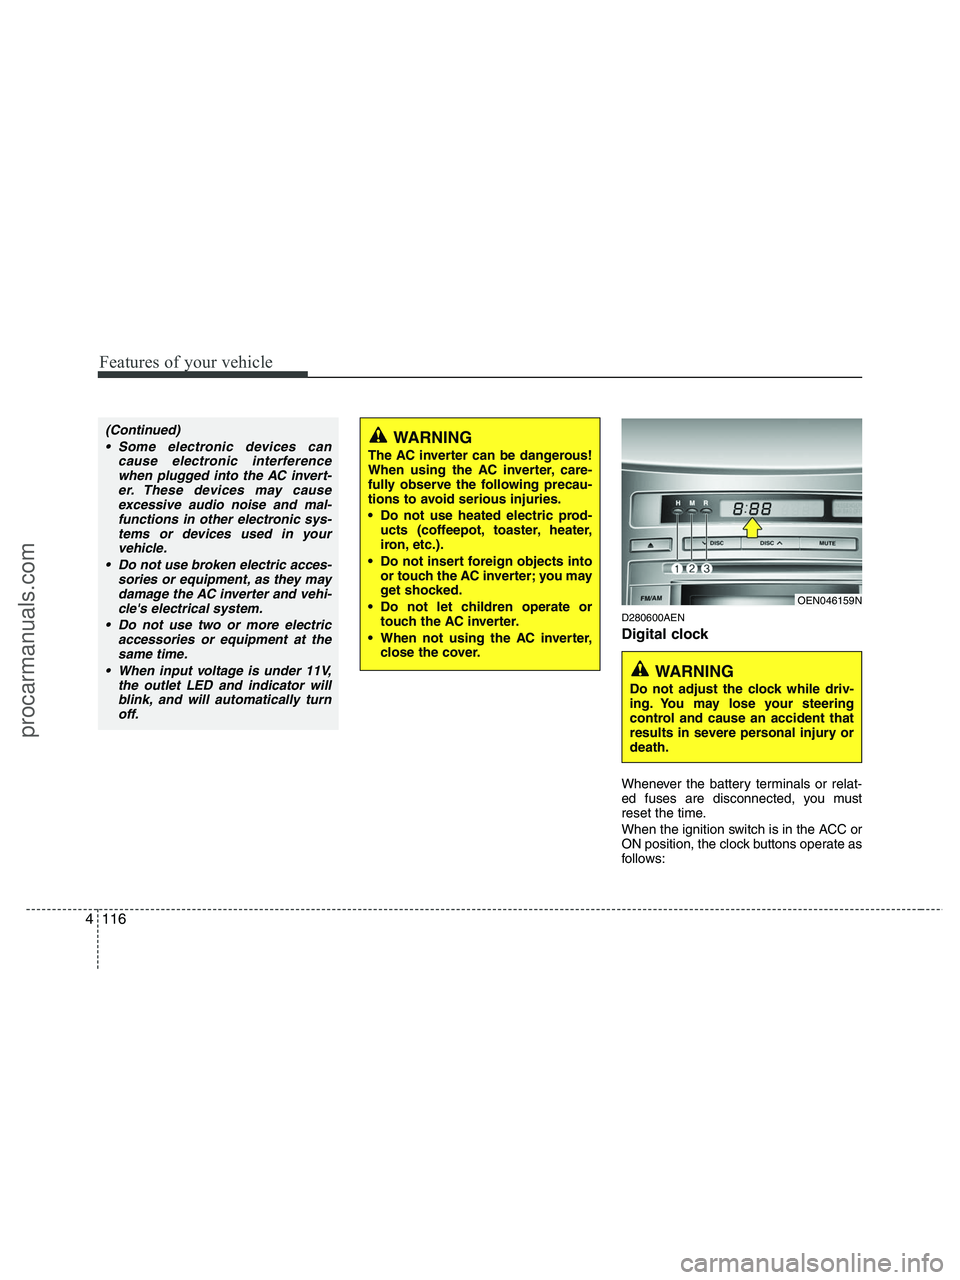
D280600AEN
Digital clock
Whenever the battery terminals or relat-
ed fuses are disconnected, you must
reset the time.
When the ignition switch is in the ACC or
ON position, the clock buttons operate as
follows:
WARNING
The AC inverter can be dangerous!
When using the AC inverter, care-
fully observe the following precau-
tions to avoid serious injuries.
Do not use heated electric prod-
ucts (coffeepot, toaster, heater,
iron, etc.).
Do not insert foreign objects into
or touch the AC inverter; you may
get shocked.
Do not let children operate or
touch the AC inverter.
When not using the AC inverter,
close the cover.
(Continued)
Some electronic devices can
cause electronic interference
when plugged into the AC invert-
er. These devices may cause
excessive audio noise and mal-
functions in other electronic sys-
tems or devices used in your
vehicle.
Do not use broken electric acces-
sories or equipment, as they may
damage the AC inverter and vehi-
cle's electrical system.
Do not use two or more electric
accessories or equipment at the
same time.
When input voltage is under 11V,
the outlet LED and indicator will
blink, and will automatically turn
off.
OEN046159N
WARNING
Do not adjust the clock while driv-
ing. You may lose your steering
control and cause an accident that
results in severe personal injury or
death.
procarmanuals.com
Page 199 of 425
4117
Features of your vehicle
D280601AUN
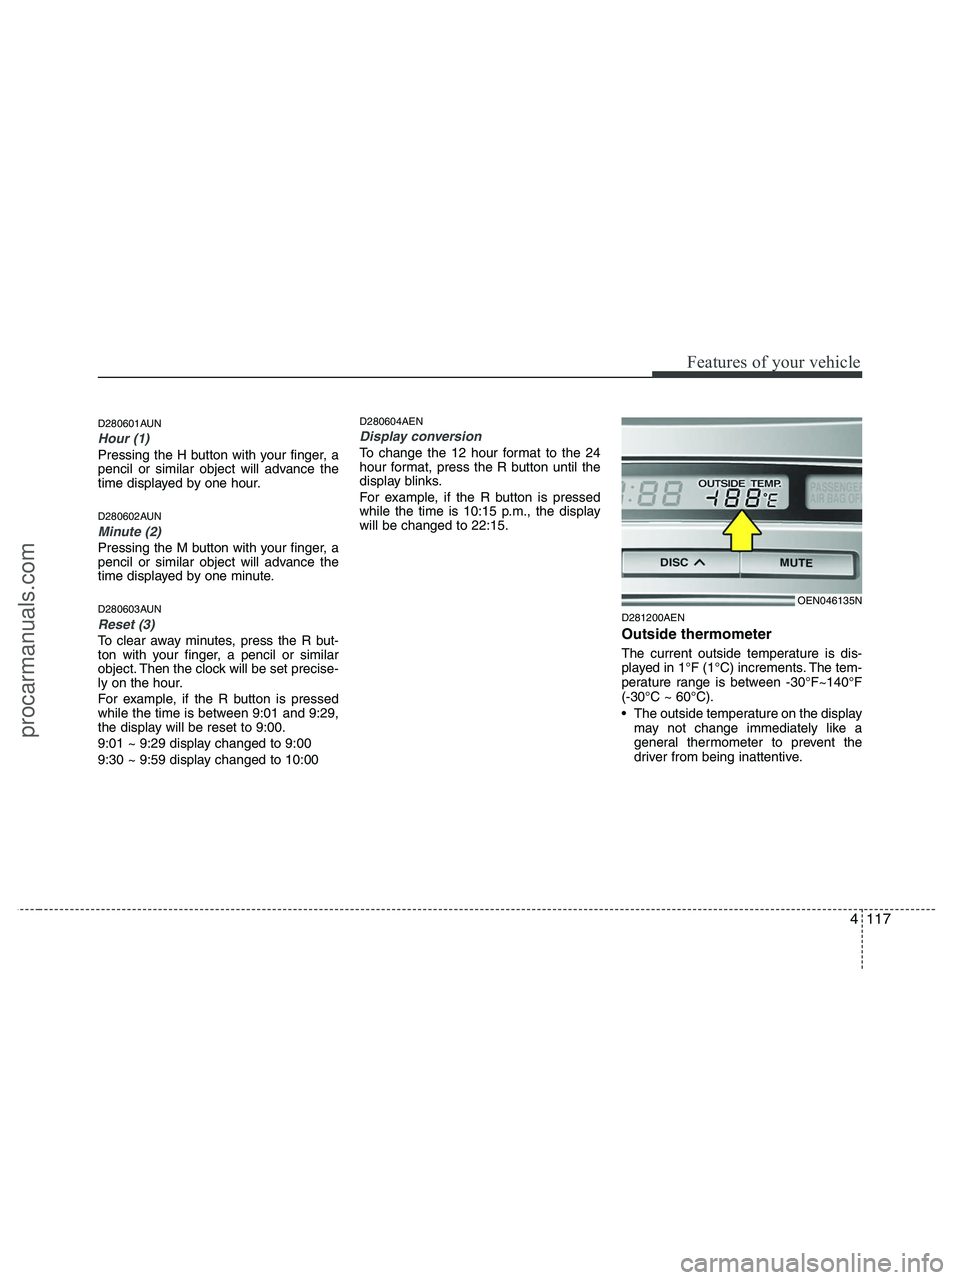
Hour (1)
Pressing the H button with your finger, a
pencil or similar object will advance the
time displayed by one hour.
D280602AUN
Minute (2)
Pressing the M button with your finger, a
pencil or similar object will advance the
time displayed by one minute.
D280603AUN
Reset (3)
To clear away minutes, press the R but-
ton with your finger, a pencil or similar
object. Then the clock will be set precise-
ly on the hour.
For example, if the R button is pressed
while the time is between 9:01 and 9:29,
the display will be reset to 9:00.
9:01 ~ 9:29 display changed to 9:00
9:30 ~ 9:59 display changed to 10:00
D280604AEN
Display conversion
To change the 12 hour format to the 24
hour format, press the R button until the
display blinks.
For example, if the R button is pressed
while the time is 10:15 p.m., the display
will be changed to 22:15.
D281200AEN
Outside thermometer
The current outside temperature is dis-
played in 1°F (1°C) increments. The tem-
perature range is between -30°F~140°F
(-30°C ~ 60°C).
The outside temperature on the display
may not change immediately like a
general thermometer to prevent the
driver from being inattentive.
OEN046135N
procarmanuals.com
Page 202 of 425
Features of your vehicle
120 4
Antenna
D300102AUN
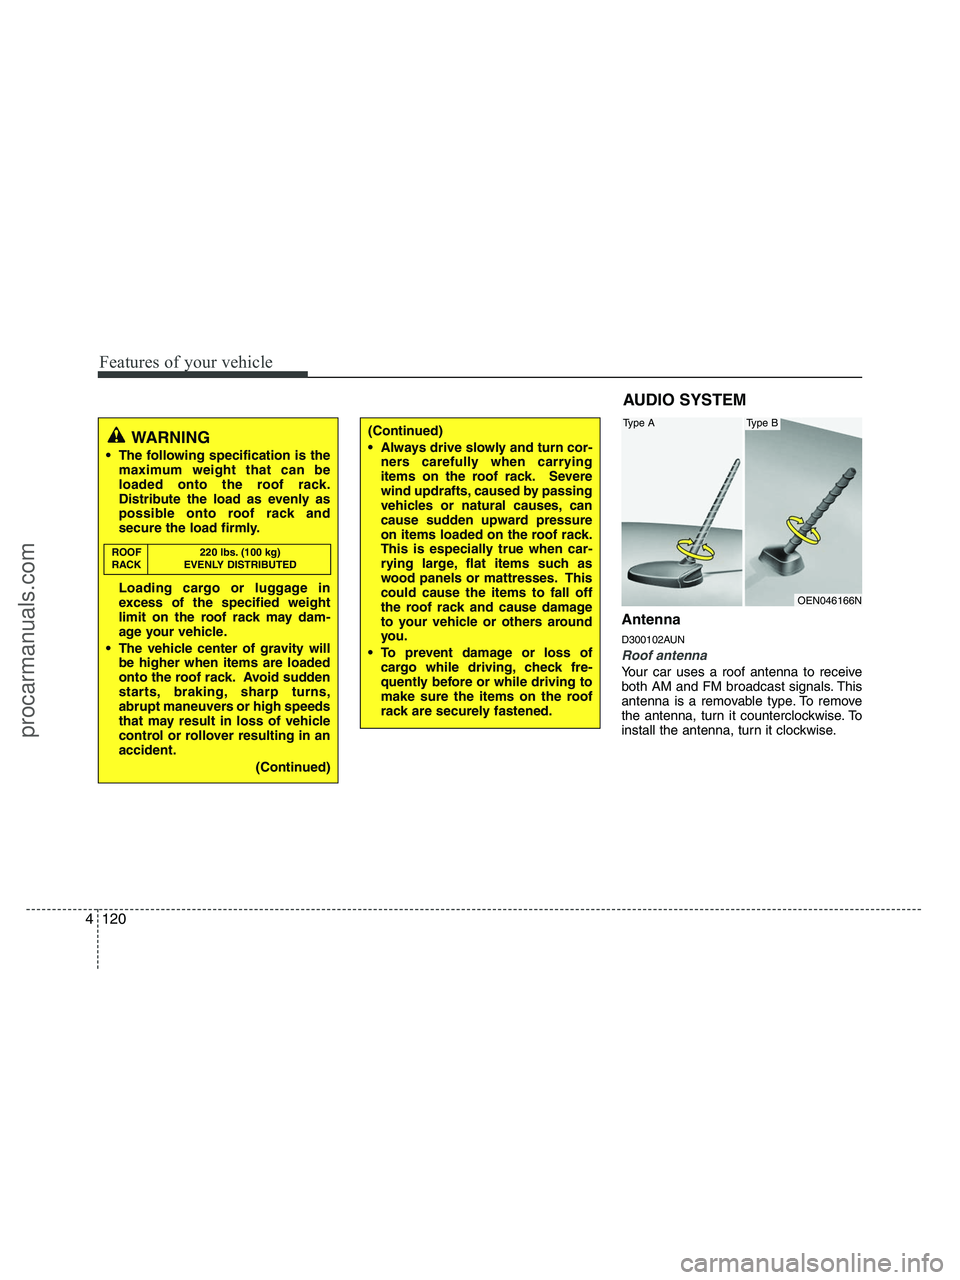
Roof antenna
Your car uses a roof antenna to receive
both AM and FM broadcast signals. This
antenna is a removable type. To remove
the antenna, turn it counterclockwise. To
install the antenna, turn it clockwise.
WARNING
The following specification is the
maximum weight that can be
loaded onto the roof rack.
Distribute the load as evenly as
possible onto roof rack and
secure the load firmly.
Loading cargo or luggage in
excess of the specified weight
limit on the roof rack may dam-
age your vehicle.
The vehicle center of gravity will
be higher when items are loaded
onto the roof rack. Avoid sudden
starts, braking, sharp turns,
abrupt maneuvers or high speeds
that may result in loss of vehicle
control or rollover resulting in an
accident.
(Continued)
ROOF 220 lbs. (100 kg)
RACK EVENLY DISTRIBUTED
(Continued)
Always drive slowly and turn cor-
ners carefully when carrying
items on the roof rack. Severe
wind updrafts, caused by passing
vehicles or natural causes, can
cause sudden upward pressure
on items loaded on the roof rack.
This is especially true when car-
rying large, flat items such as
wood panels or mattresses. This
could cause the items to fall off
the roof rack and cause damage
to your vehicle or others around
you.
To prevent damage or loss of
cargo while driving, check fre-
quently before or while driving to
make sure the items on the roof
rack are securely fastened.
AUDIO SYSTEM
OEN046166N
Type AType B
procarmanuals.com
Page 206 of 425
Features of your vehicle
124 4
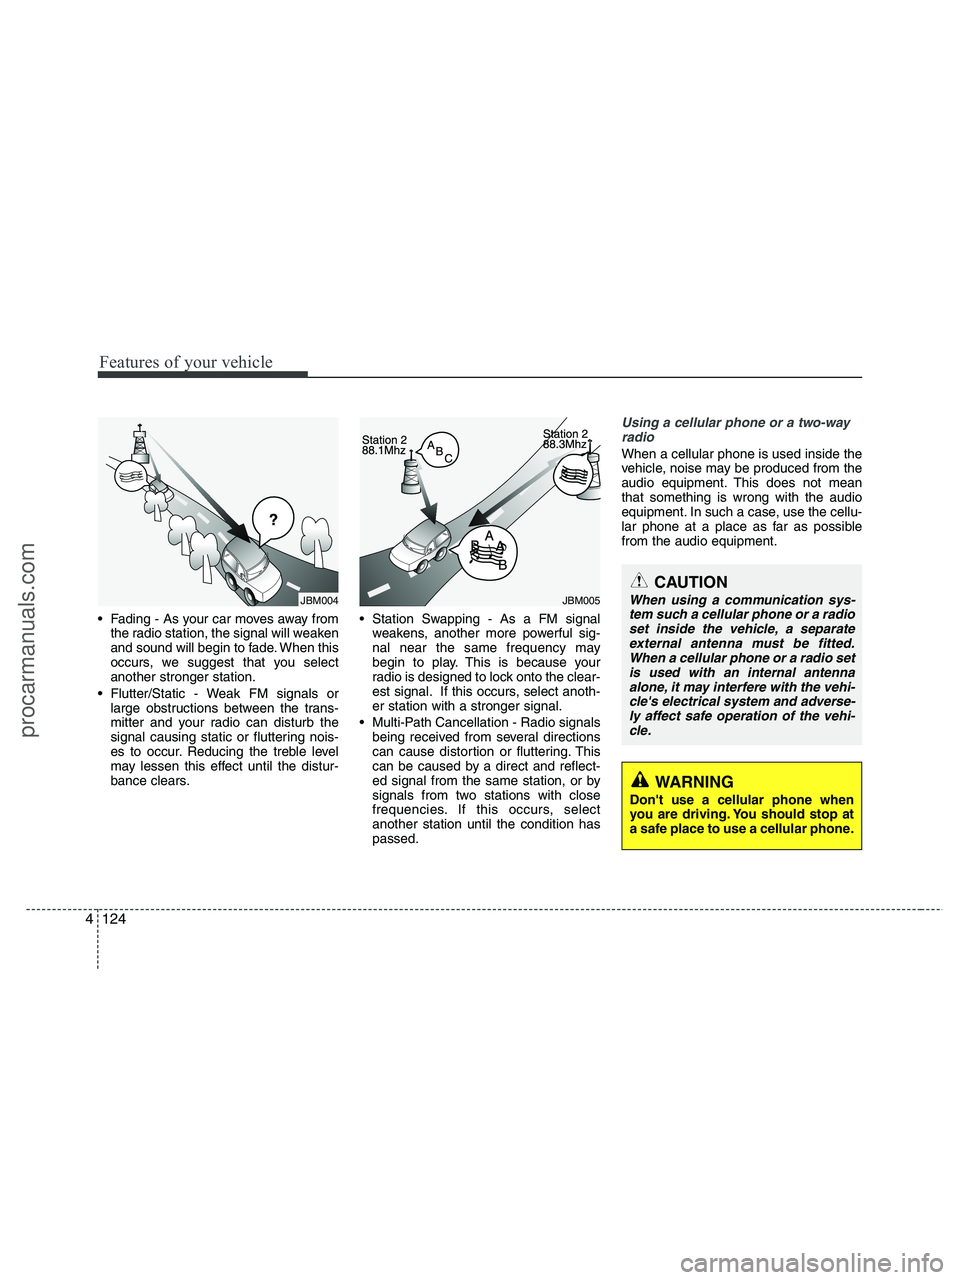
Fading - As your car moves away from
the radio station, the signal will weaken
and sound will begin to fade. When this
occurs, we suggest that you select
another stronger station.
Flutter/Static - Weak FM signals or
large obstructions between the trans-
mitter and your radio can disturb the
signal causing static or fluttering nois-
es to occur. Reducing the treble level
may lessen this effect until the distur-
bance clears. Station Swapping - As a FM signal
weakens, another more powerful sig-
nal near the same frequency may
begin to play. This is because your
radio is designed to lock onto the clear-
est signal. If this occurs, select anoth-
er station with a stronger signal.
Multi-Path Cancellation - Radio signals
being received from several directions
can cause distortion or fluttering. This
can be caused by a direct and reflect-
ed signal from the same station, or by
signals from two stations with close
frequencies. If this occurs, select
another station until the condition has
passed.
Using a cellular phone or a two-way
radio
When a cellular phone is used inside the
vehicle, noise may be produced from the
audio equipment. This does not mean
that something is wrong with the audio
equipment. In such a case, use the cellu-
lar phone at a place as far as possible
from the audio equipment.
JBM005
CAUTION
When using a communication sys-
tem such a cellular phone or a radio
set inside the vehicle, a separate
external antenna must be fitted.
When a cellular phone or a radio set
is used with an internal antenna
alone, it may interfere with the vehi-
cle's electrical system and adverse-
ly affect safe operation of the vehi-
cle.
WARNING
Don't use a cellular phone when
you are driving. You should stop at
a safe place to use a cellular phone.
¢¢¢
JBM004
procarmanuals.com
Page 211 of 425
4129
Features of your vehicle
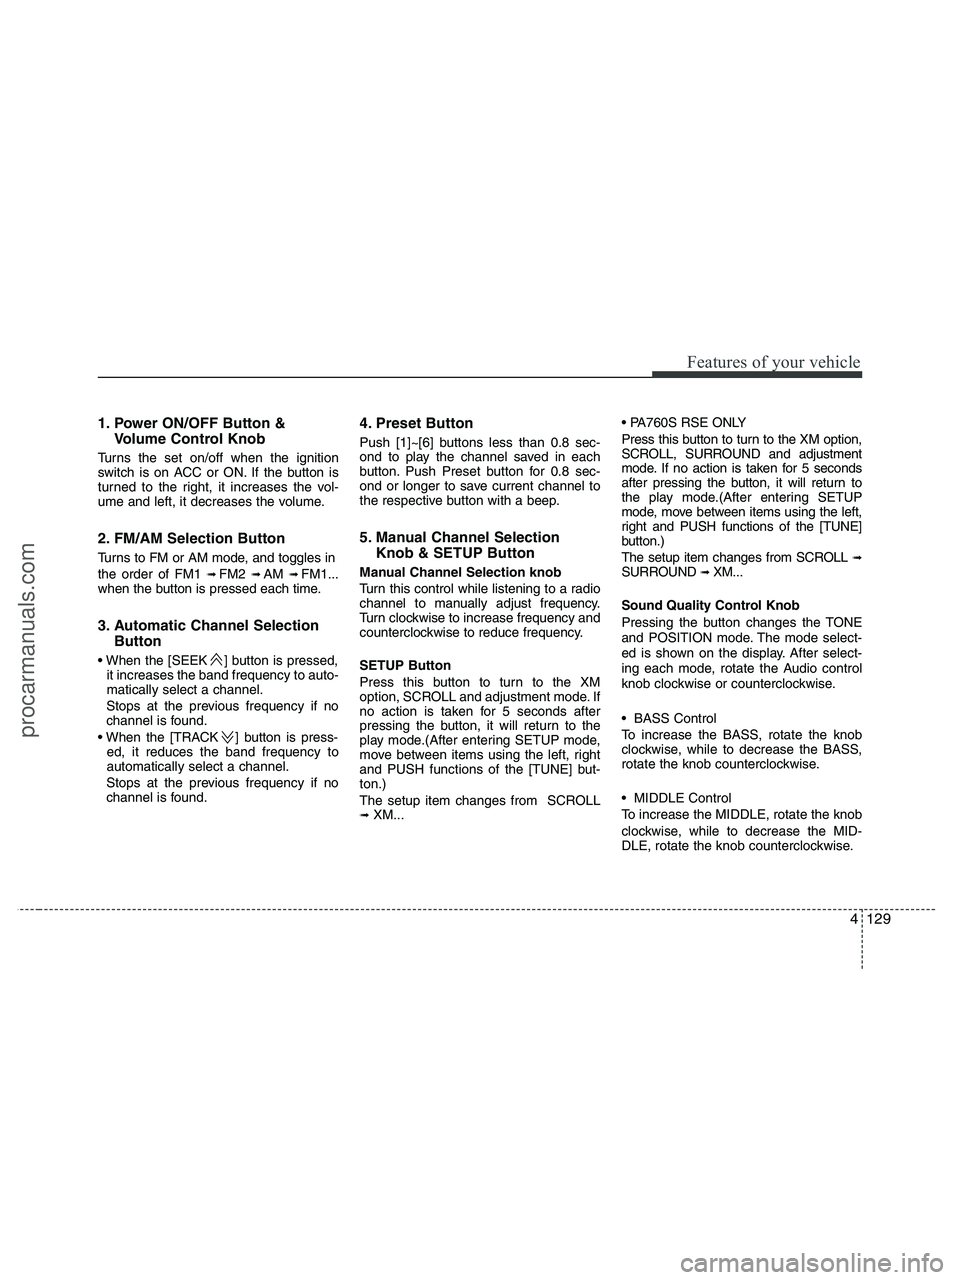
1. Power ON/OFF Button &
Volume Control Knob
Turns the set on/off when the ignition
switch is on ACC or ON. If the button is
turned to the right, it increases the vol-
ume and left, it decreases the volume.
2. FM/AM Selection Button
Turns to FM or AM mode, and toggles in
the order of FM1
➟ FM2 ➟ AM ➟ FM1...
when the button is pressed each time.
3. Automatic Channel Selection
Button
] button is pressed,
it increases the band frequency to auto-
matically select a channel.
Stops at the previous frequency if no
channel is found.
] button is press-
ed, it reduces the band frequency to
automatically select a channel.
Stops at the previous frequency if no
channel is found.
4. Preset Button
Push [1]~[6] buttons less than 0.8 sec-
ond to play the channel saved in each
button. Push Preset button for 0.8 sec-
ond or longer to save current channel to
the respective button with a beep.
5. Manual Channel Selection
Knob & SETUP Button
Manual Channel Selection knob
Turn this control while listening to a radio
channel to manually adjust frequency.
Turn clockwise to increase frequency and
counterclockwise to reduce frequency.
SETUP Button
Press this button to turn to the XM
option, SCROLL and adjustment mode. If
no action is taken for 5 seconds after
pressing the button, it will return to the
play mode.(After entering SETUP mode,
move between items using the left, right
and PUSH functions of the [TUNE] but-
ton.)
The setup item changes from SCROLL
➟ XM...
Press this button to turn to the XM option,
SCROLL, SURROUND and adjustment
mode. If no action is taken for 5 seconds
after pressing the button, it will return to
the play mode.(After entering SETUP
mode, move between items using the left,
right and PUSH functions of the [TUNE]
button.)
The setup item changes from SCROLL
➟SURROUND ➟ XM...
Sound Quality Control Knob
Pressing the button changes the TONE
and POSITION mode. The mode select-
ed is shown on the display. After select-
ing each mode, rotate the Audio control
knob clockwise or counterclockwise.
BASS Control
To increase the BASS, rotate the knob
clockwise, while to decrease the BASS,
rotate the knob counterclockwise.
MIDDLE Control
To increase the MIDDLE, rotate the knob
clockwise, while to decrease the MID-
DLE, rotate the knob counterclockwise.
procarmanuals.com